Integrations
This page covers the different tools you can integrate with to forward issues to.
Whether it's your bug tracker like Jira, communication tool like Slack, or support desk like Zendesk, you will find the steps needed to set up any of the tools available at Instabug's Integration Hub.
First, navigate to the Integrations' page on your Instabug dashboard and pick the tool you are interested in. Then follow the steps mentioned in one of the sections below depending on the tool.
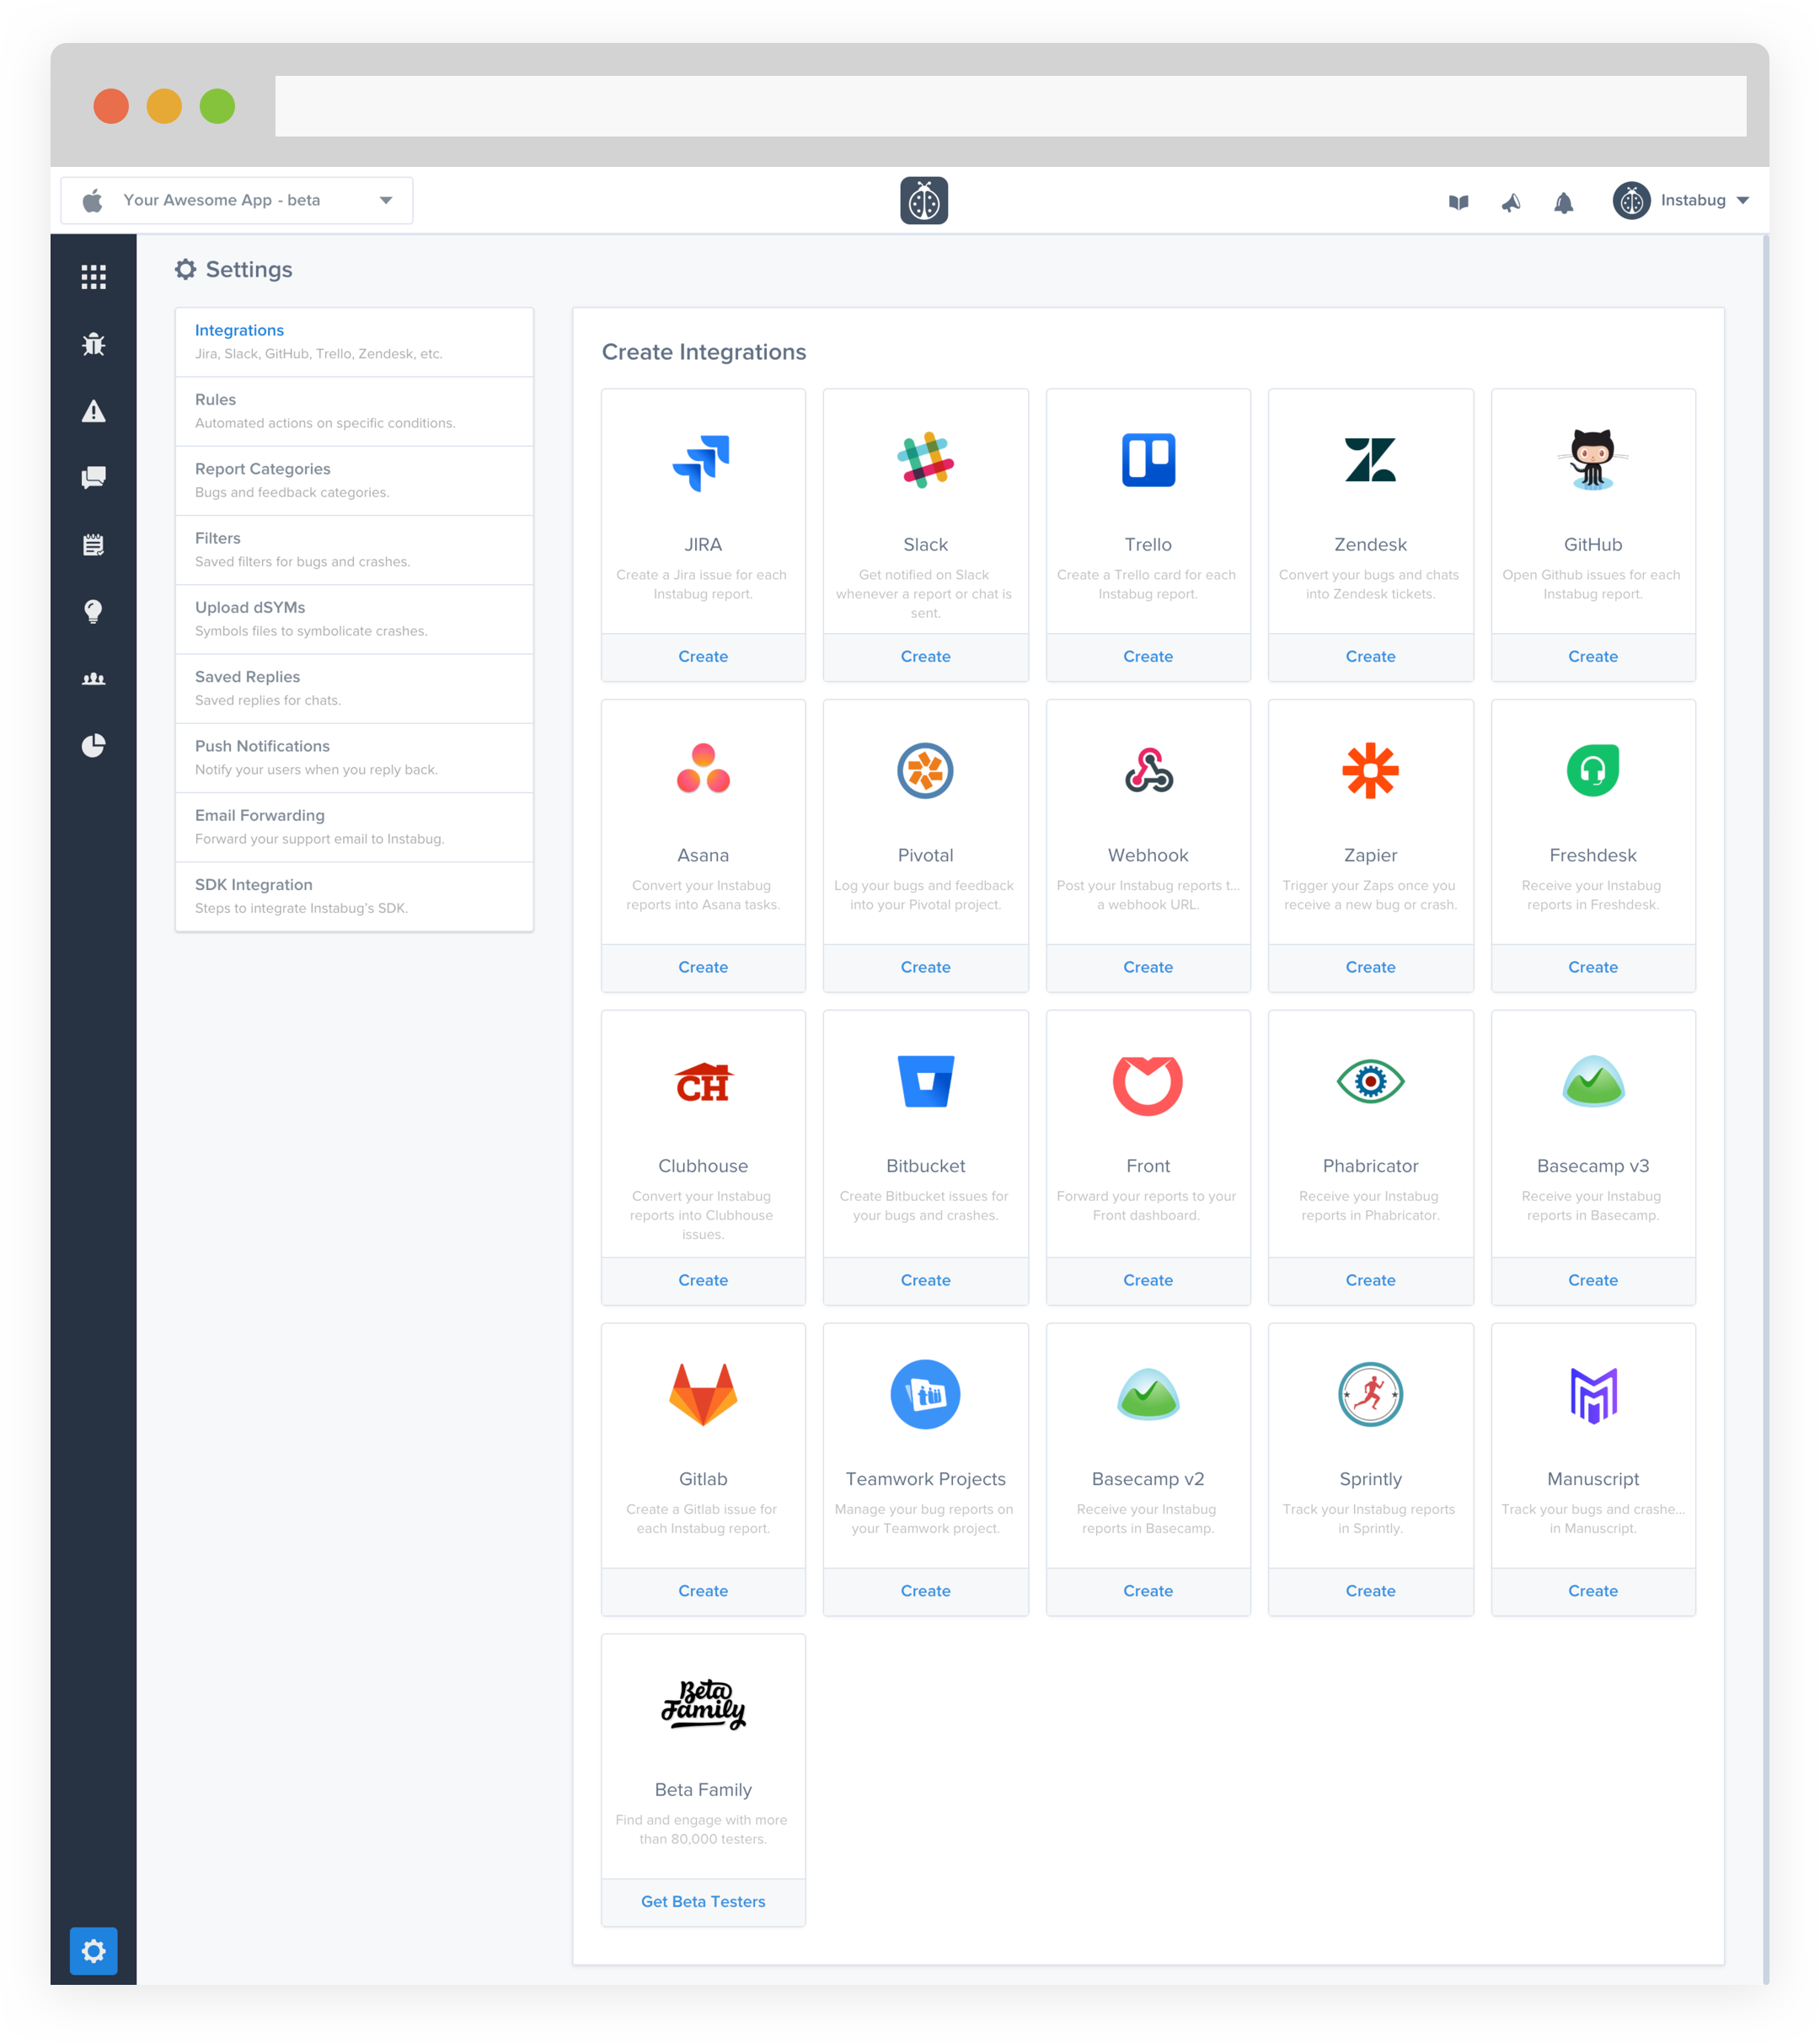
Allow your users and beta testers to report bugs and send feedback directly from your app and have them automatically logged into your Jira project. Instabug offers a two-way integration when the integration is done through Jira, meaning that the status and comments on the Jira ticket will also be reflected on bug report on your Instabug dashboard.
Integrate through Jira
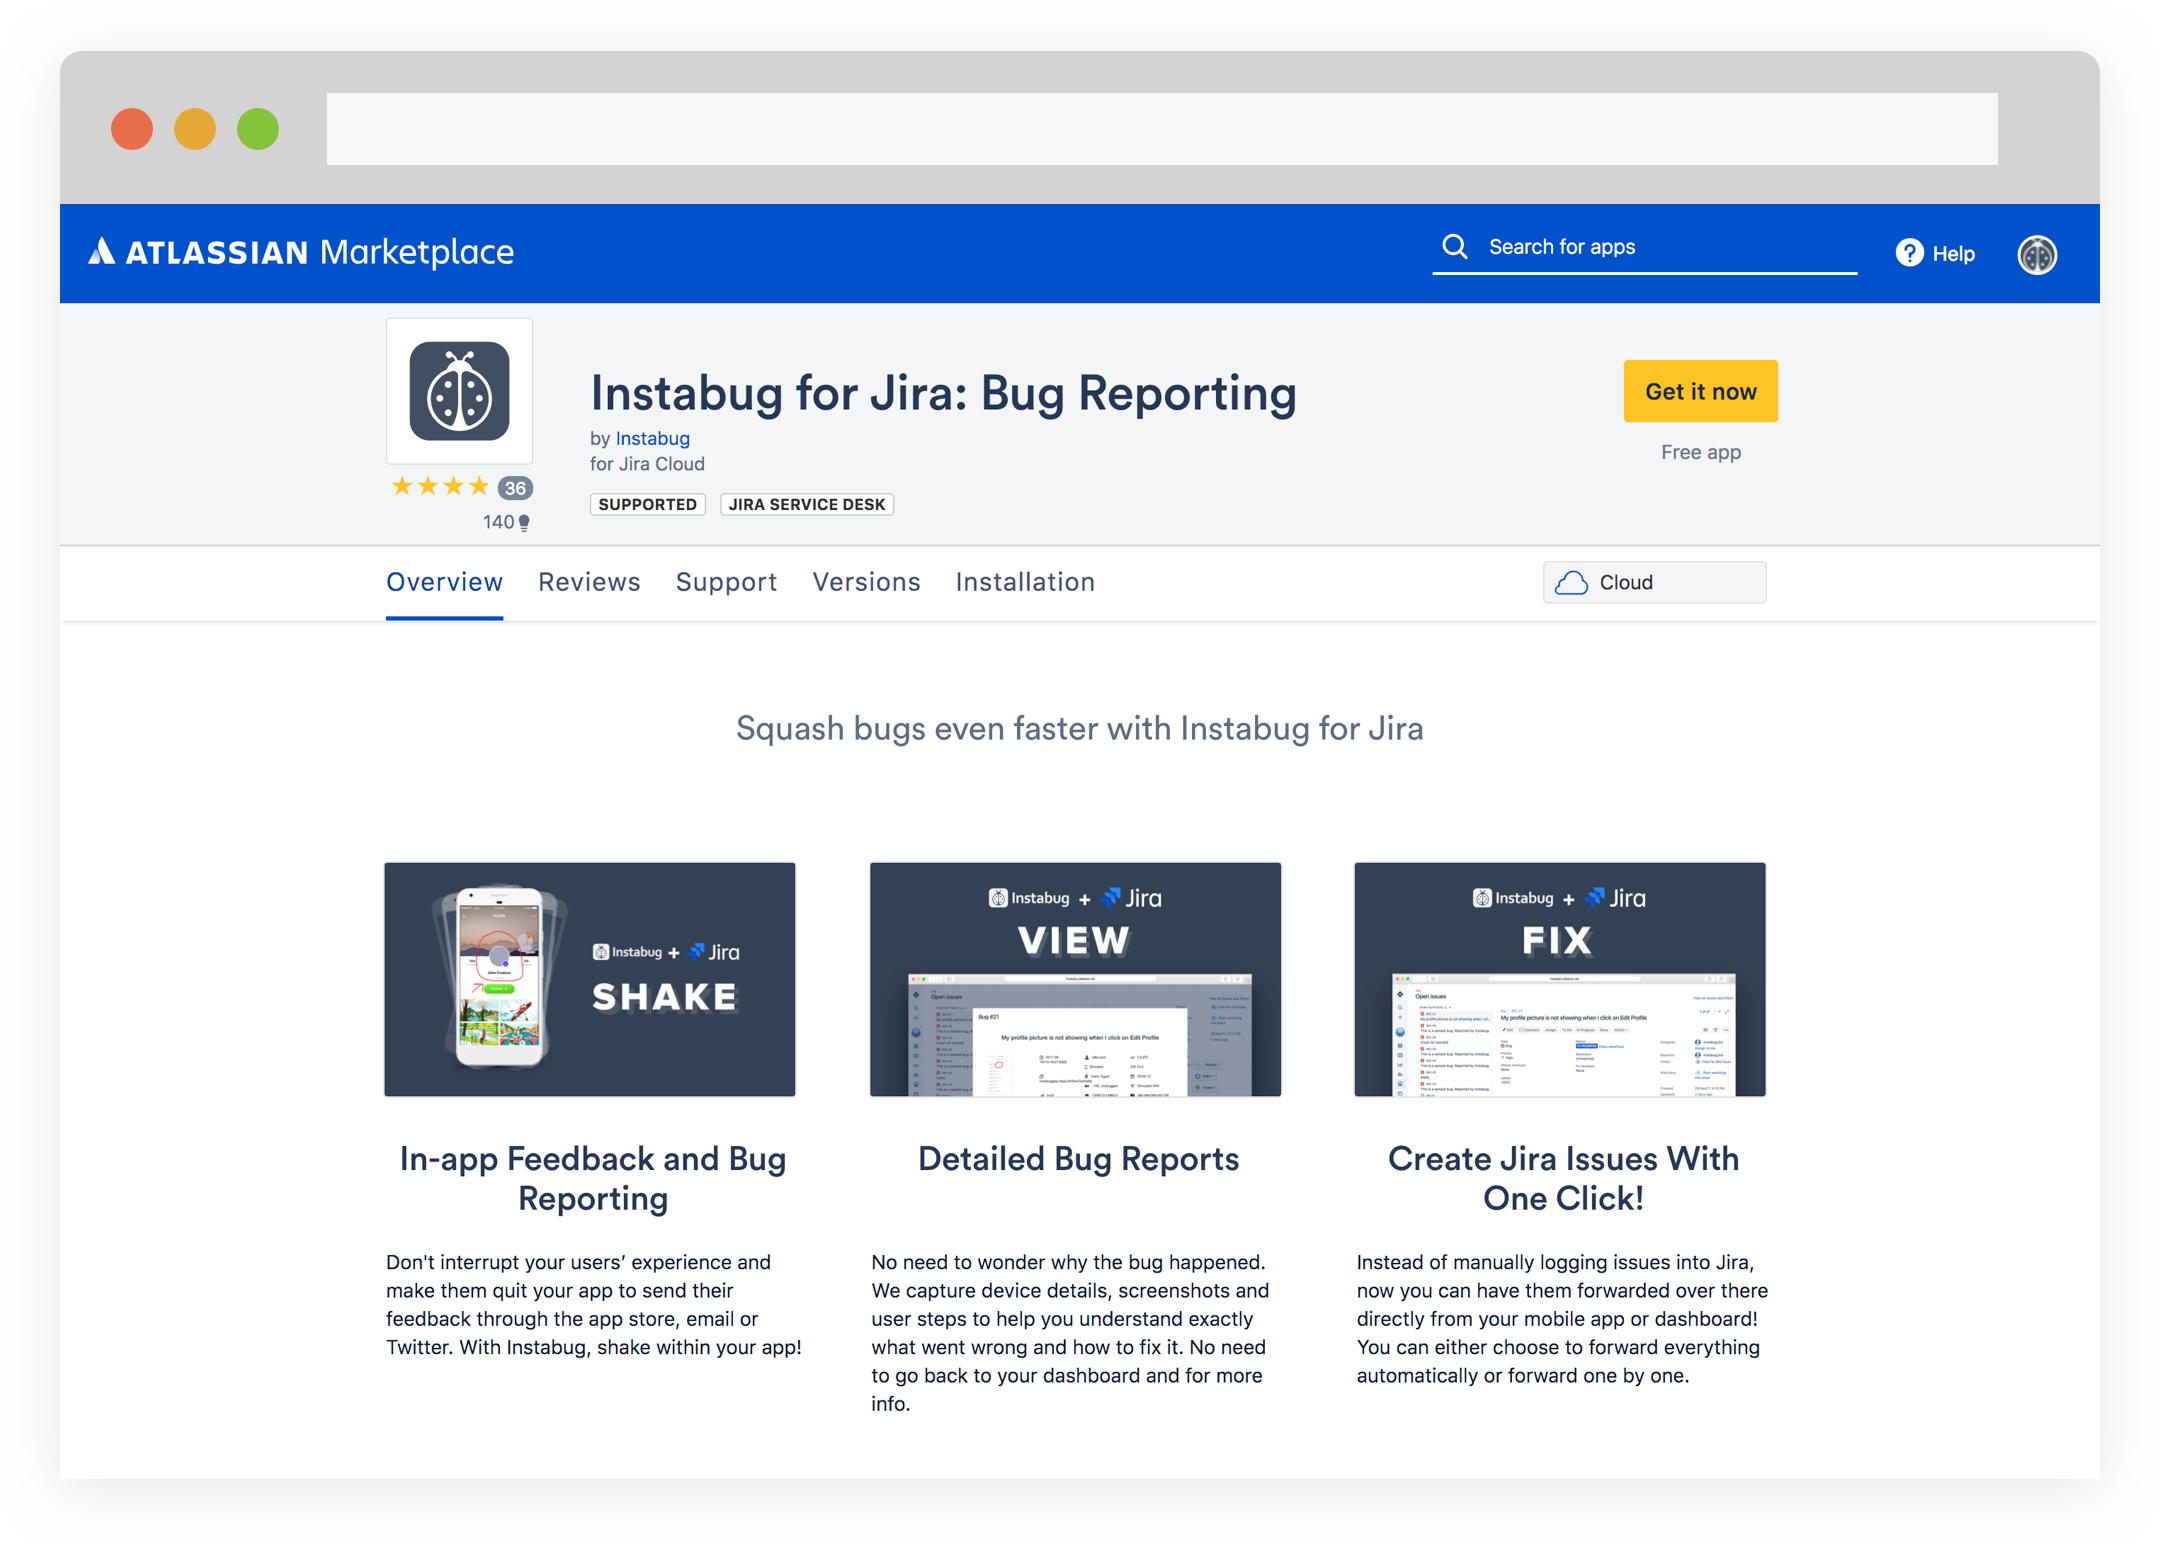
1a. Navigate to the add-on through the link here and select Get it now.
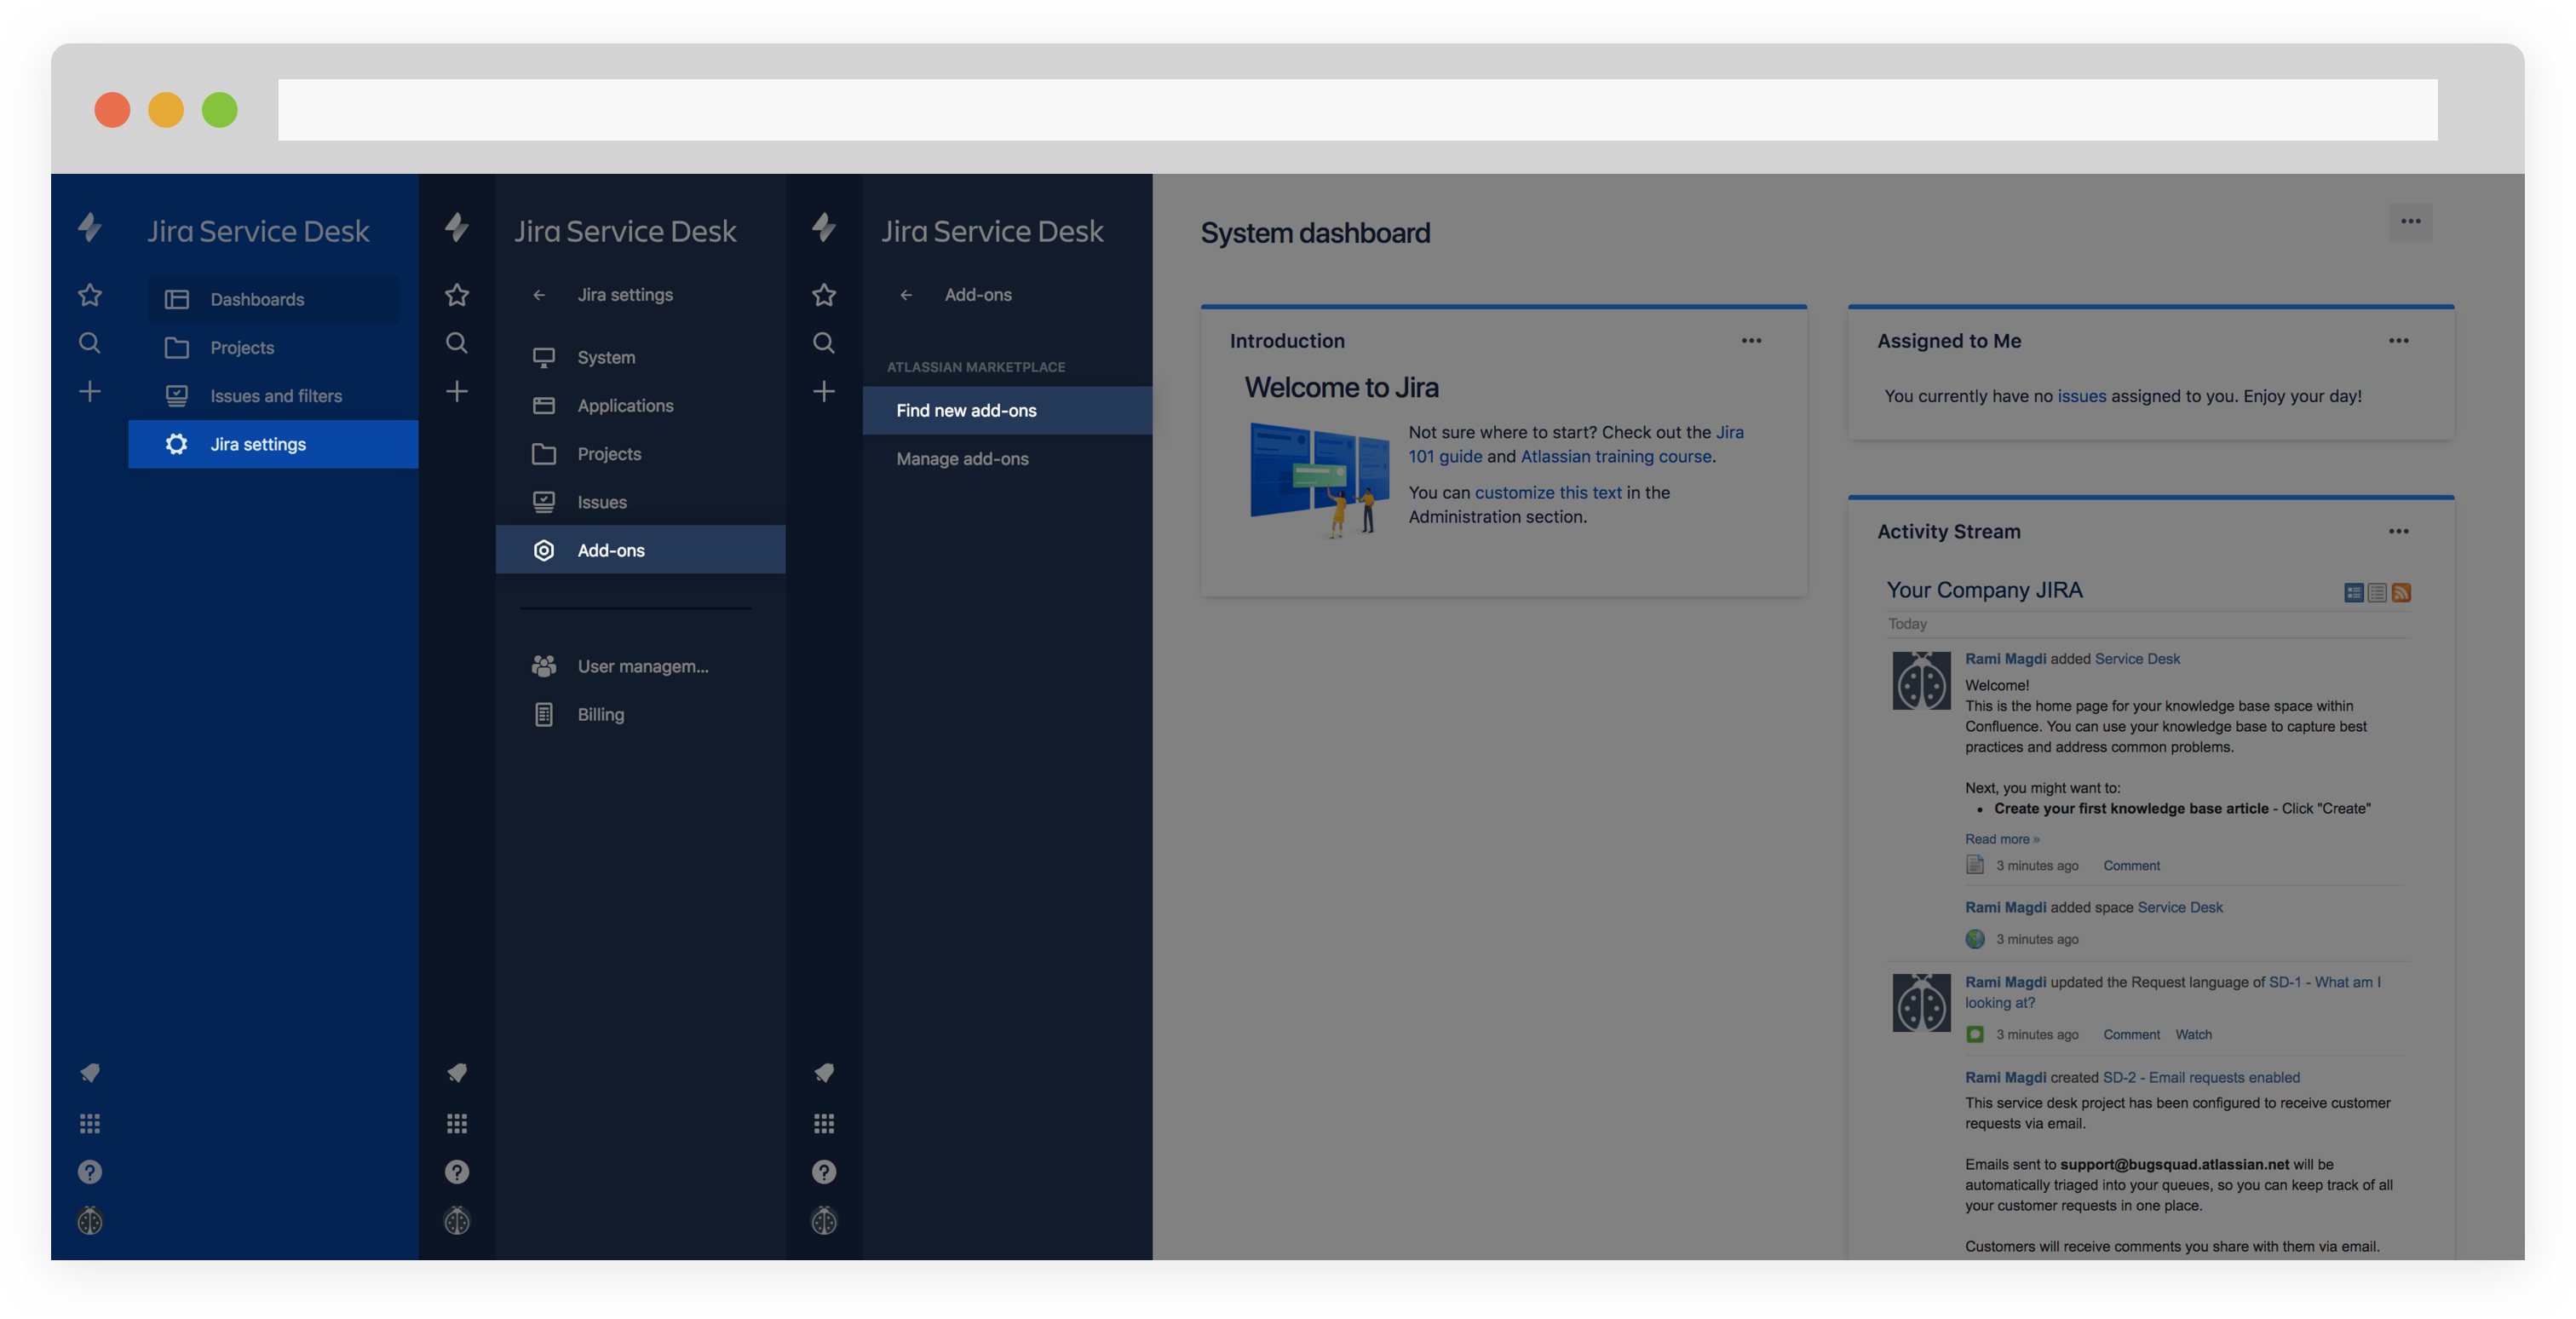
1b. If you would like to search for it through the marketplace, navigate to the Add-Ons, then Find new add-ons in your Jira workplace.
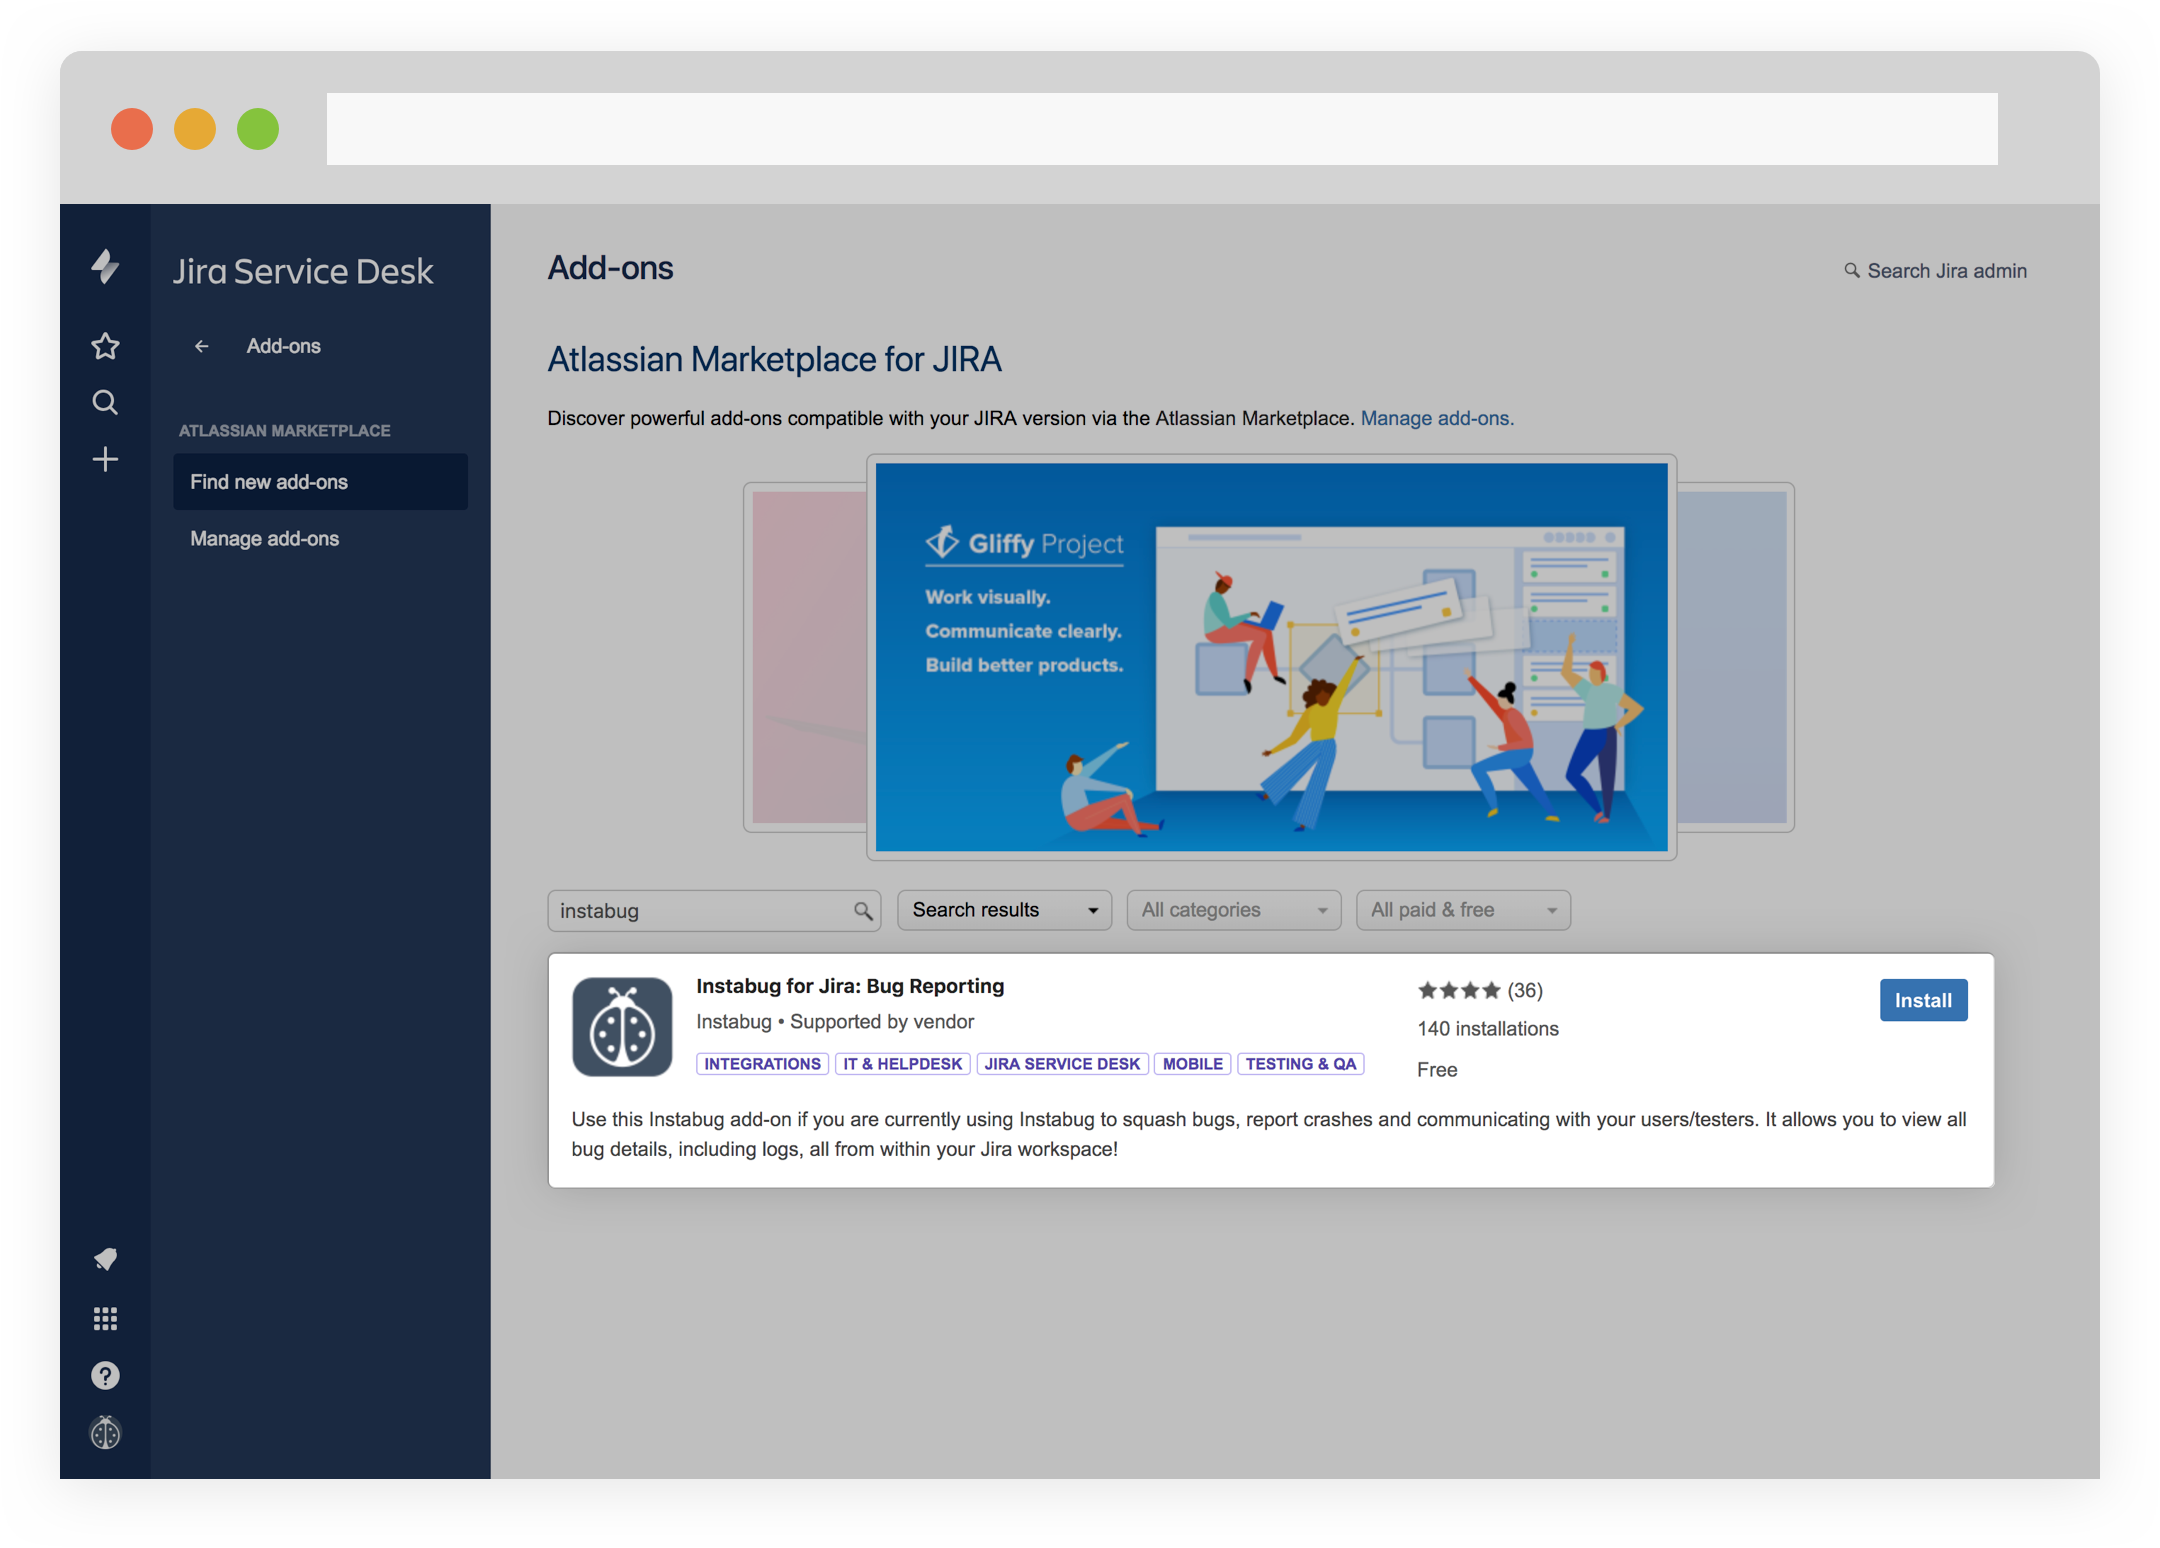
Then search for Instabug and install the add-on using the install button.
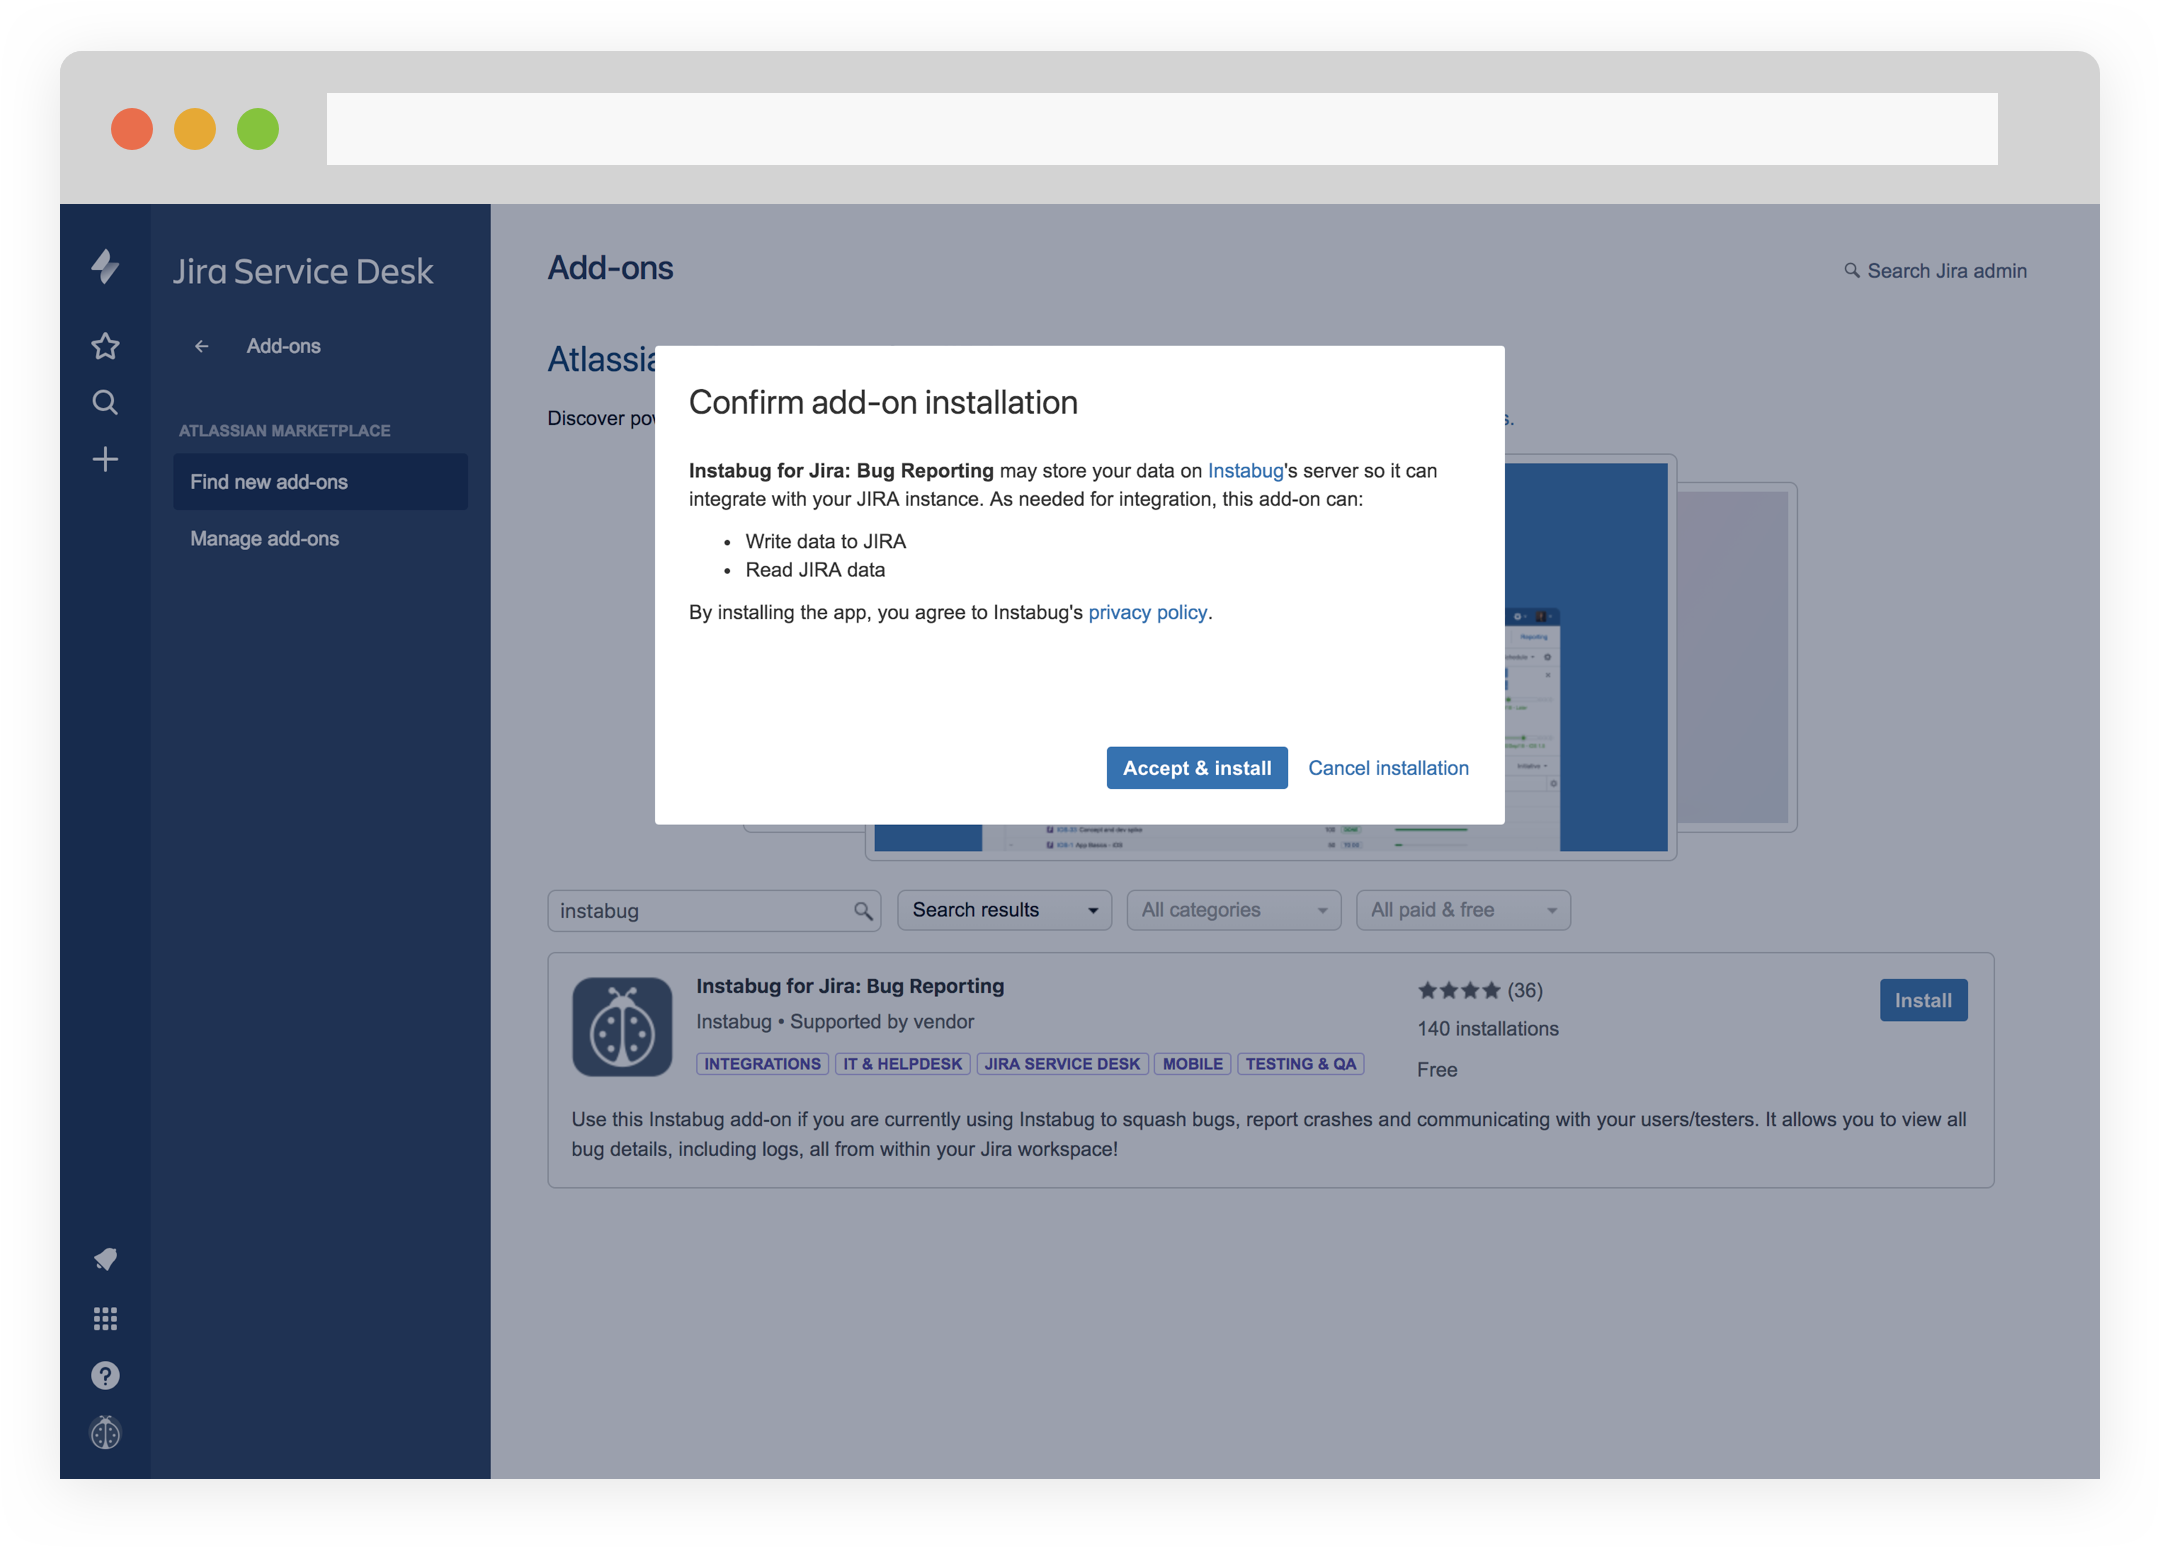
- Confirm installing Instabug into your Jira account.
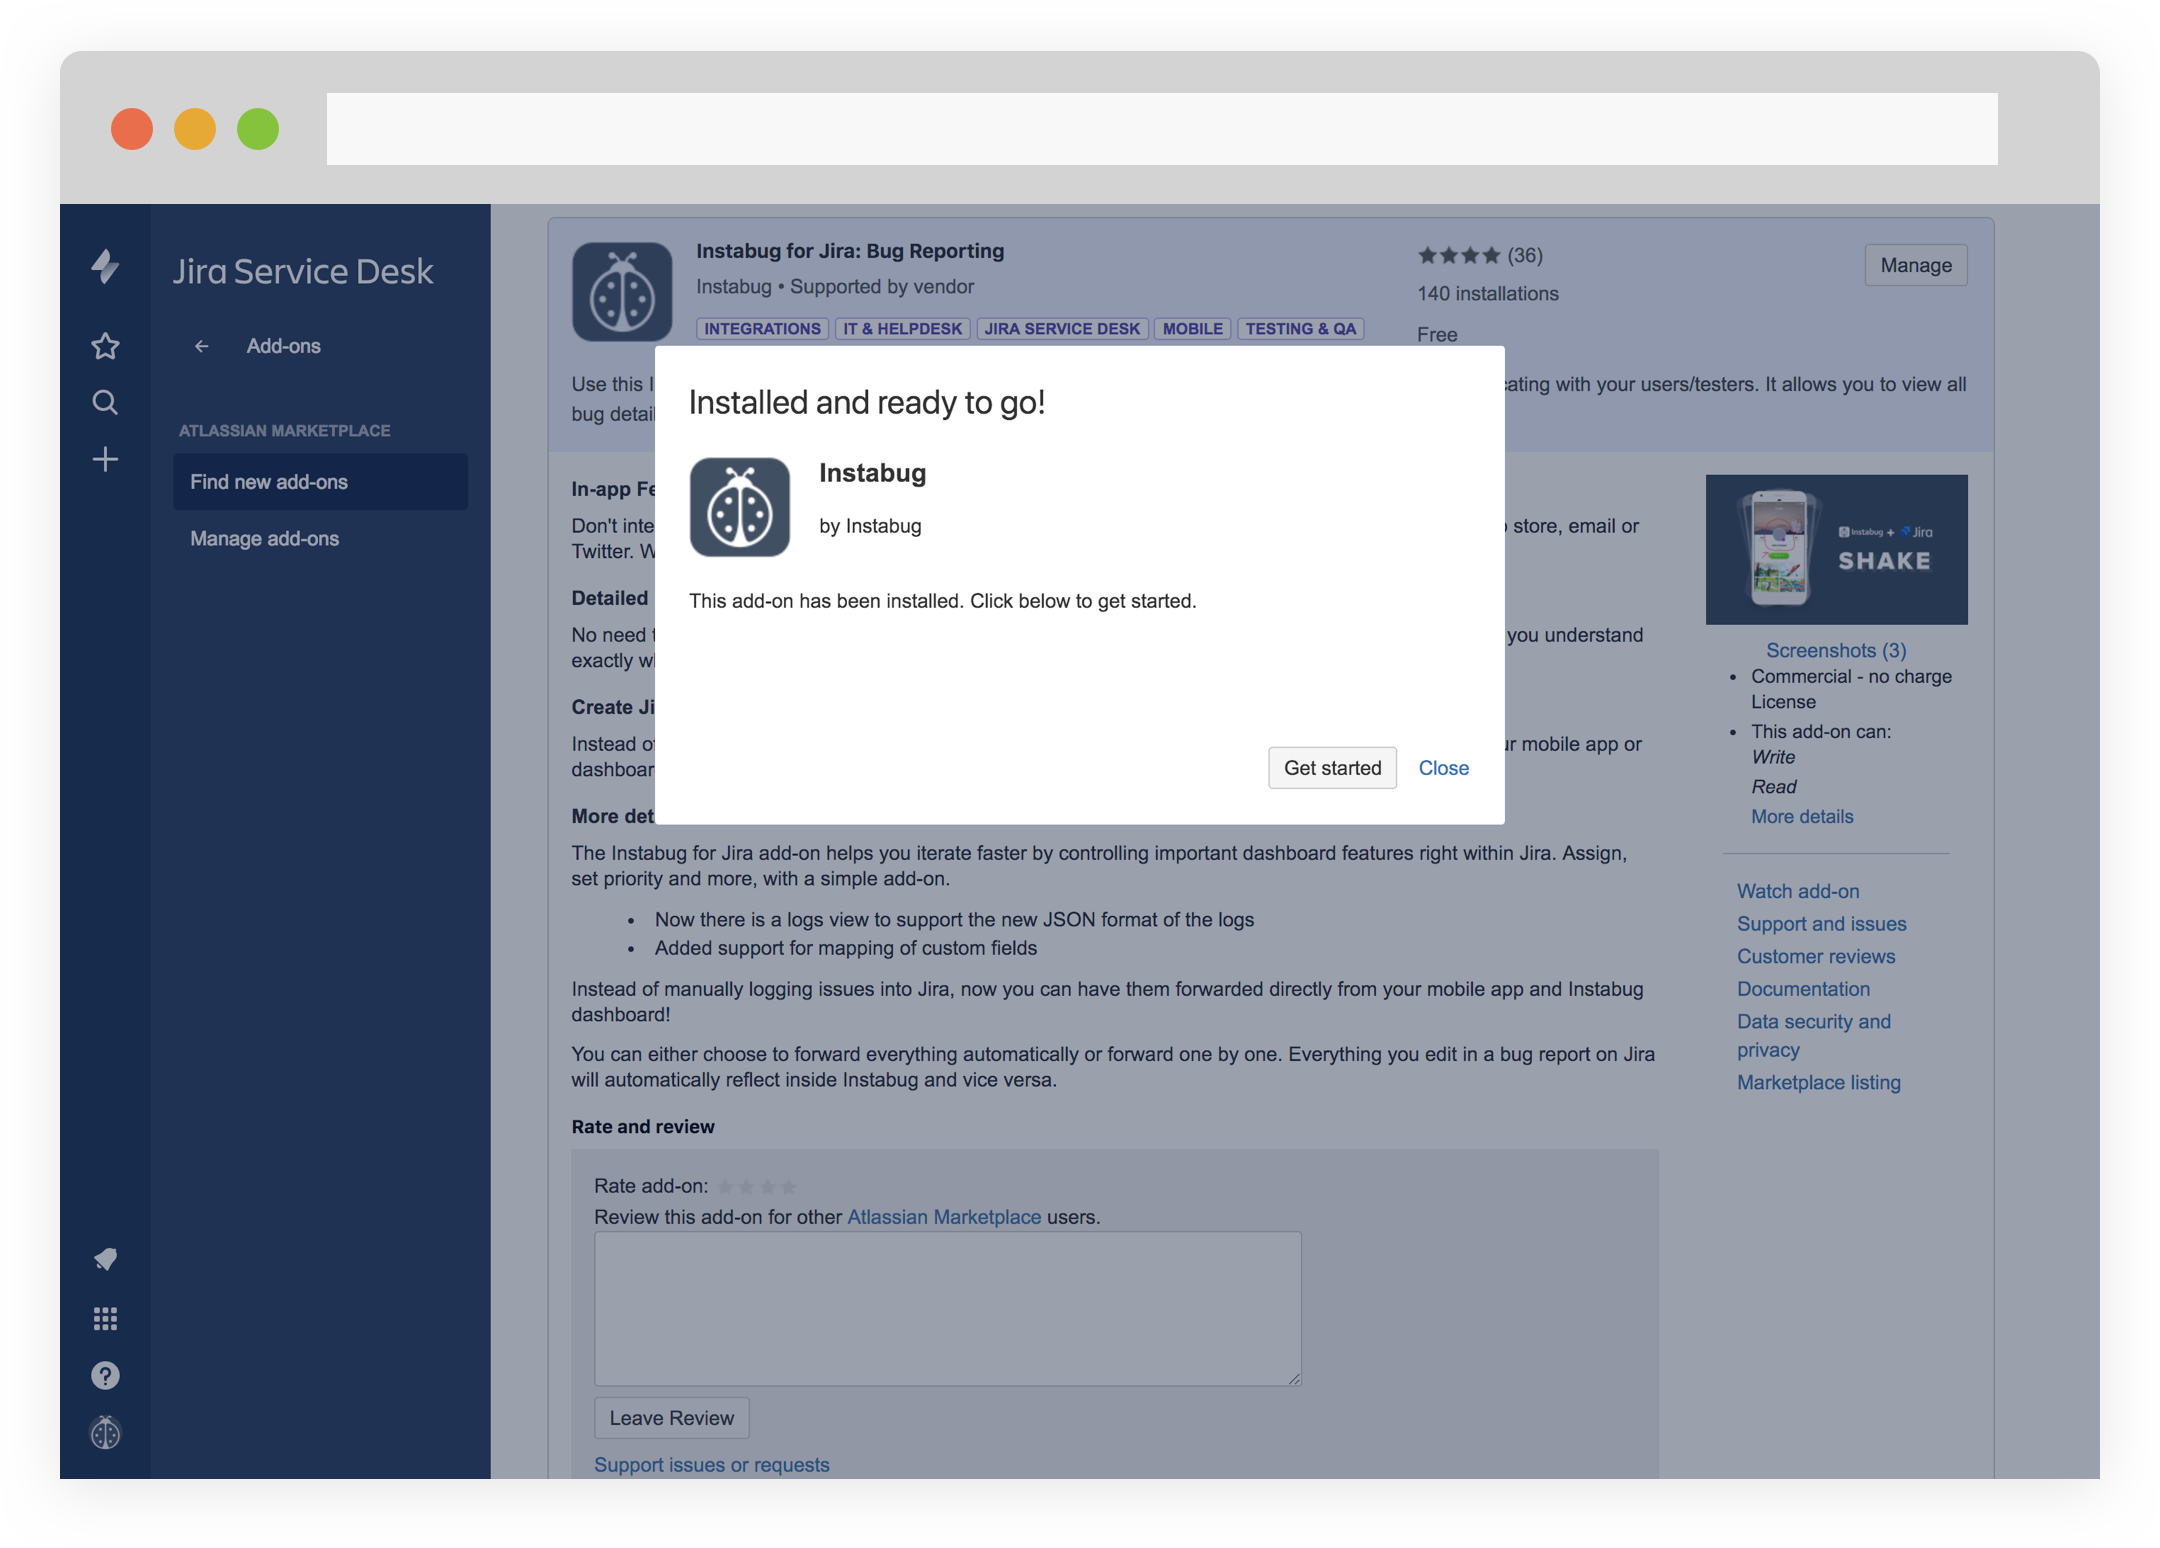
- To start setting up your integration, please click on Get Started.
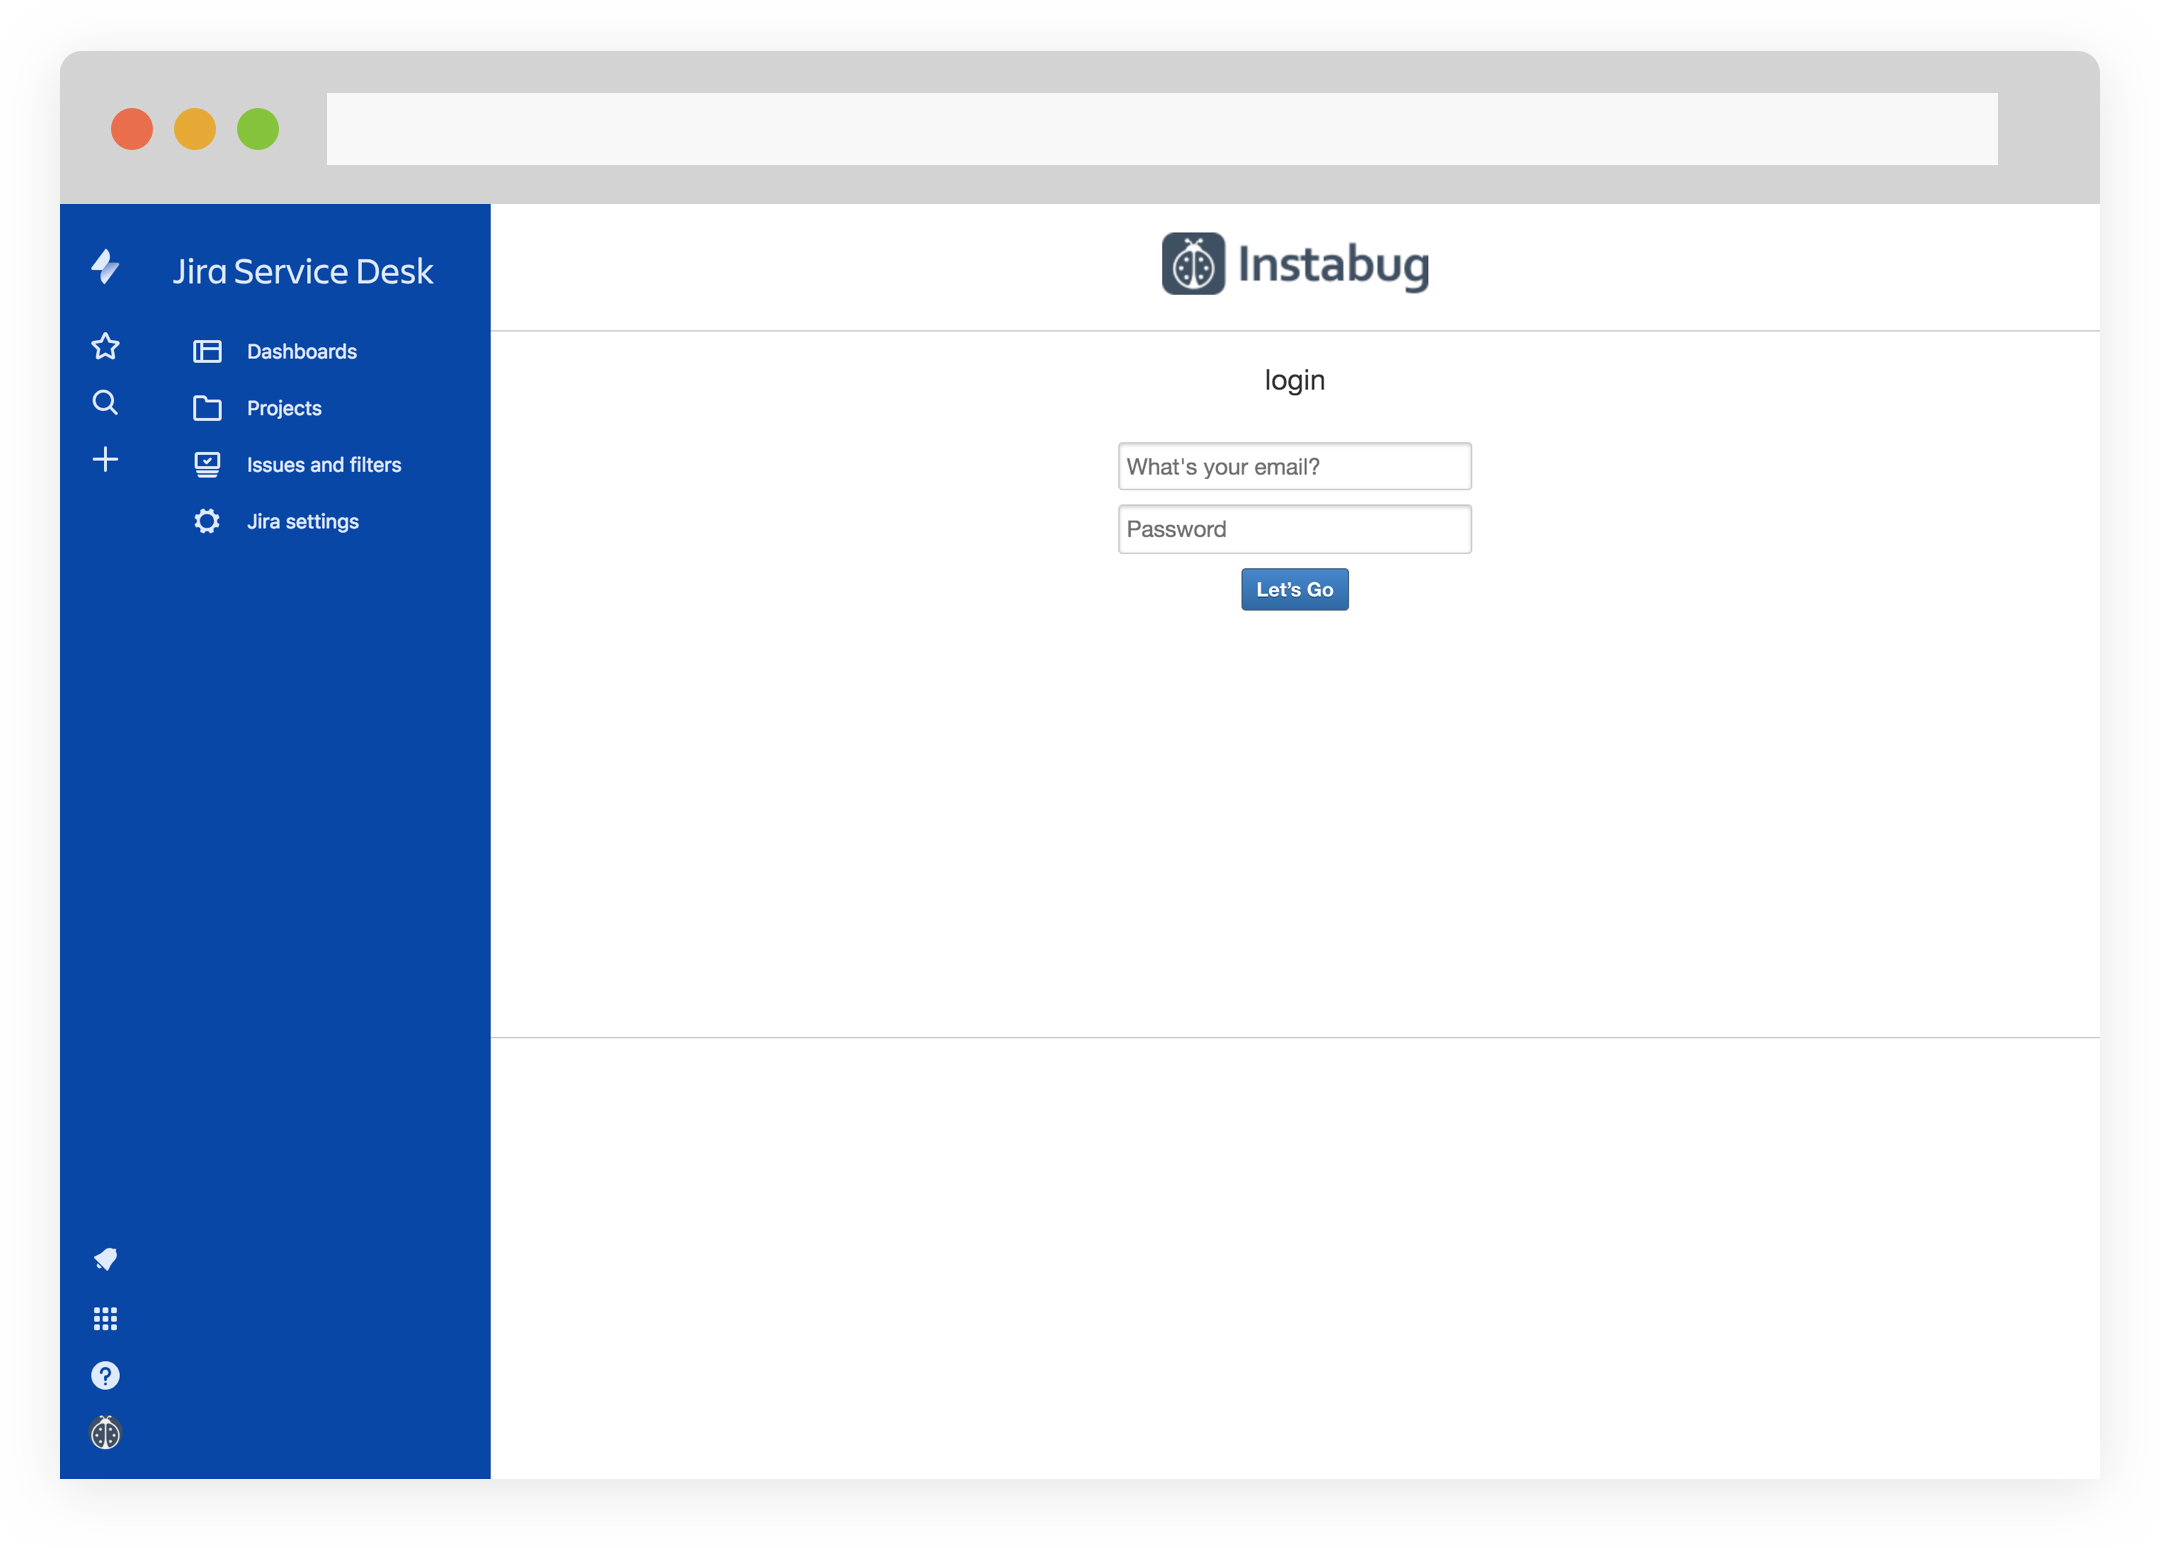
- You will be asked to enter your Instabug credentials.
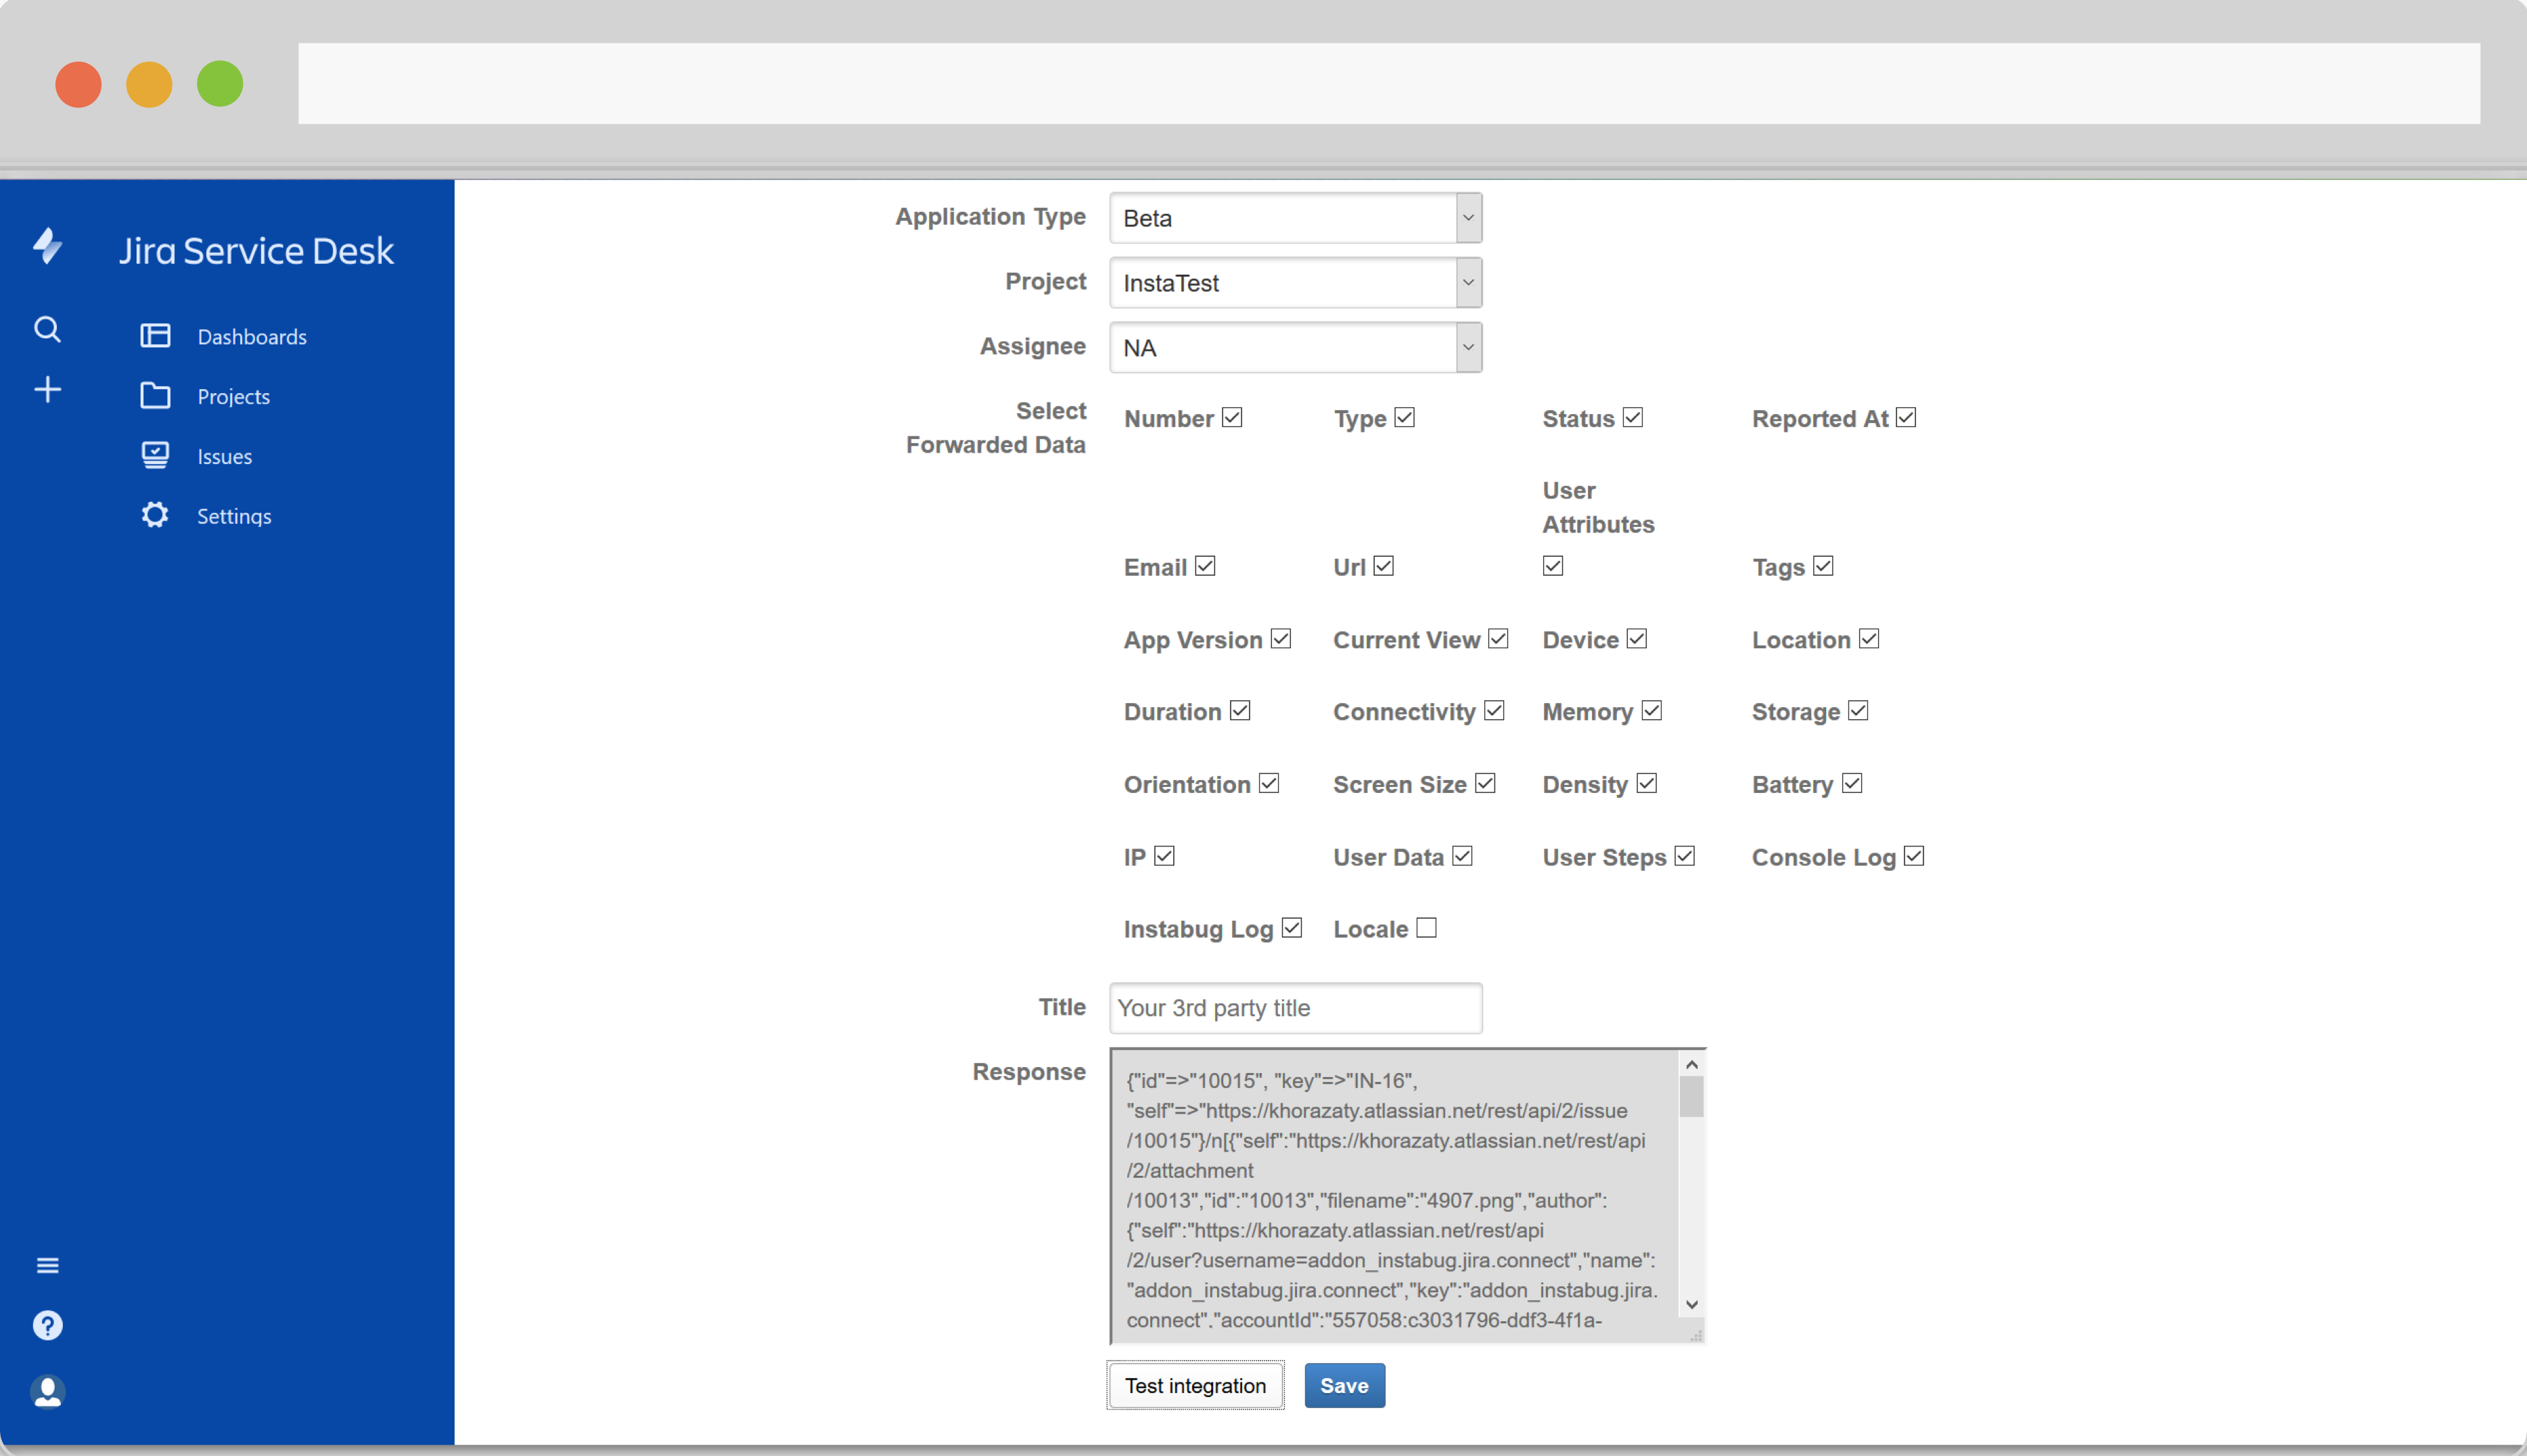
- Pick the Application, its Type, your Jira project, and the Assignee.
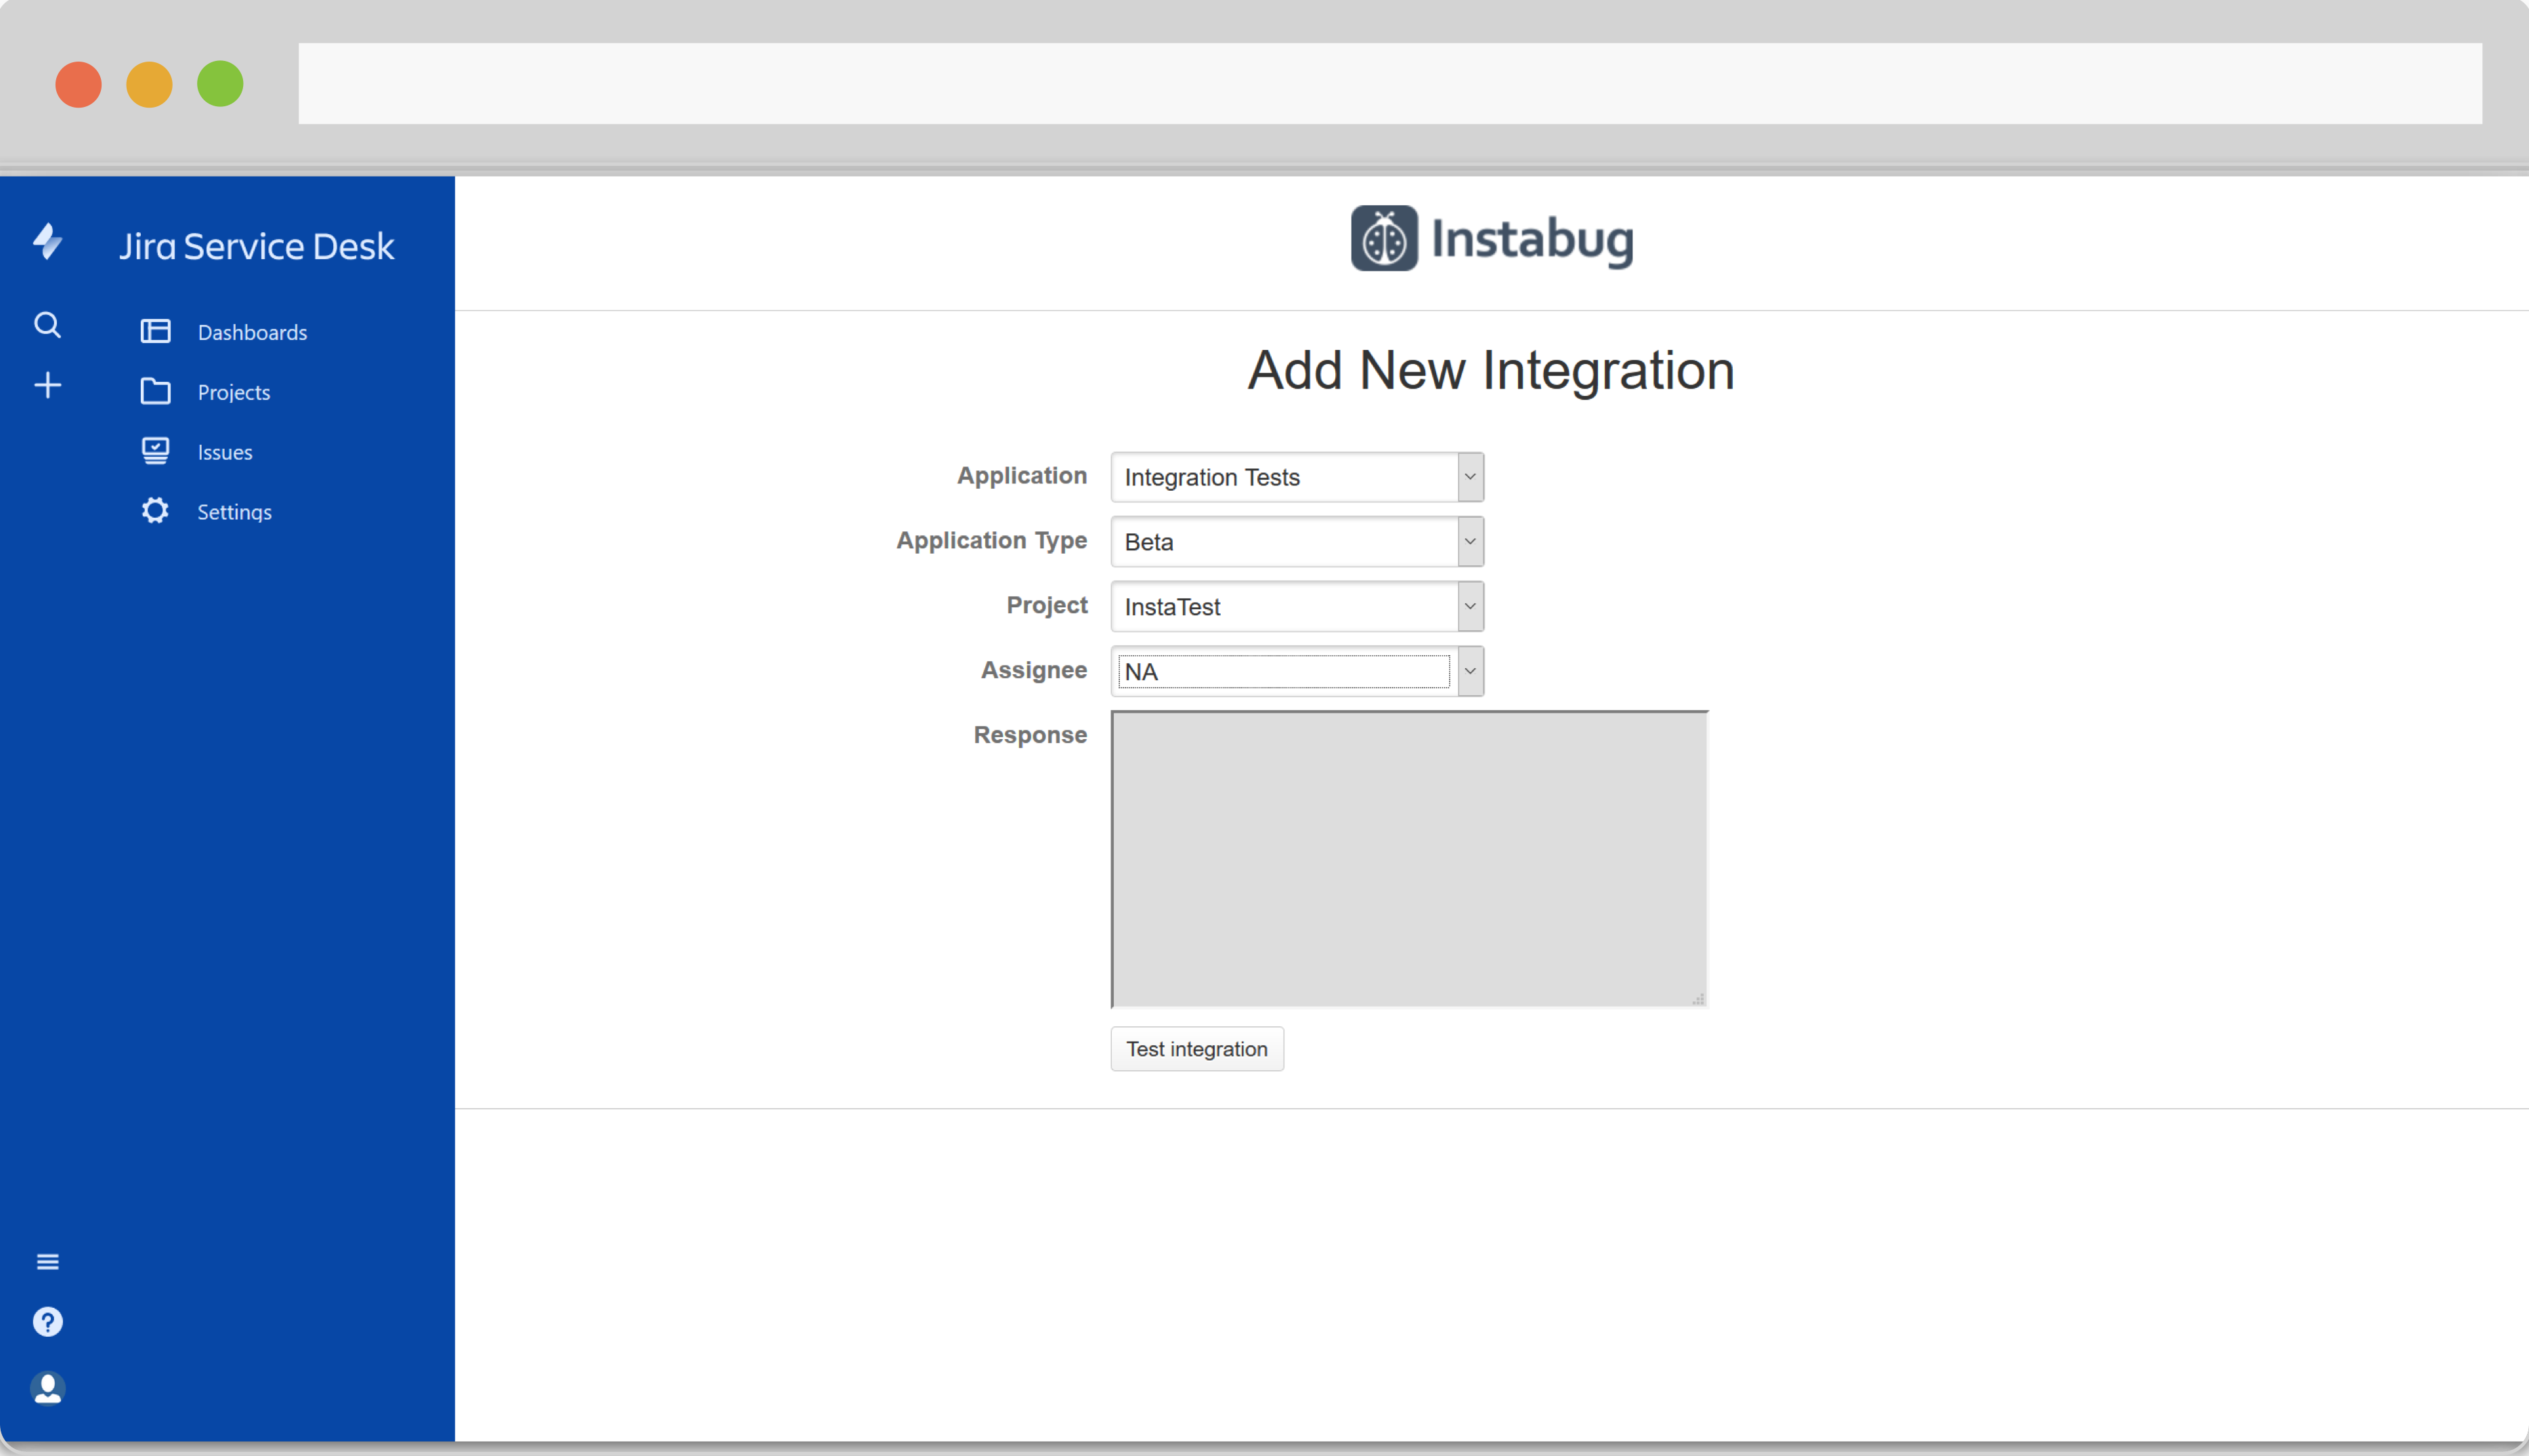
- Lastly, click on Test integration, then click on Save once the integration is successful.
Integrate through Instabug
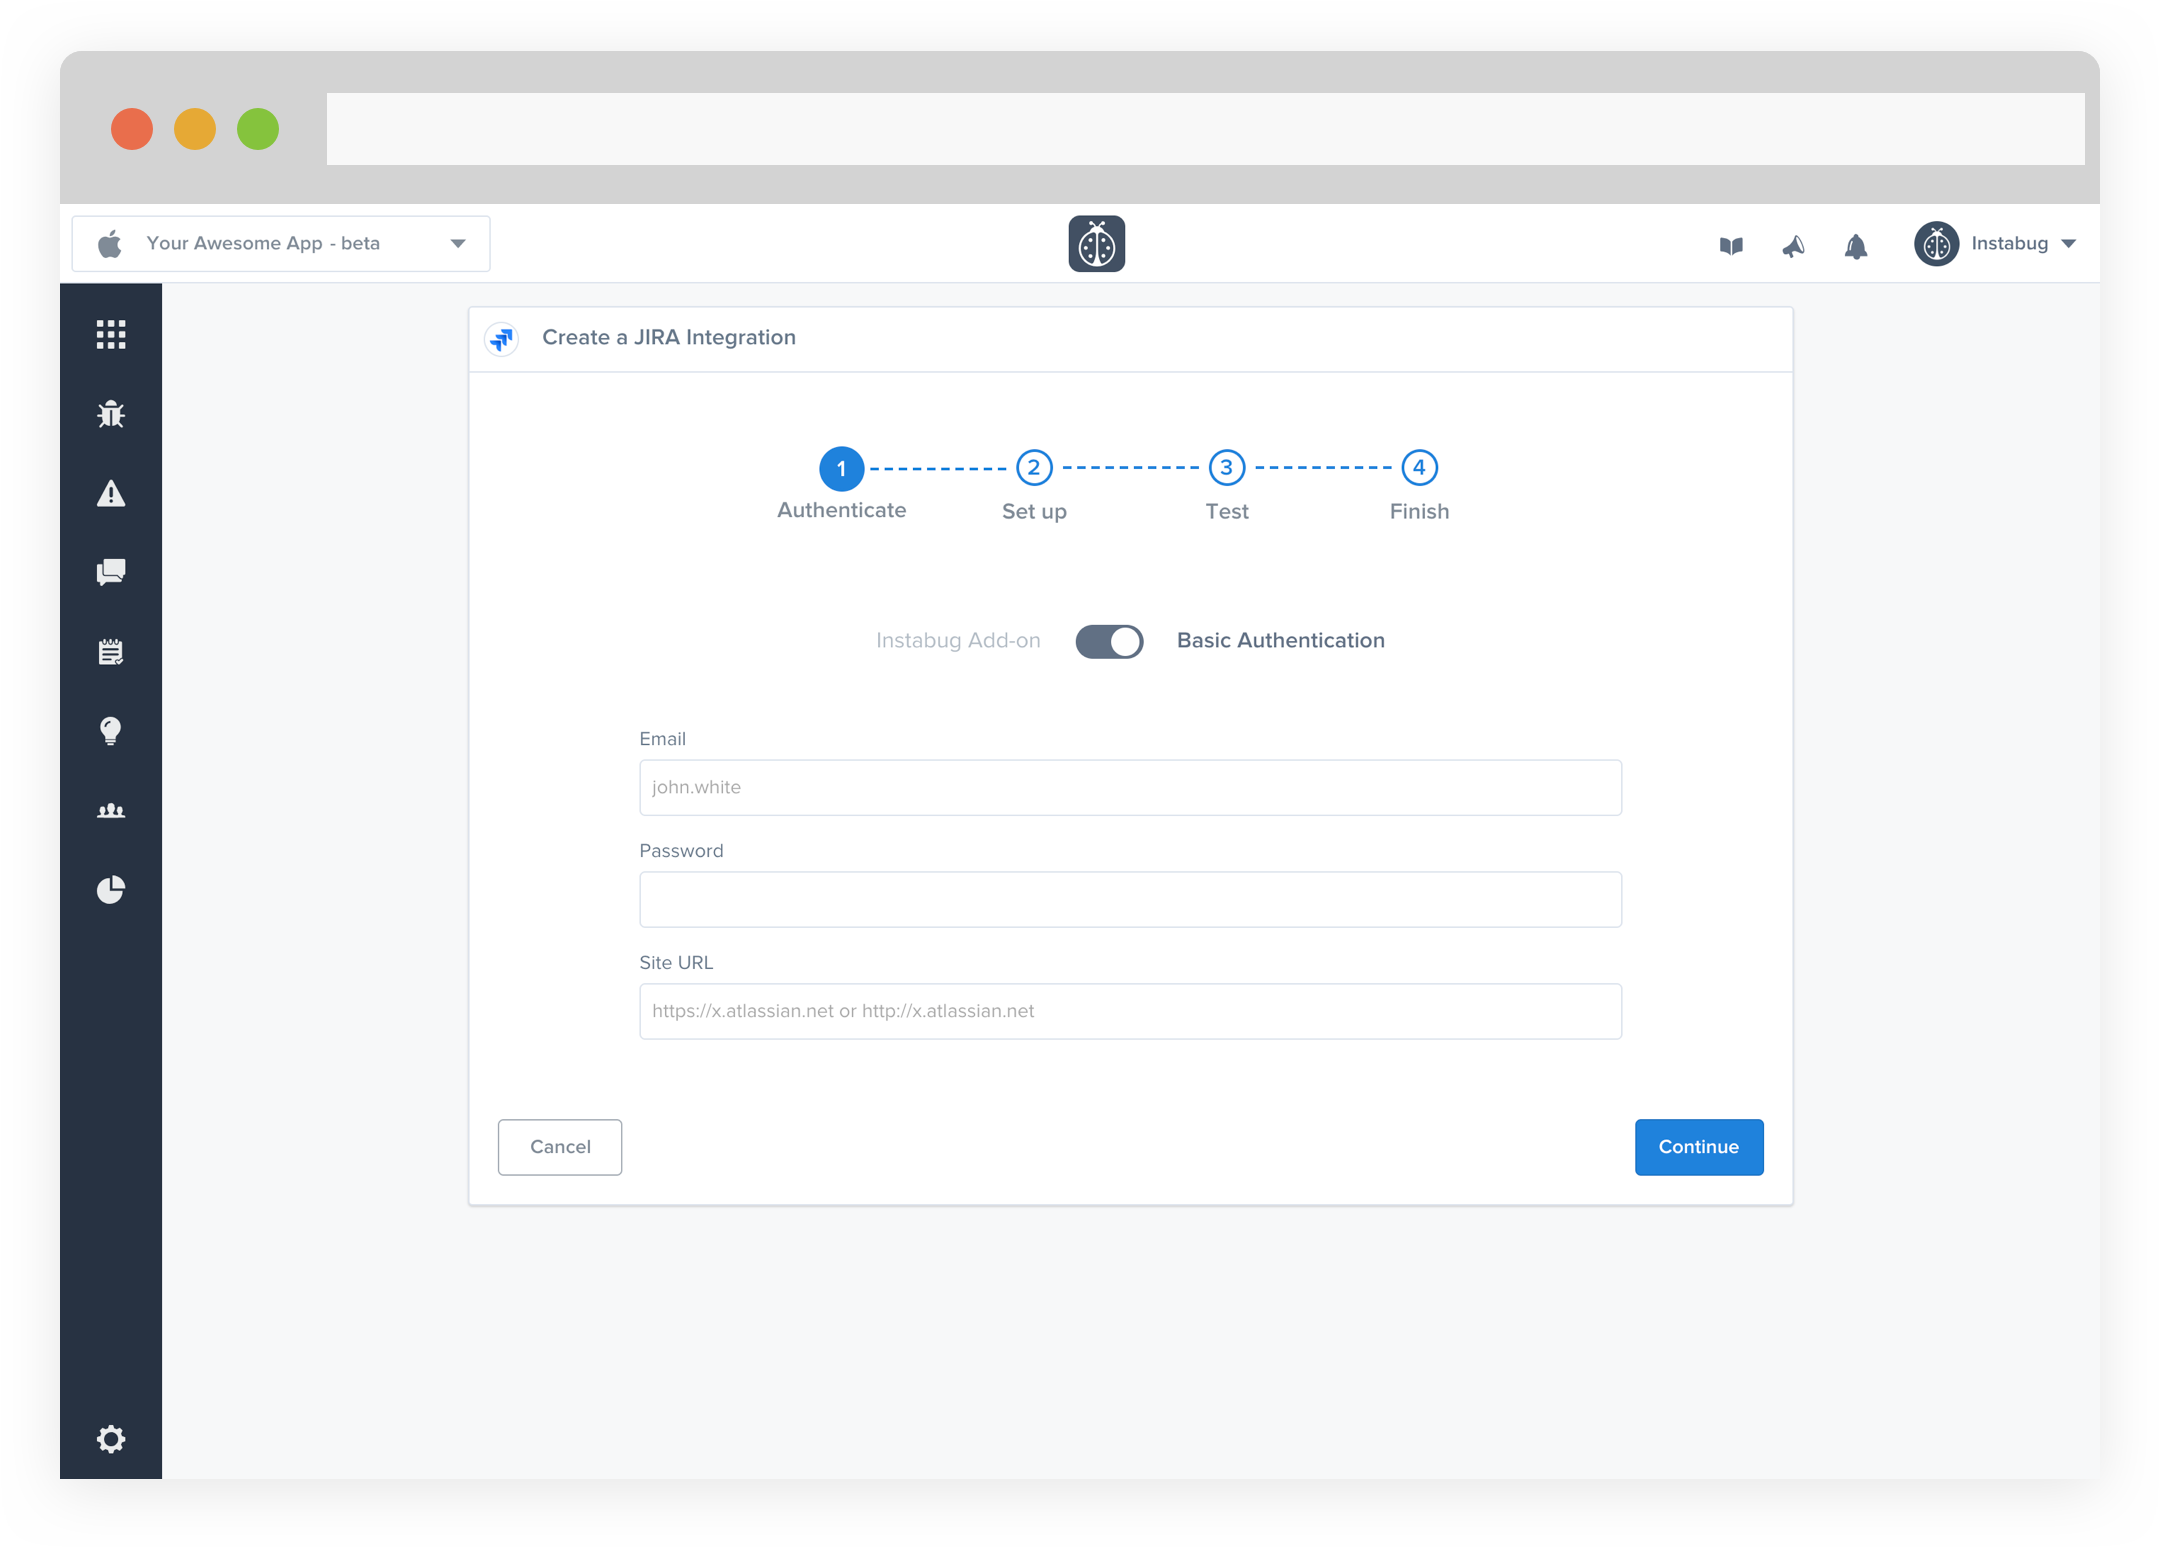
- Insert your Jira credentials and URL.
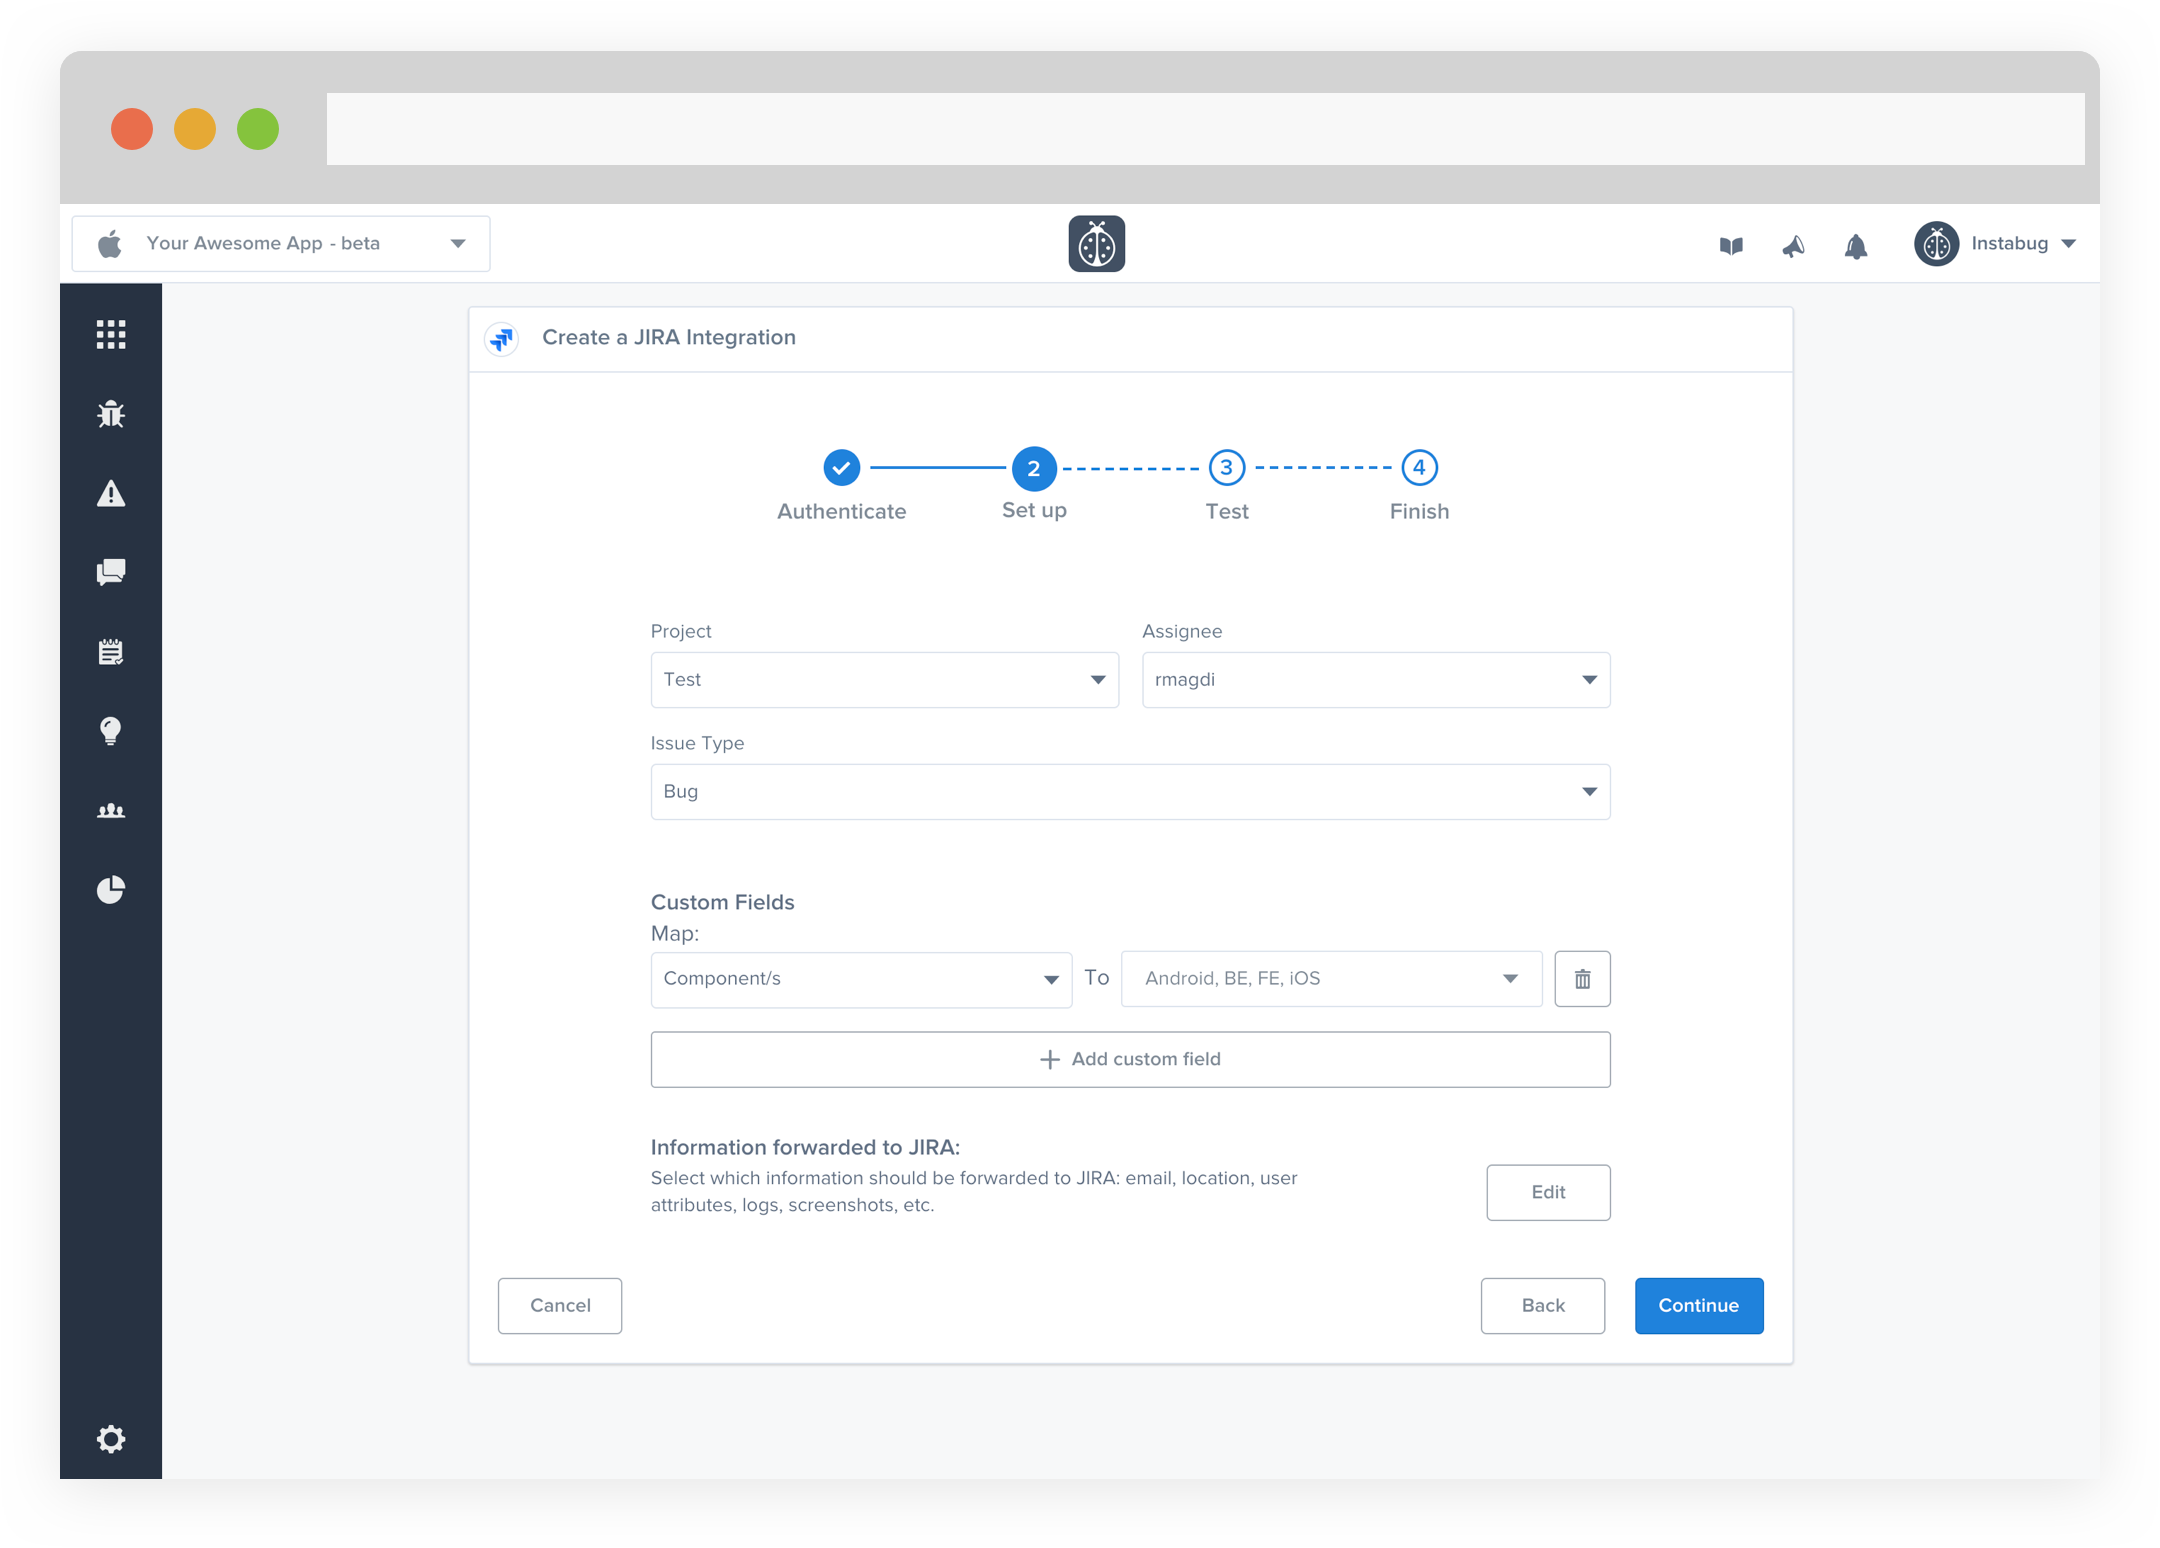
- Pick the project you want to forward to as well as the assignee. Fields can be mapped from Instabug to Jira fields. You can also choose which information is forwarded from your Instabug dashboard to Jira.
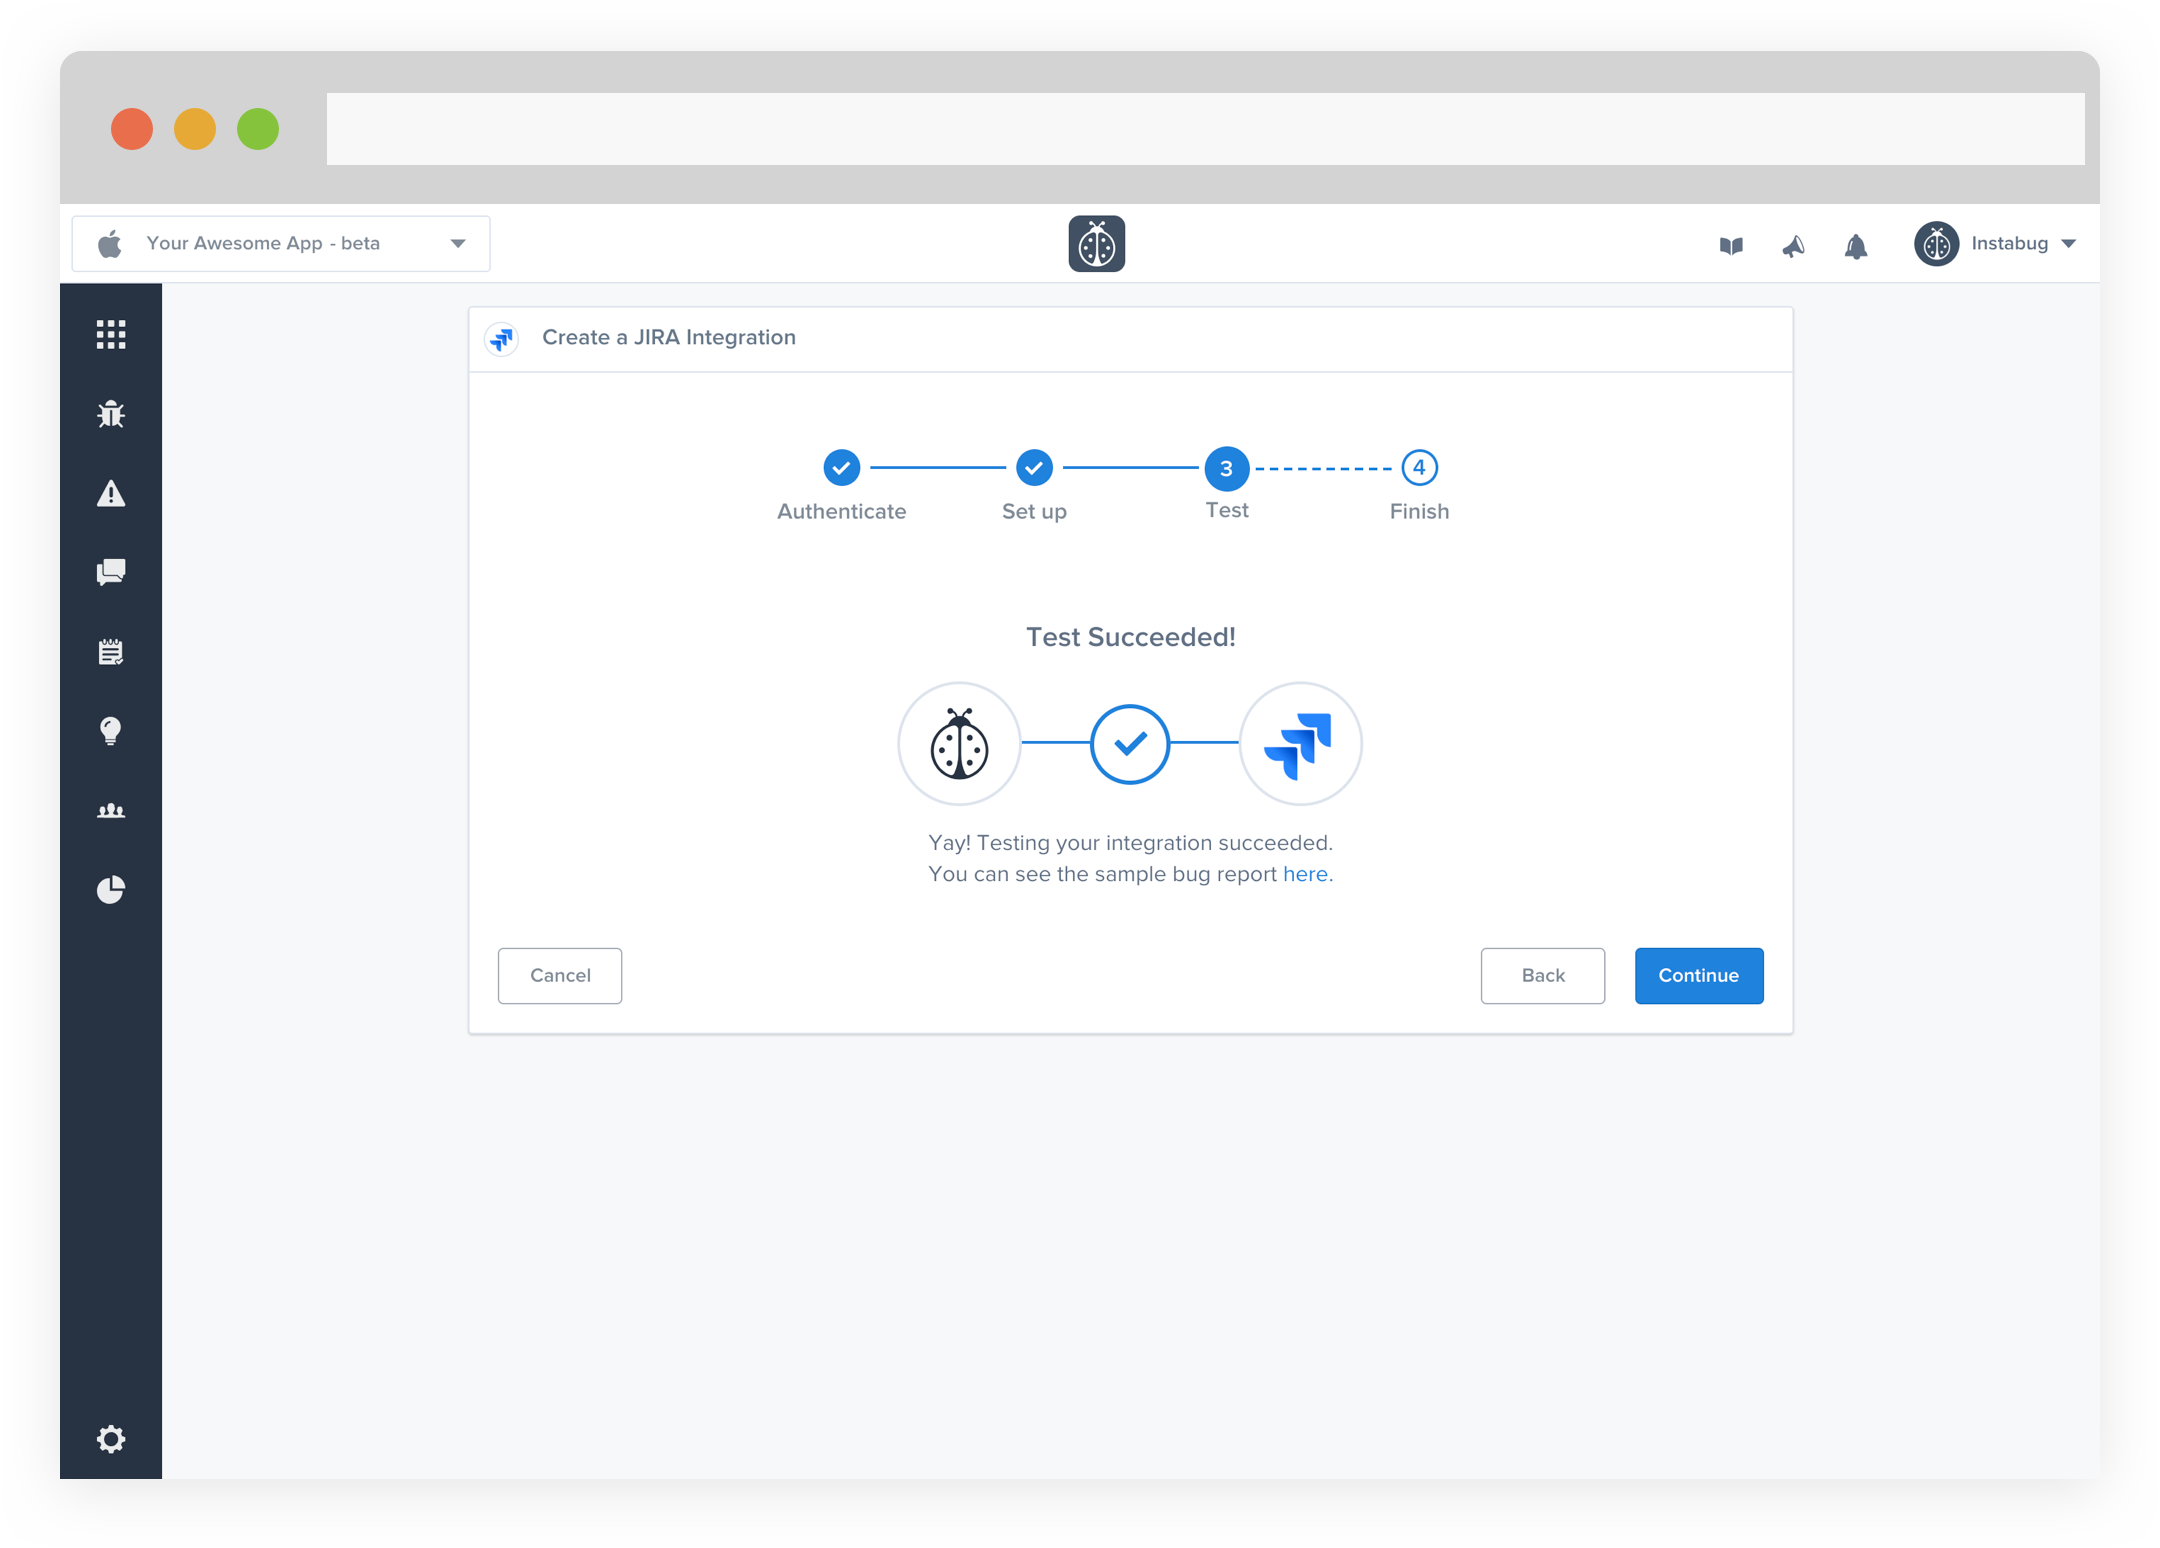
- At this point, we just need to test your integration so that we're sure everything is working smoothly.
- All done! You're integration is now set-up and ready to go. From this final page, you can allow two-way integration (if Instabug is already installed on your Jira dashboard) and allow for automatic forwarding (don't worry though, these can be reconfigured at any time!)
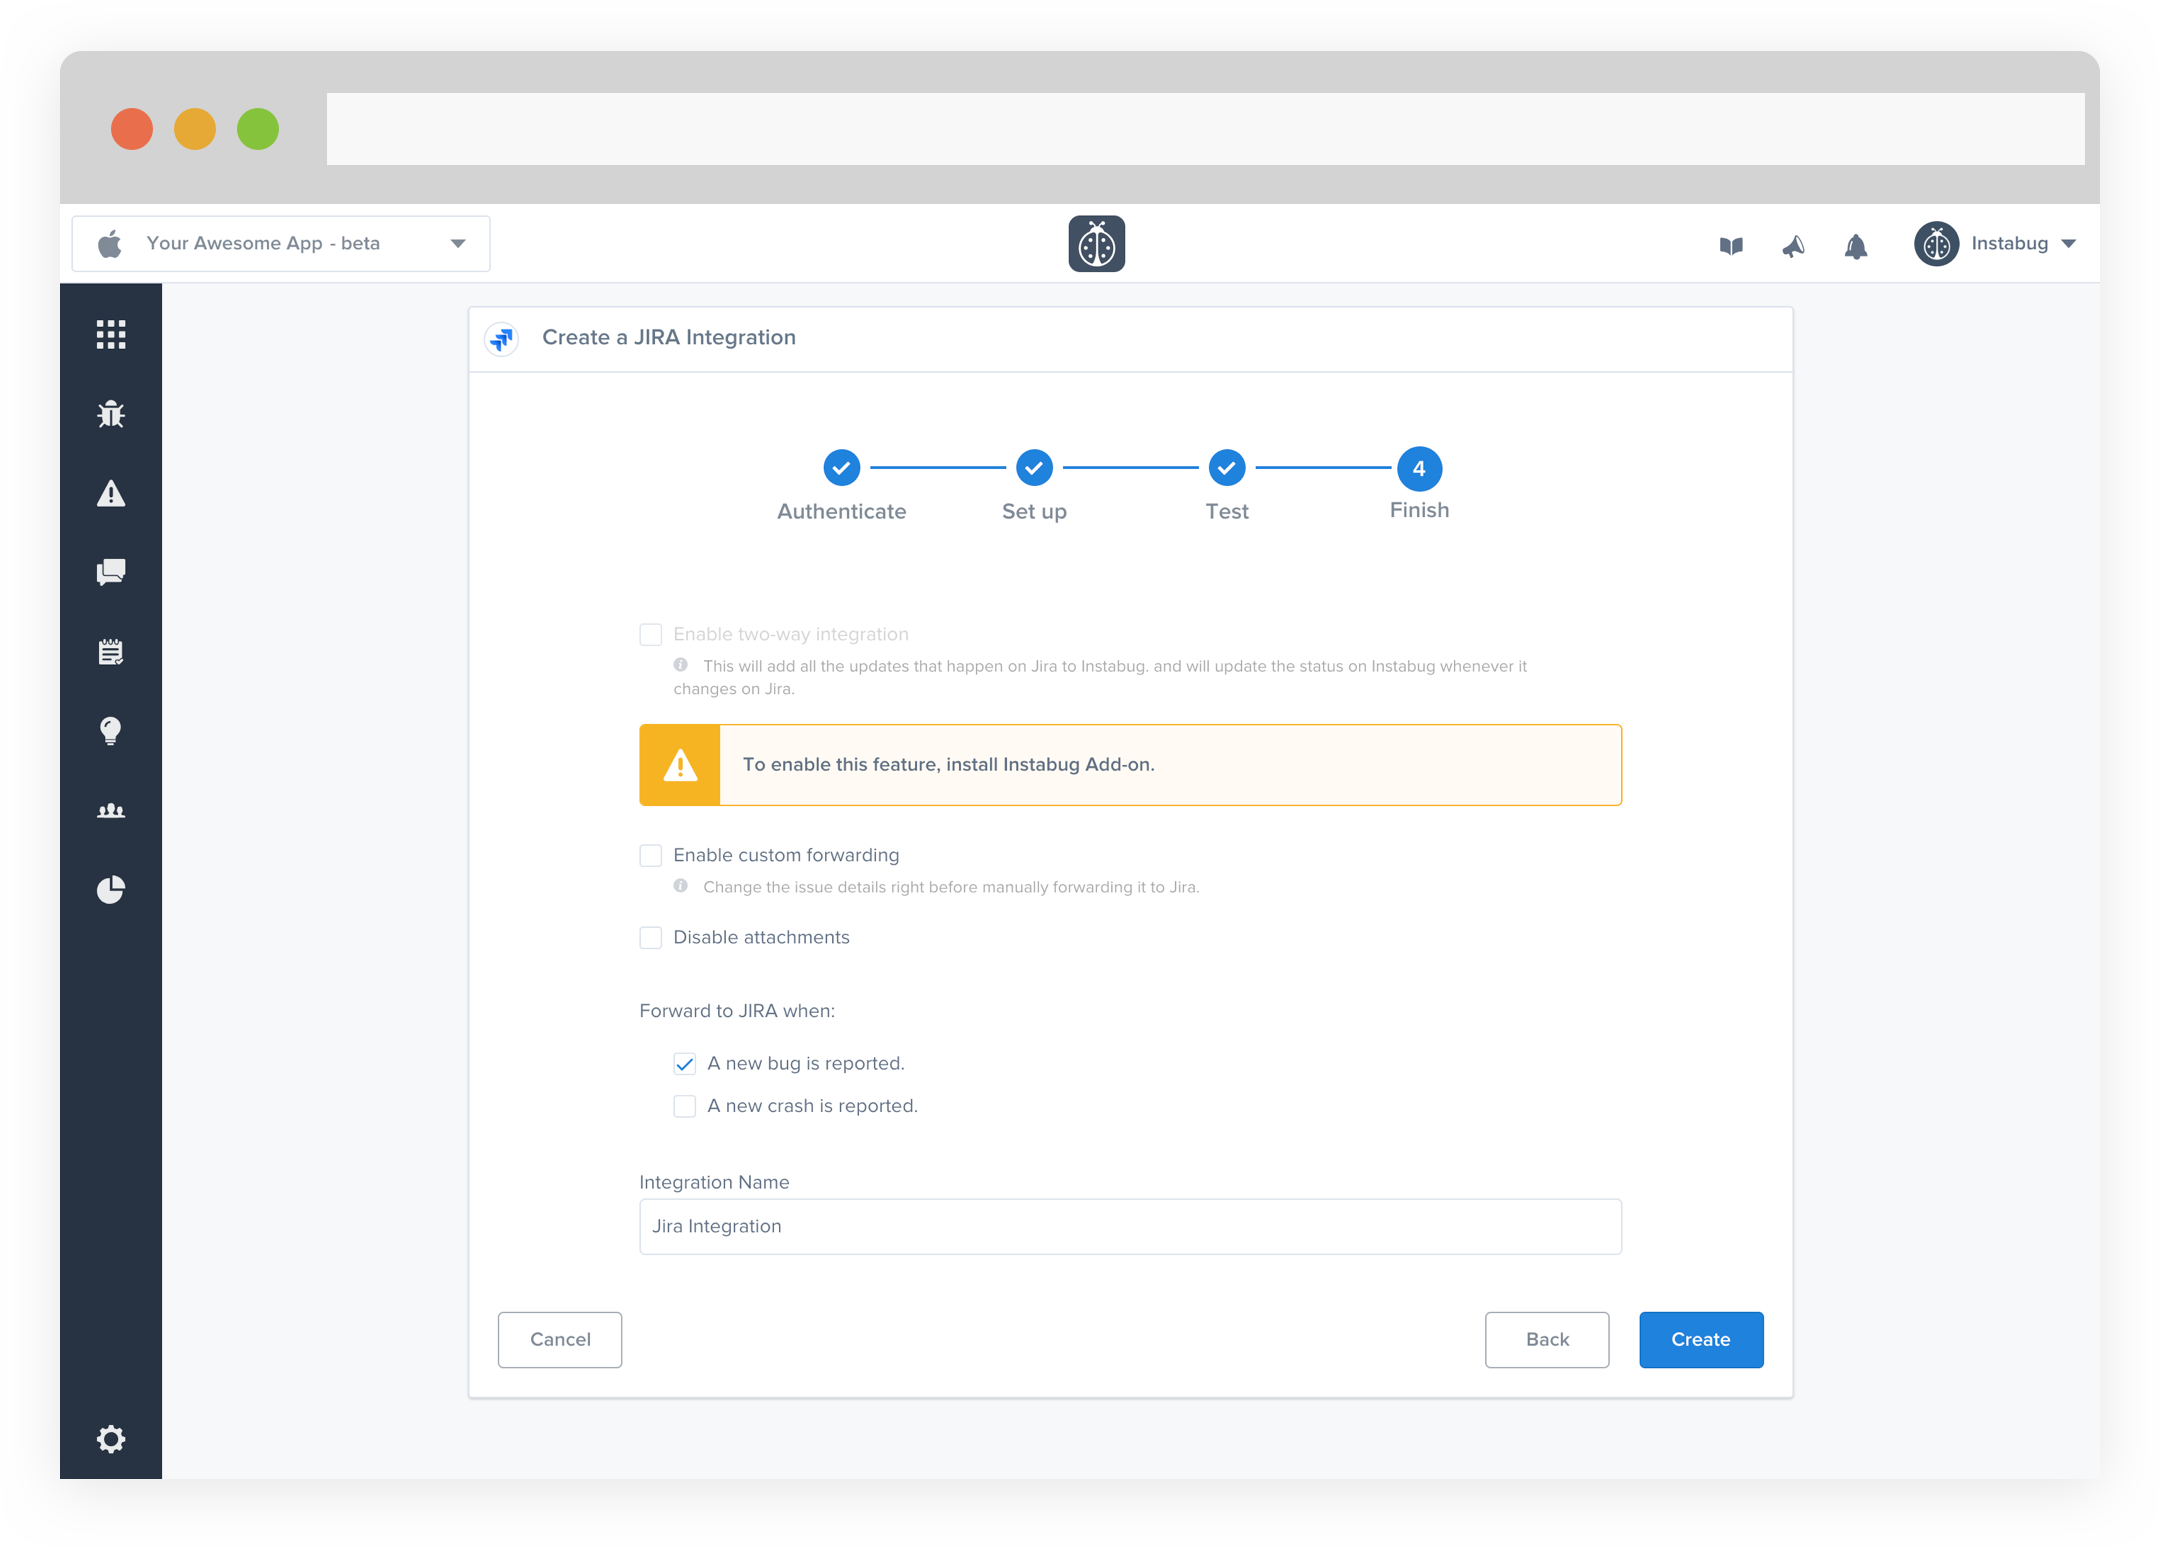
- Start receiving issues on the spot on your Jira dashboard.
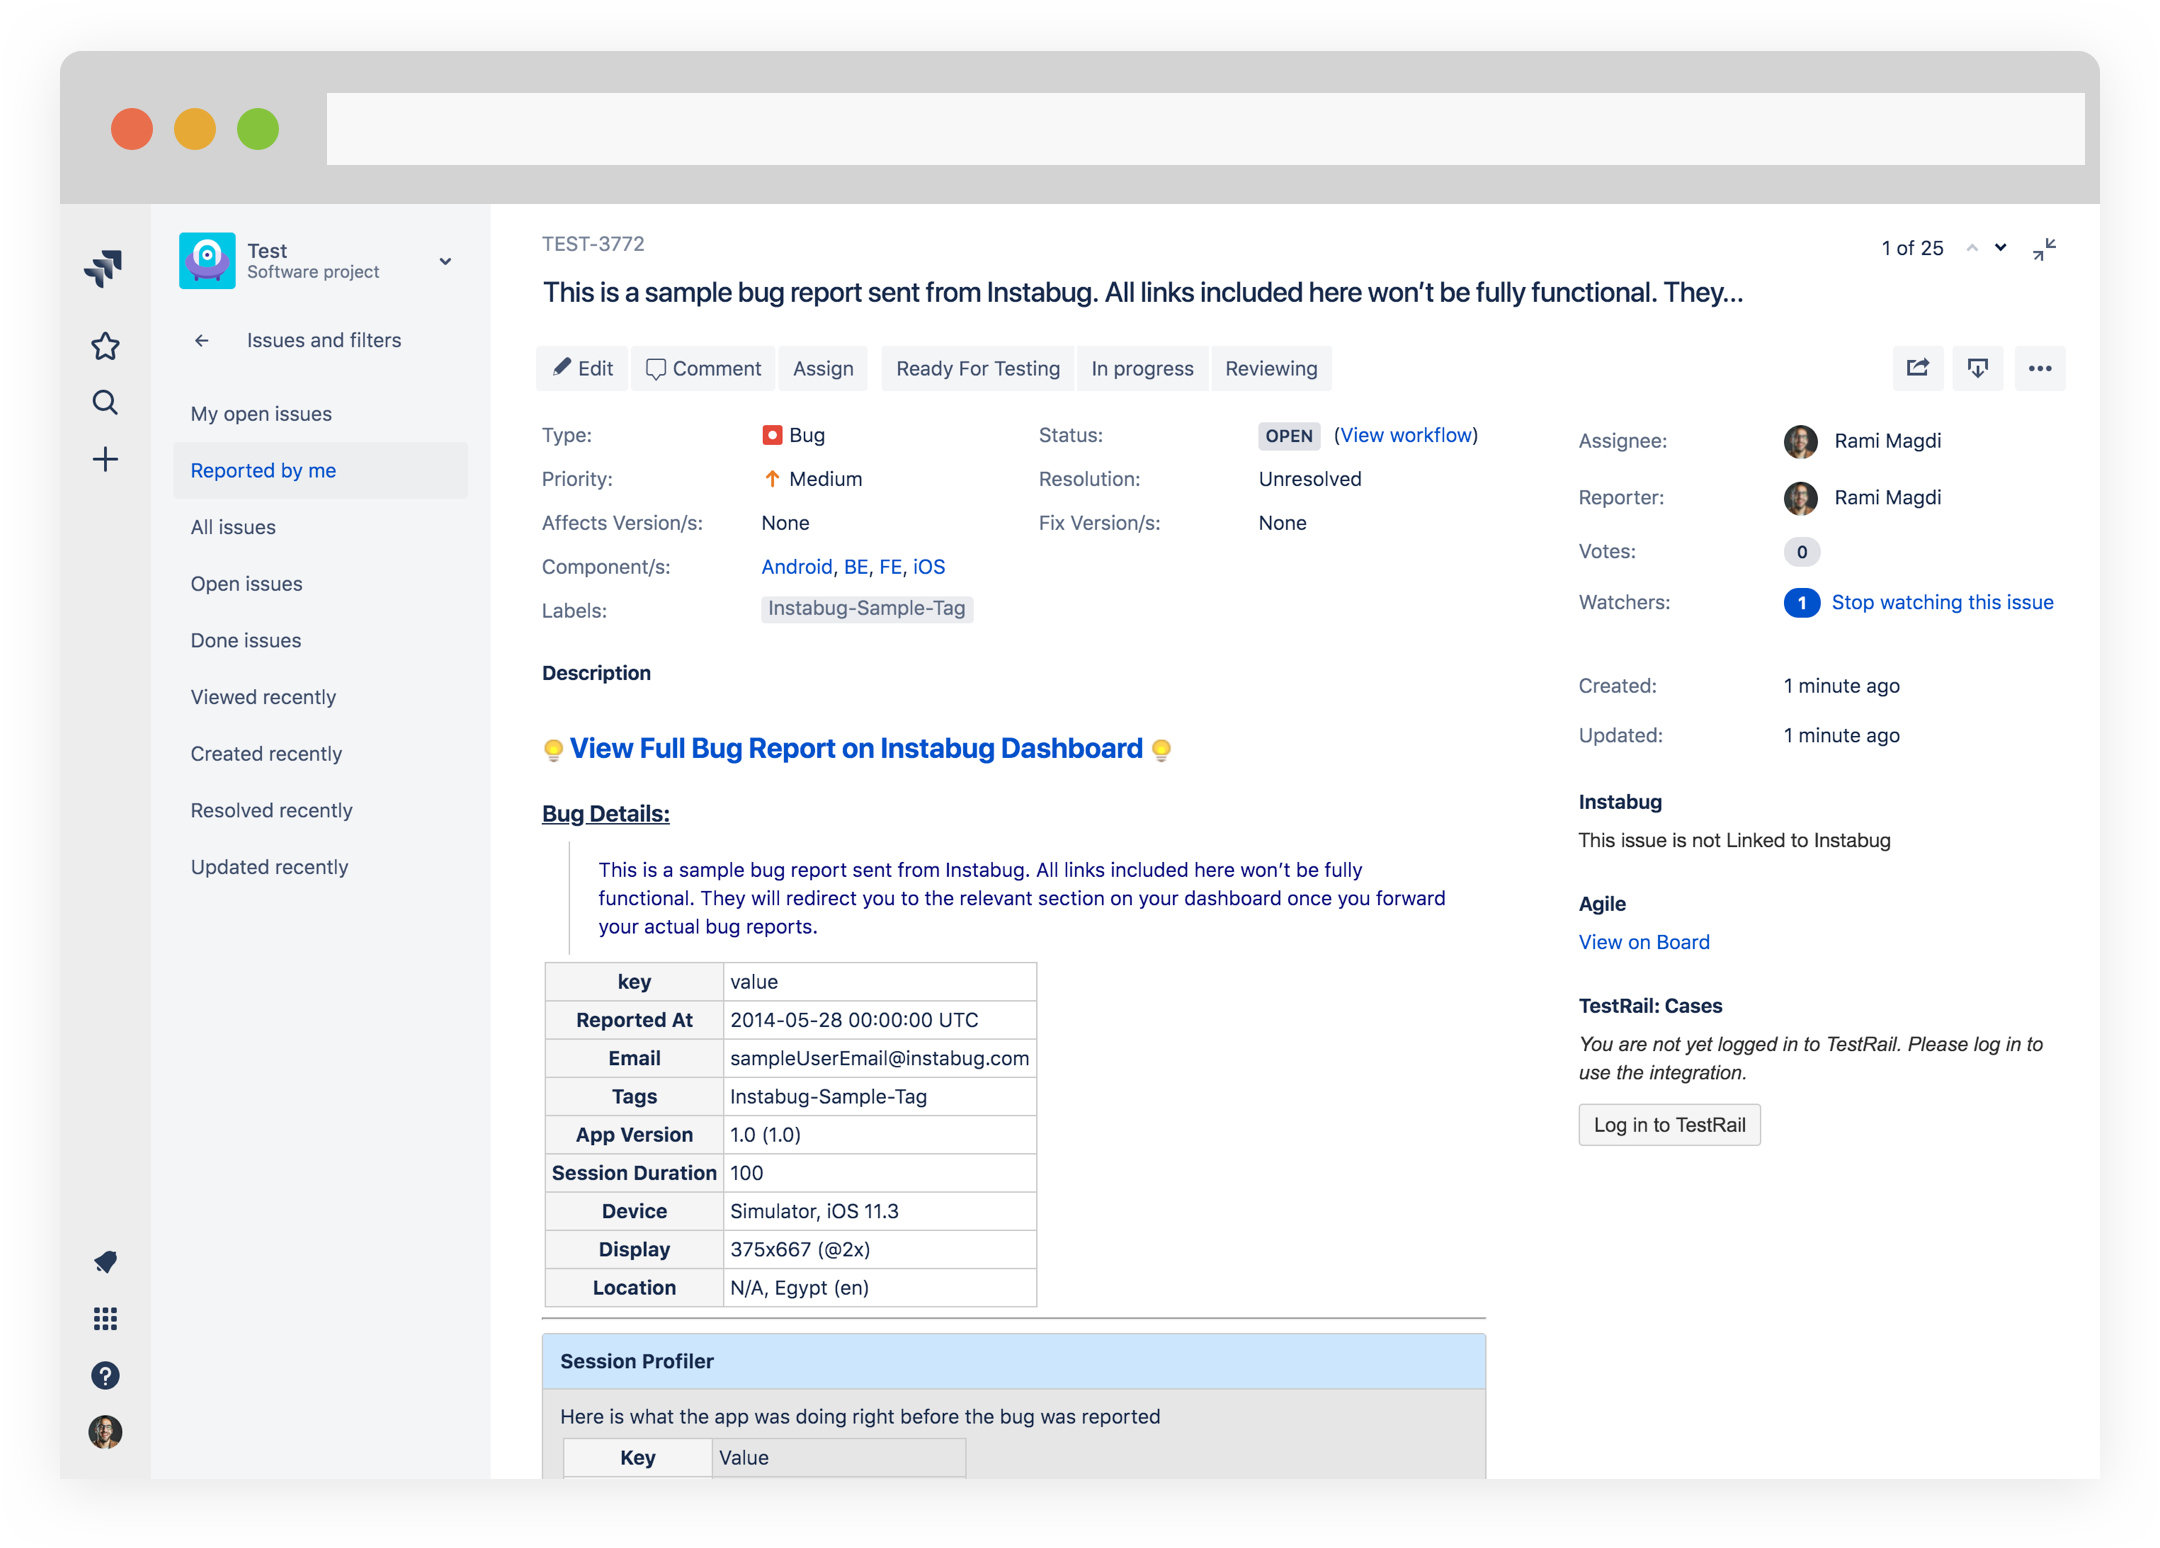
With this integration, bugs and feedback can be converted manually into issues on Jira with just a click.
Integrating Instabug with Slack is really simple. With a few clicks, you can be notified on Slack whenever you receive a new bug, feedback, crash or user reply.
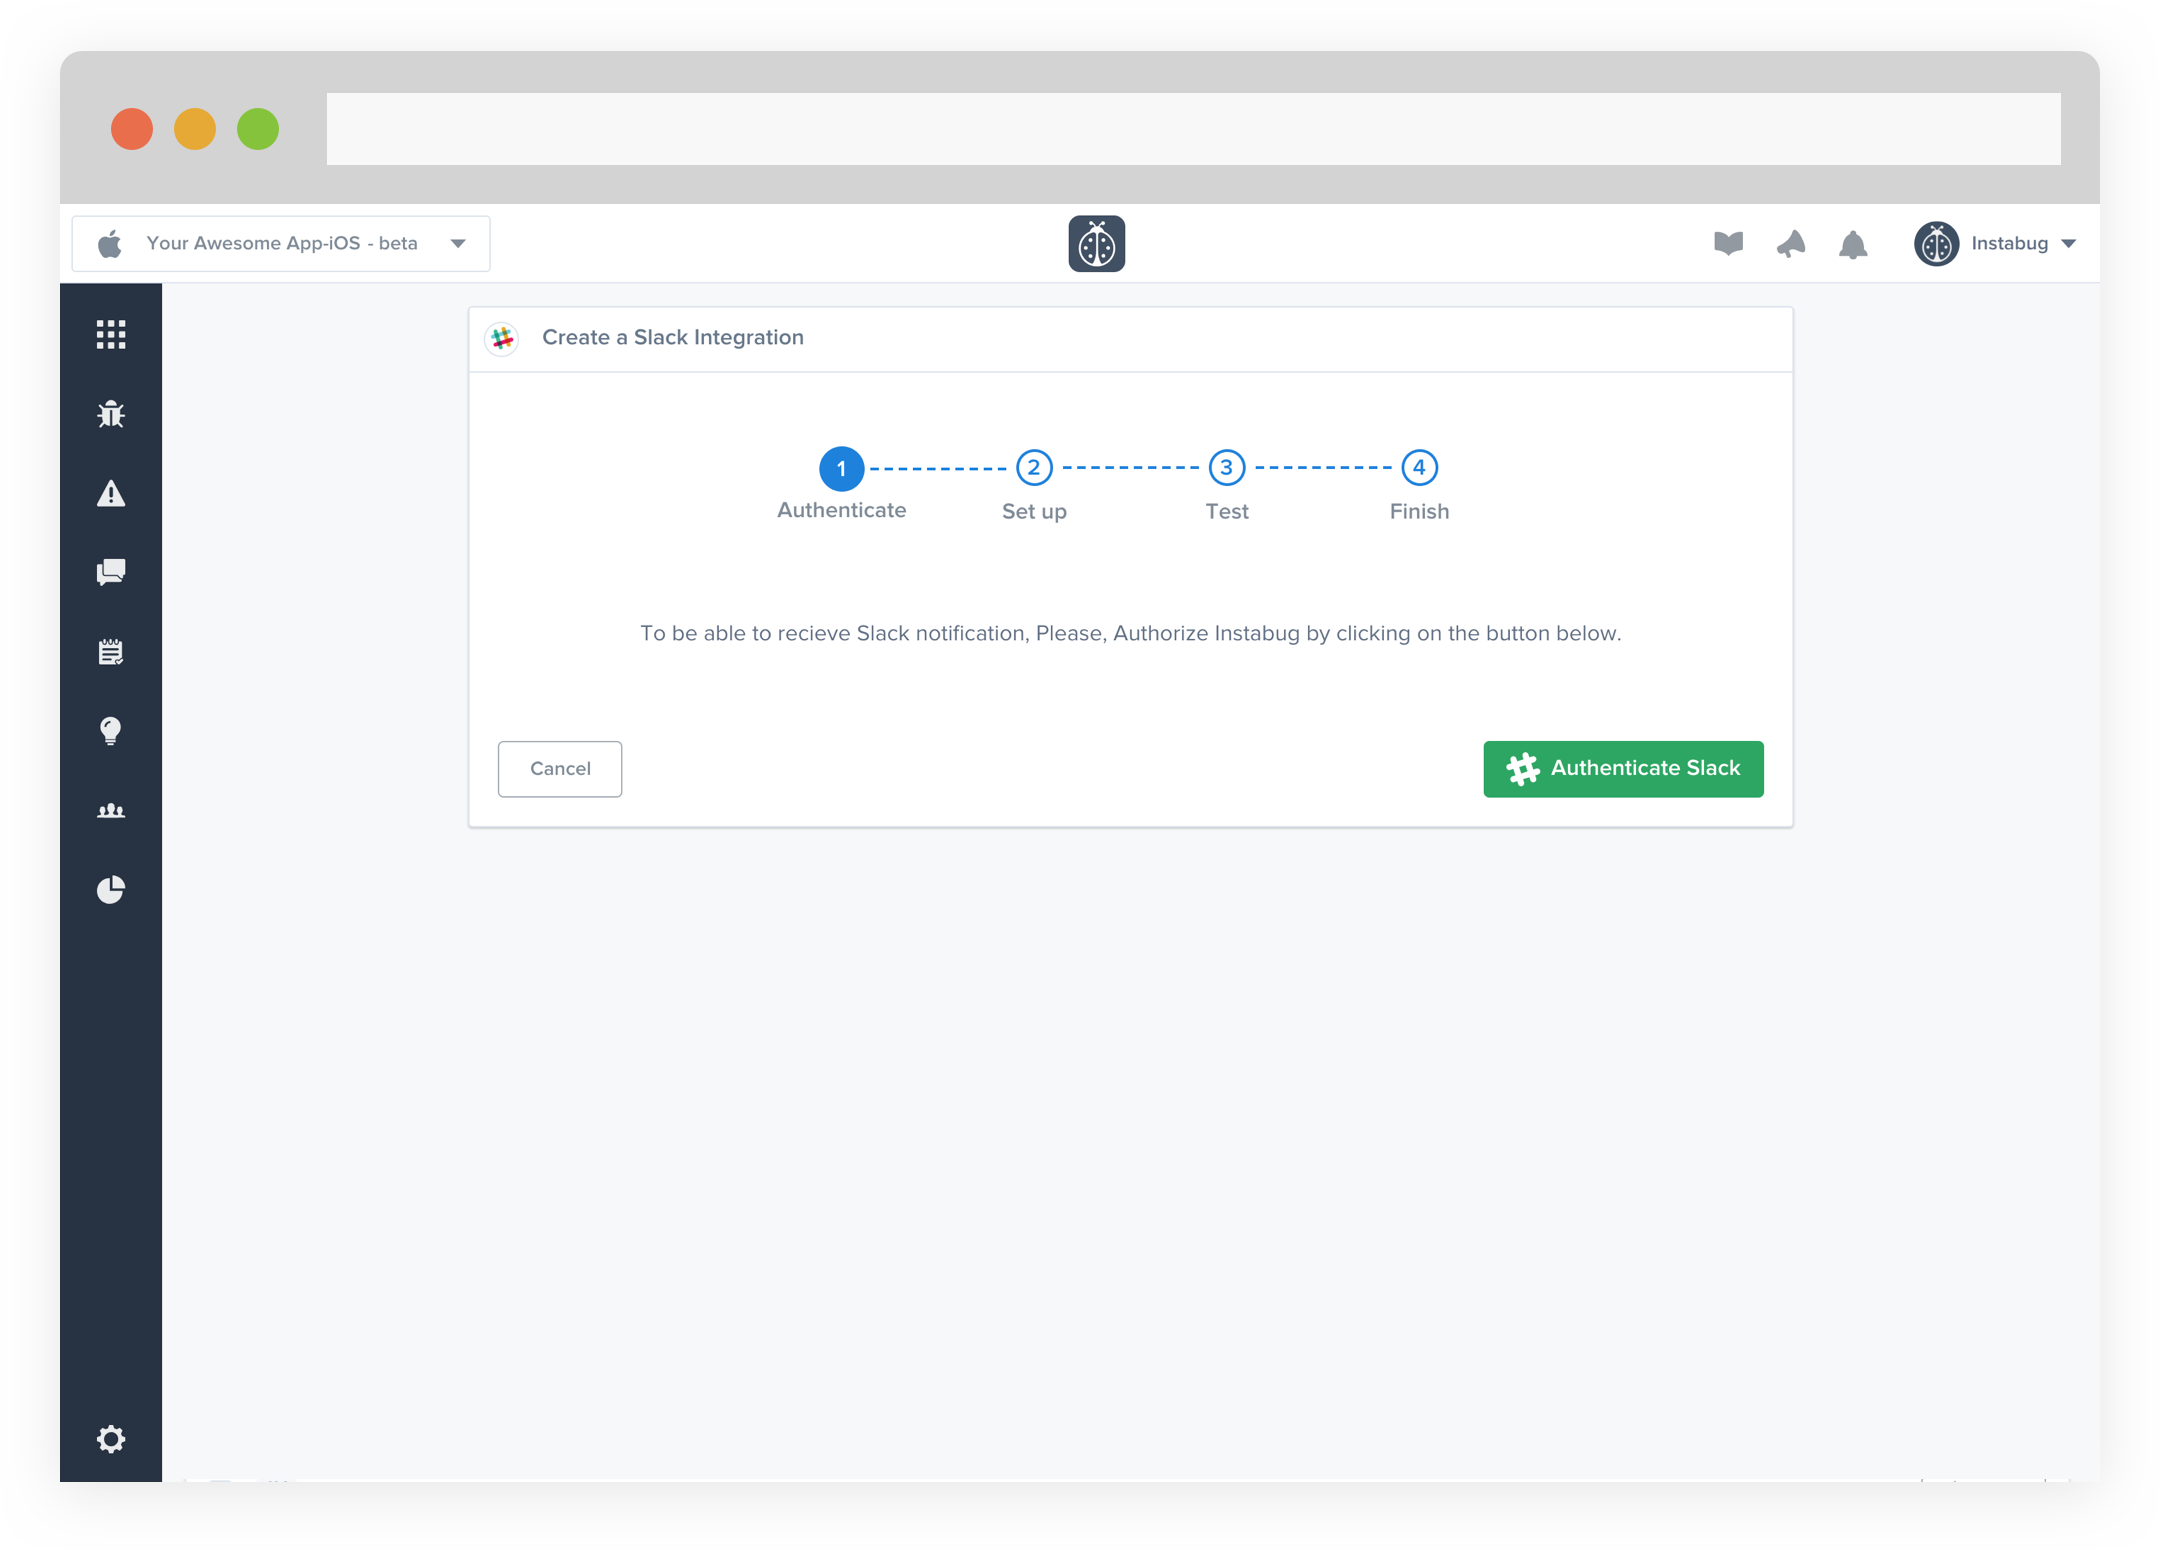
- Click on Authorize Slack to allow the integration between both Slack and Instabug. You will be redirected to Slack's authentication page.
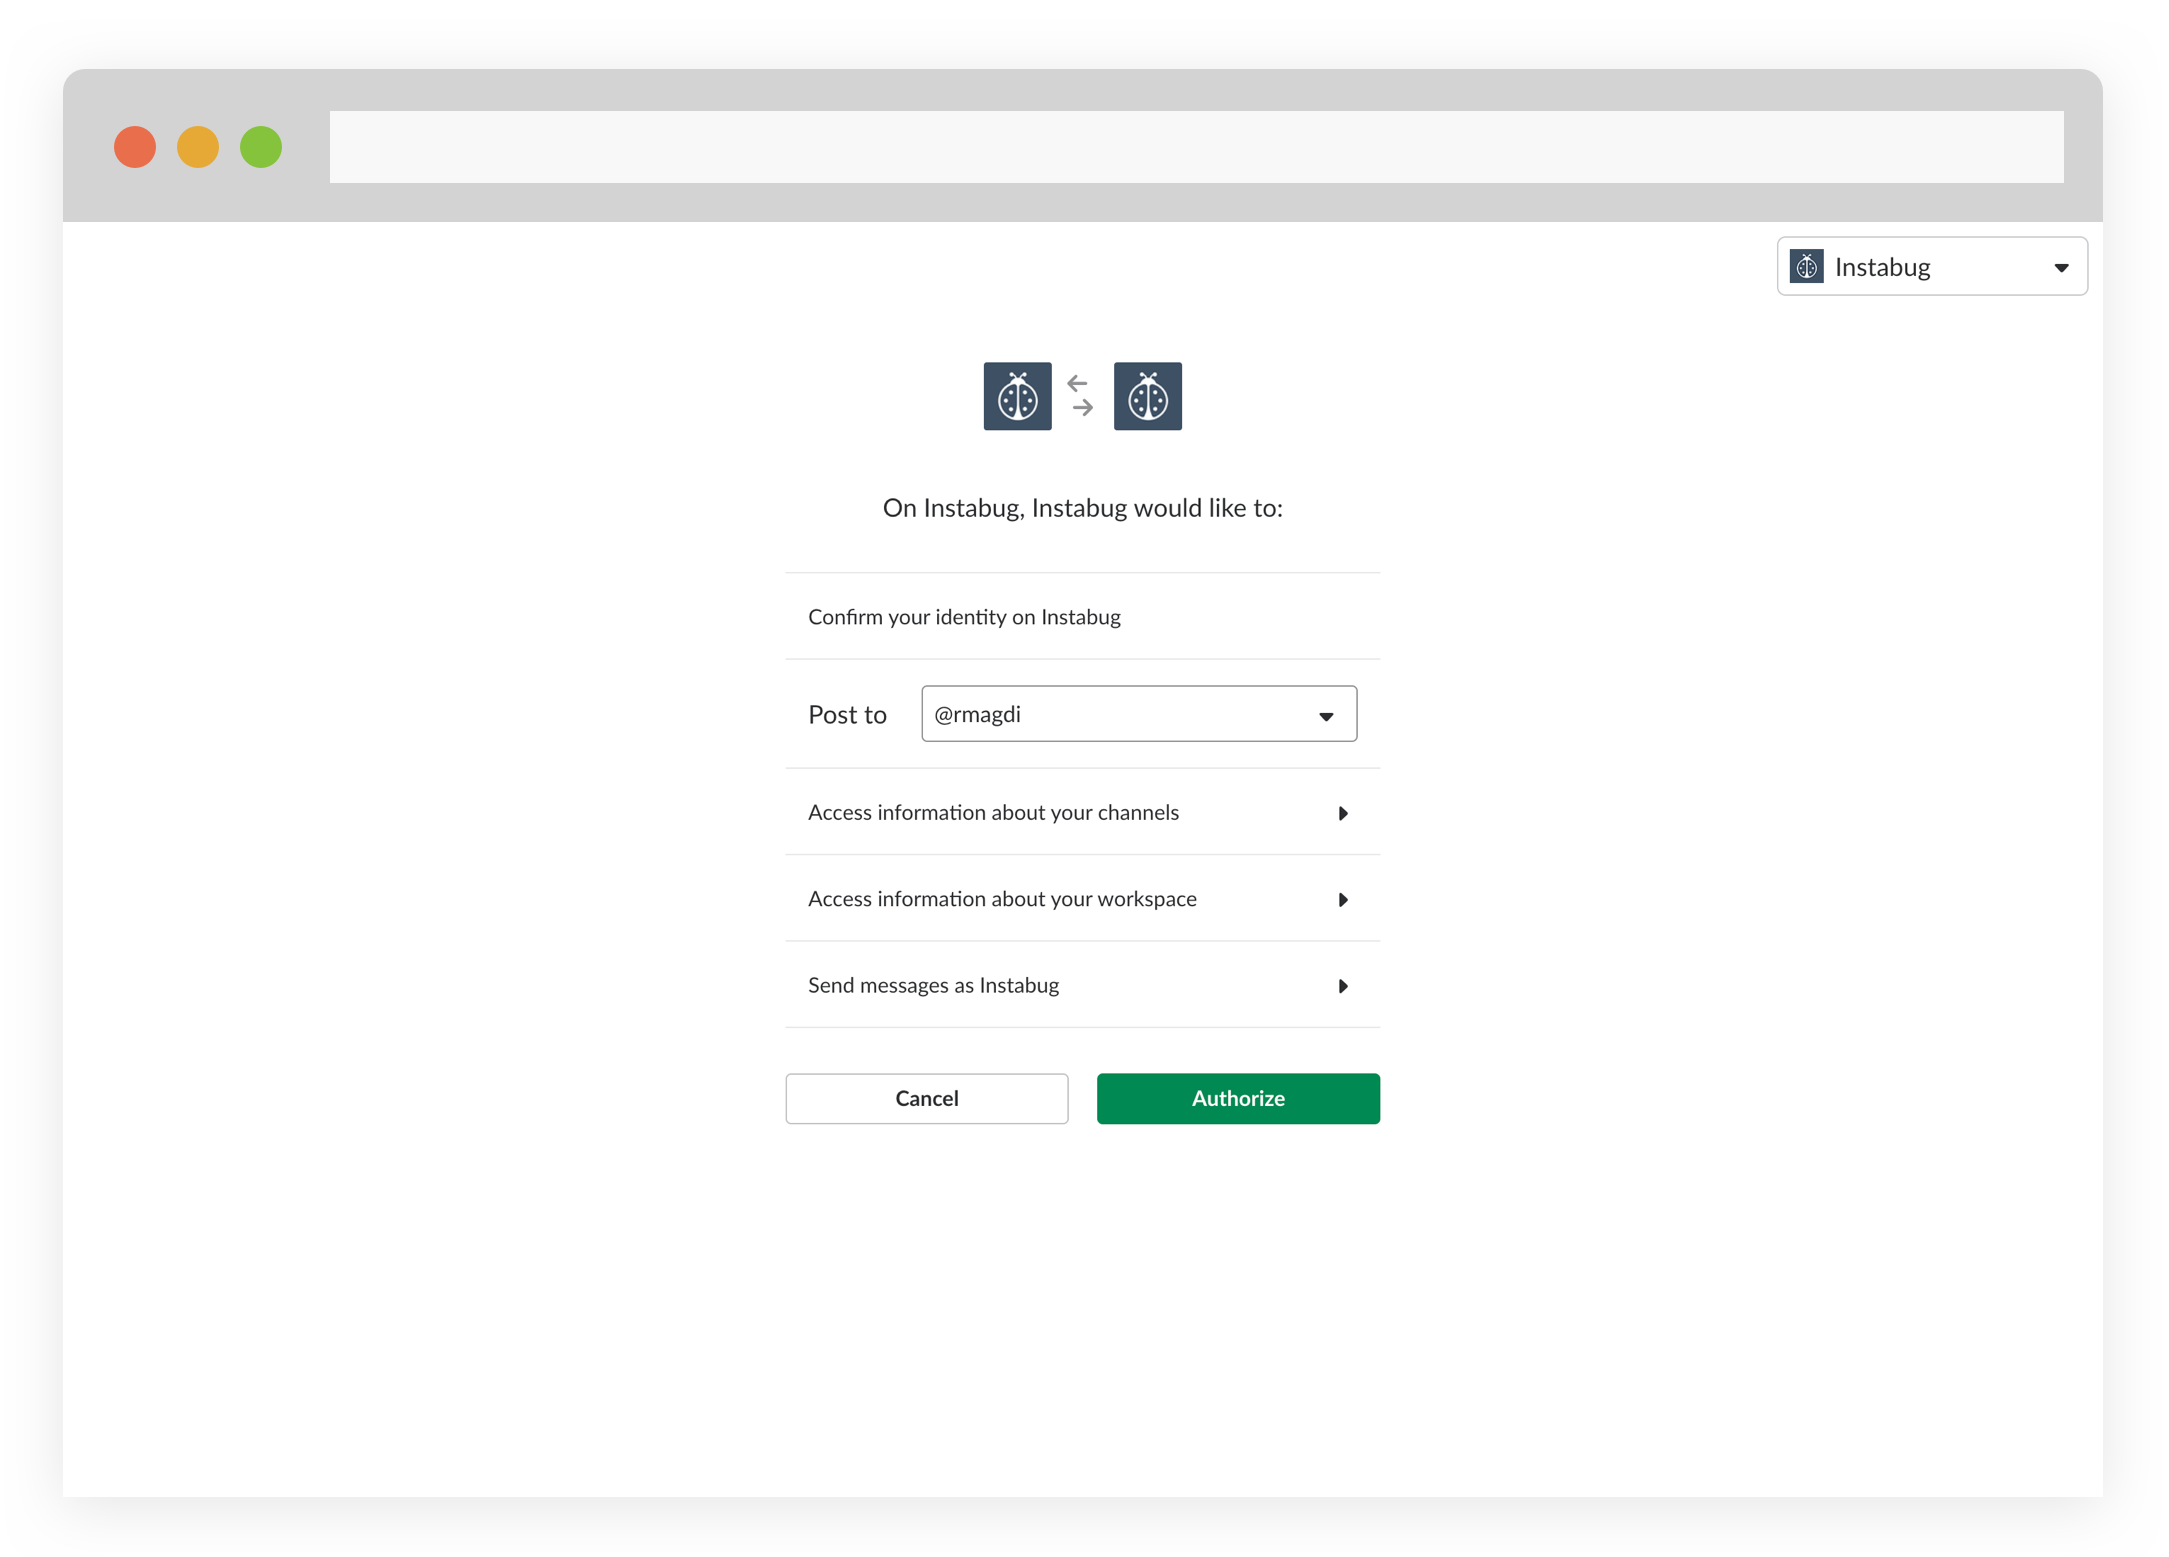
- Enter your Slack credentials then choose where to post to. When you're all done with the permissions, hit Authorize.
- At this point, we just need to test your integration so that we're sure everything is working smoothly.
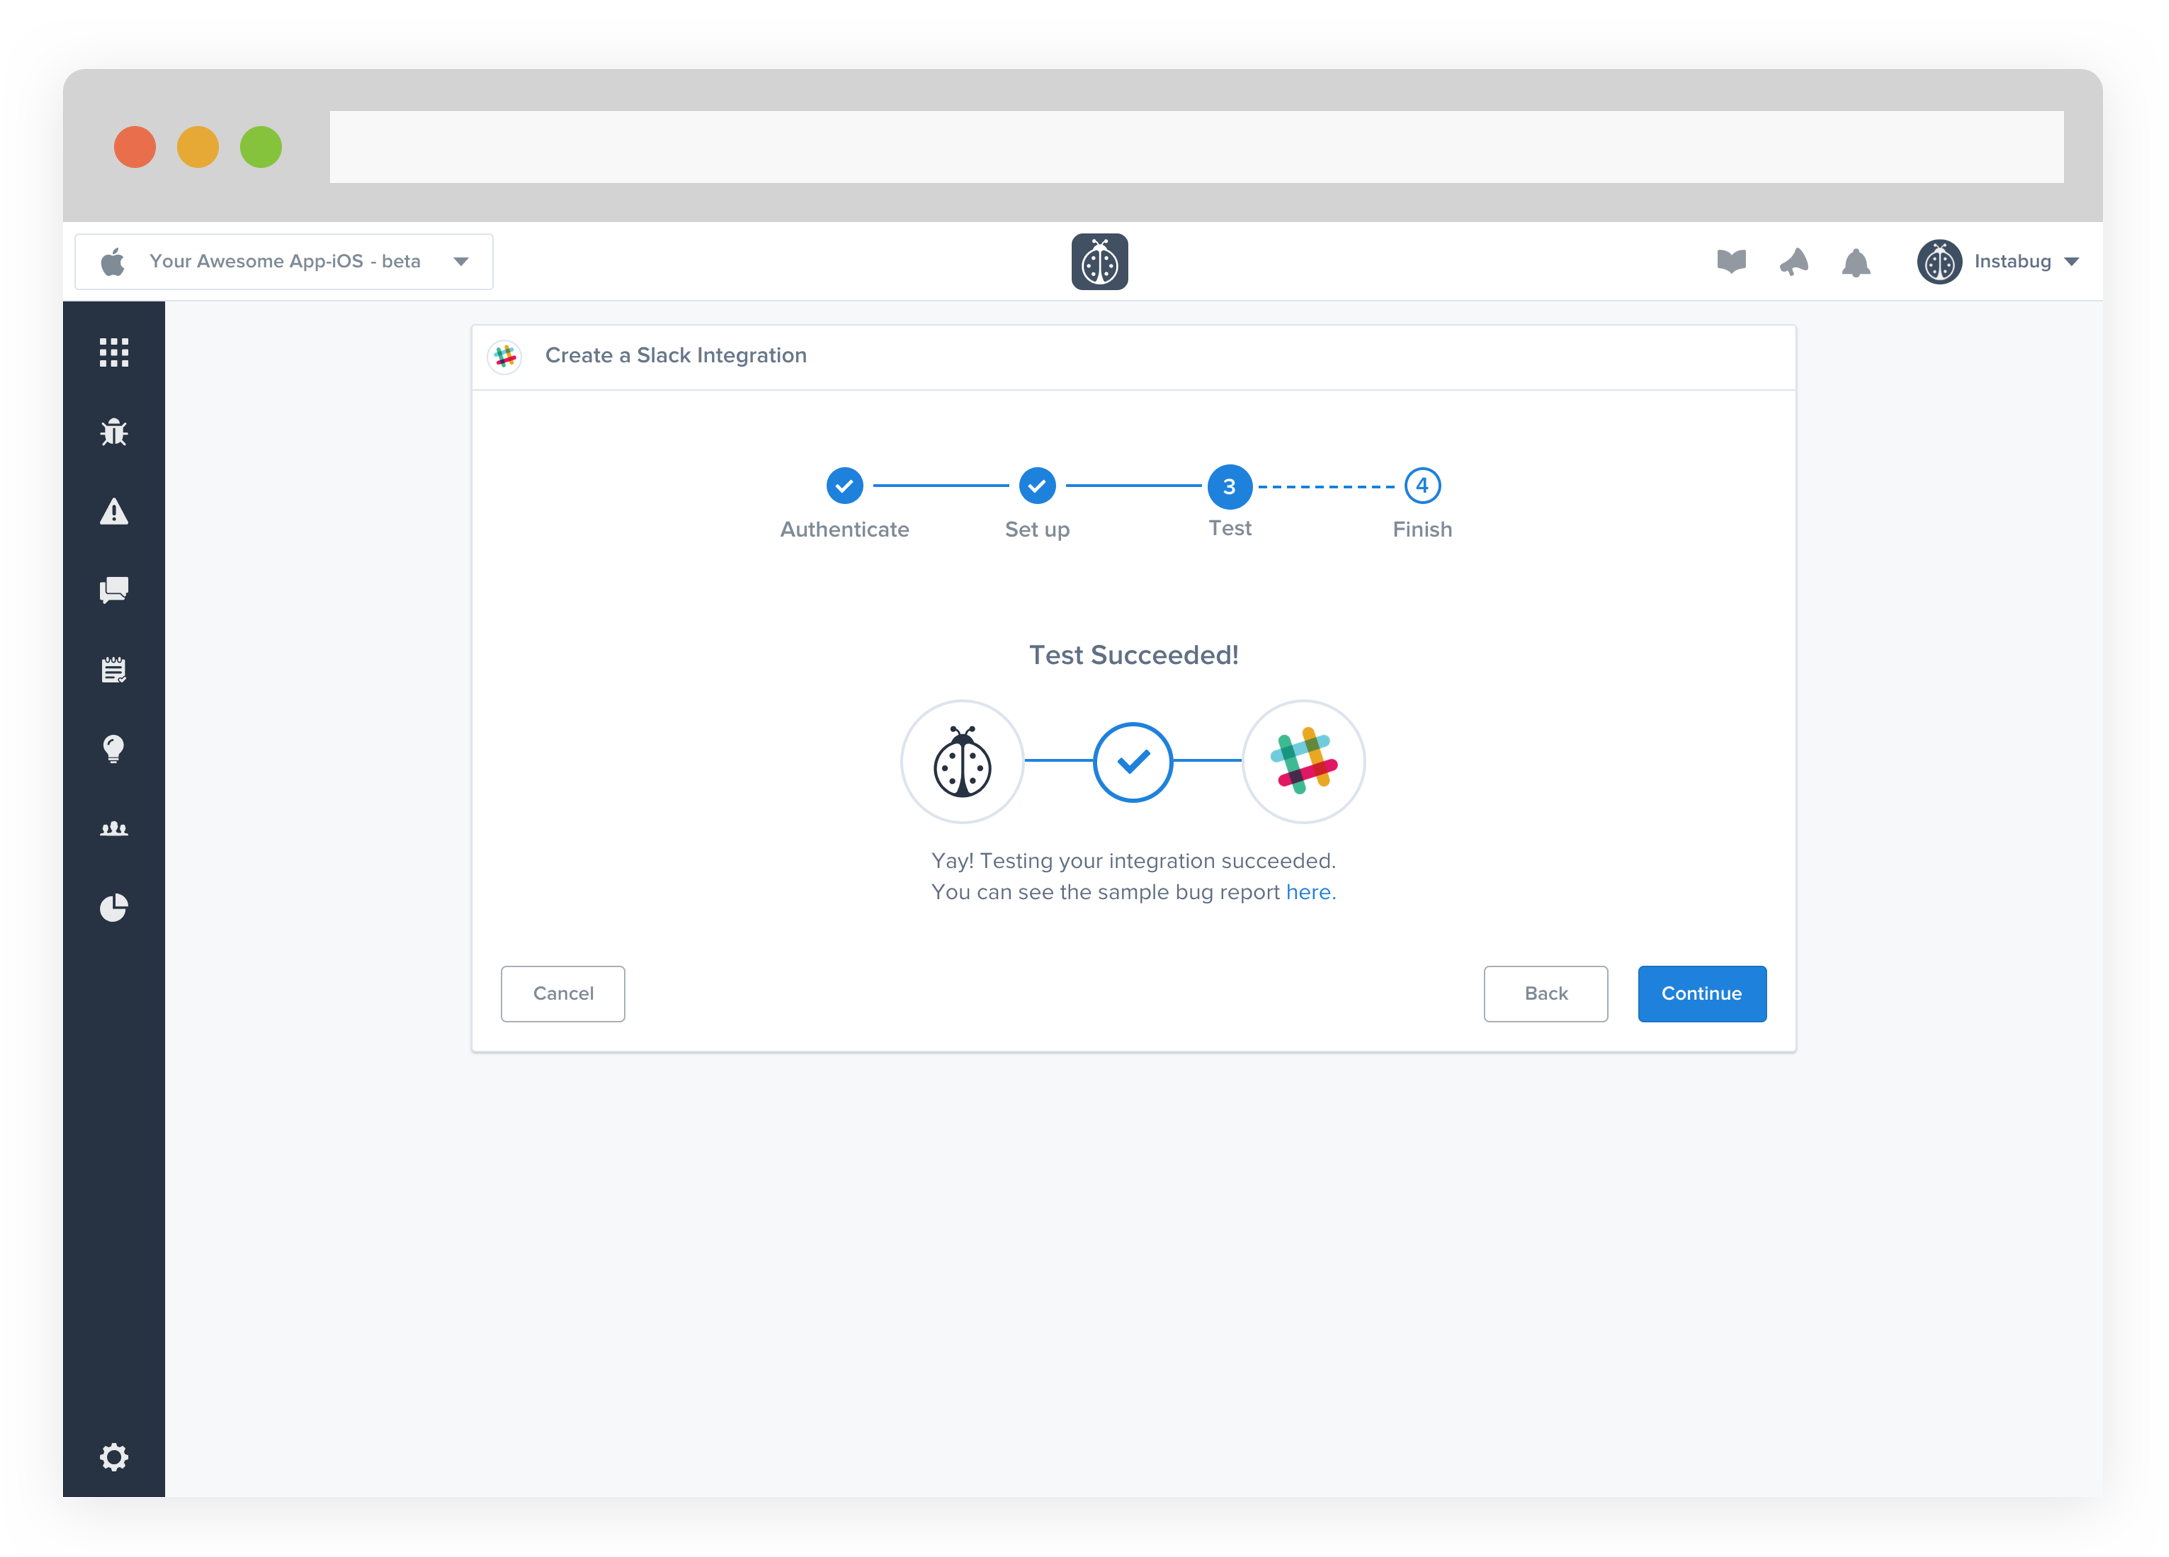
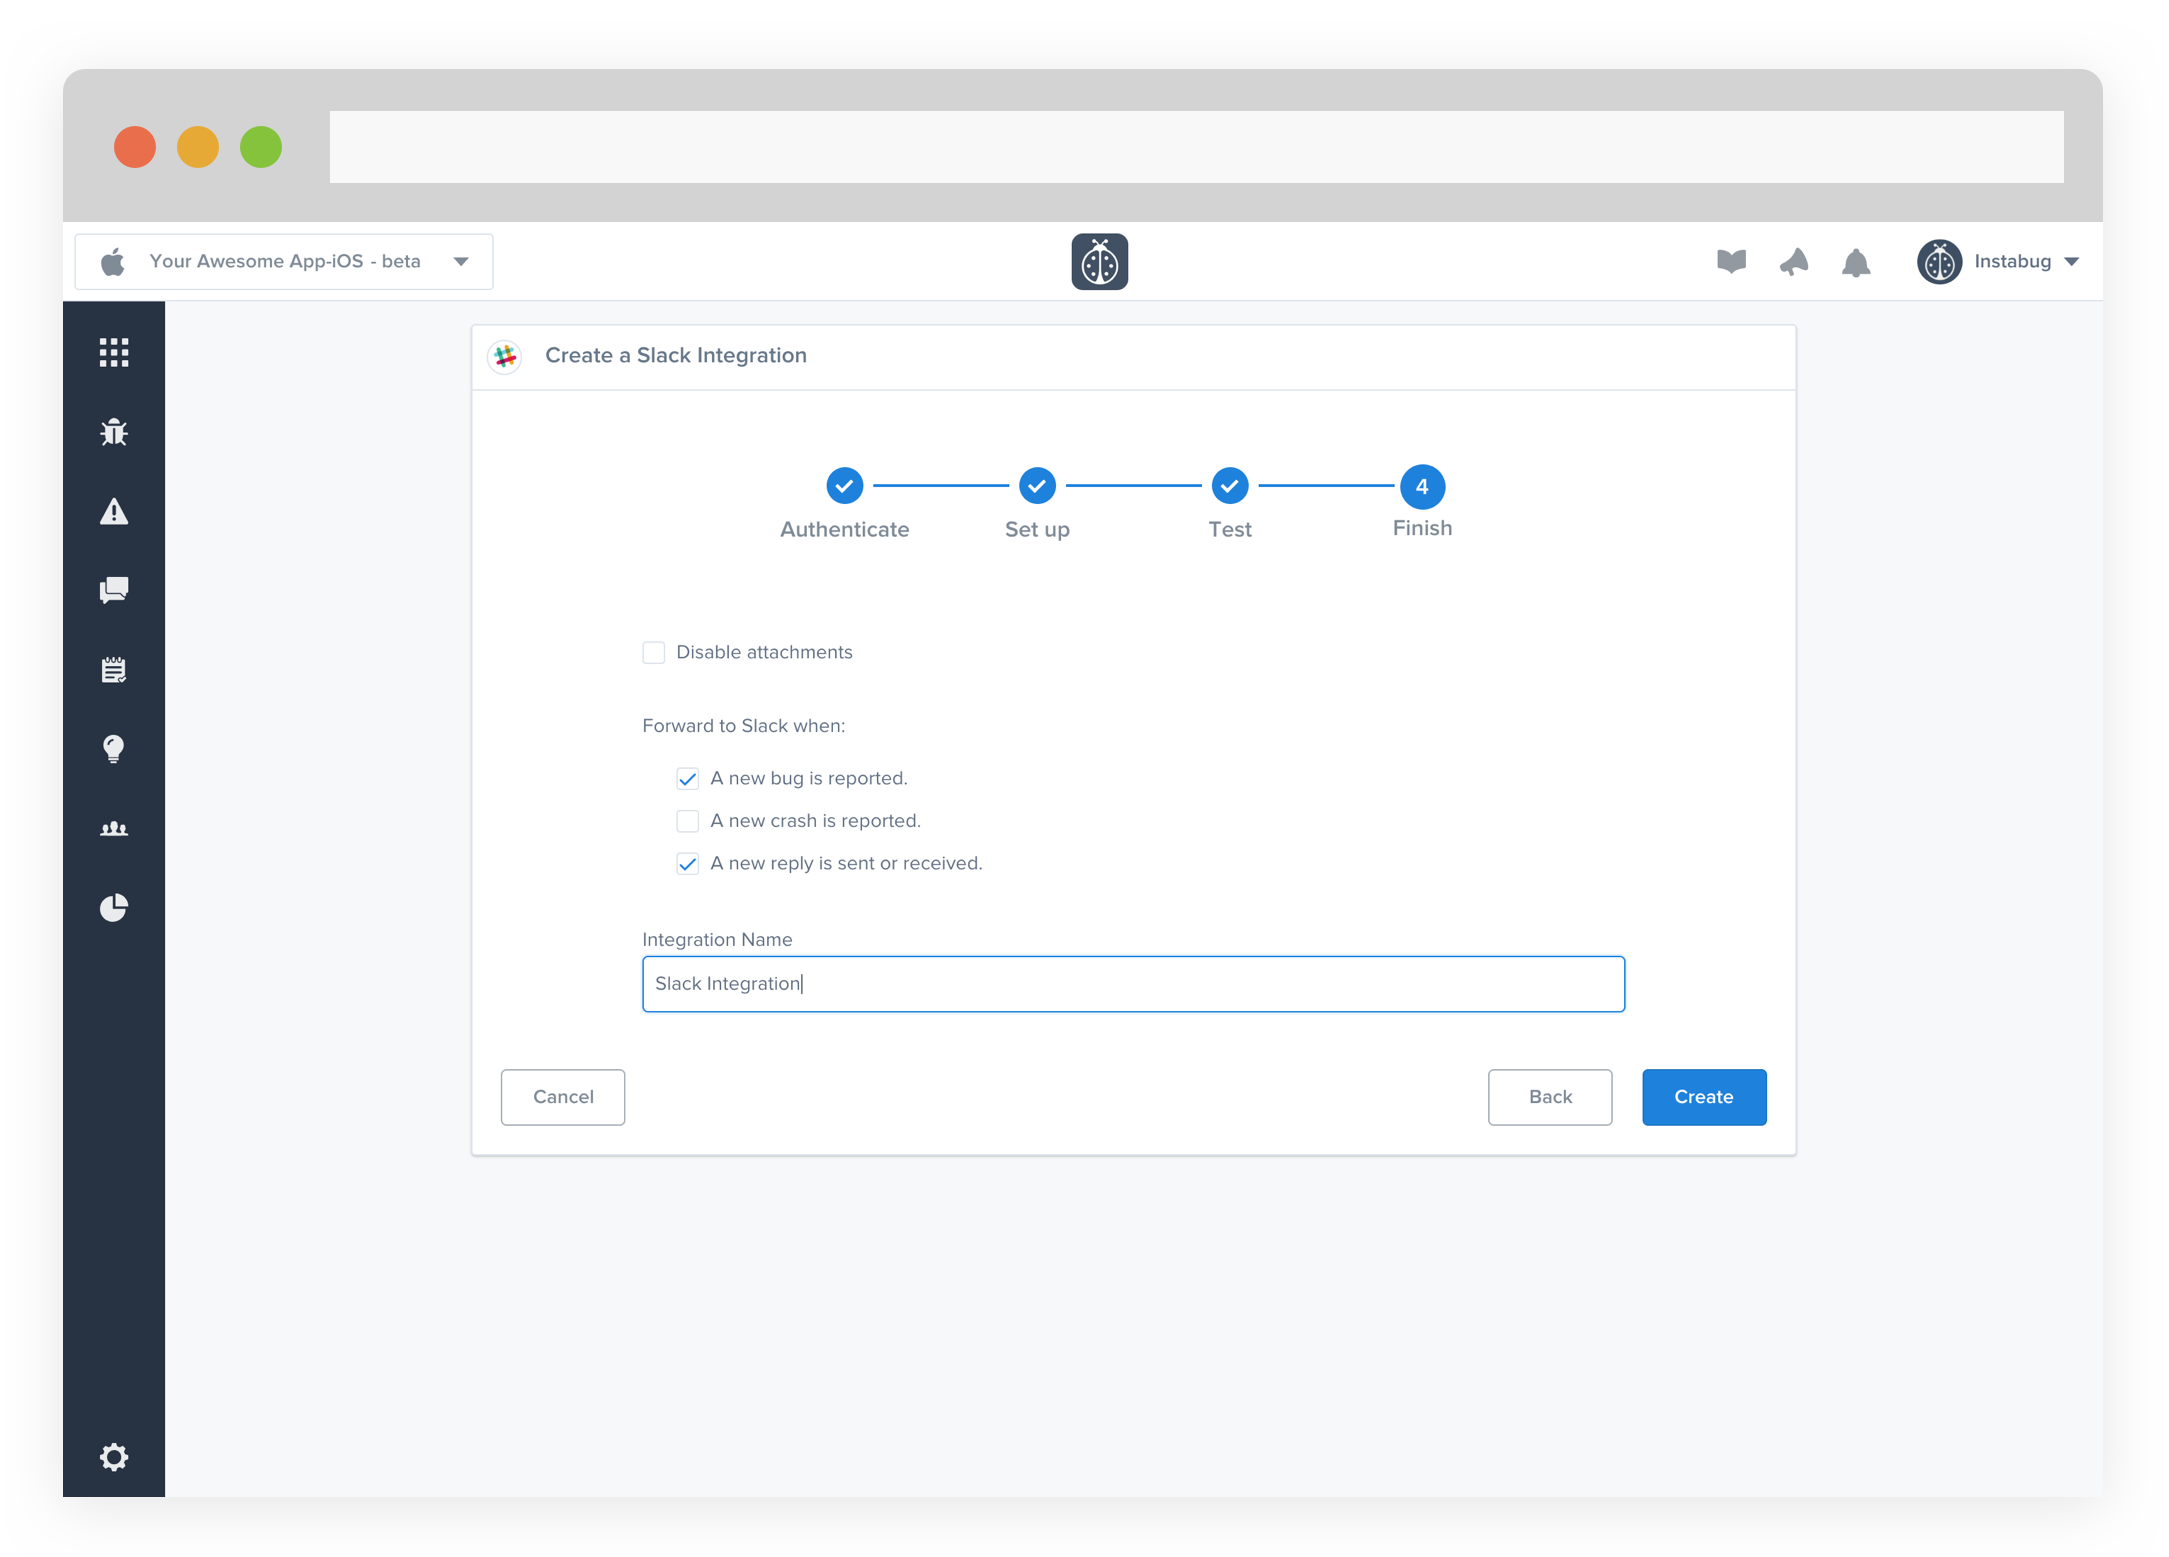
- All done! You're integration is now set-up and ready to go. From this final page, you can allow automatic forwarding (don't worry though, this can be reconfigured at any time!)
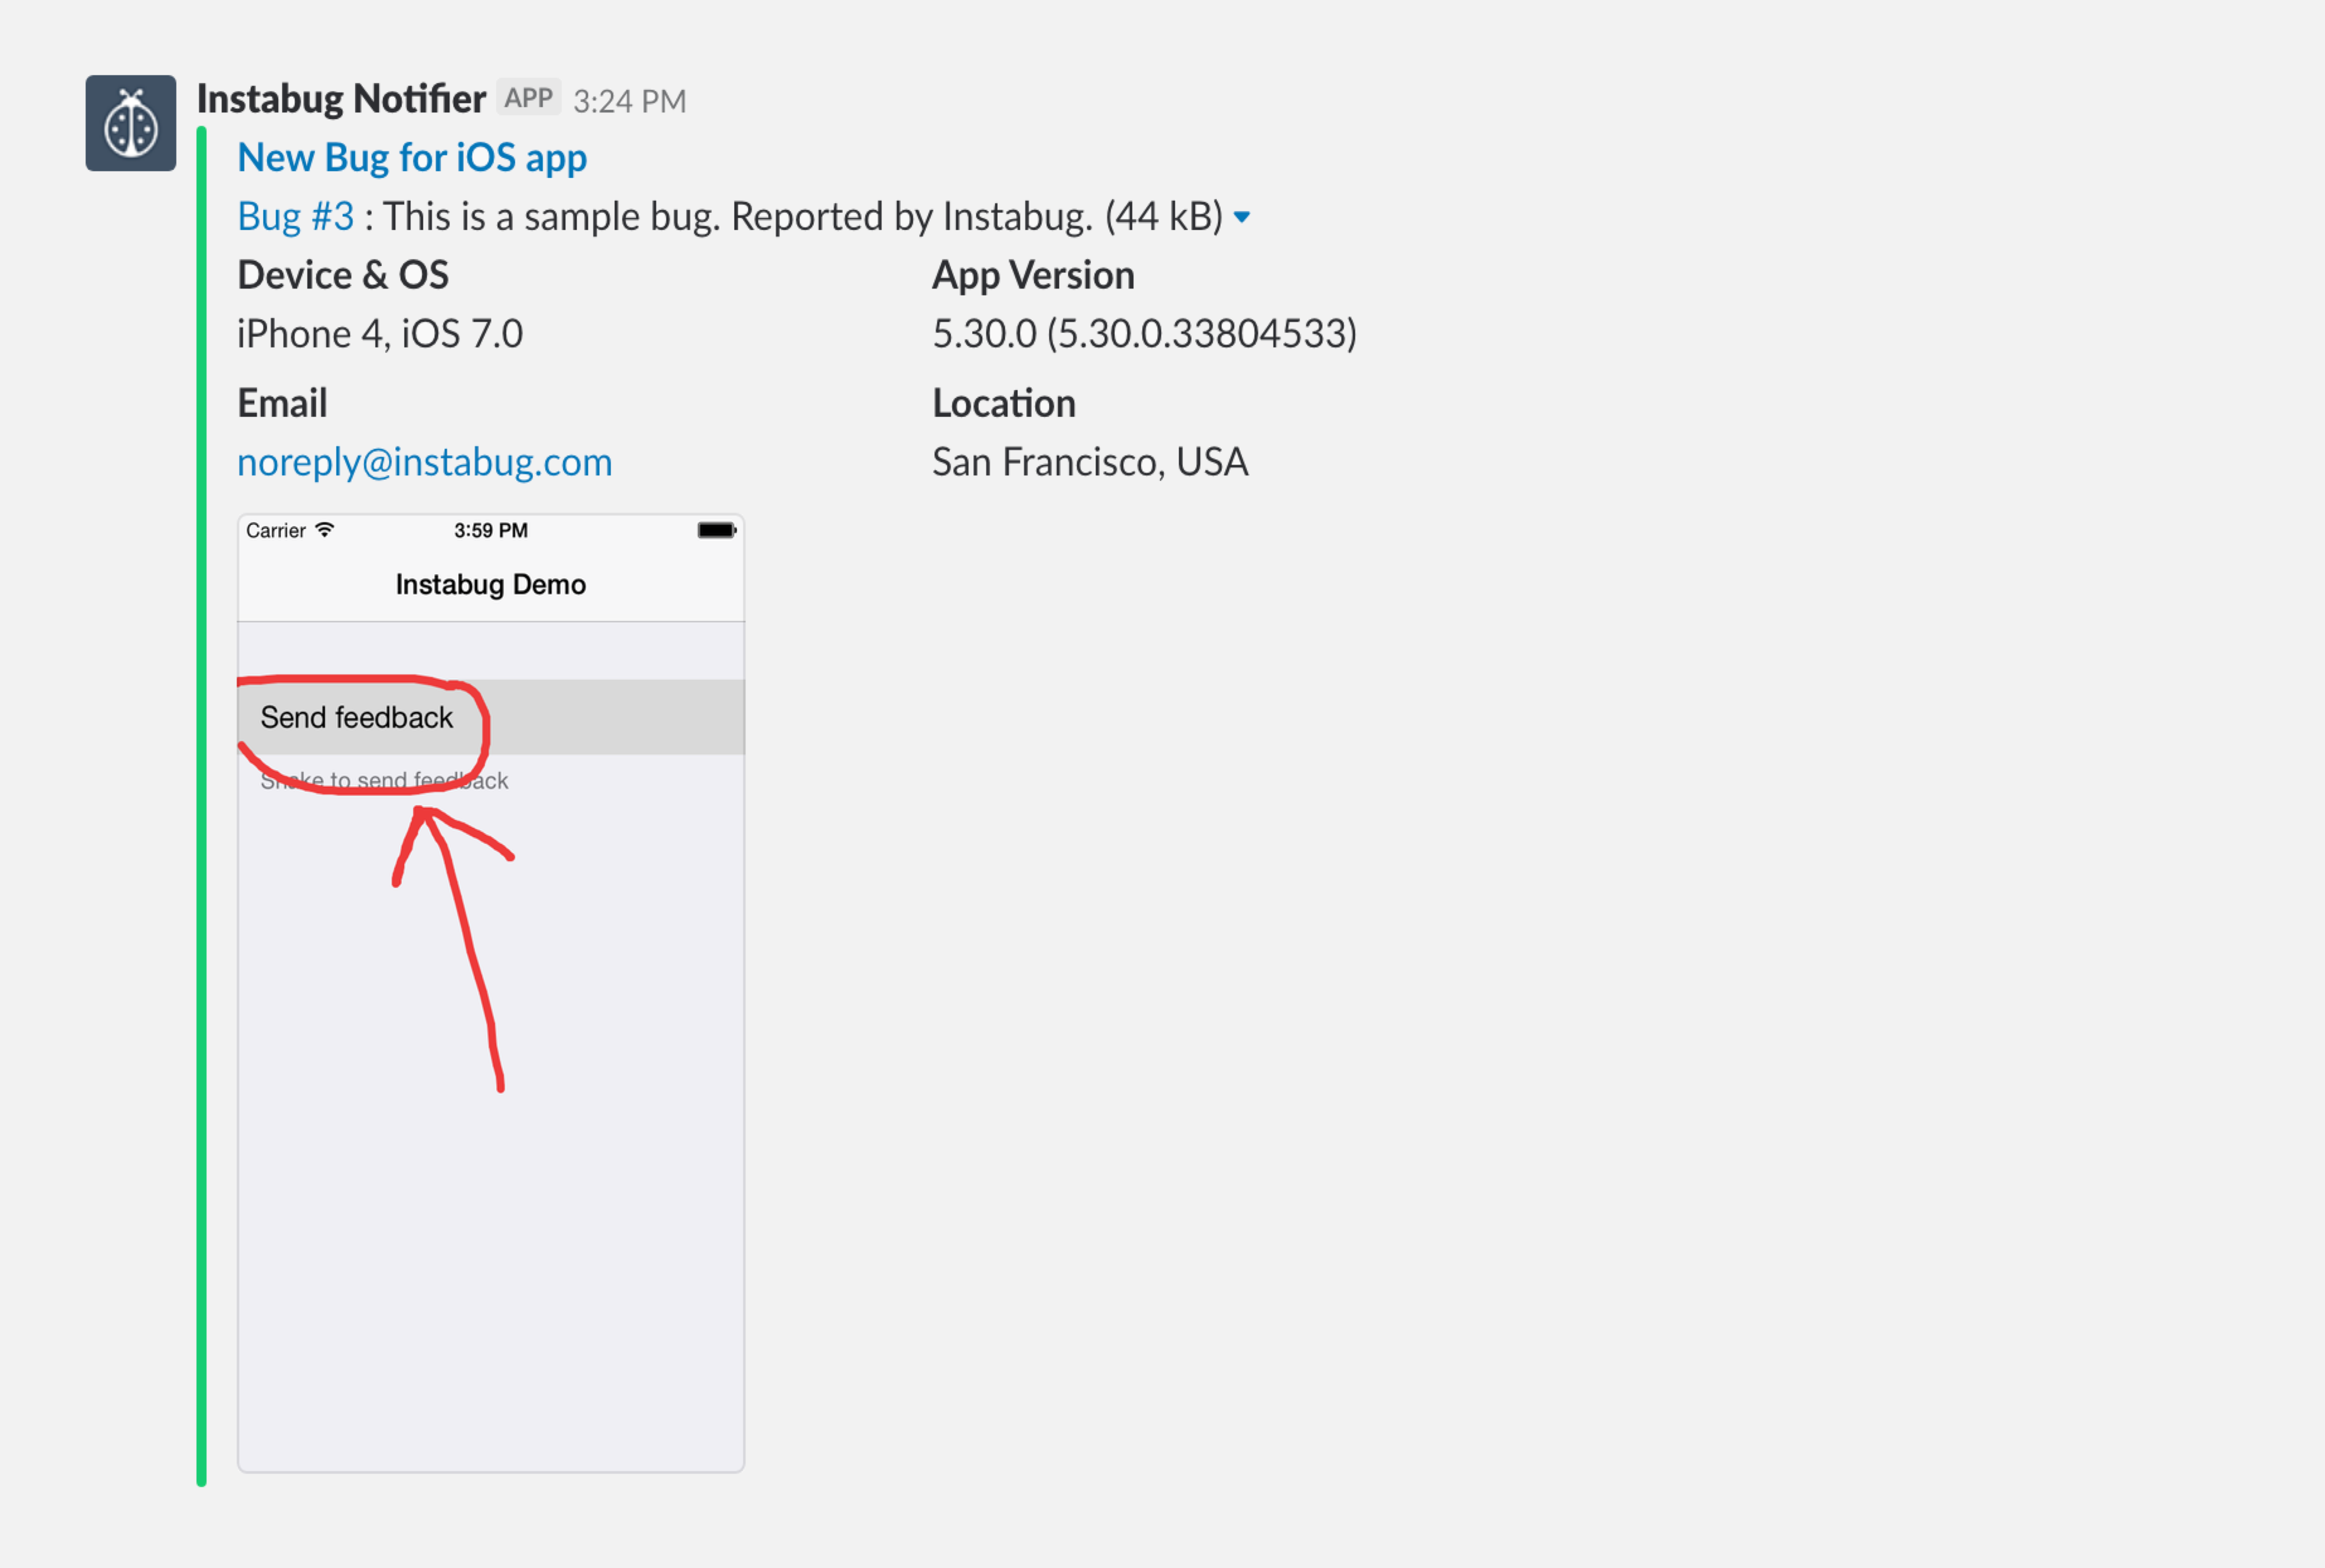
- Issues forwarded to Slack should then look something like this.
For the chats, once you forward a thread, all the upcoming replies either from the user or from your team will be forwarded automatically.
If your team is used to Trello, no worries. You can integrate Instabug with your Trello account as explained below.
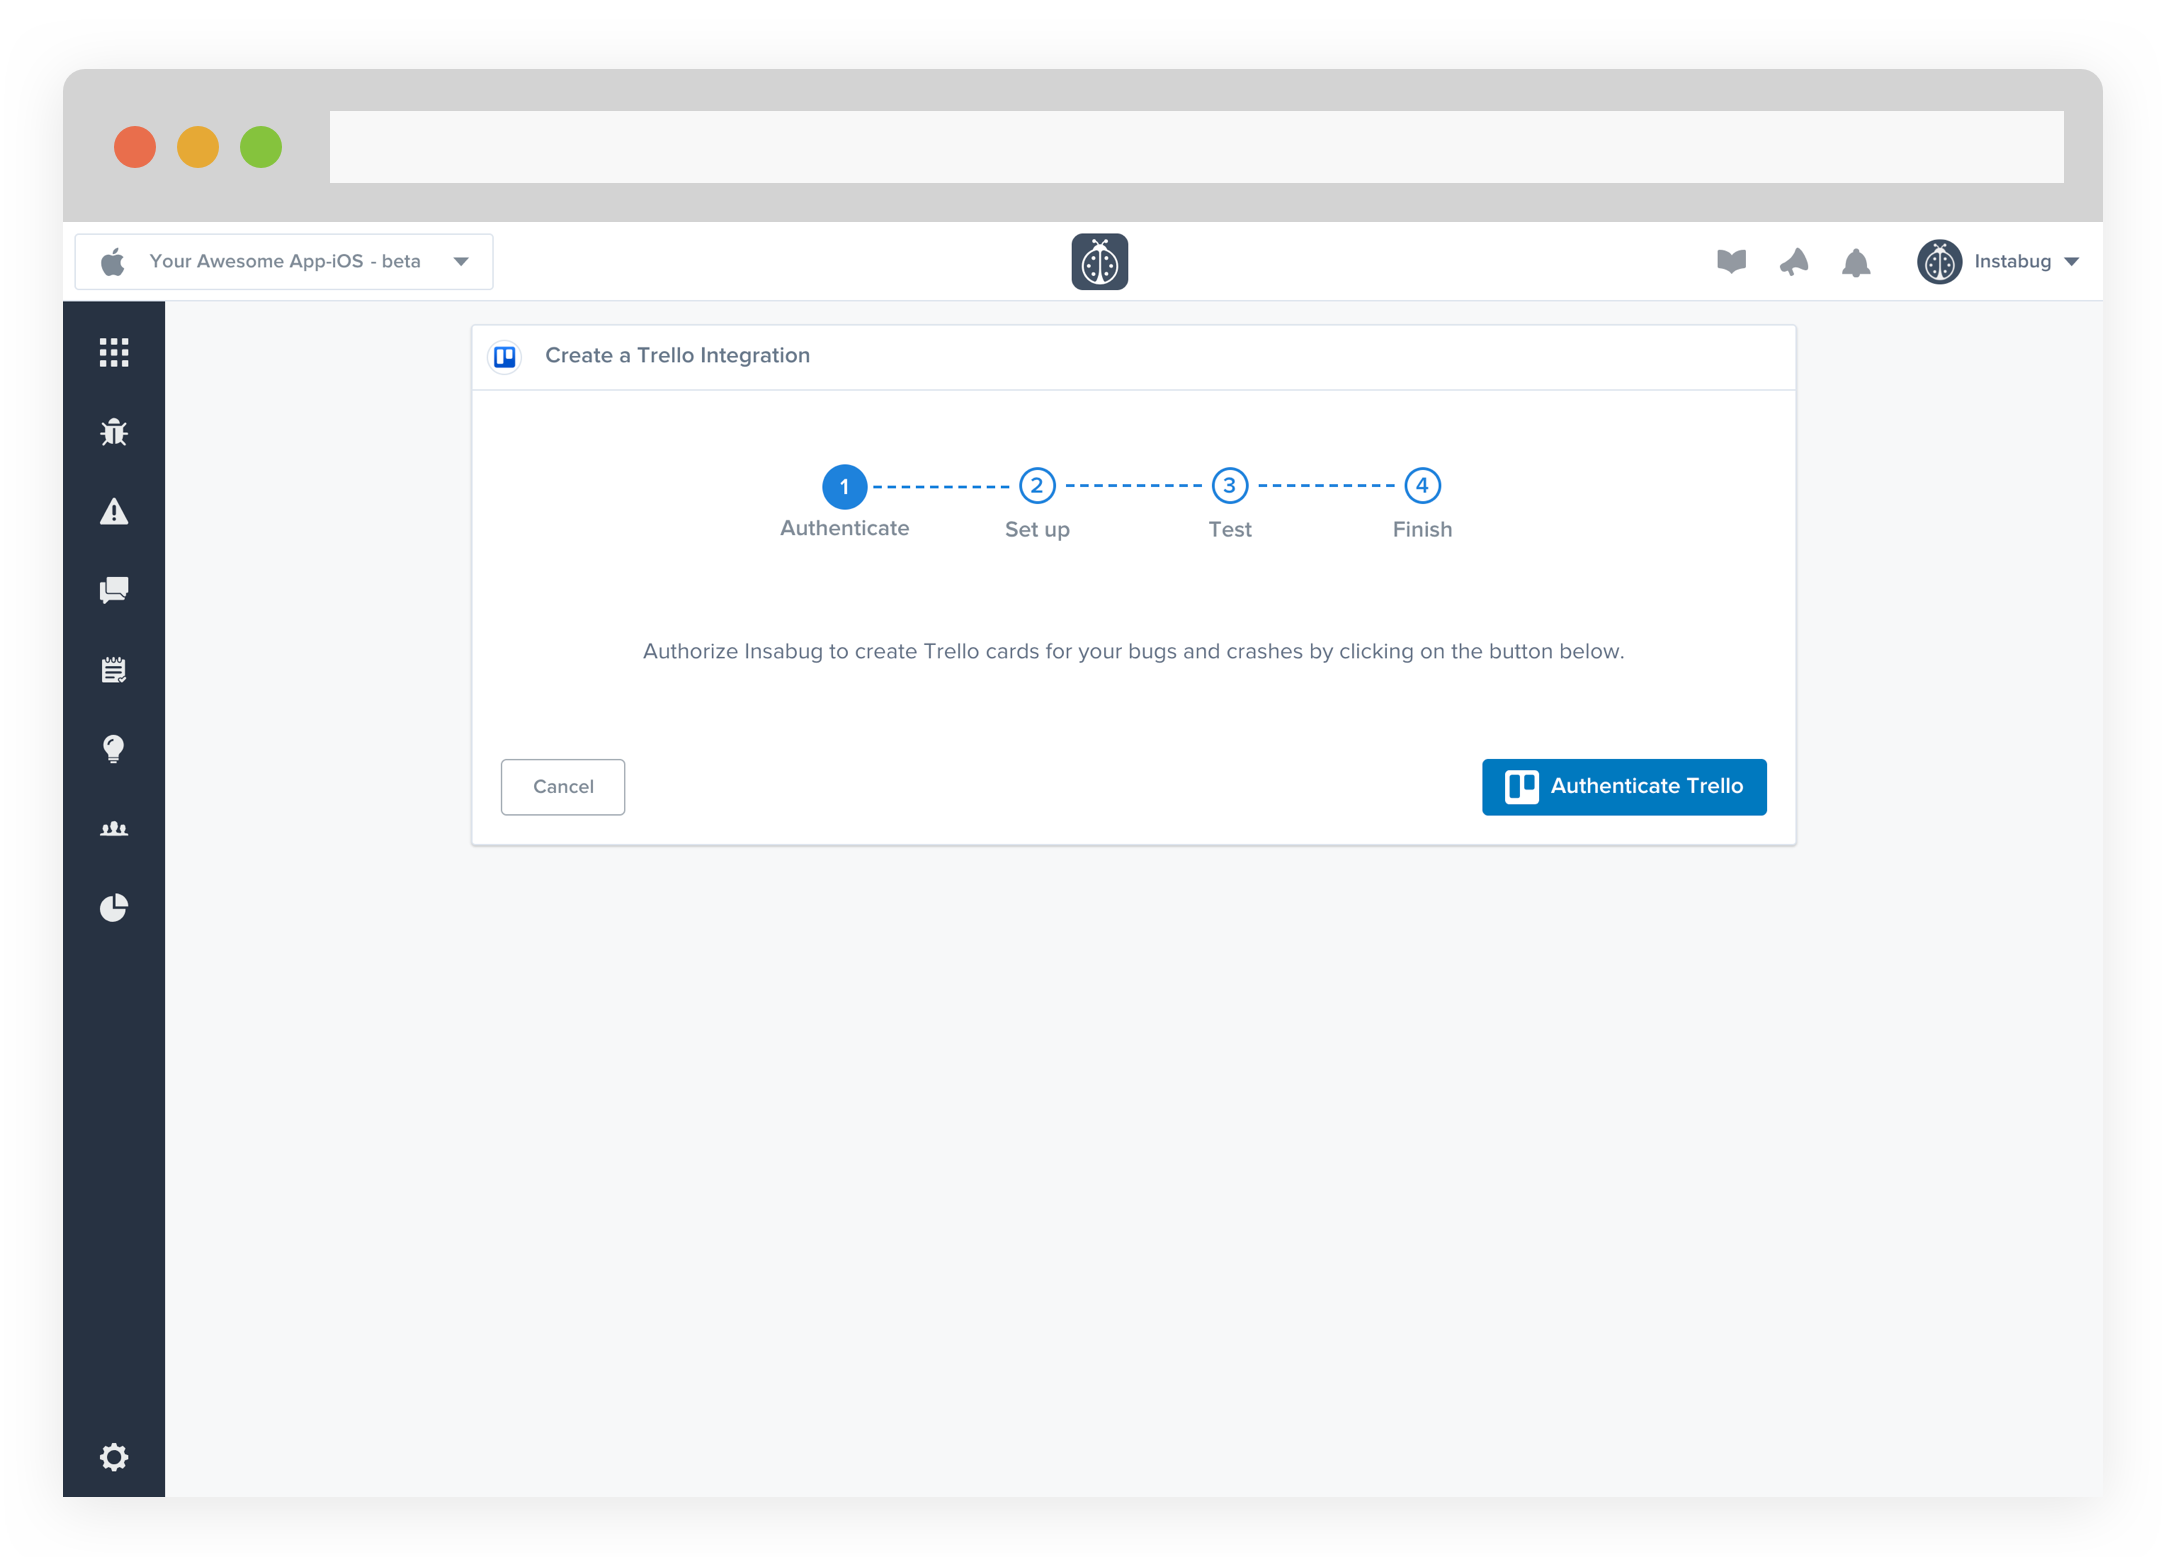
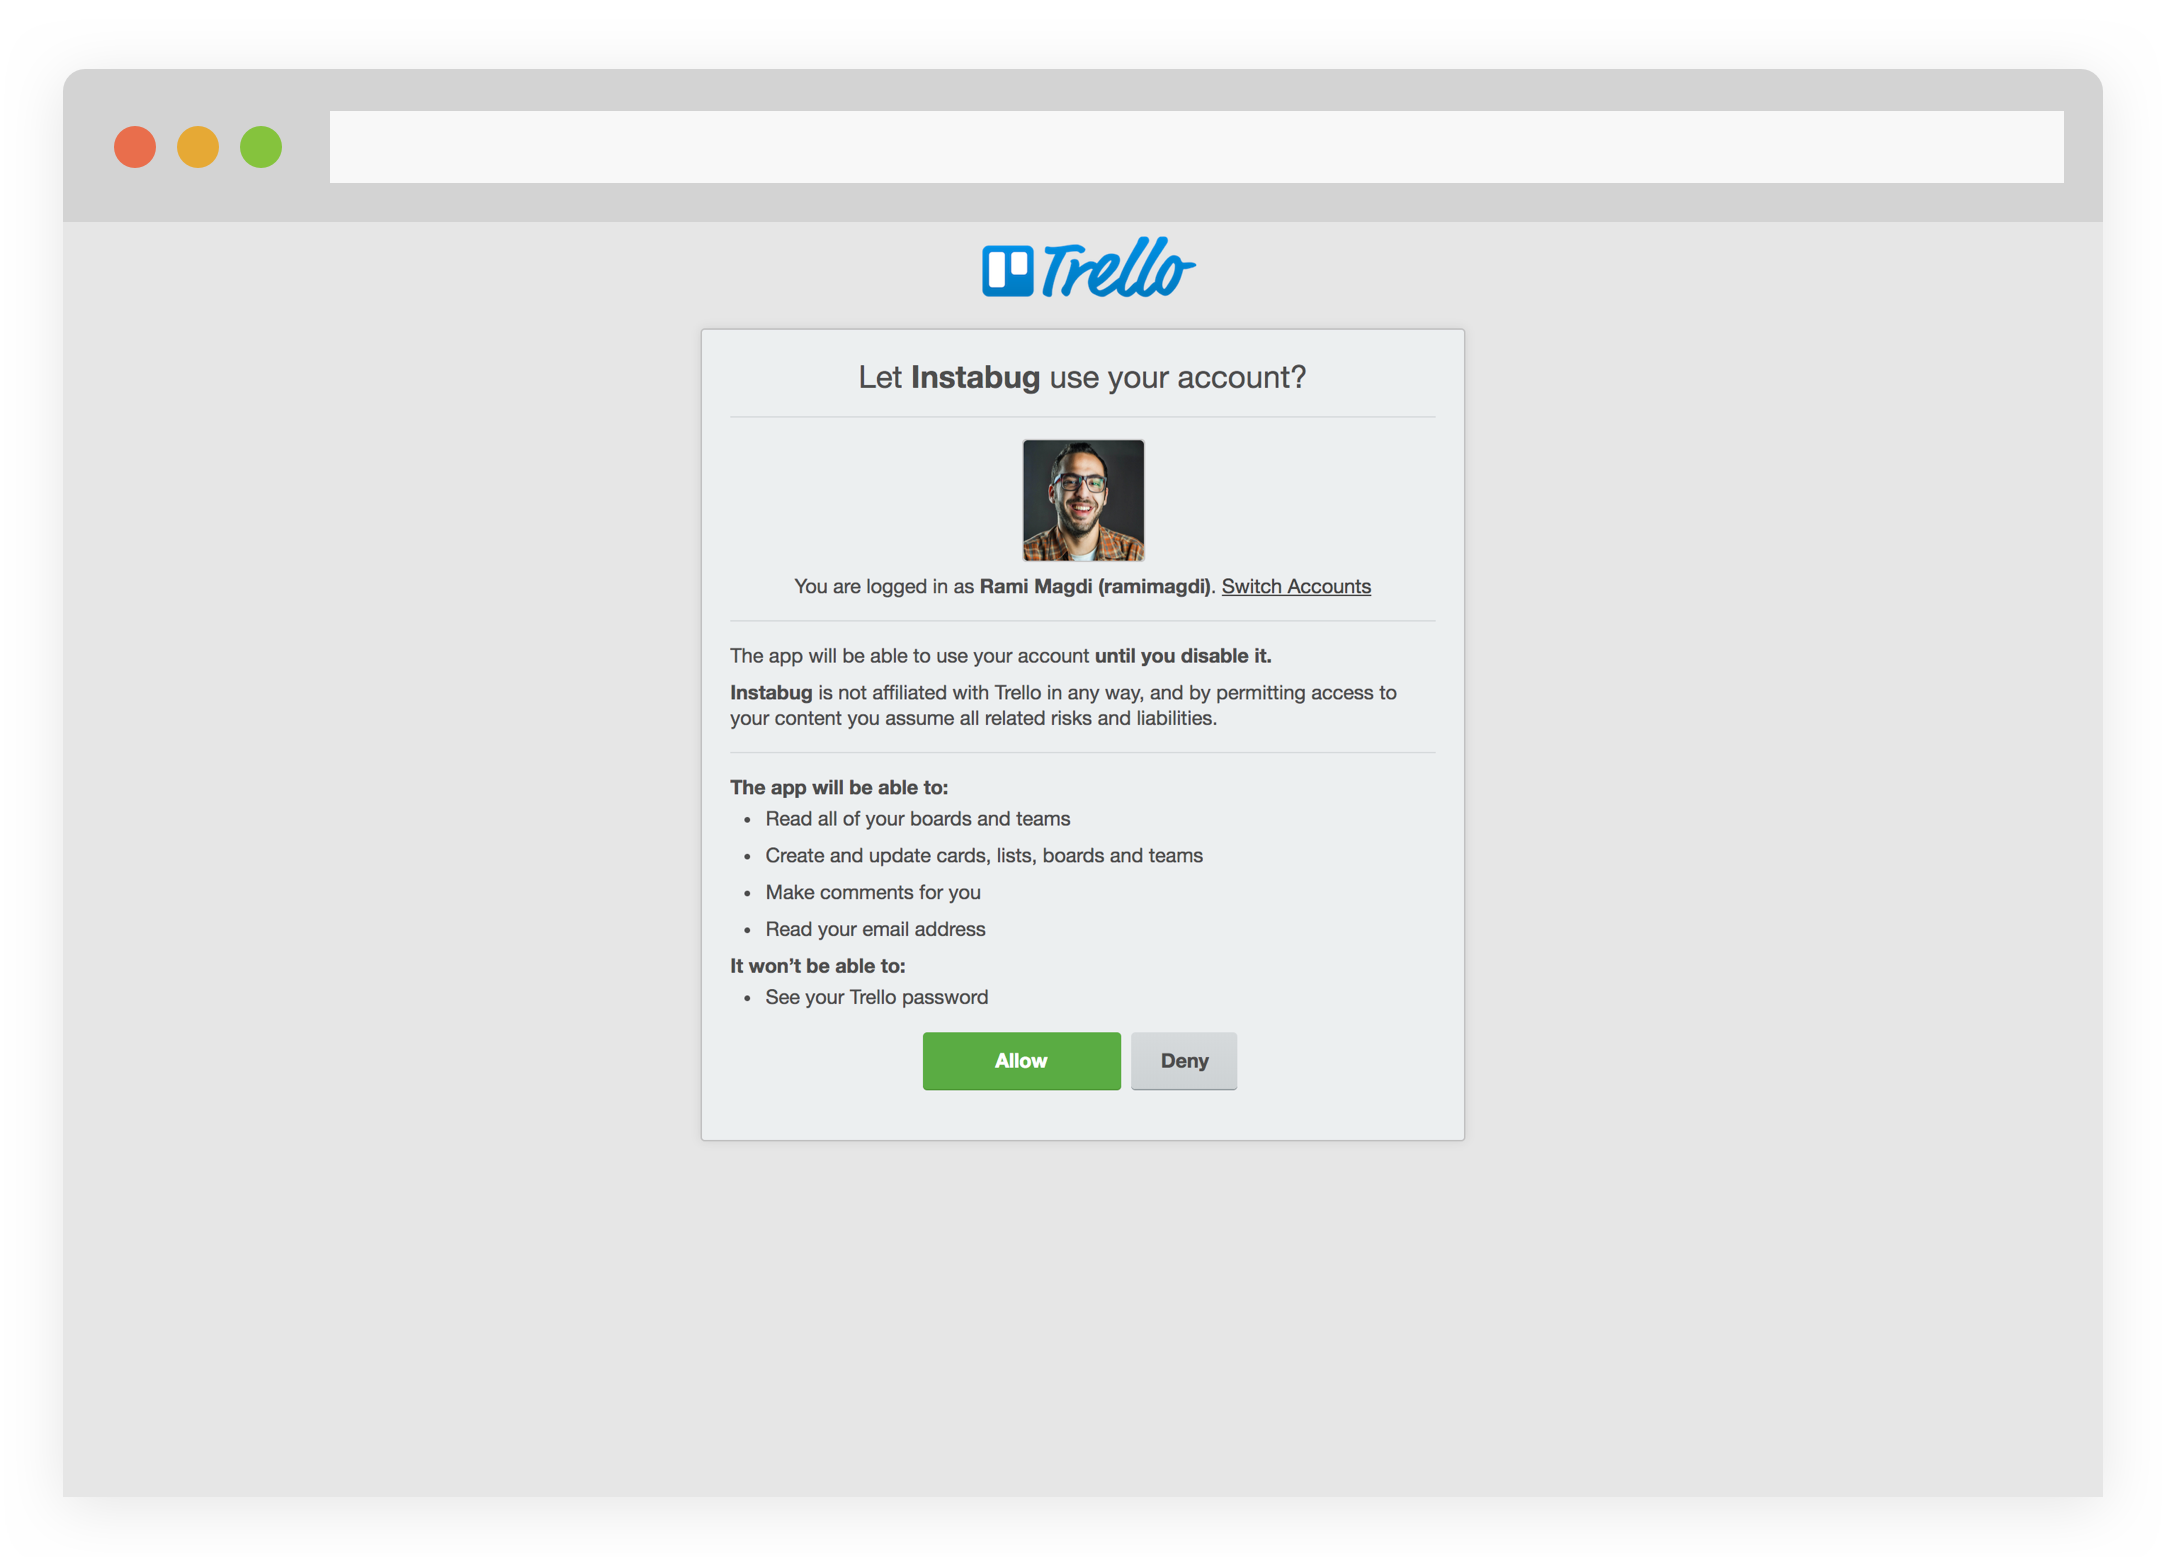
- Click on Authenticate Trello to be redirected to the Trello website in order to allow the Integration.
- Allow Instabug to access your Trello Account.
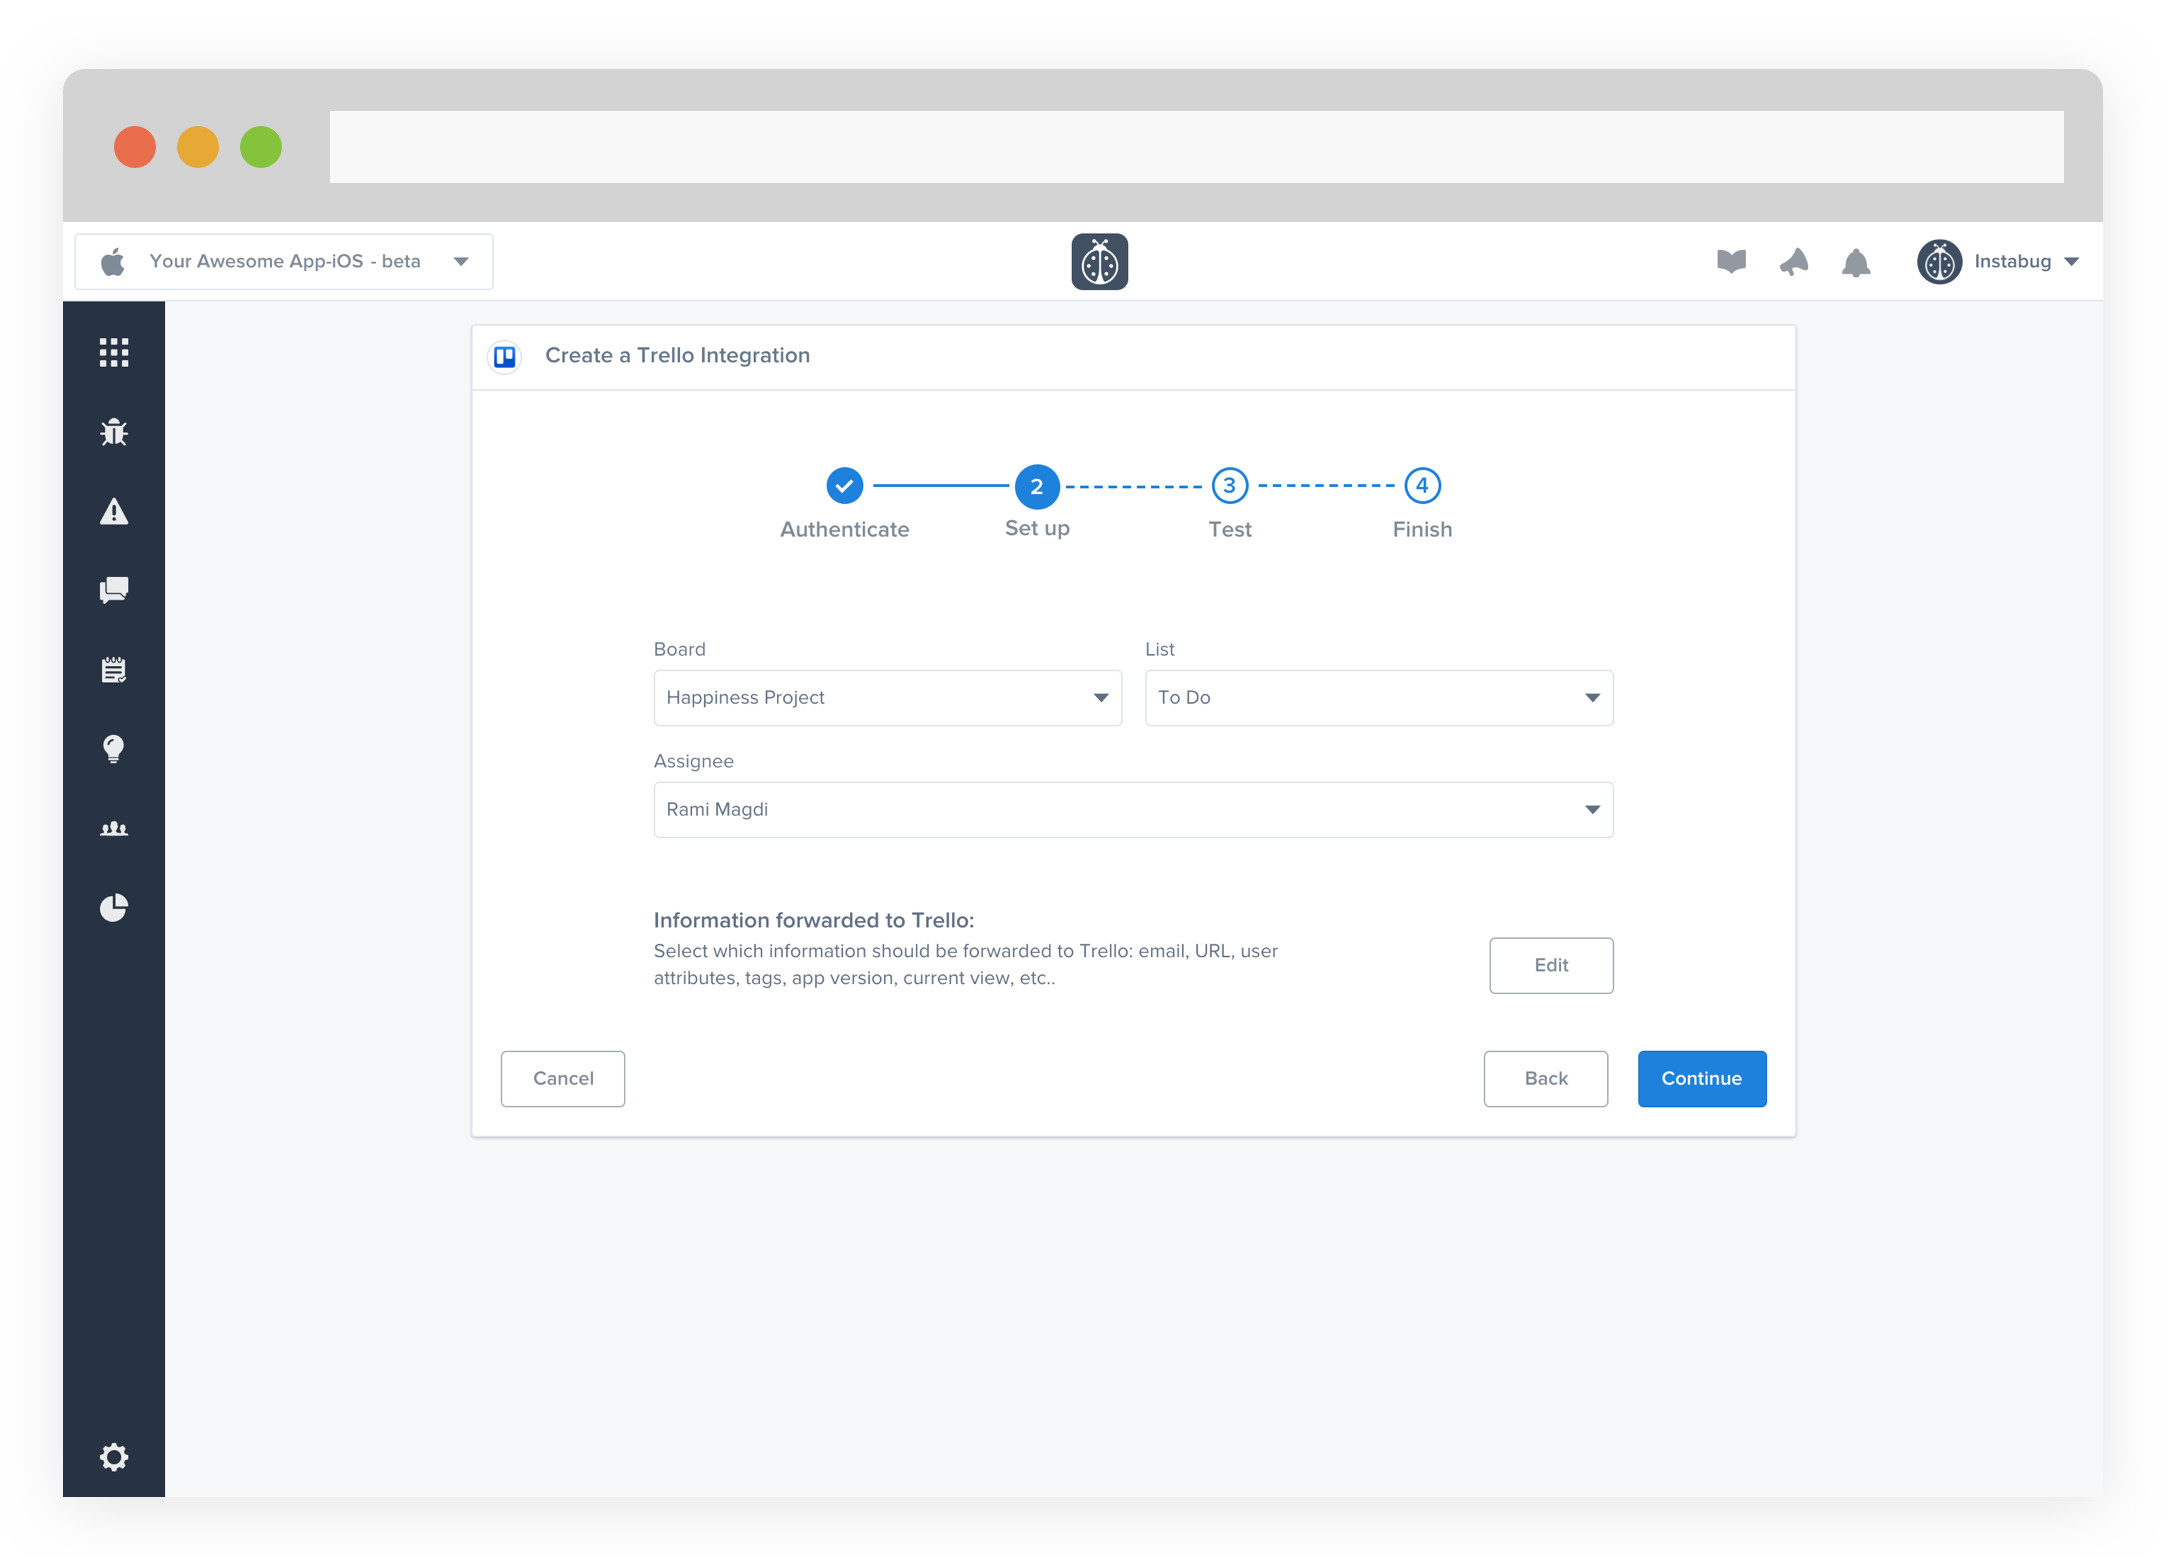
- Select the Board, List, and Assignee you'd like the reports to be forwarded to. You can also choose which details get forwarded as well.
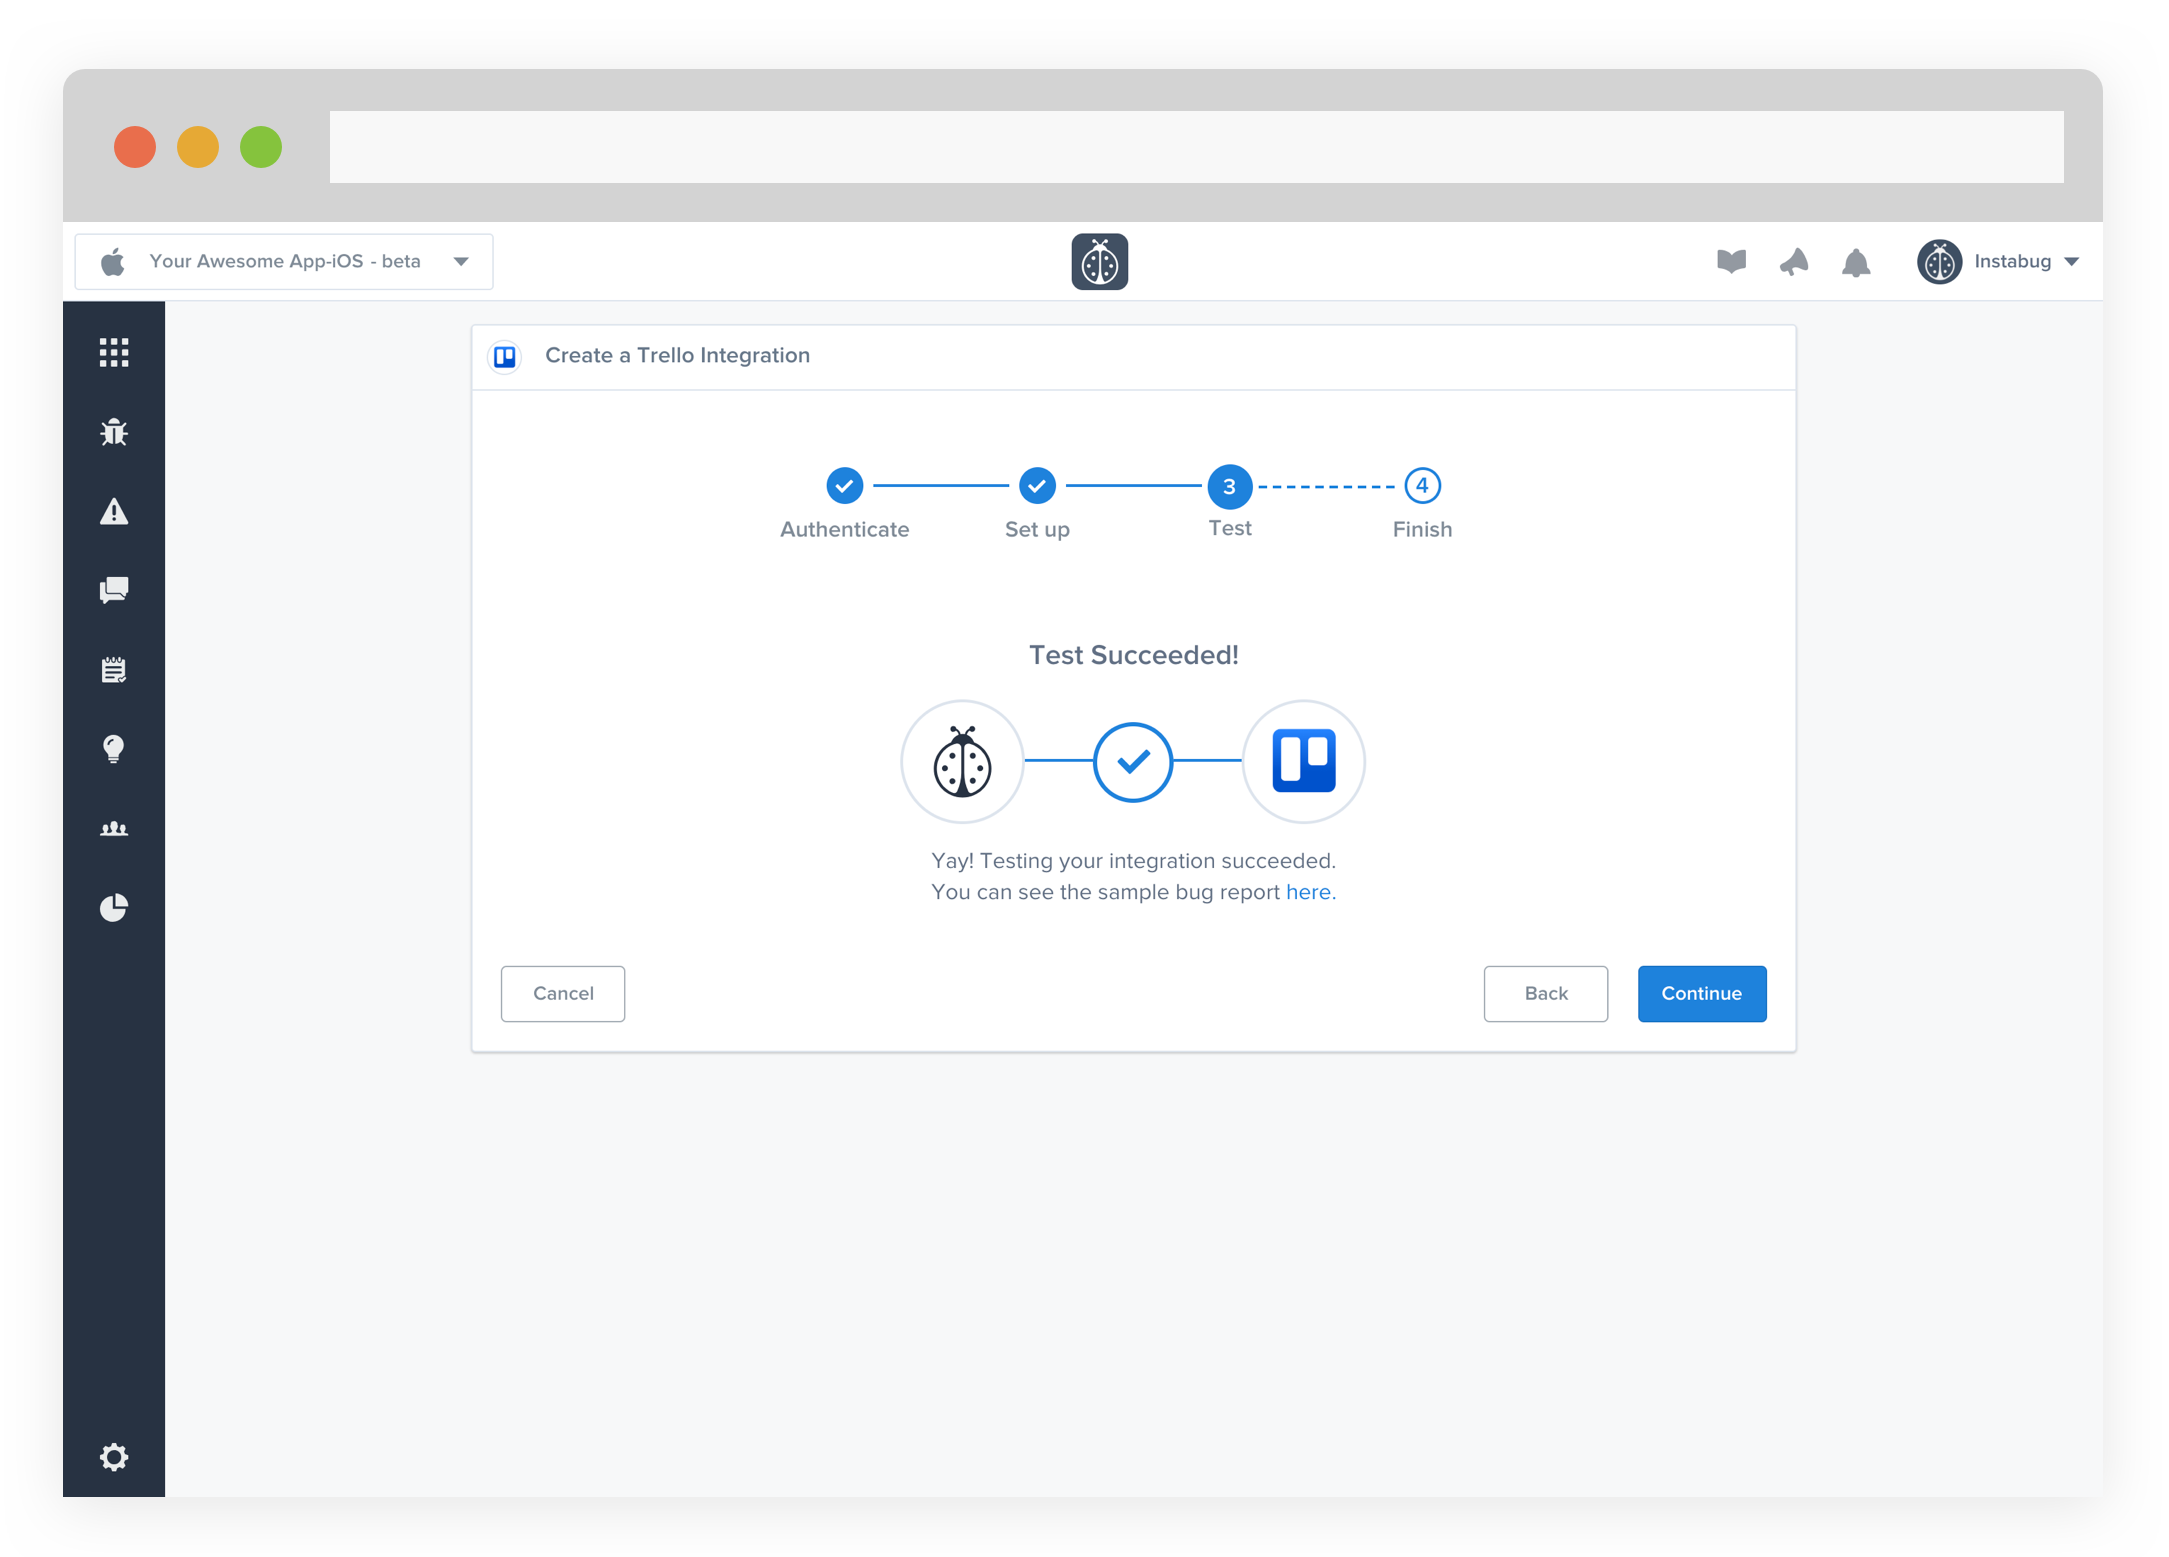
- At this point, we just need to test your integration so that we're sure everything is working smoothly.
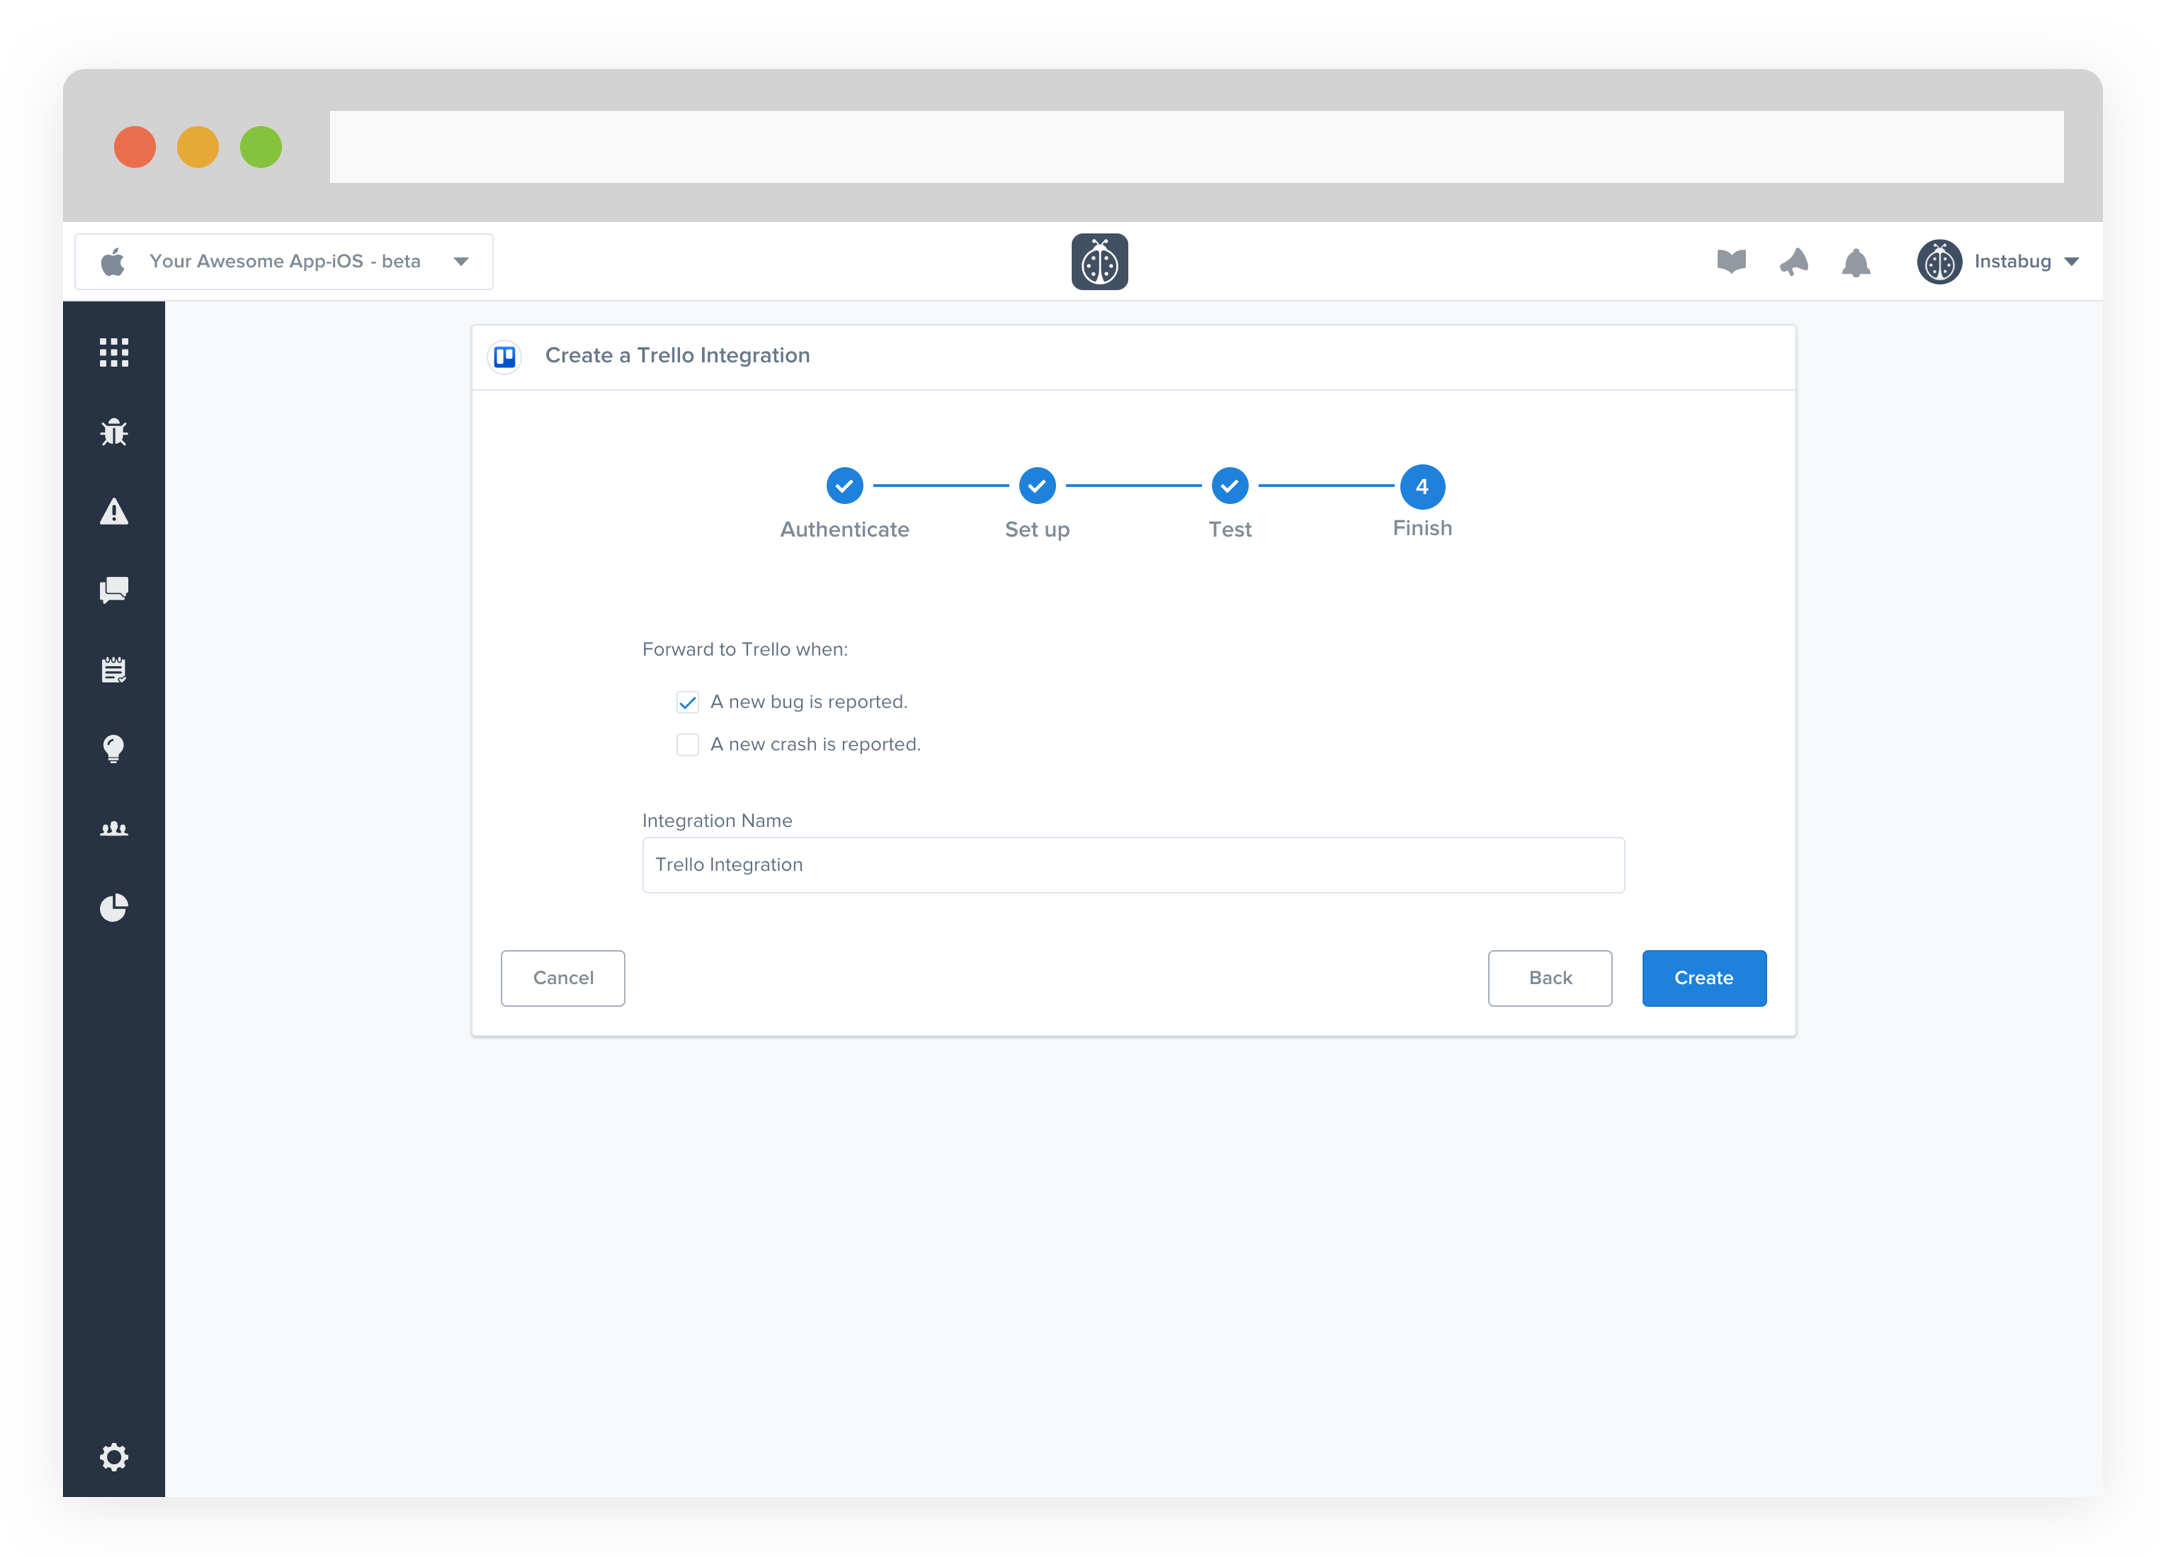
- All done! You're integration is now set-up and ready to go. From this final page, you can allow automatic forwarding (don't worry though, this can be reconfigured at any time!)
We know that you care about your customers' engagement a lot. If you are using Zendesk to handle the process, you can forward all your crash reports, bug reports and chats to your Zendesk account.
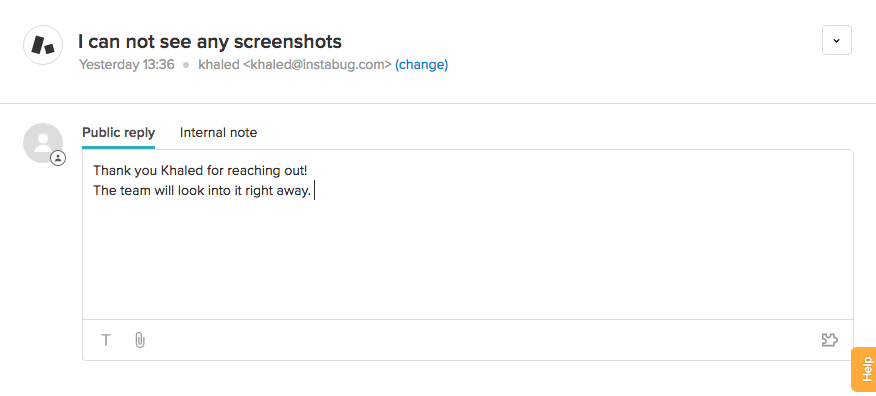
Normally when you reply to your users through Zendesk, they receive your replies as emails. The best thing about linking your Instabug account with your Zendesk account is that your users will receive your replies as emails and in-app as well.
You can reply to your users either from your Instabug dashboard or your Zendesk account and in both cases, they will see your replies within your application.
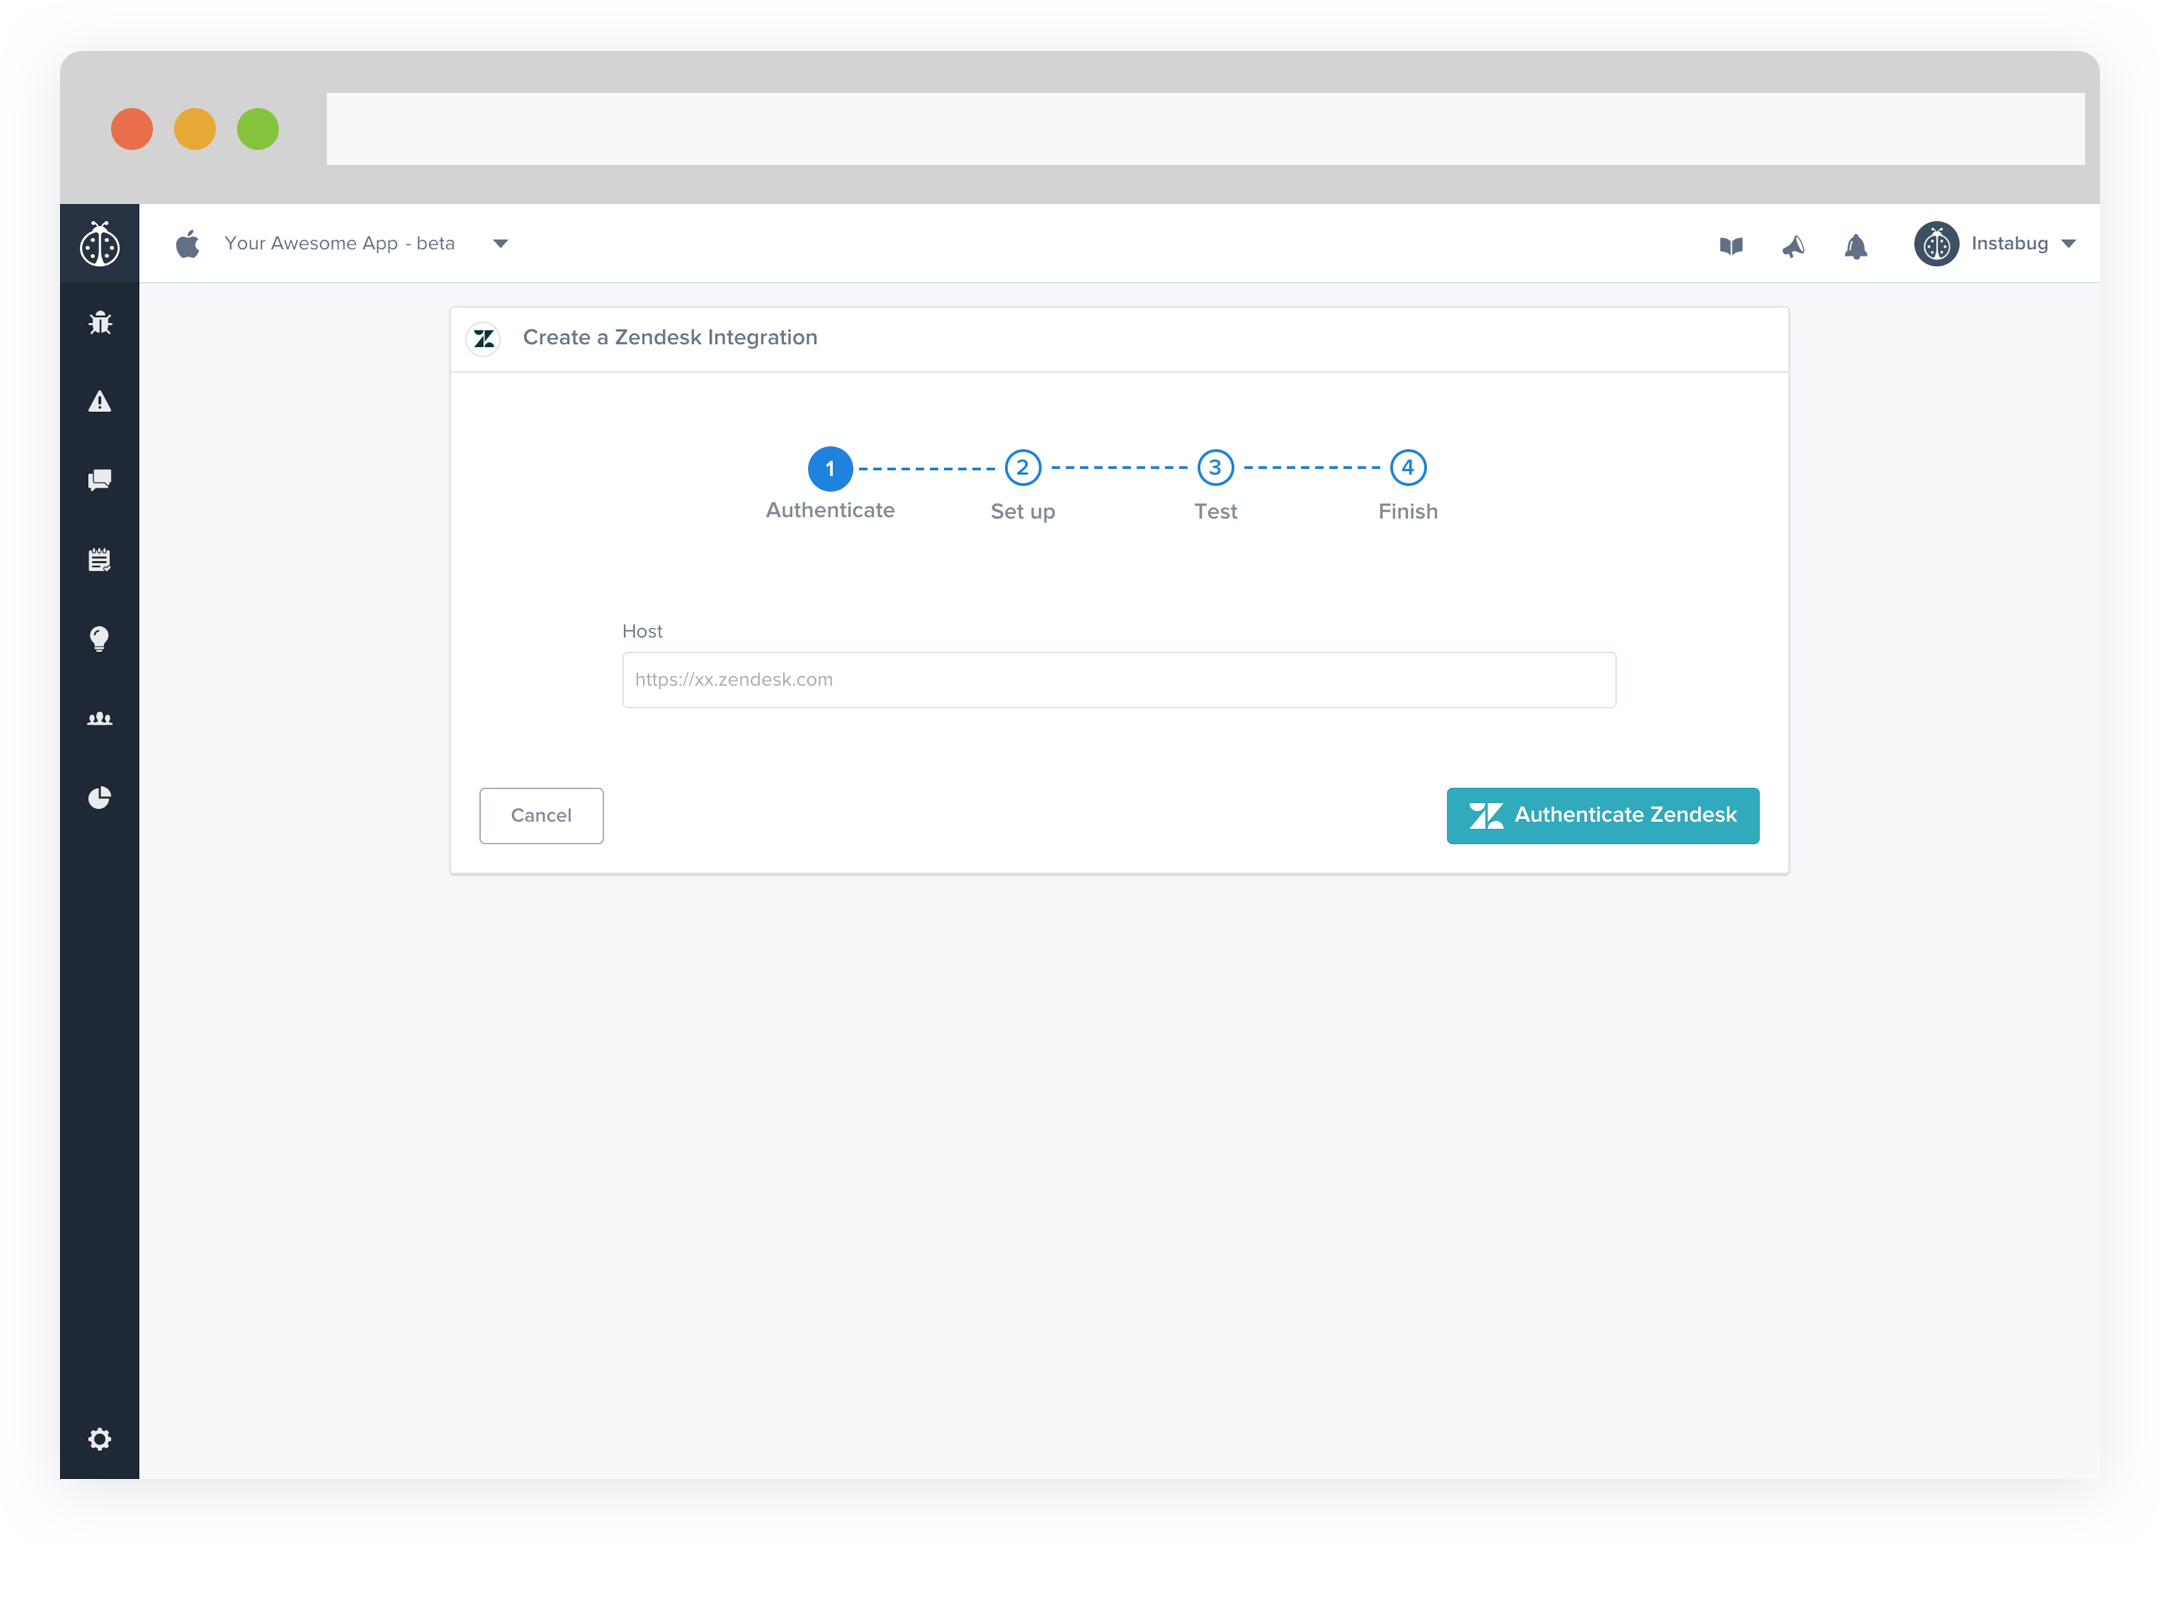
- First, enter the host URL of your Zendesk dashboard then select Authenticate Zendesk.
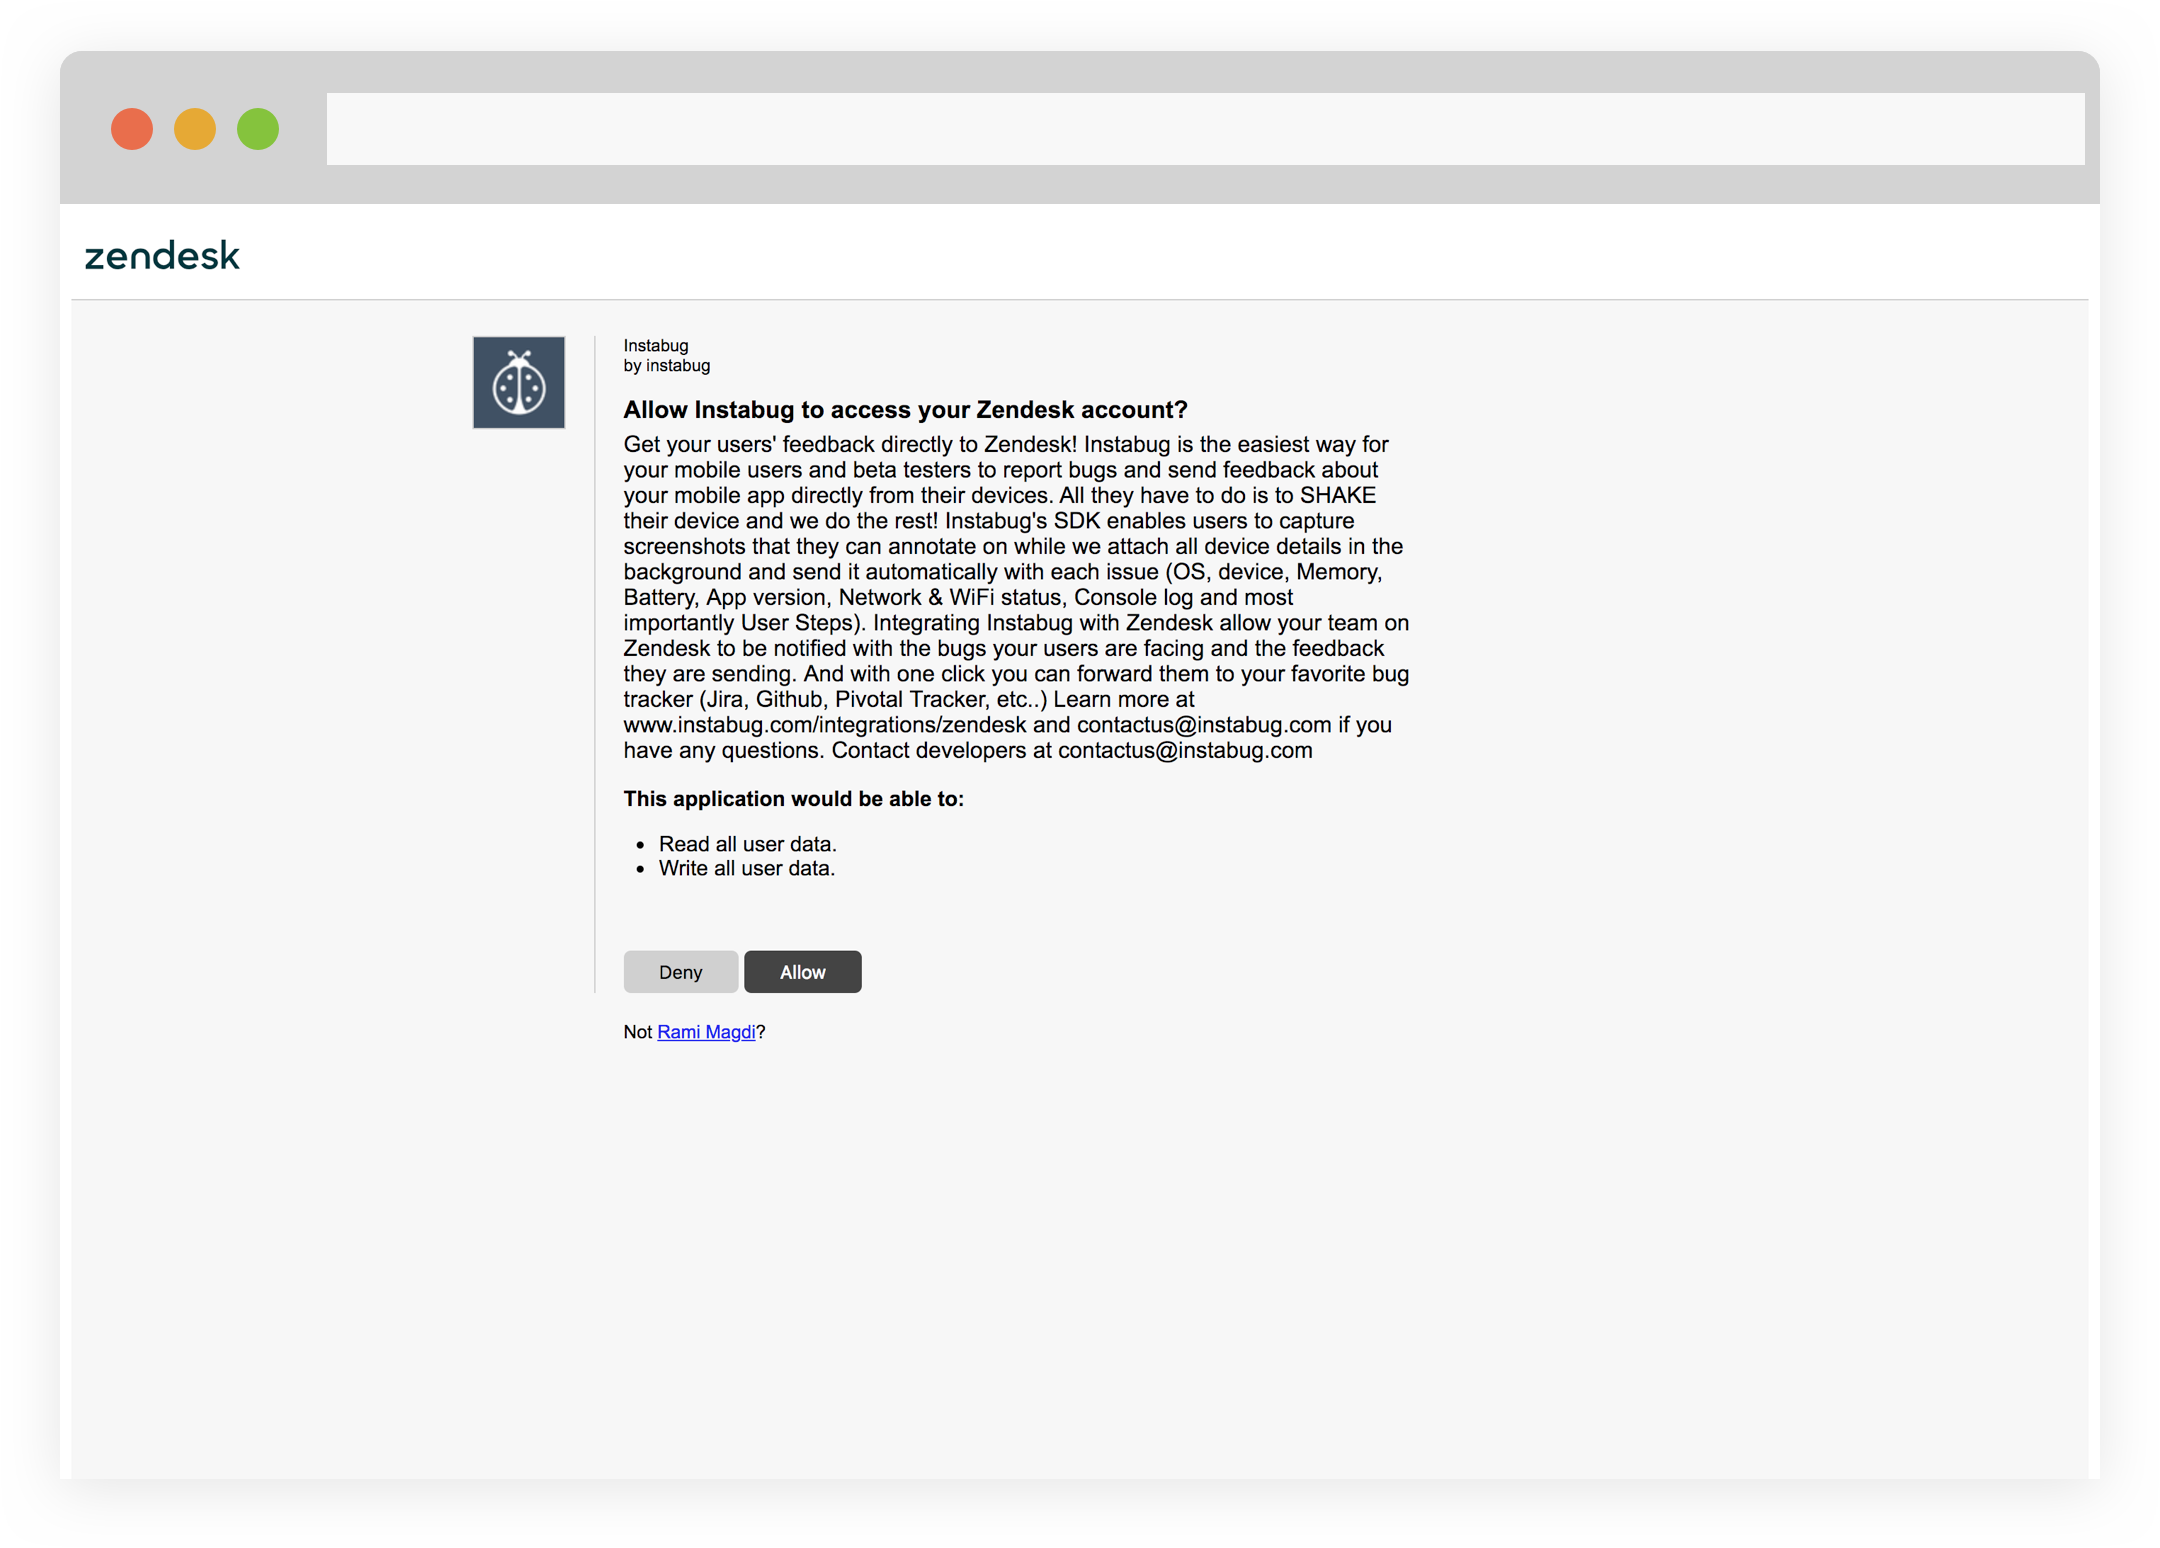
- Once redirected to Zendesk, click Allow to approve the integration.
- Set up the Organization and Assignee to forward to. You can also choose which details get forwarded as well.
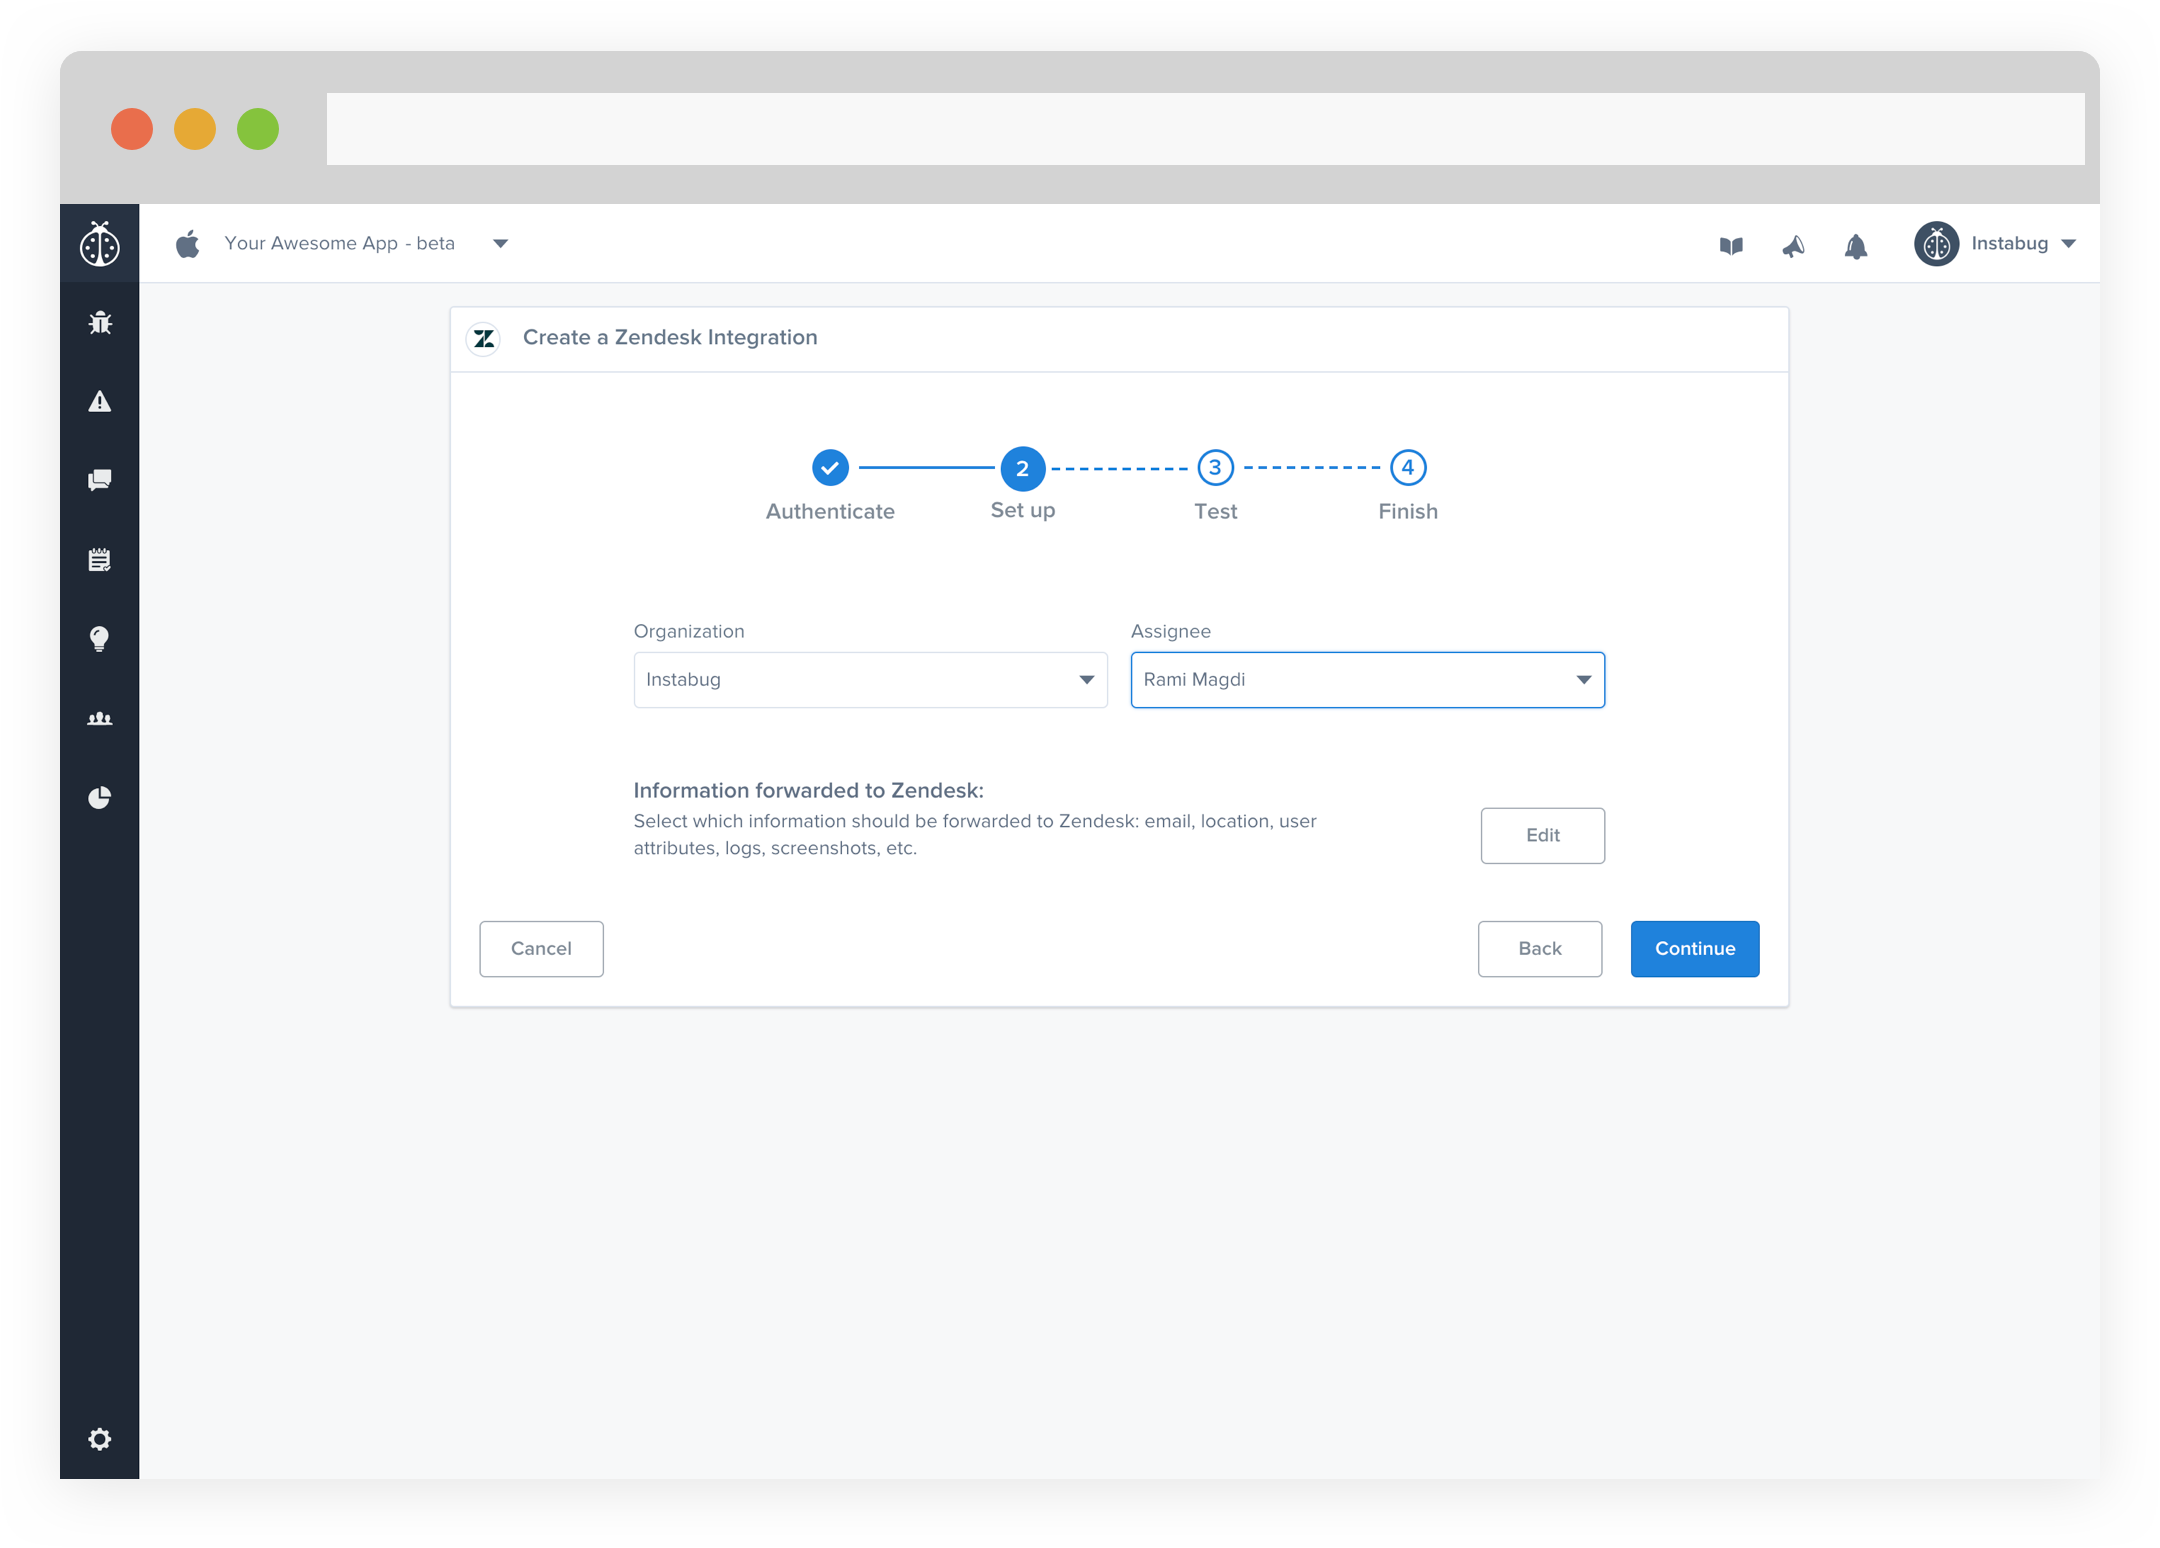
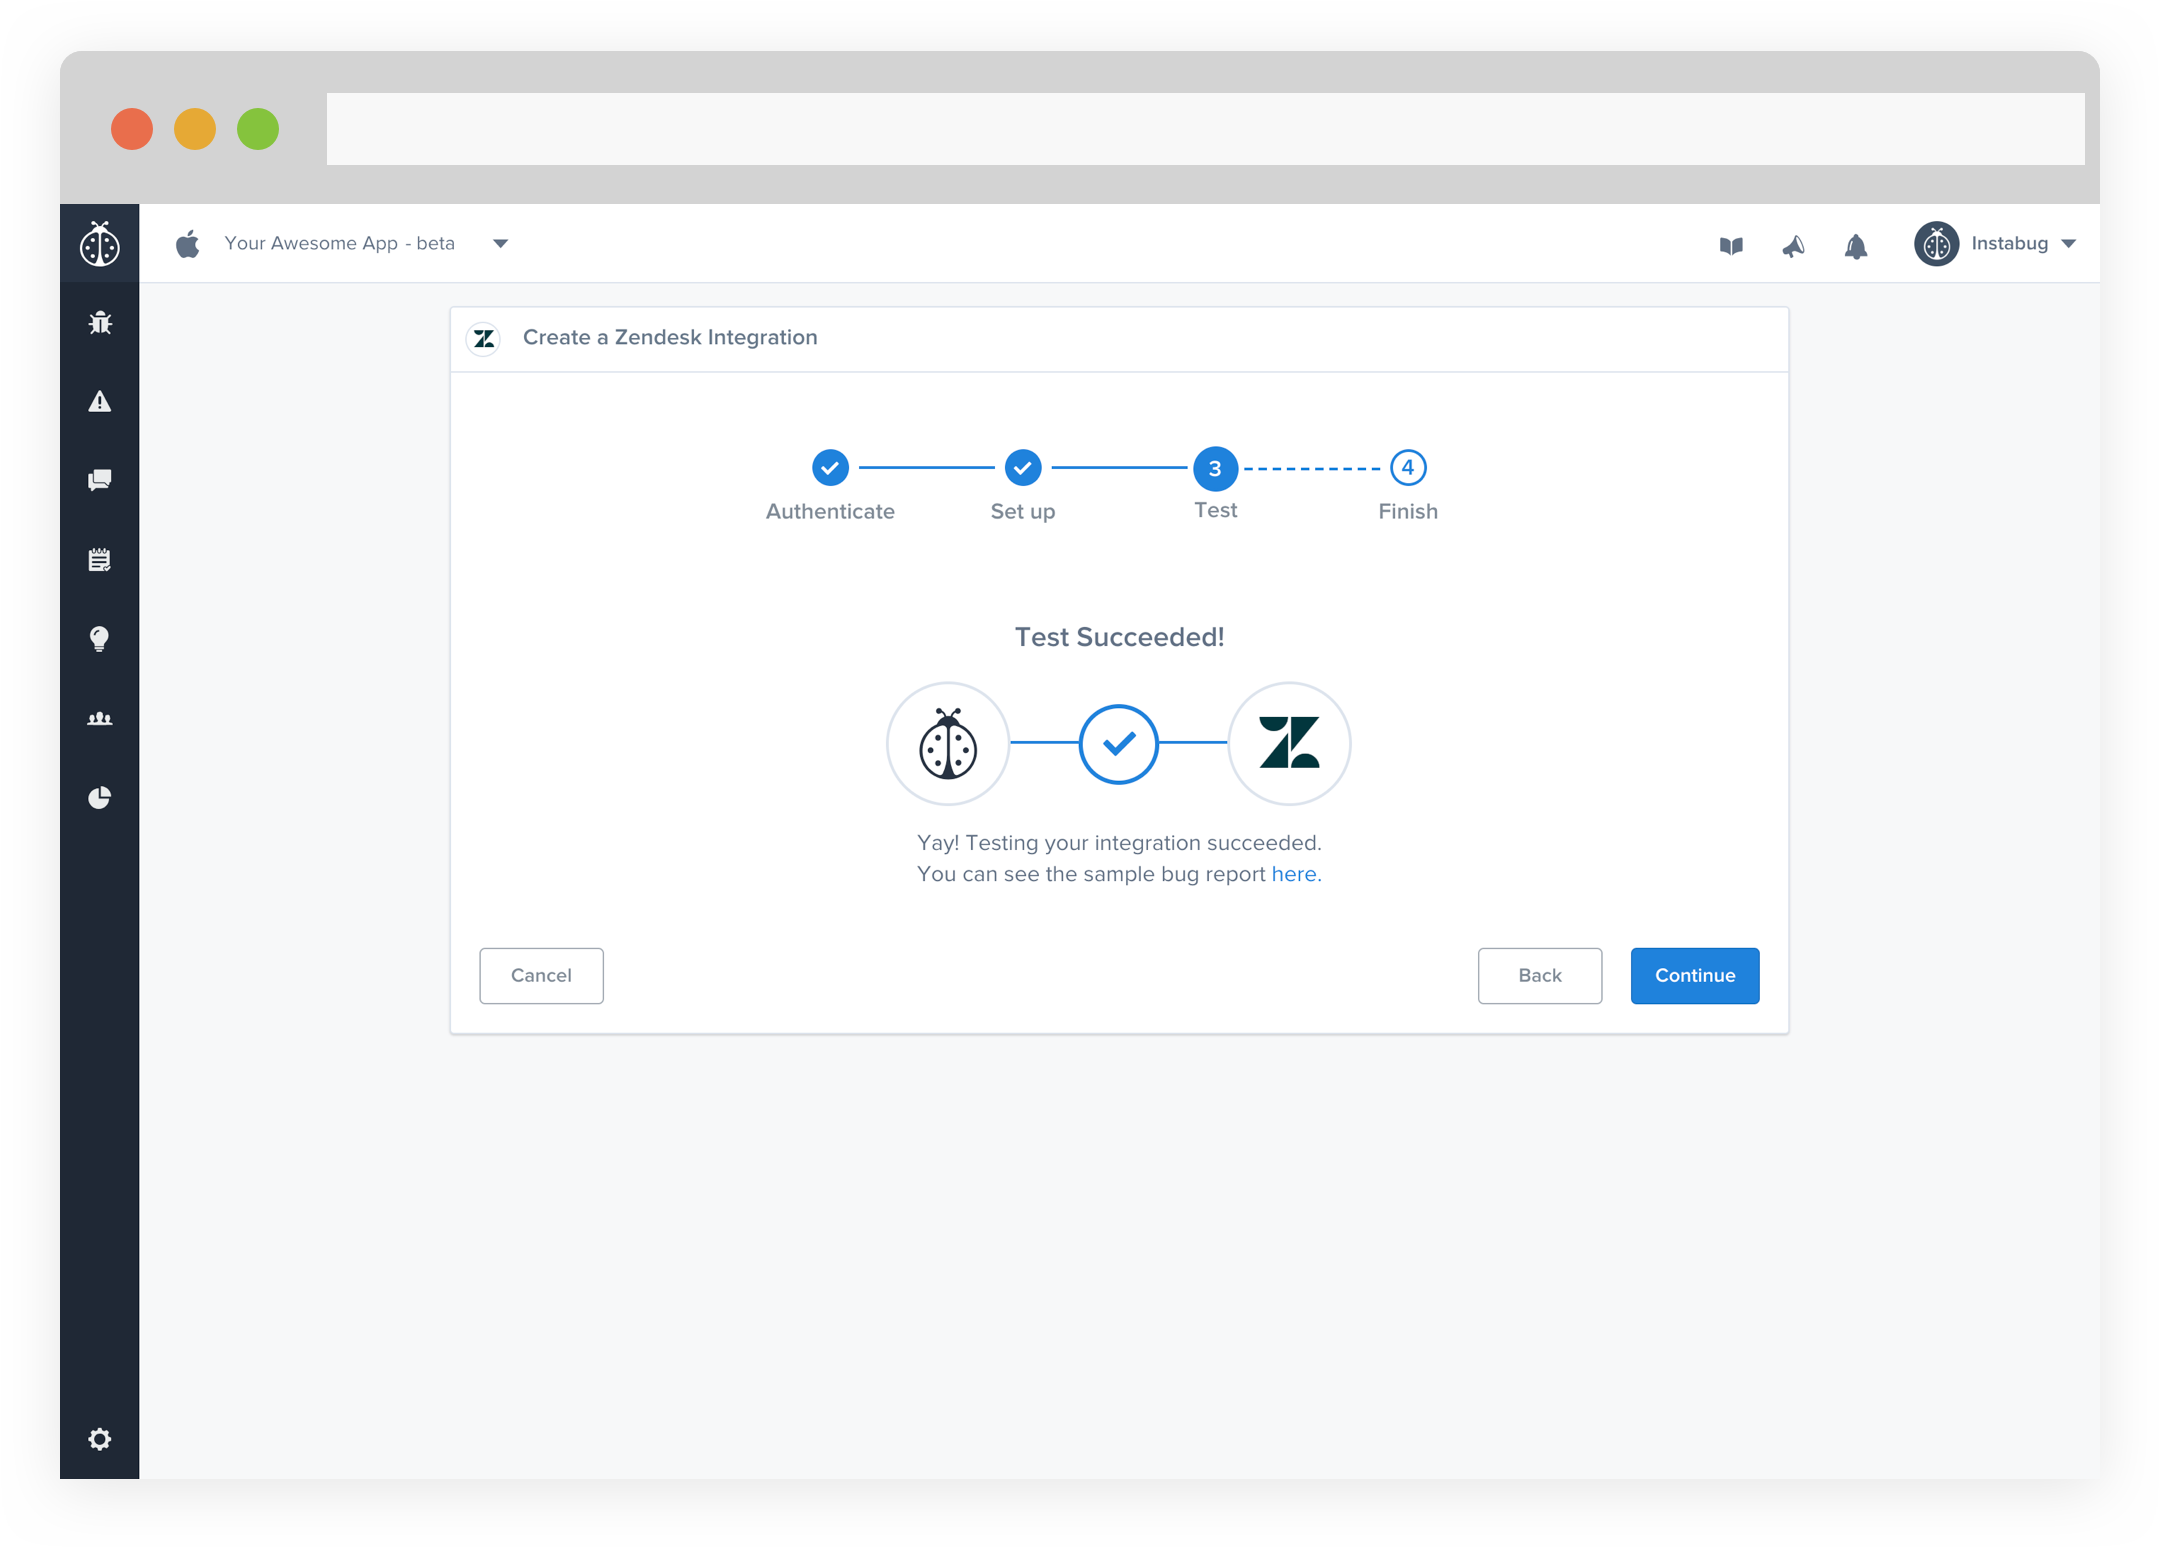
- At this point, we just need to test your integration so that we're sure everything is working smoothly.
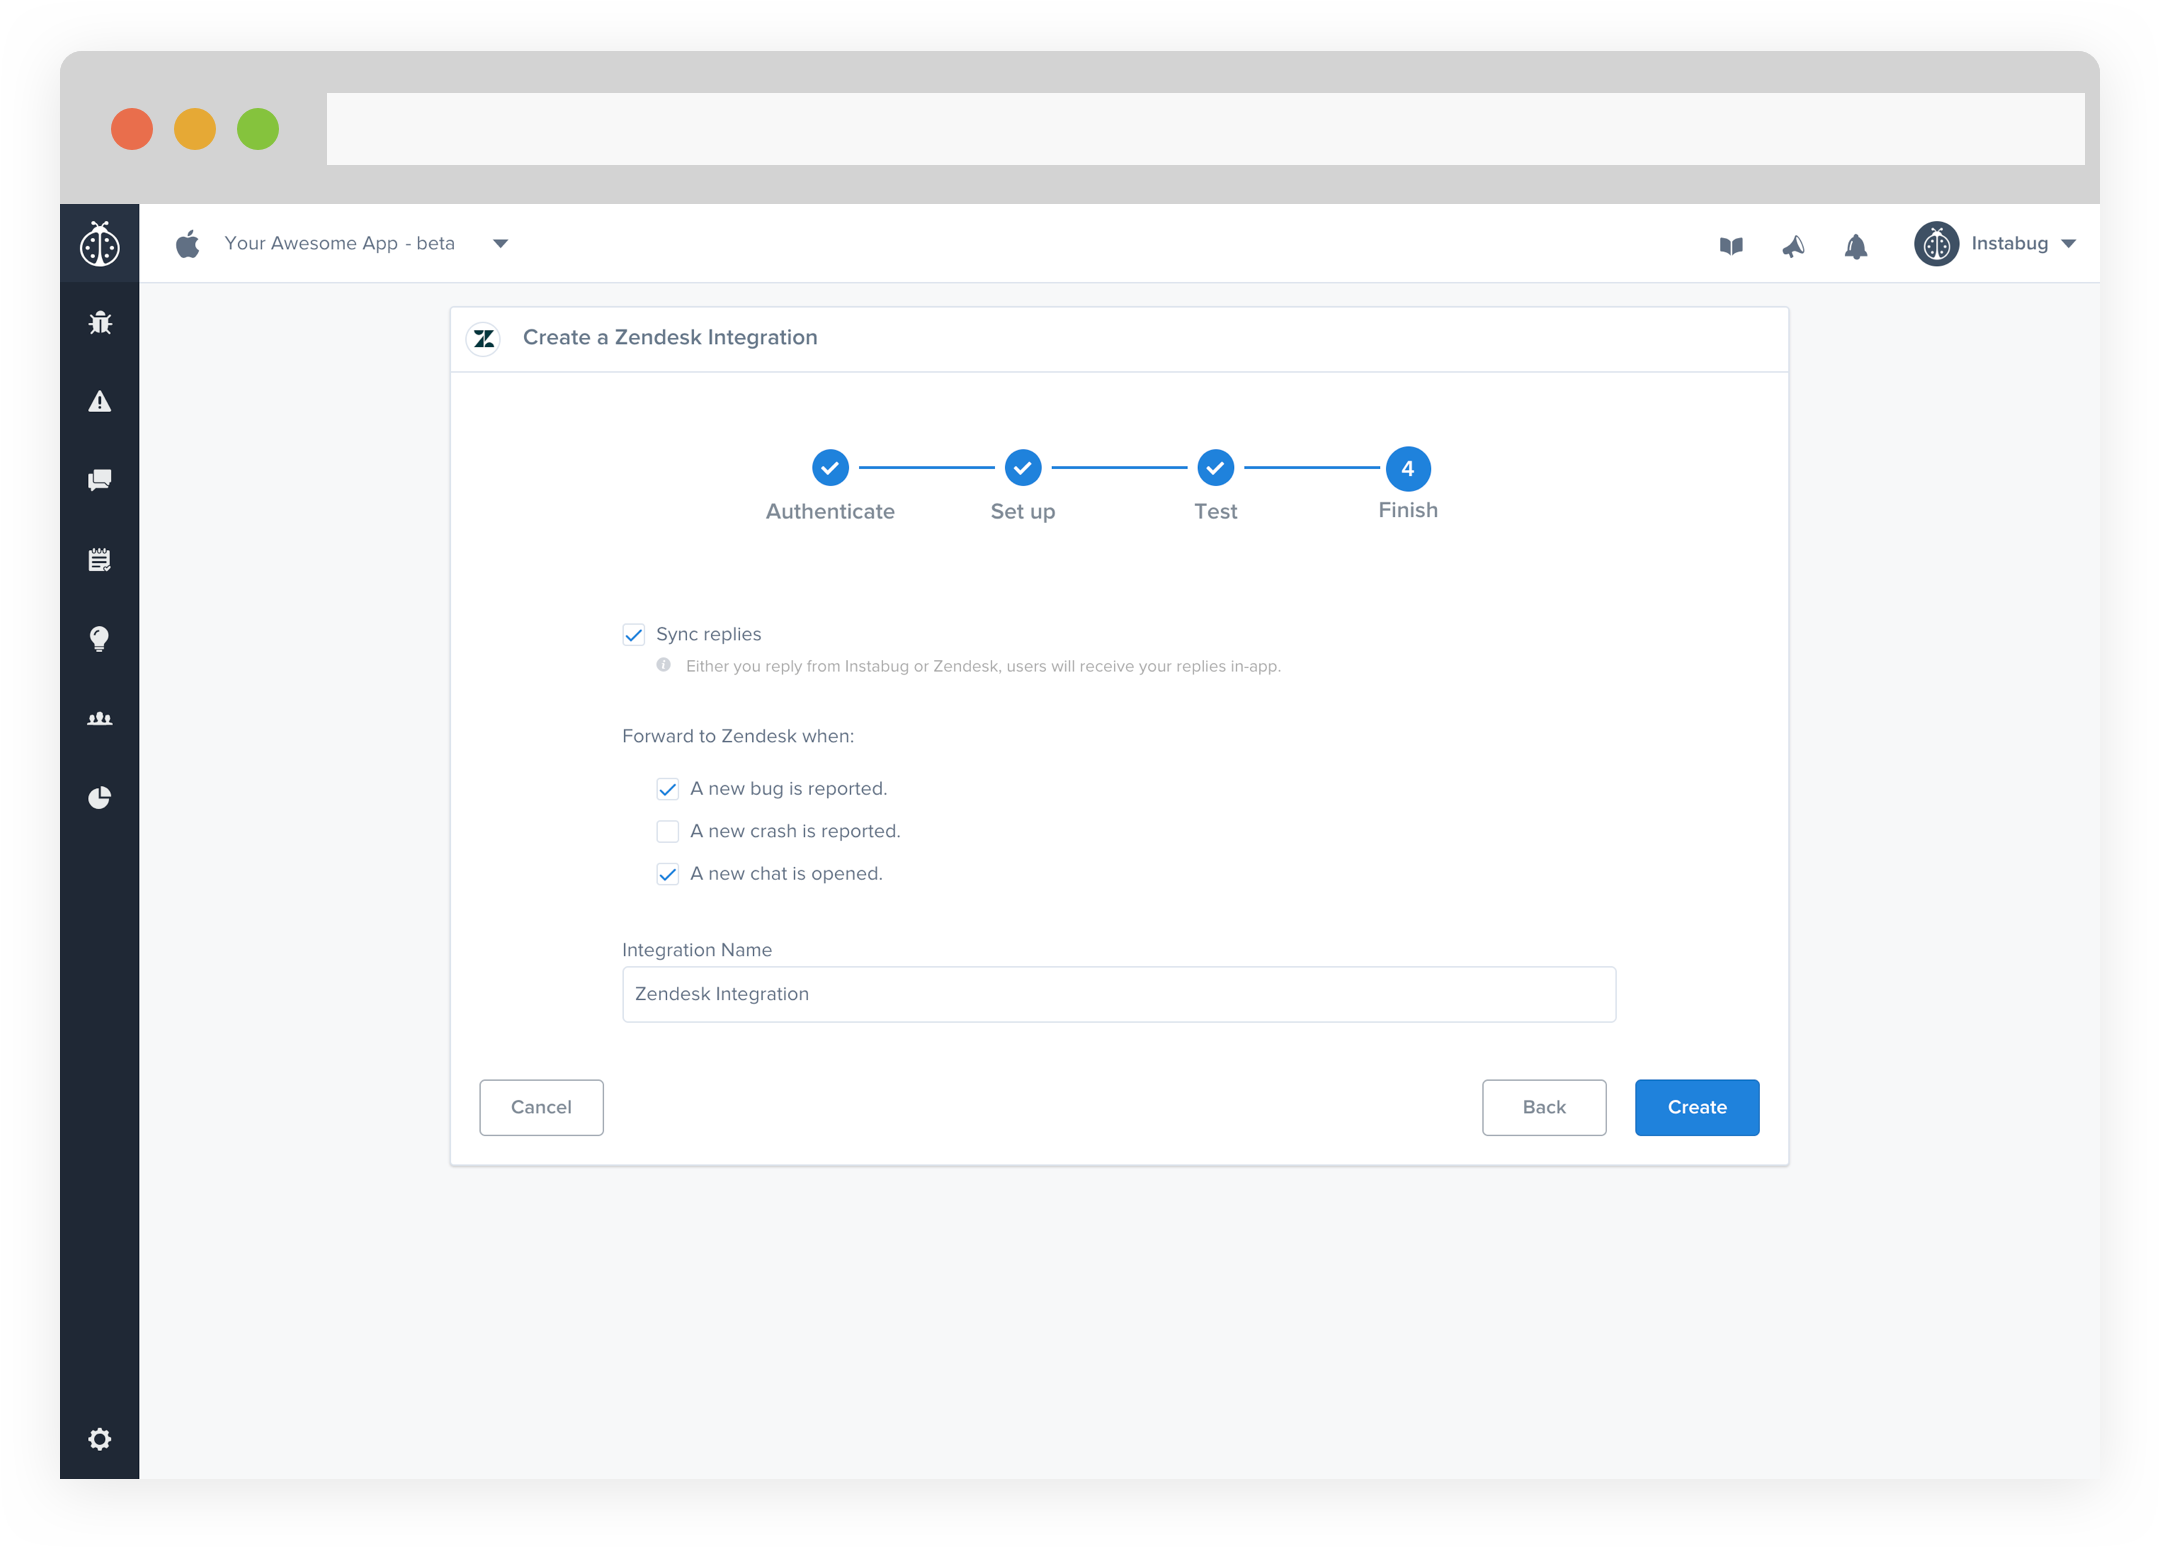
- All done! You're integration is now set-up and ready to go. From this final page, you can allow automatic forwarding (don't worry though, this can be reconfigured at any time!) as well as synced replies.
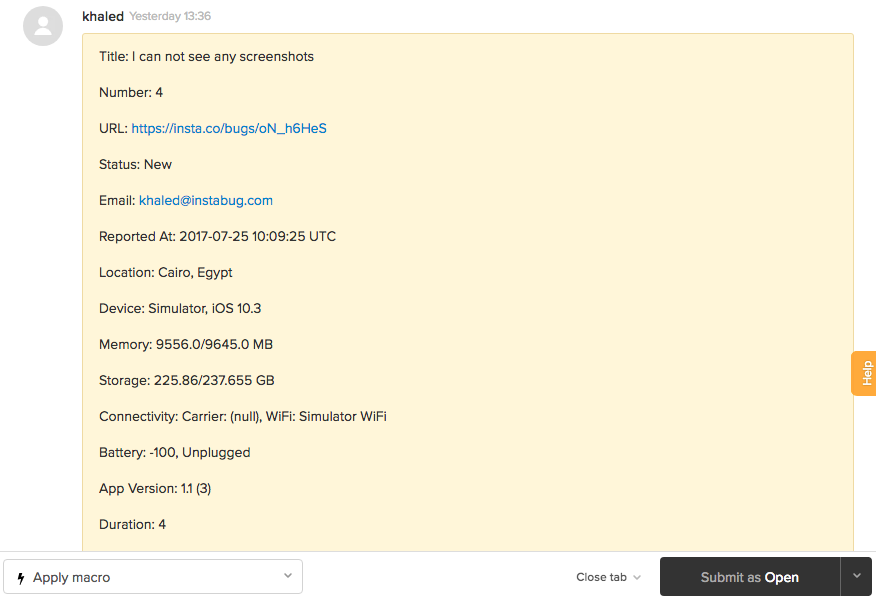
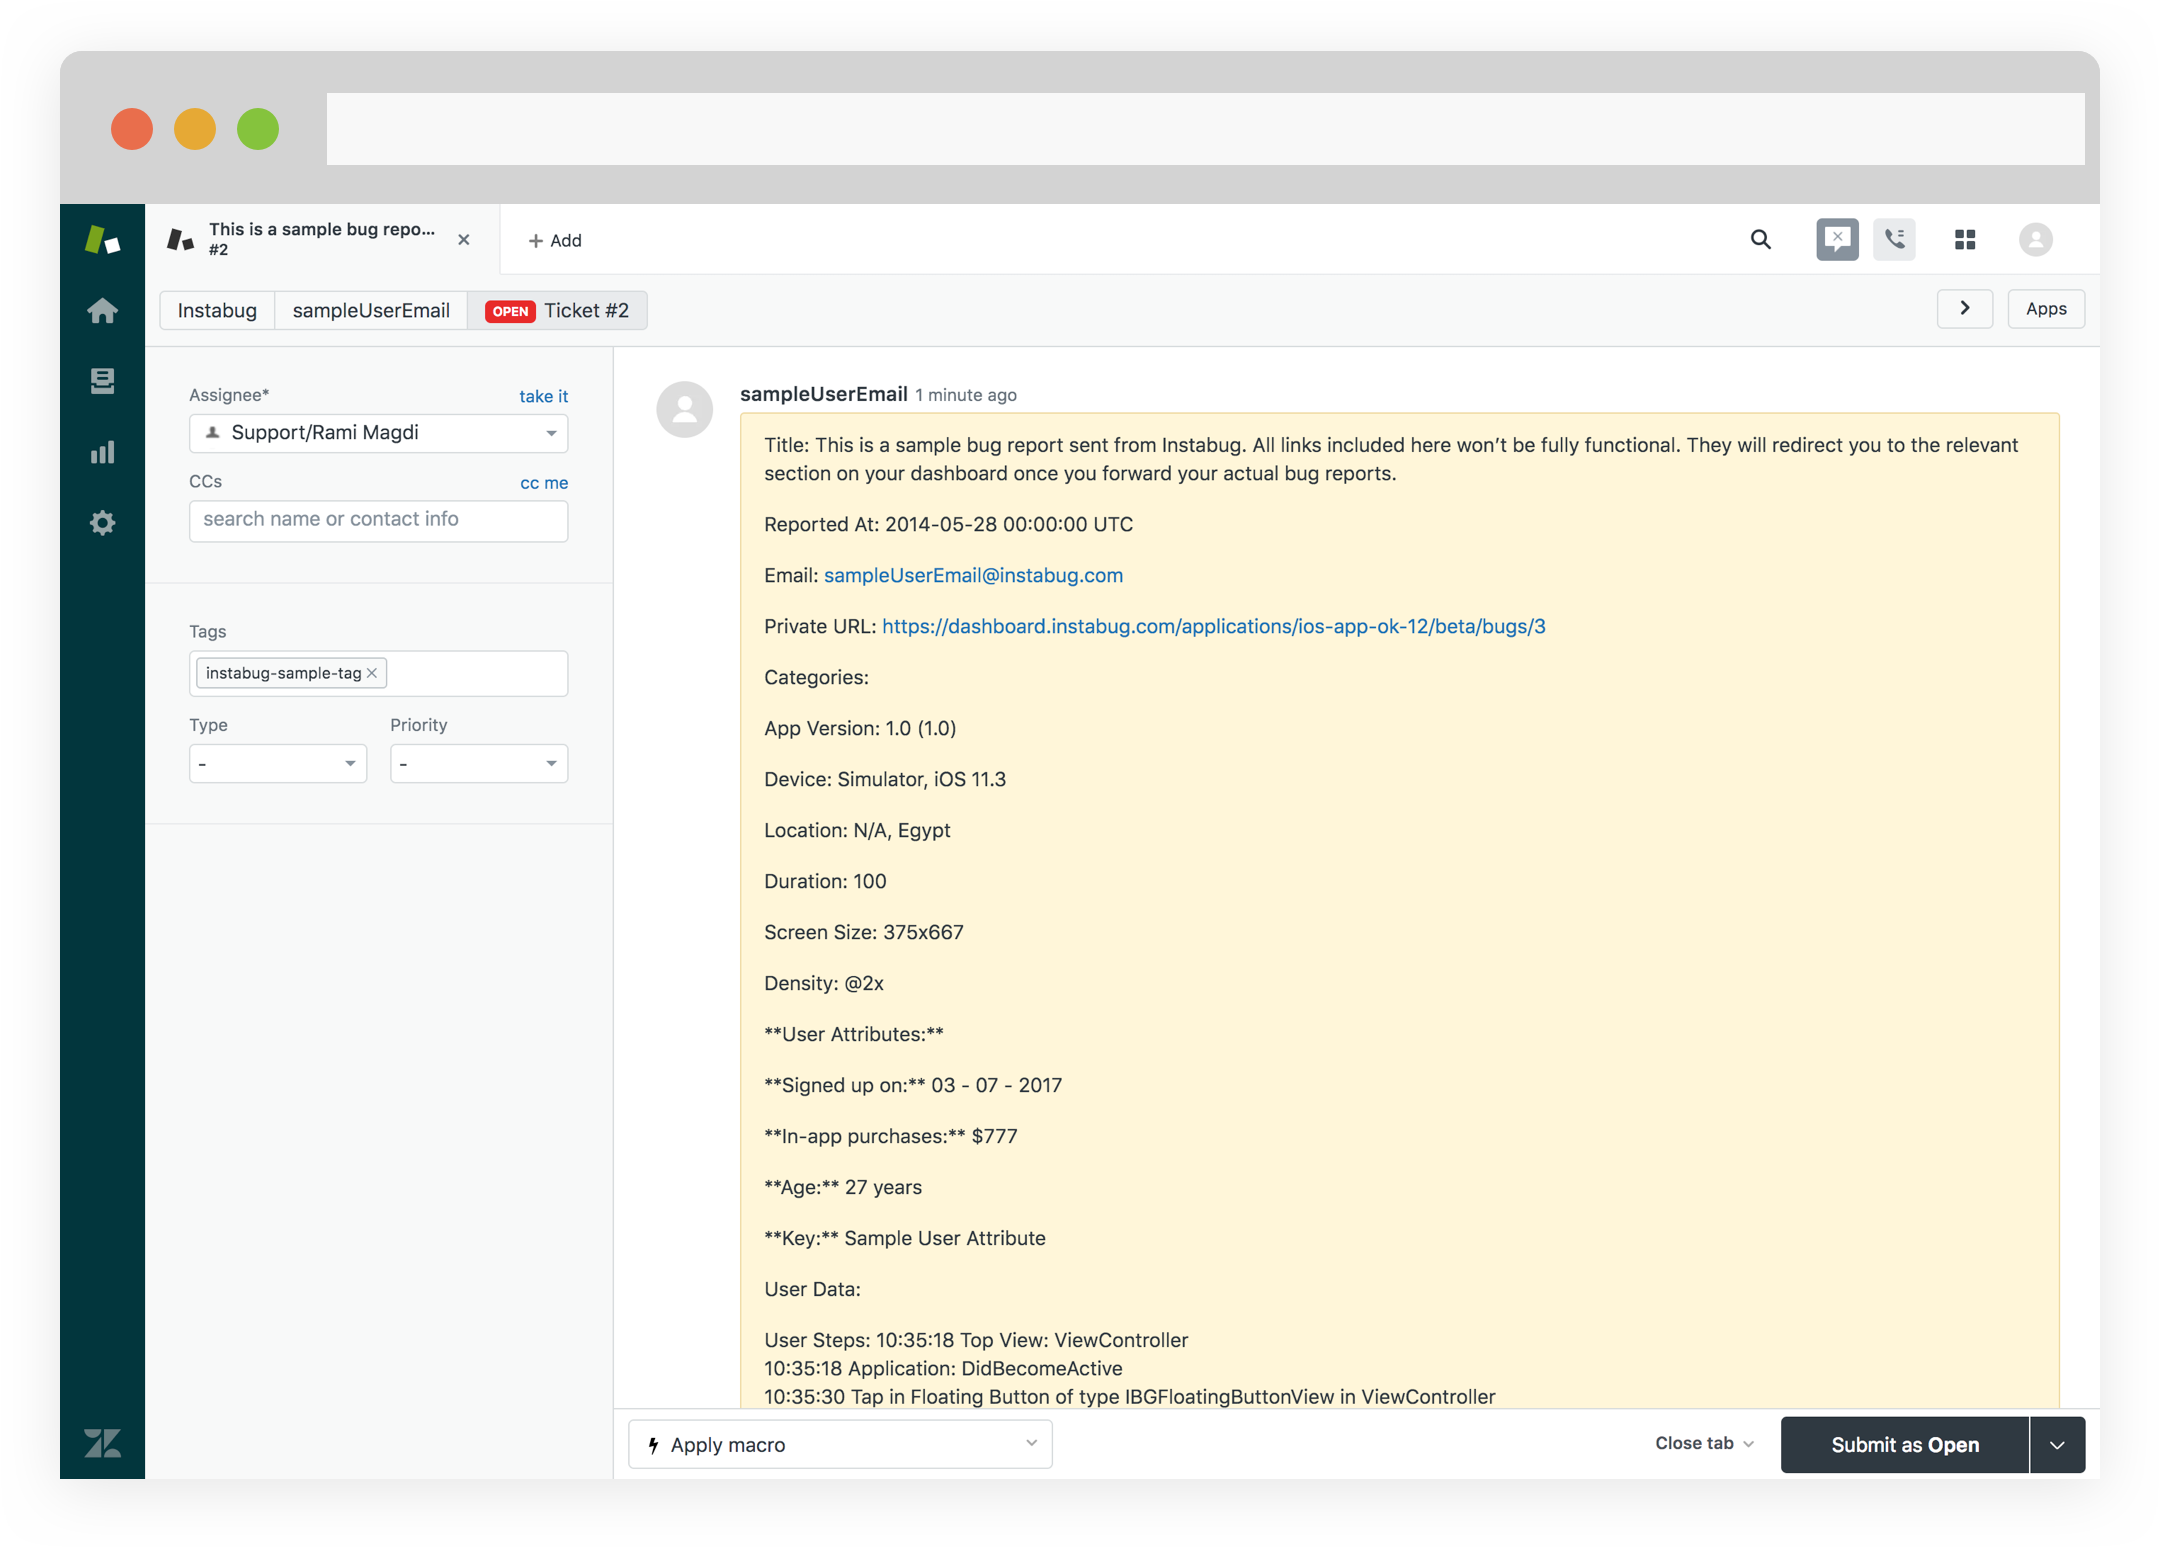
- Issues forwarded to Zendesk should look something like this.
Manage your projects and issues right inside GitHub by following these simple steps.
- Select the Organization you would like to forward to. If it's not in the drop-down list, you can select Add more organizations to open Github and add your Organization.
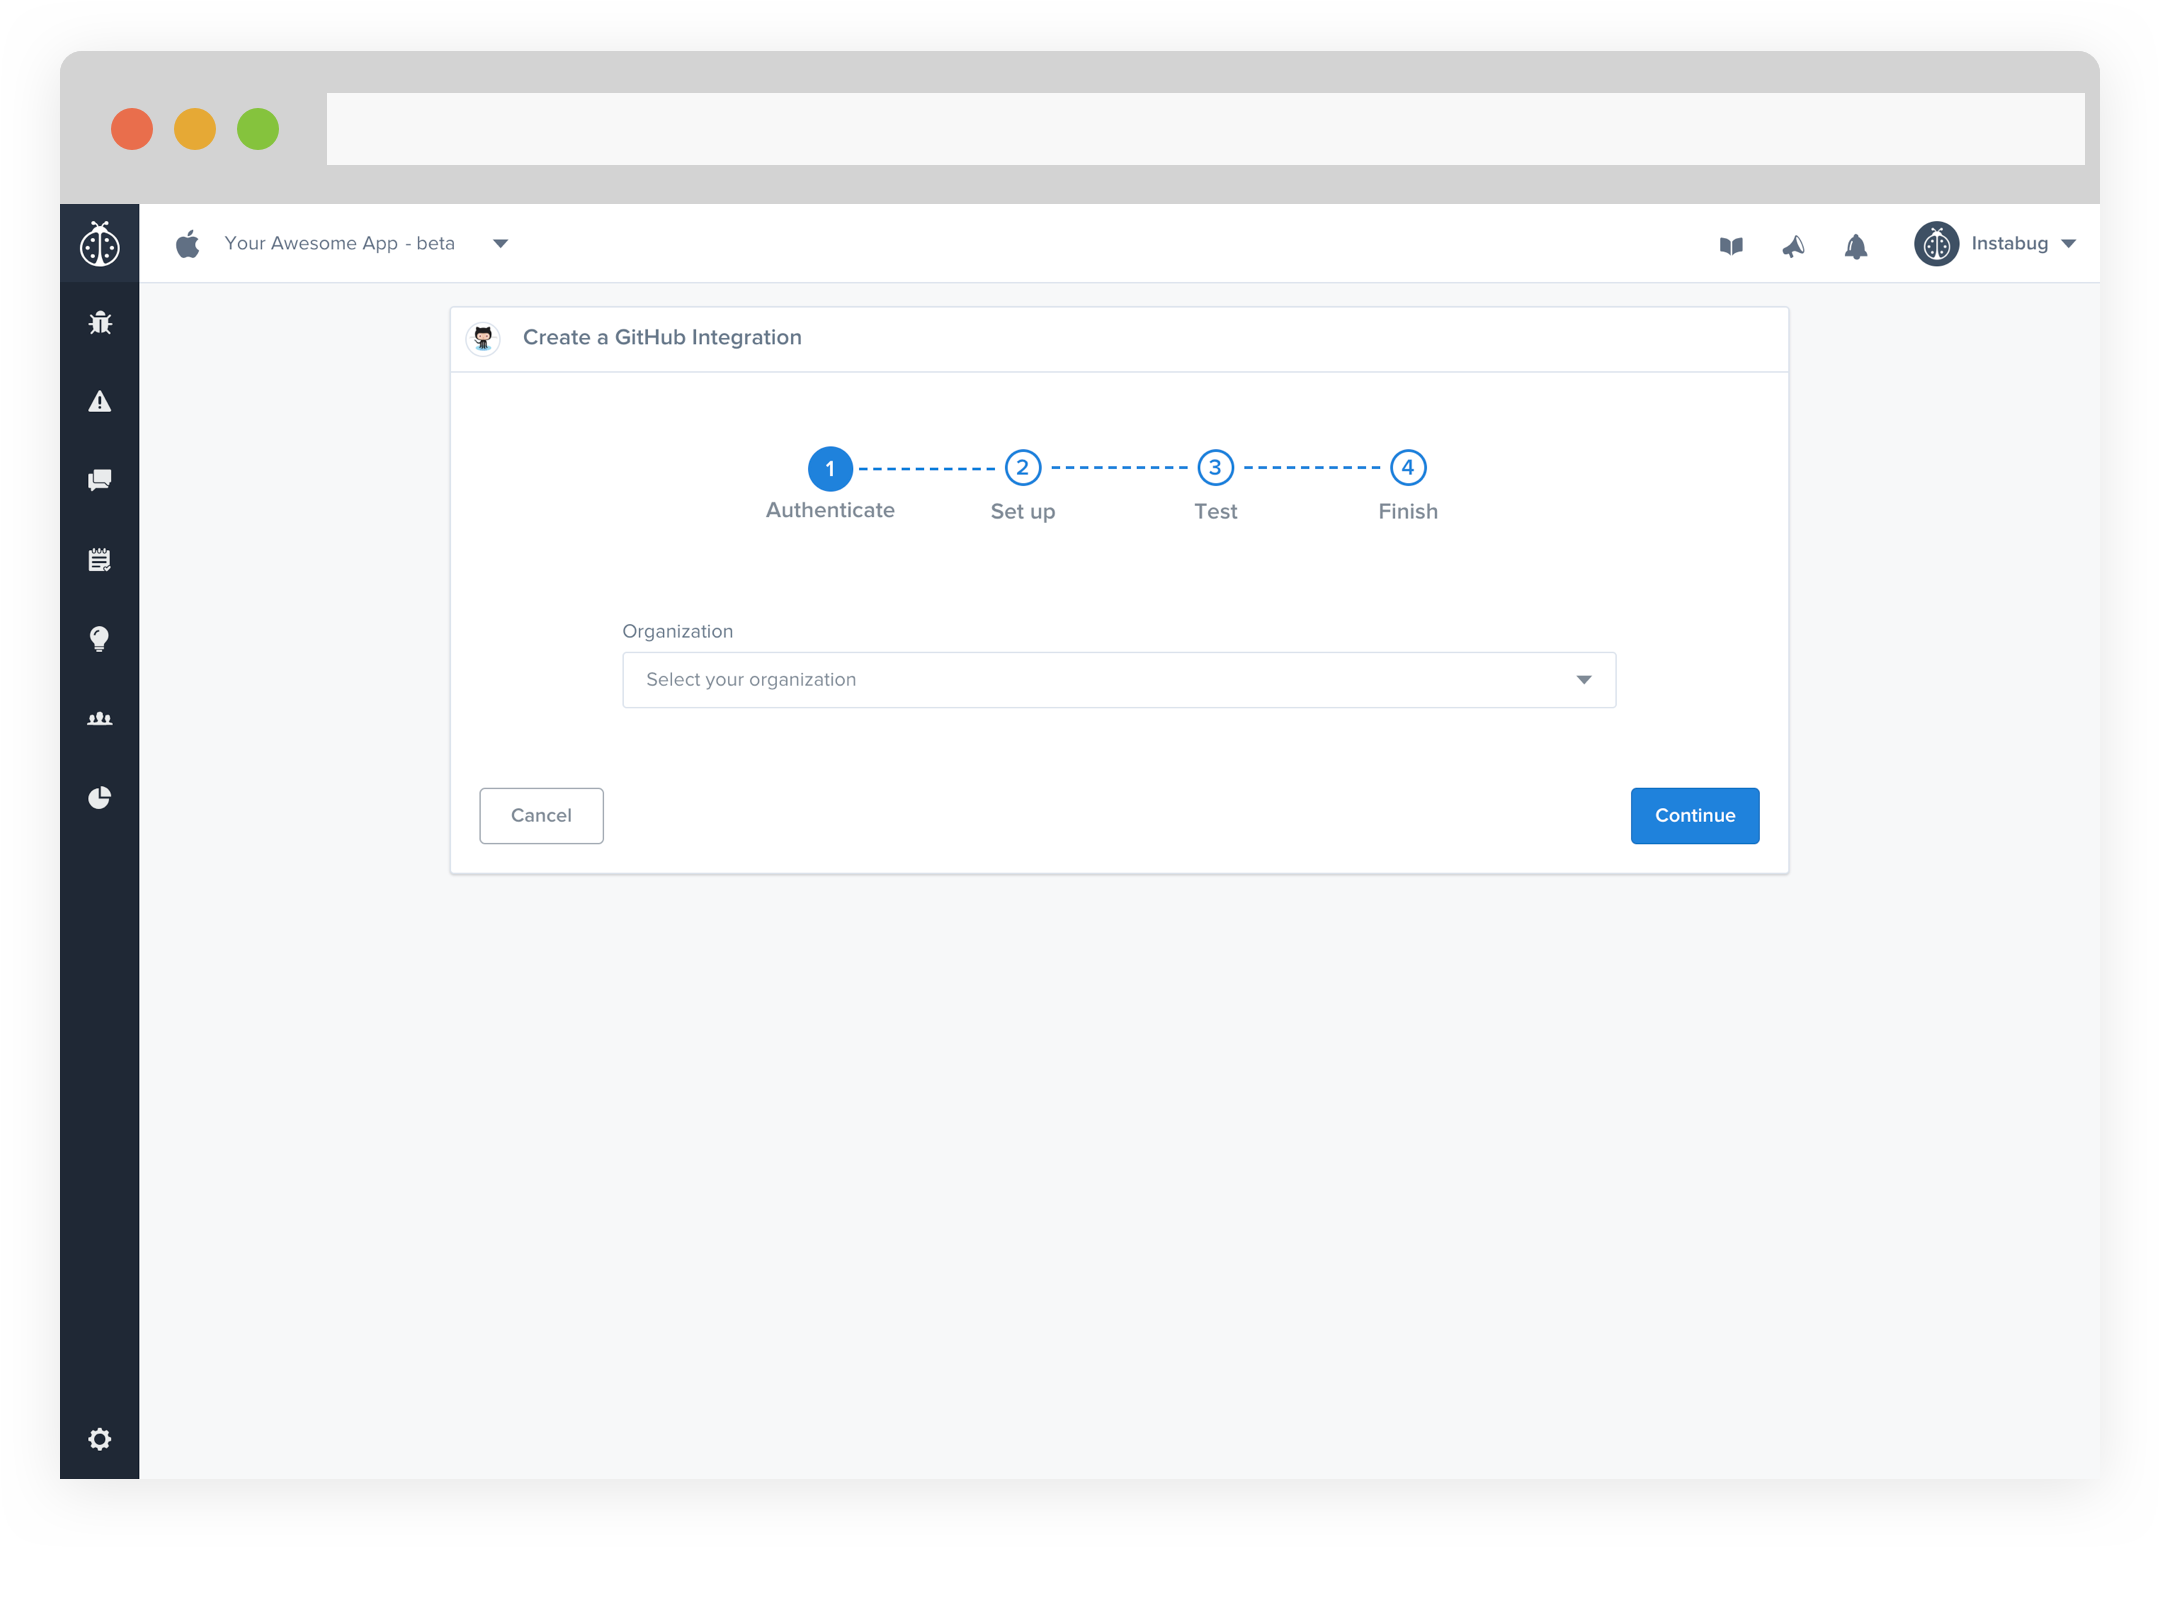
- When adding an Organization, you will be redirected to GitHub to pick an organization to Install Instabug in.
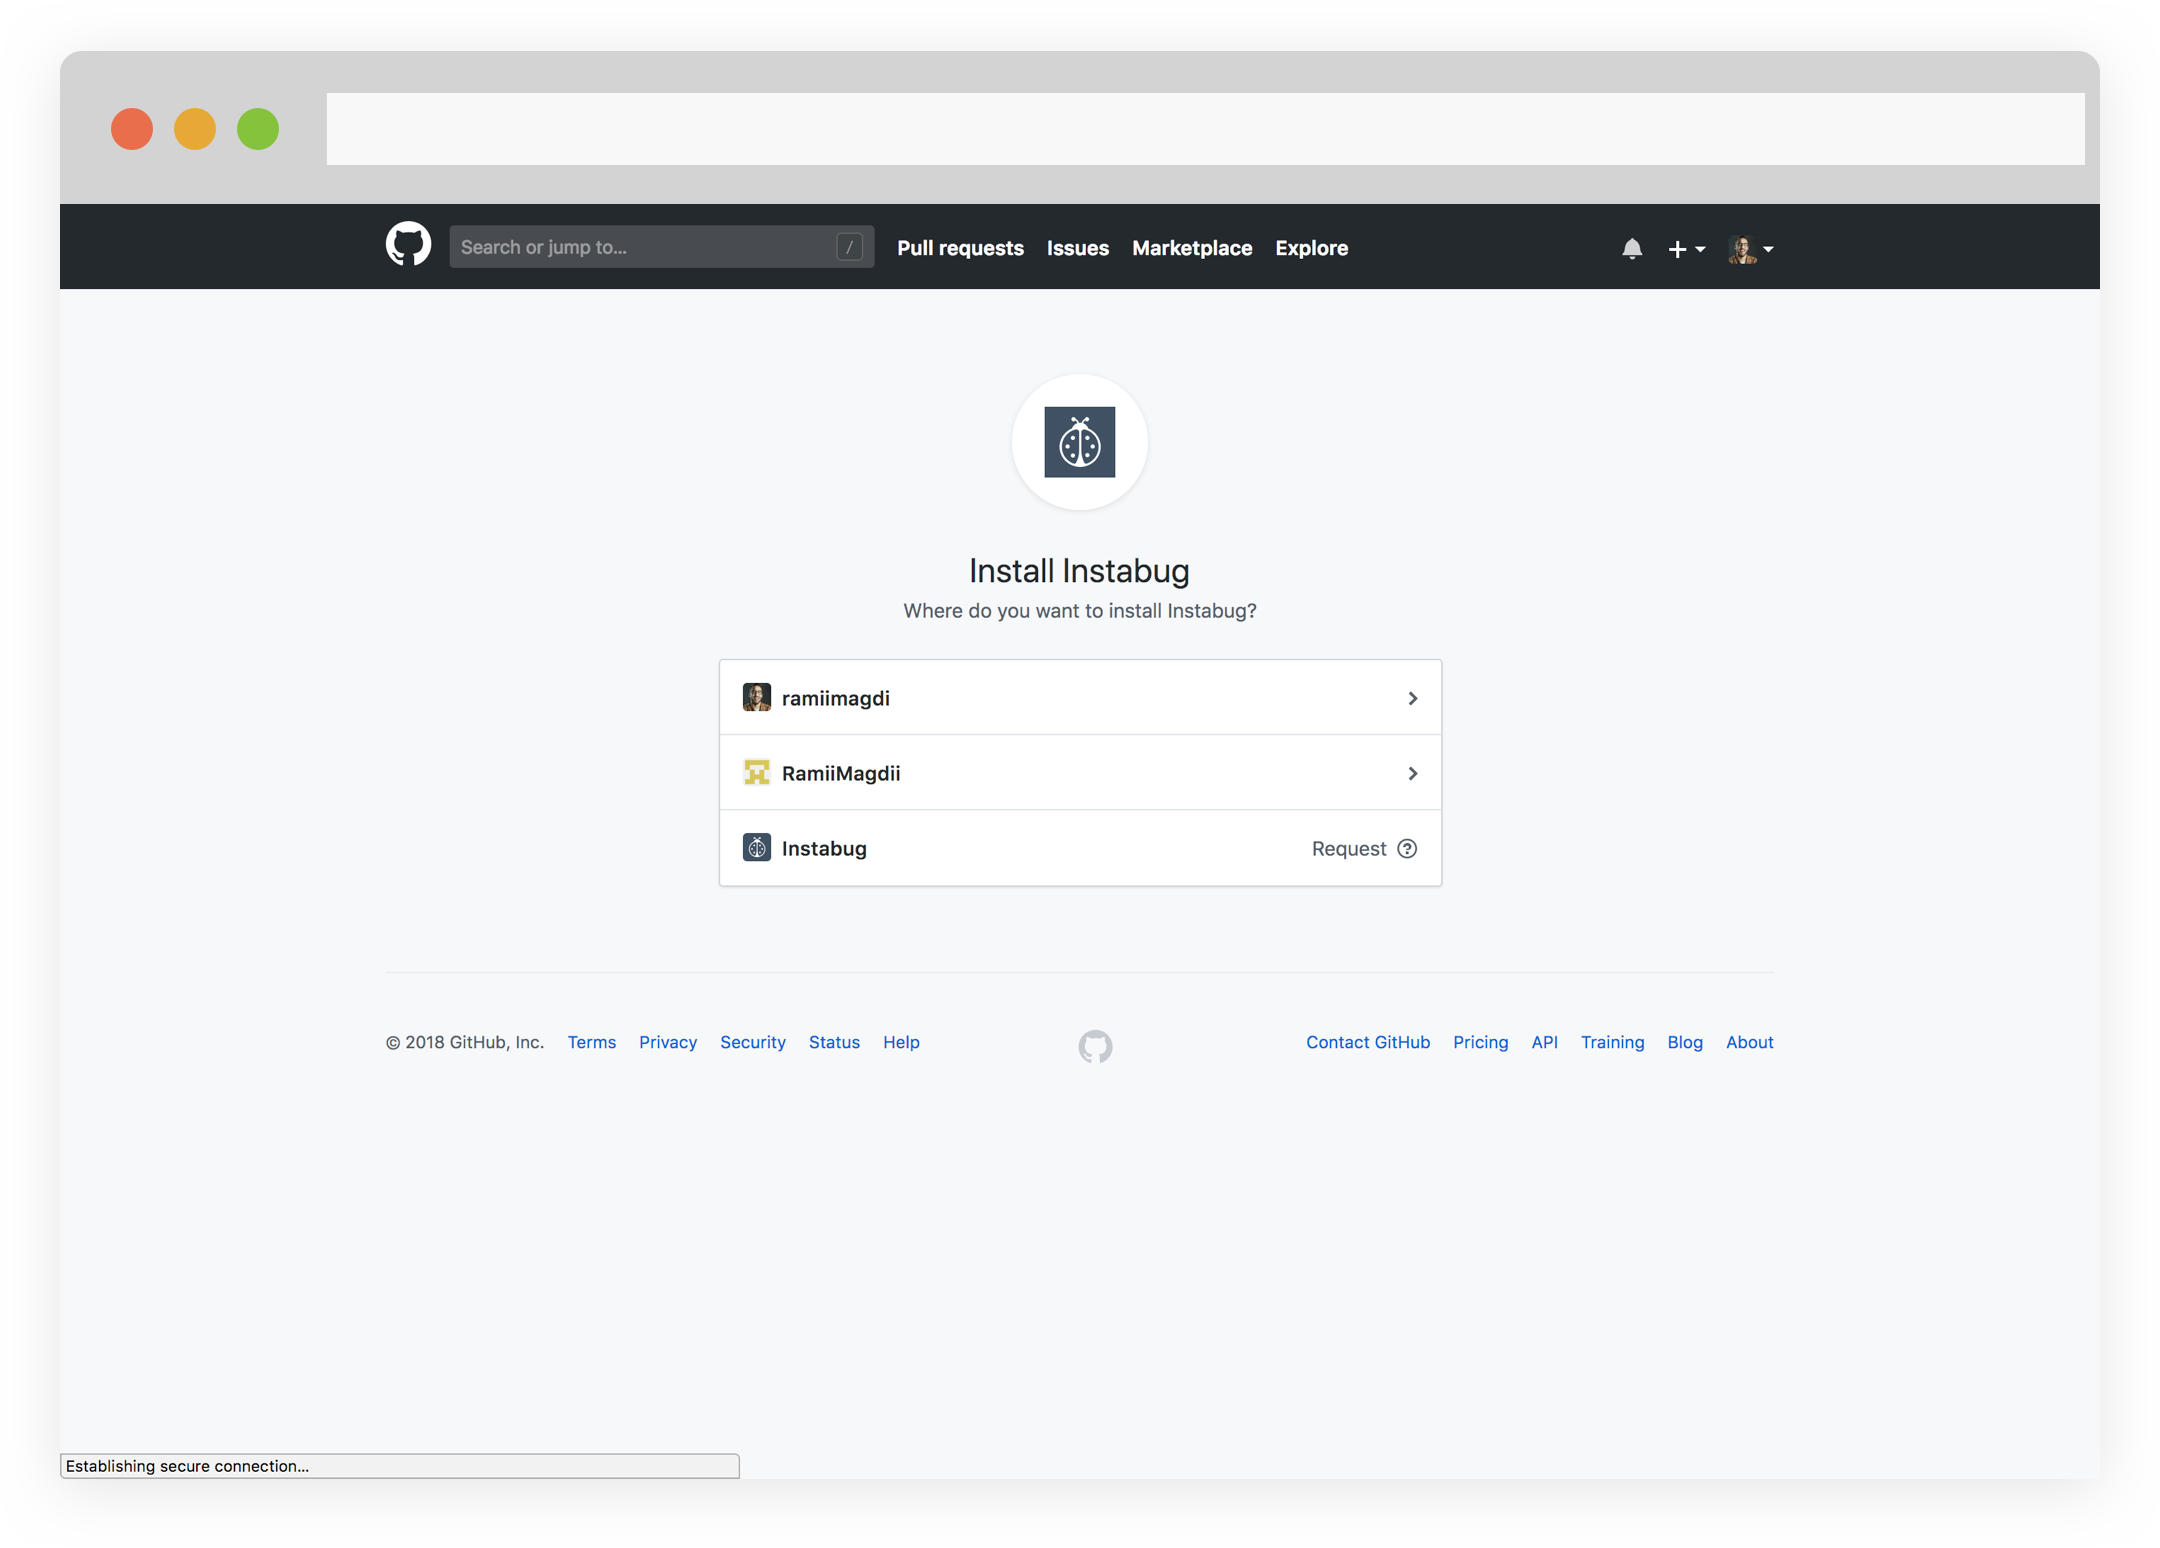
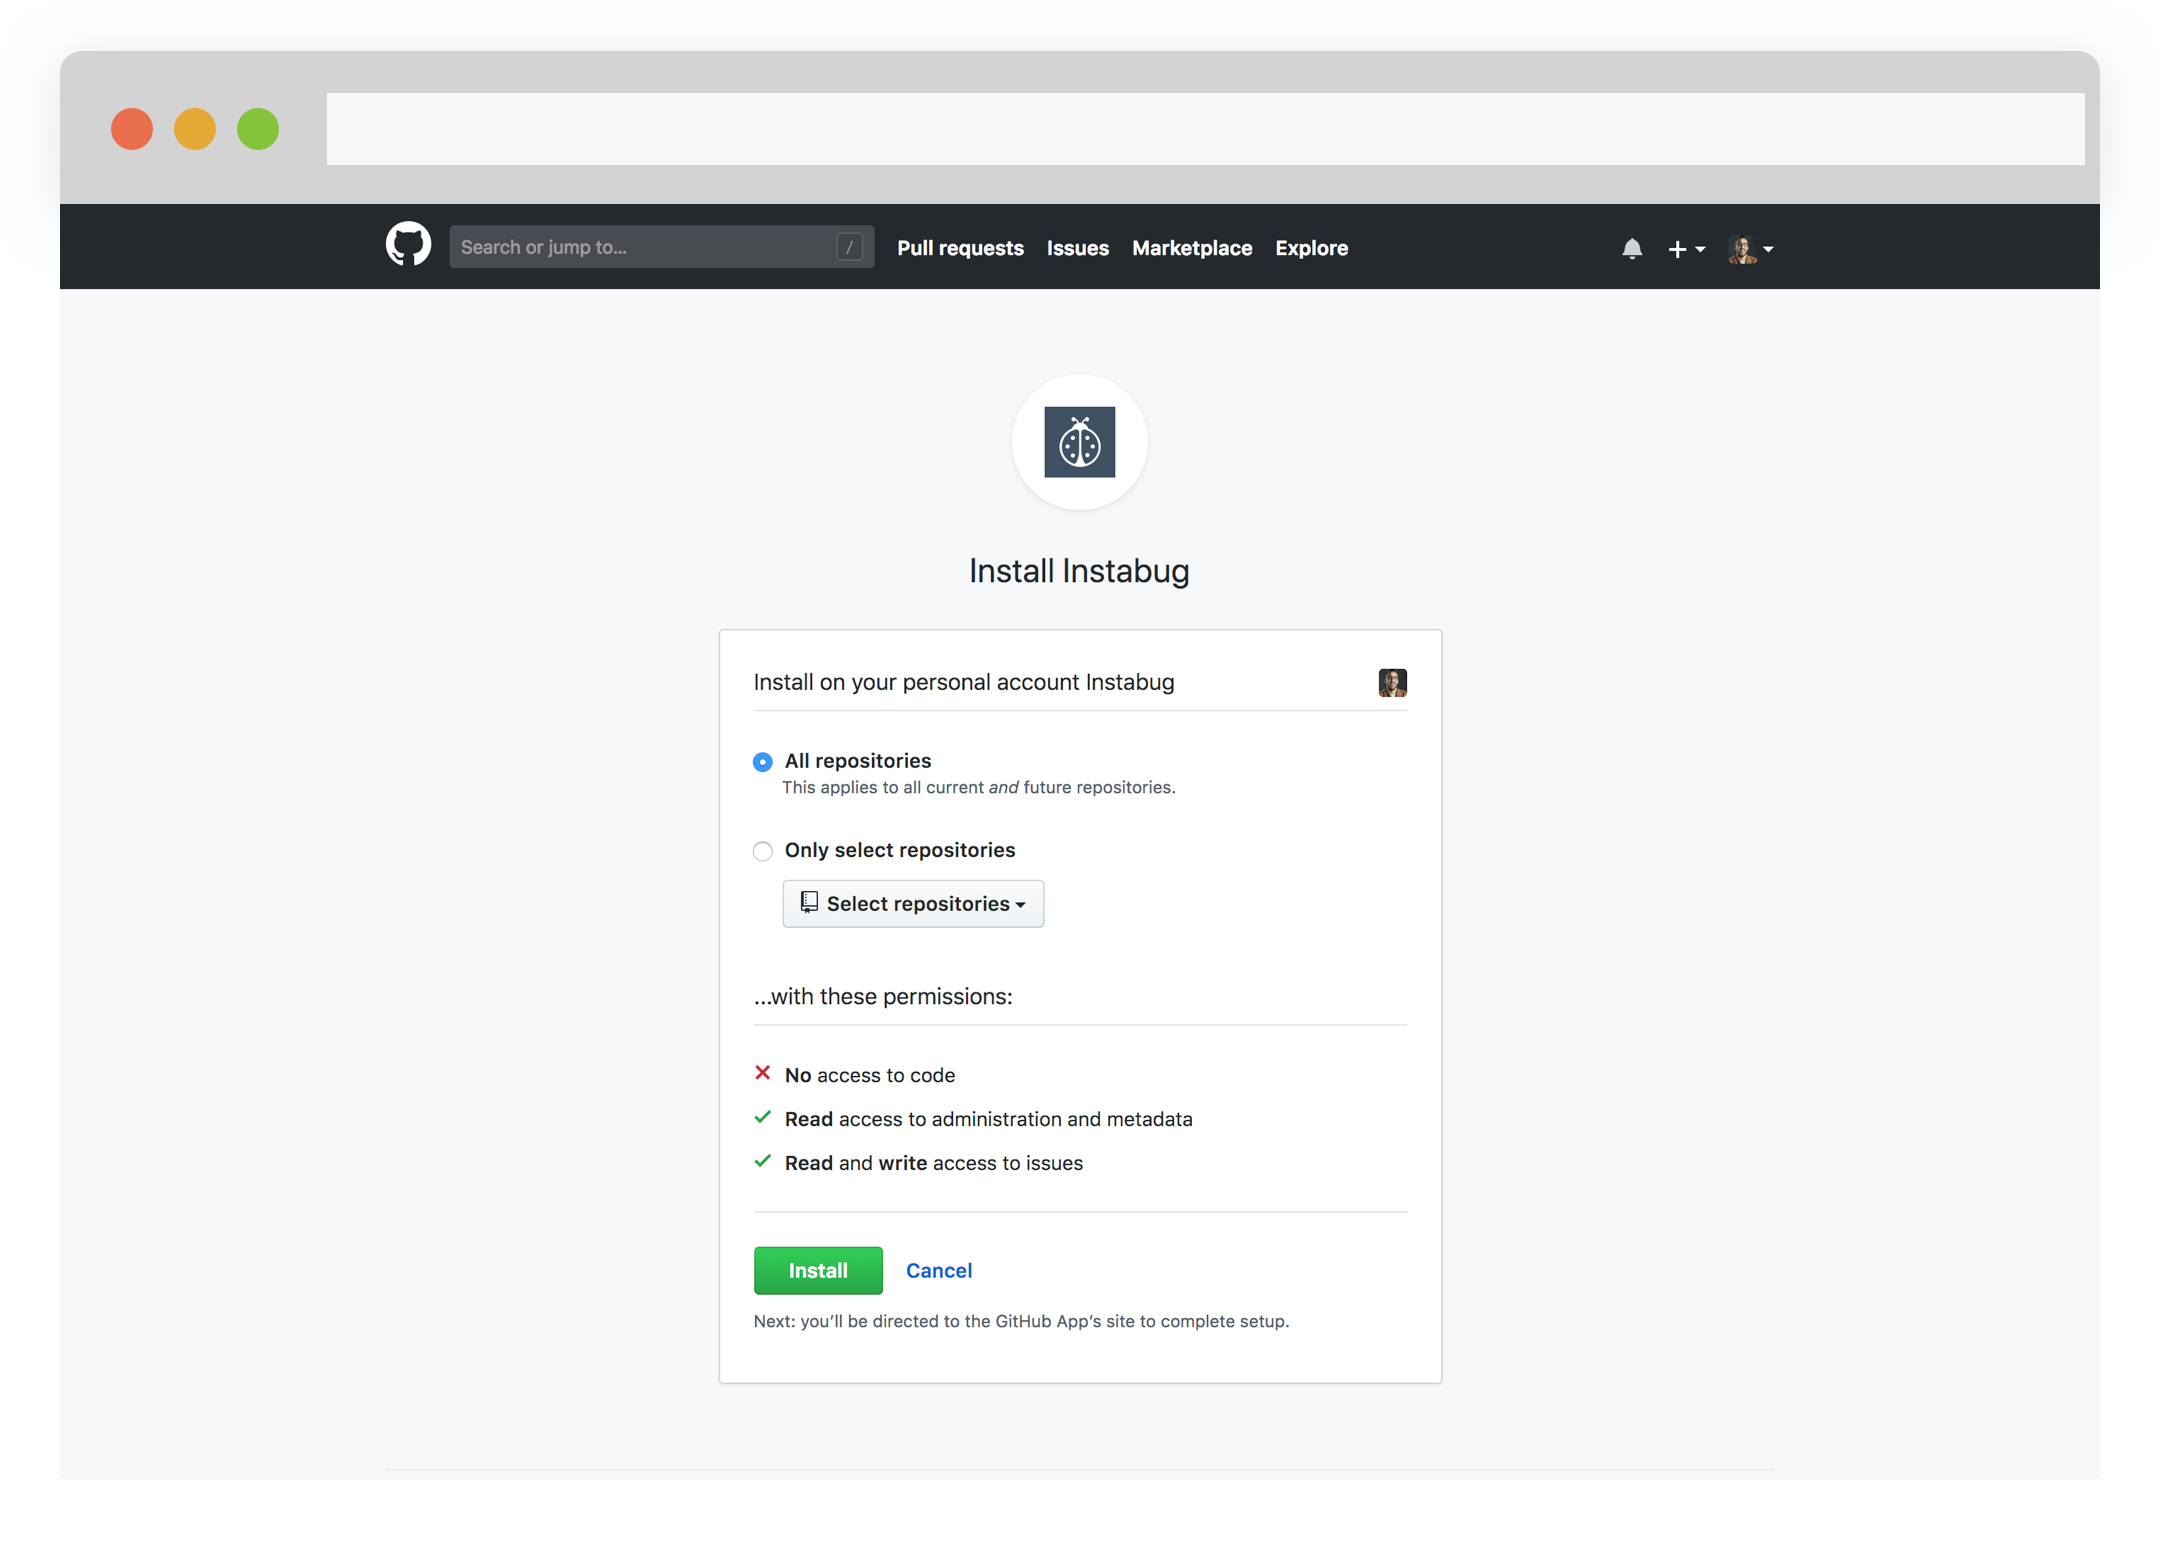
- Then you will be asked to grant Instabug access to some or all repositories that belong to the organization. Select the repositories and click Install.
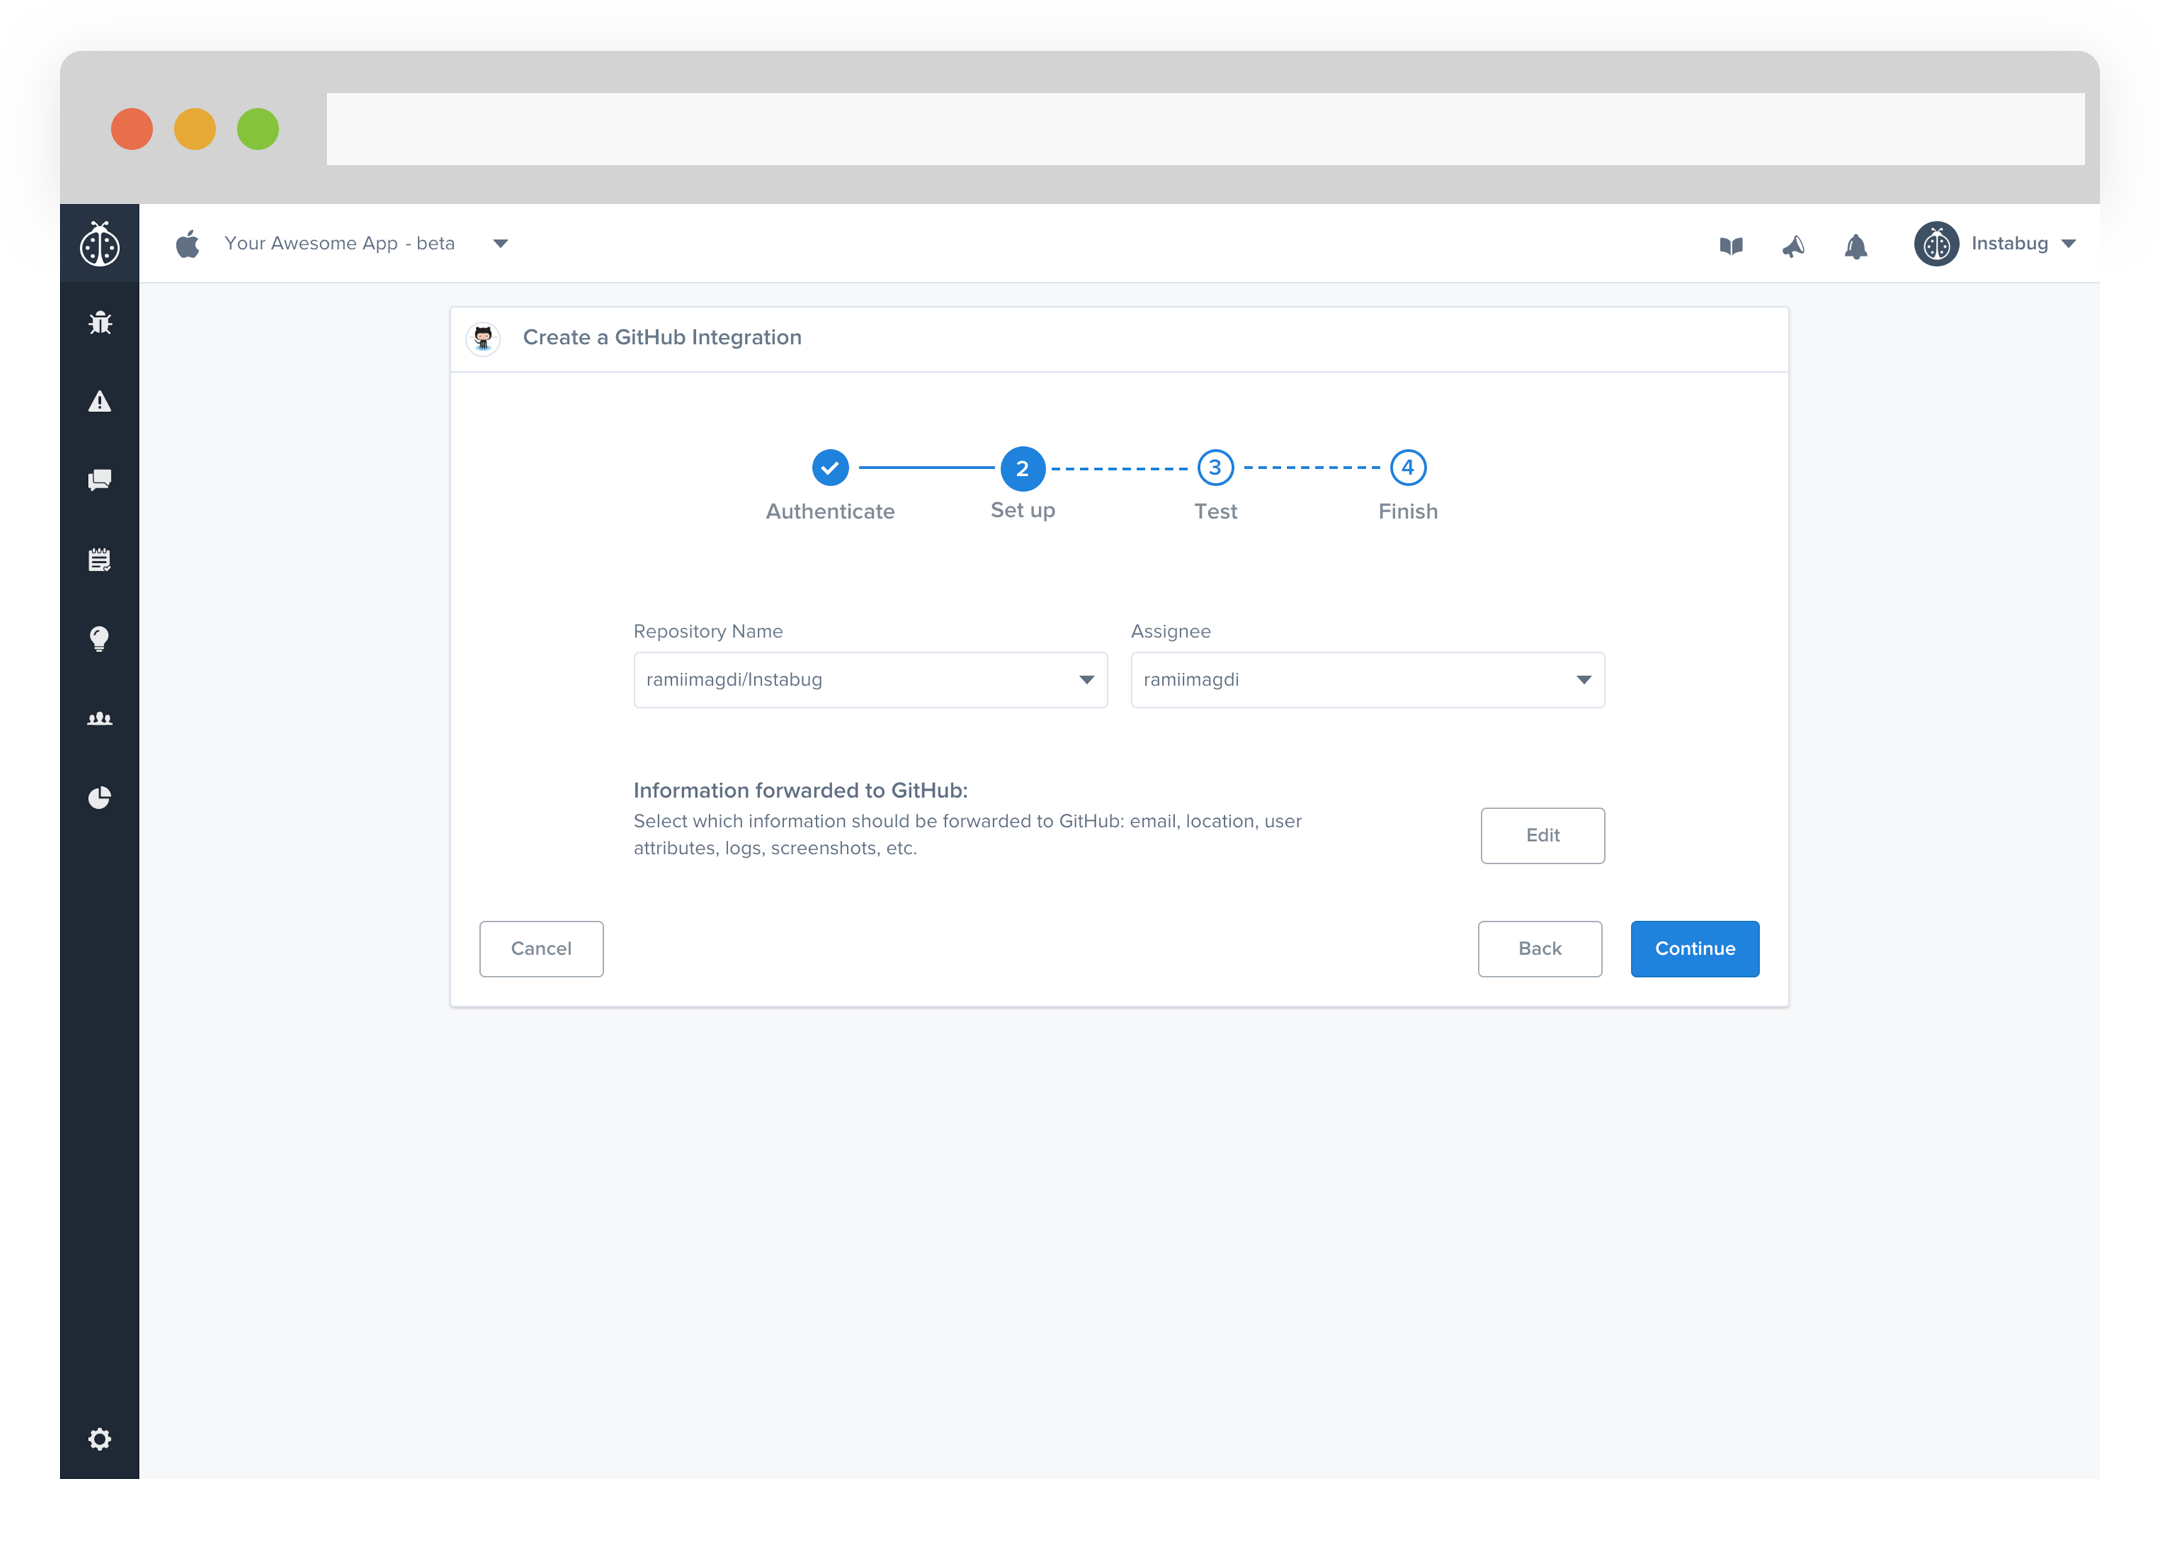
- You will be redirected back to Instabug to complete the setup. Now you only have to choose the repository and assignee for the forwarded issues. You can also choose which details get forwarded as well.
- At this point, we just need to test your integration so that we're sure everything is working smoothly.
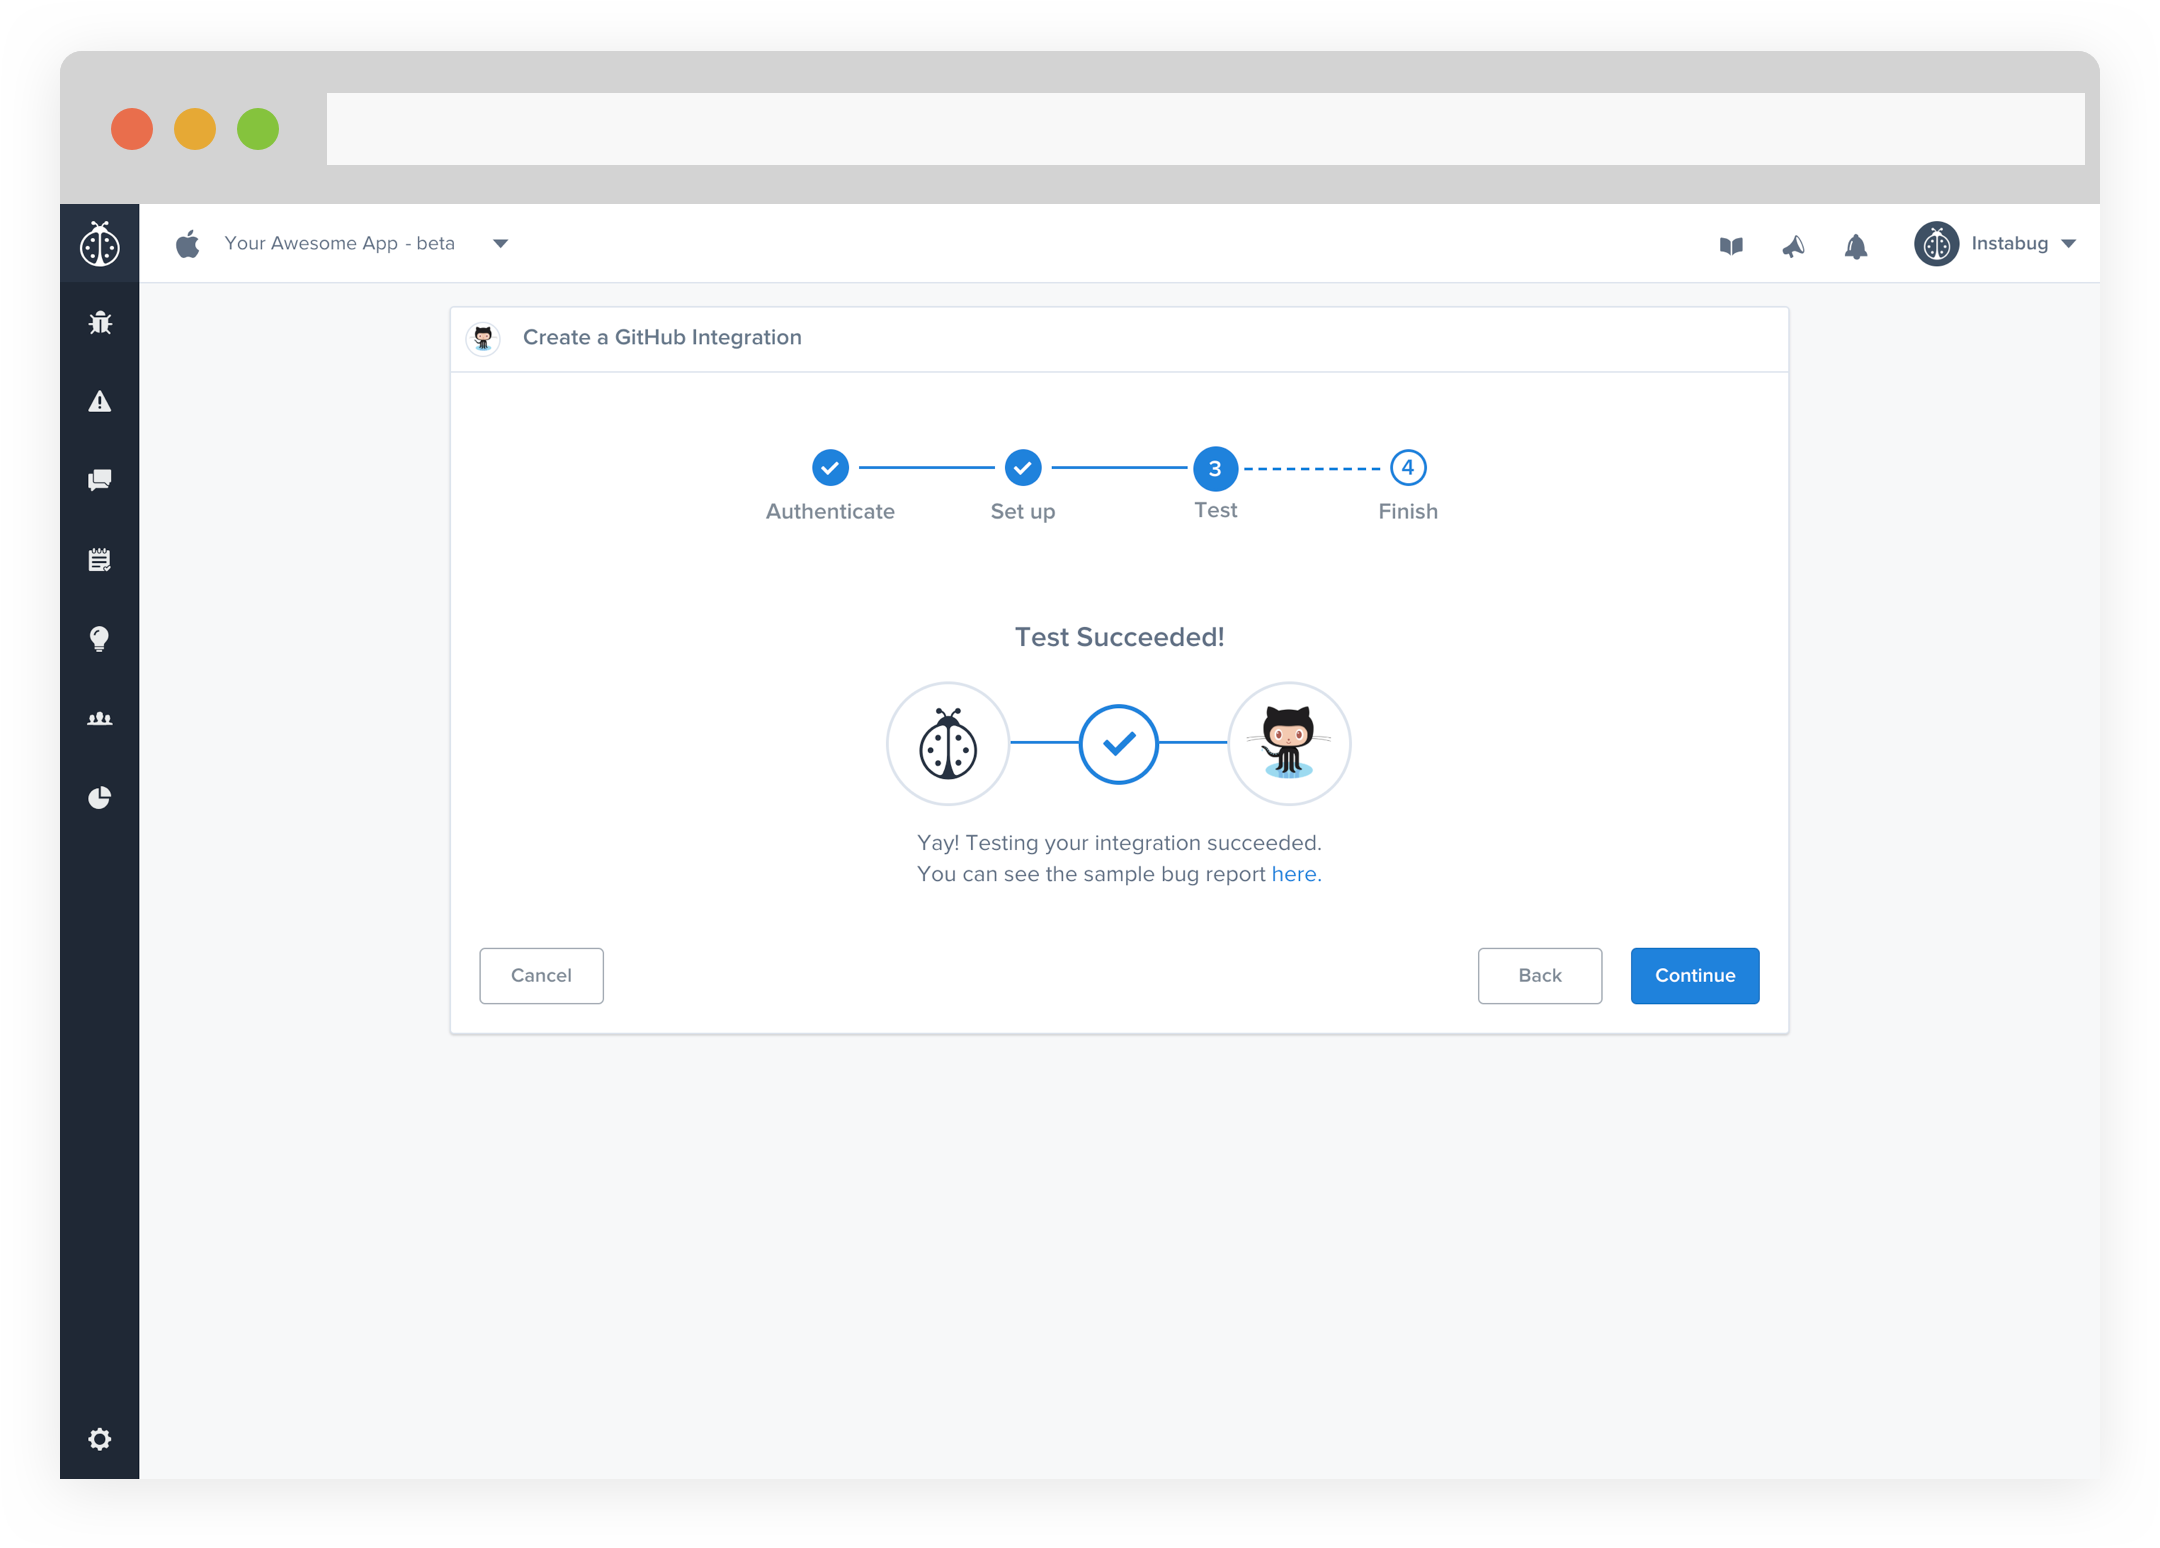
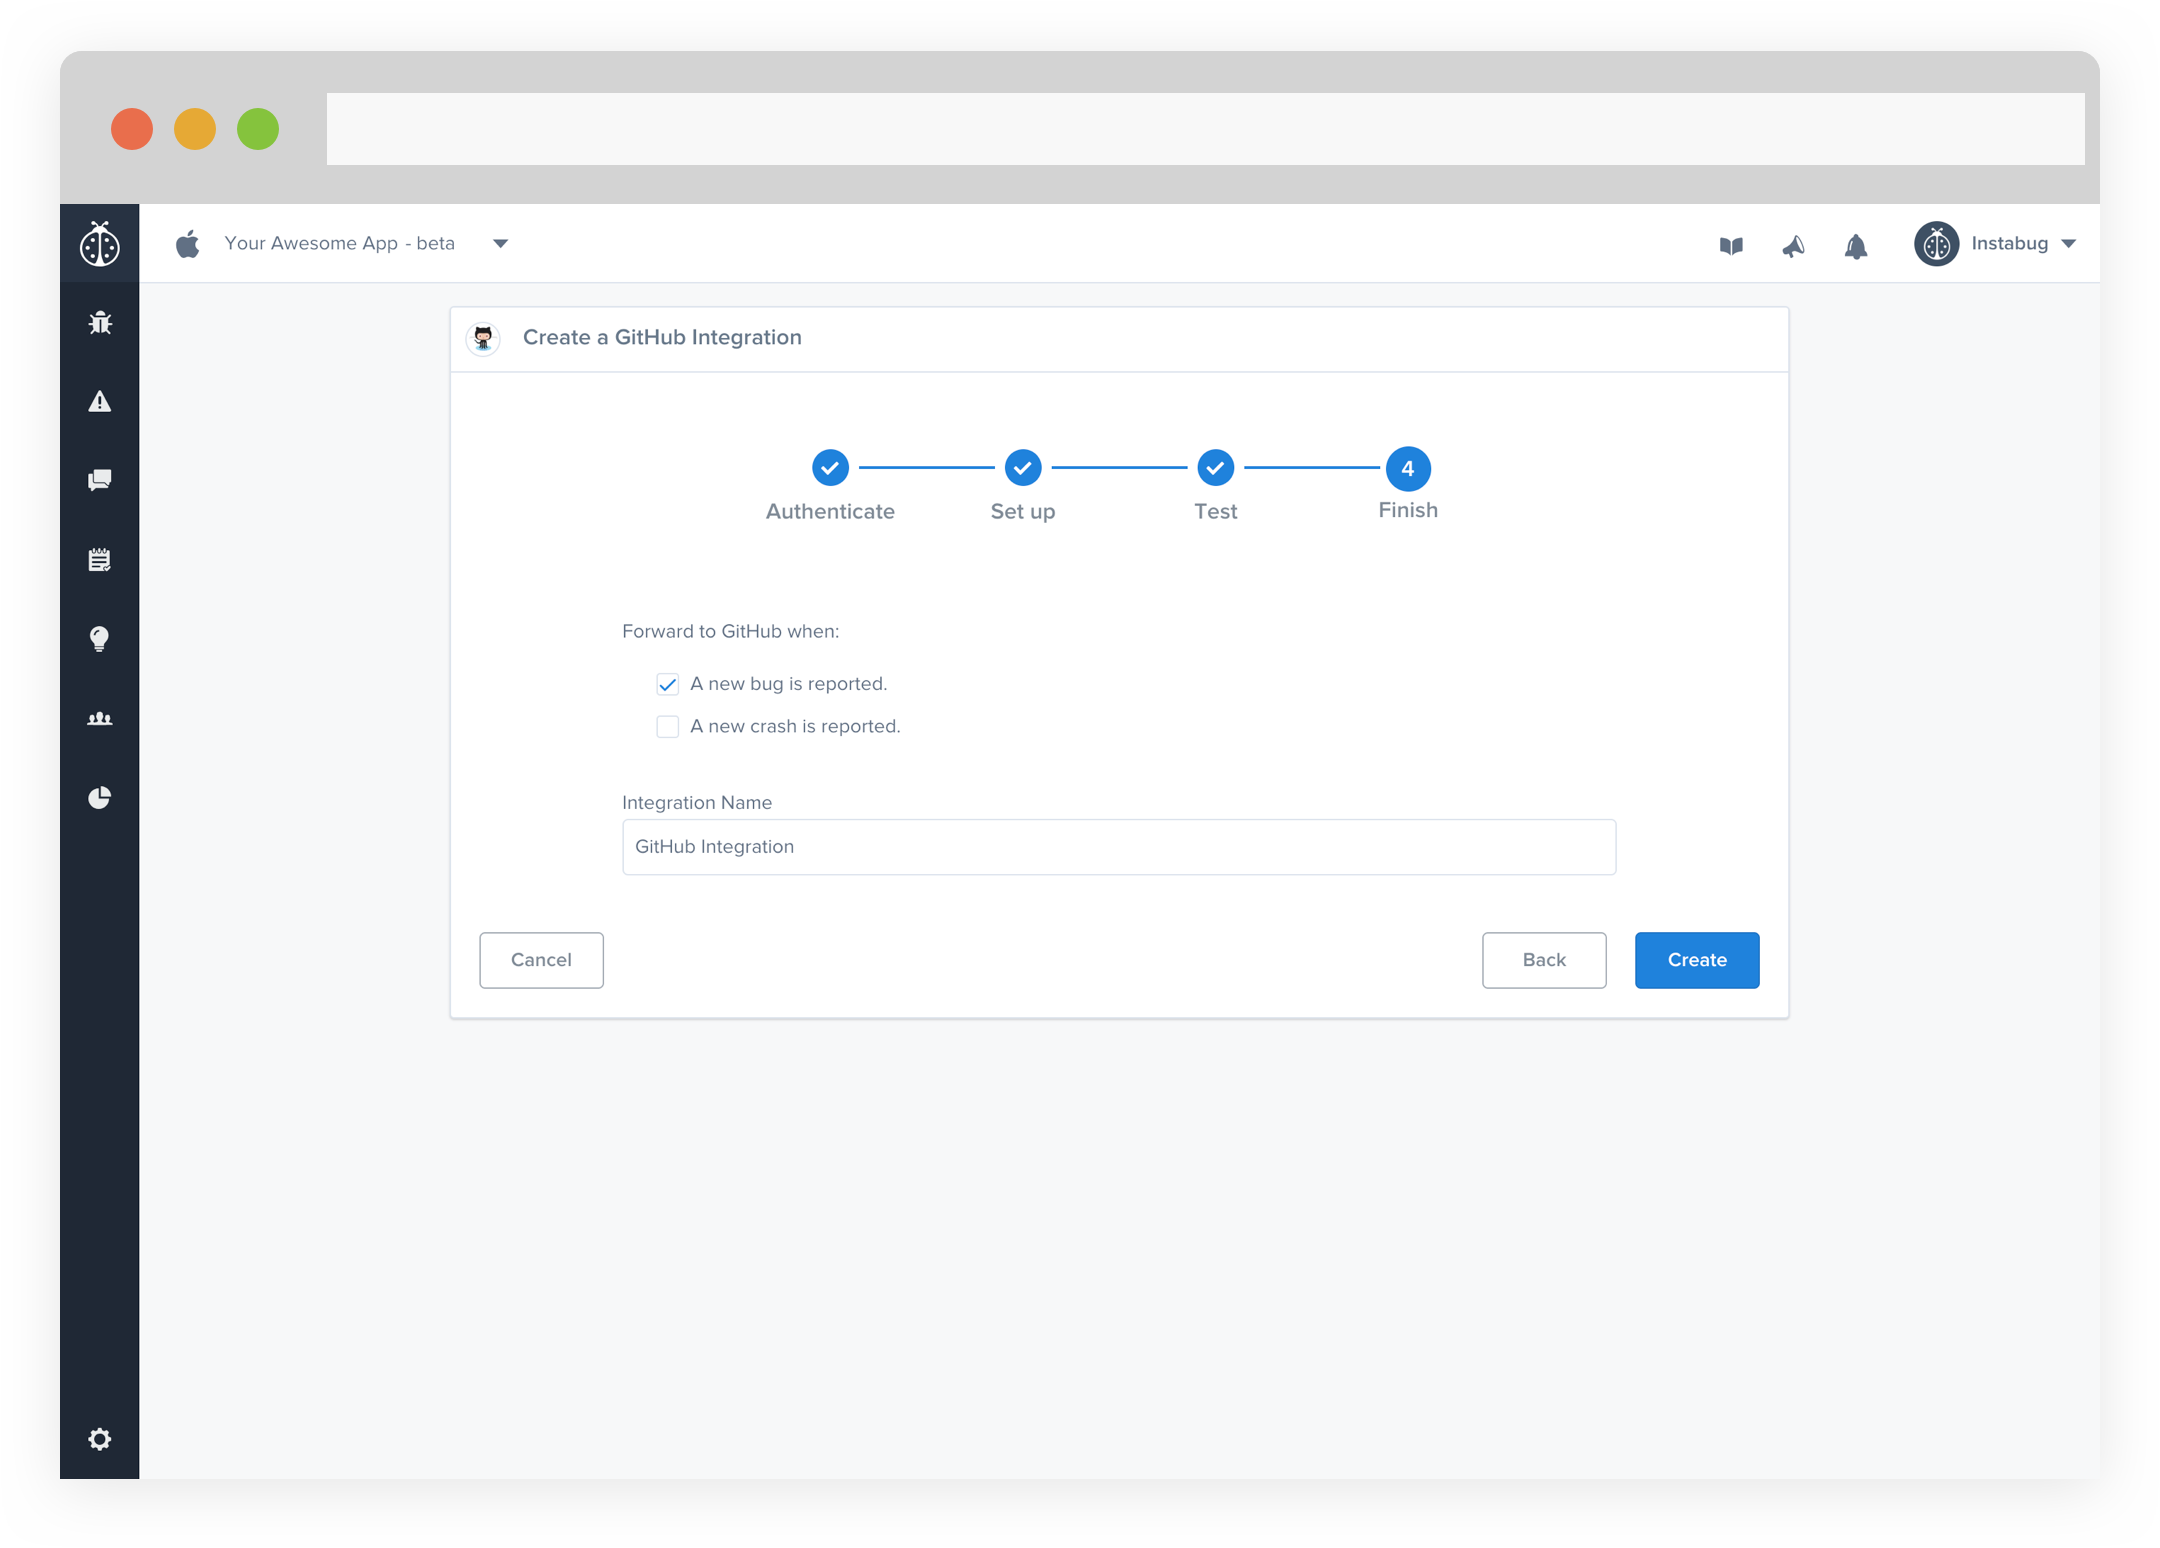
- All done! You're integration is now set-up and ready to go. From this final page, you can allow automatic forwarding (don't worry though, this can be reconfigured at any time!)
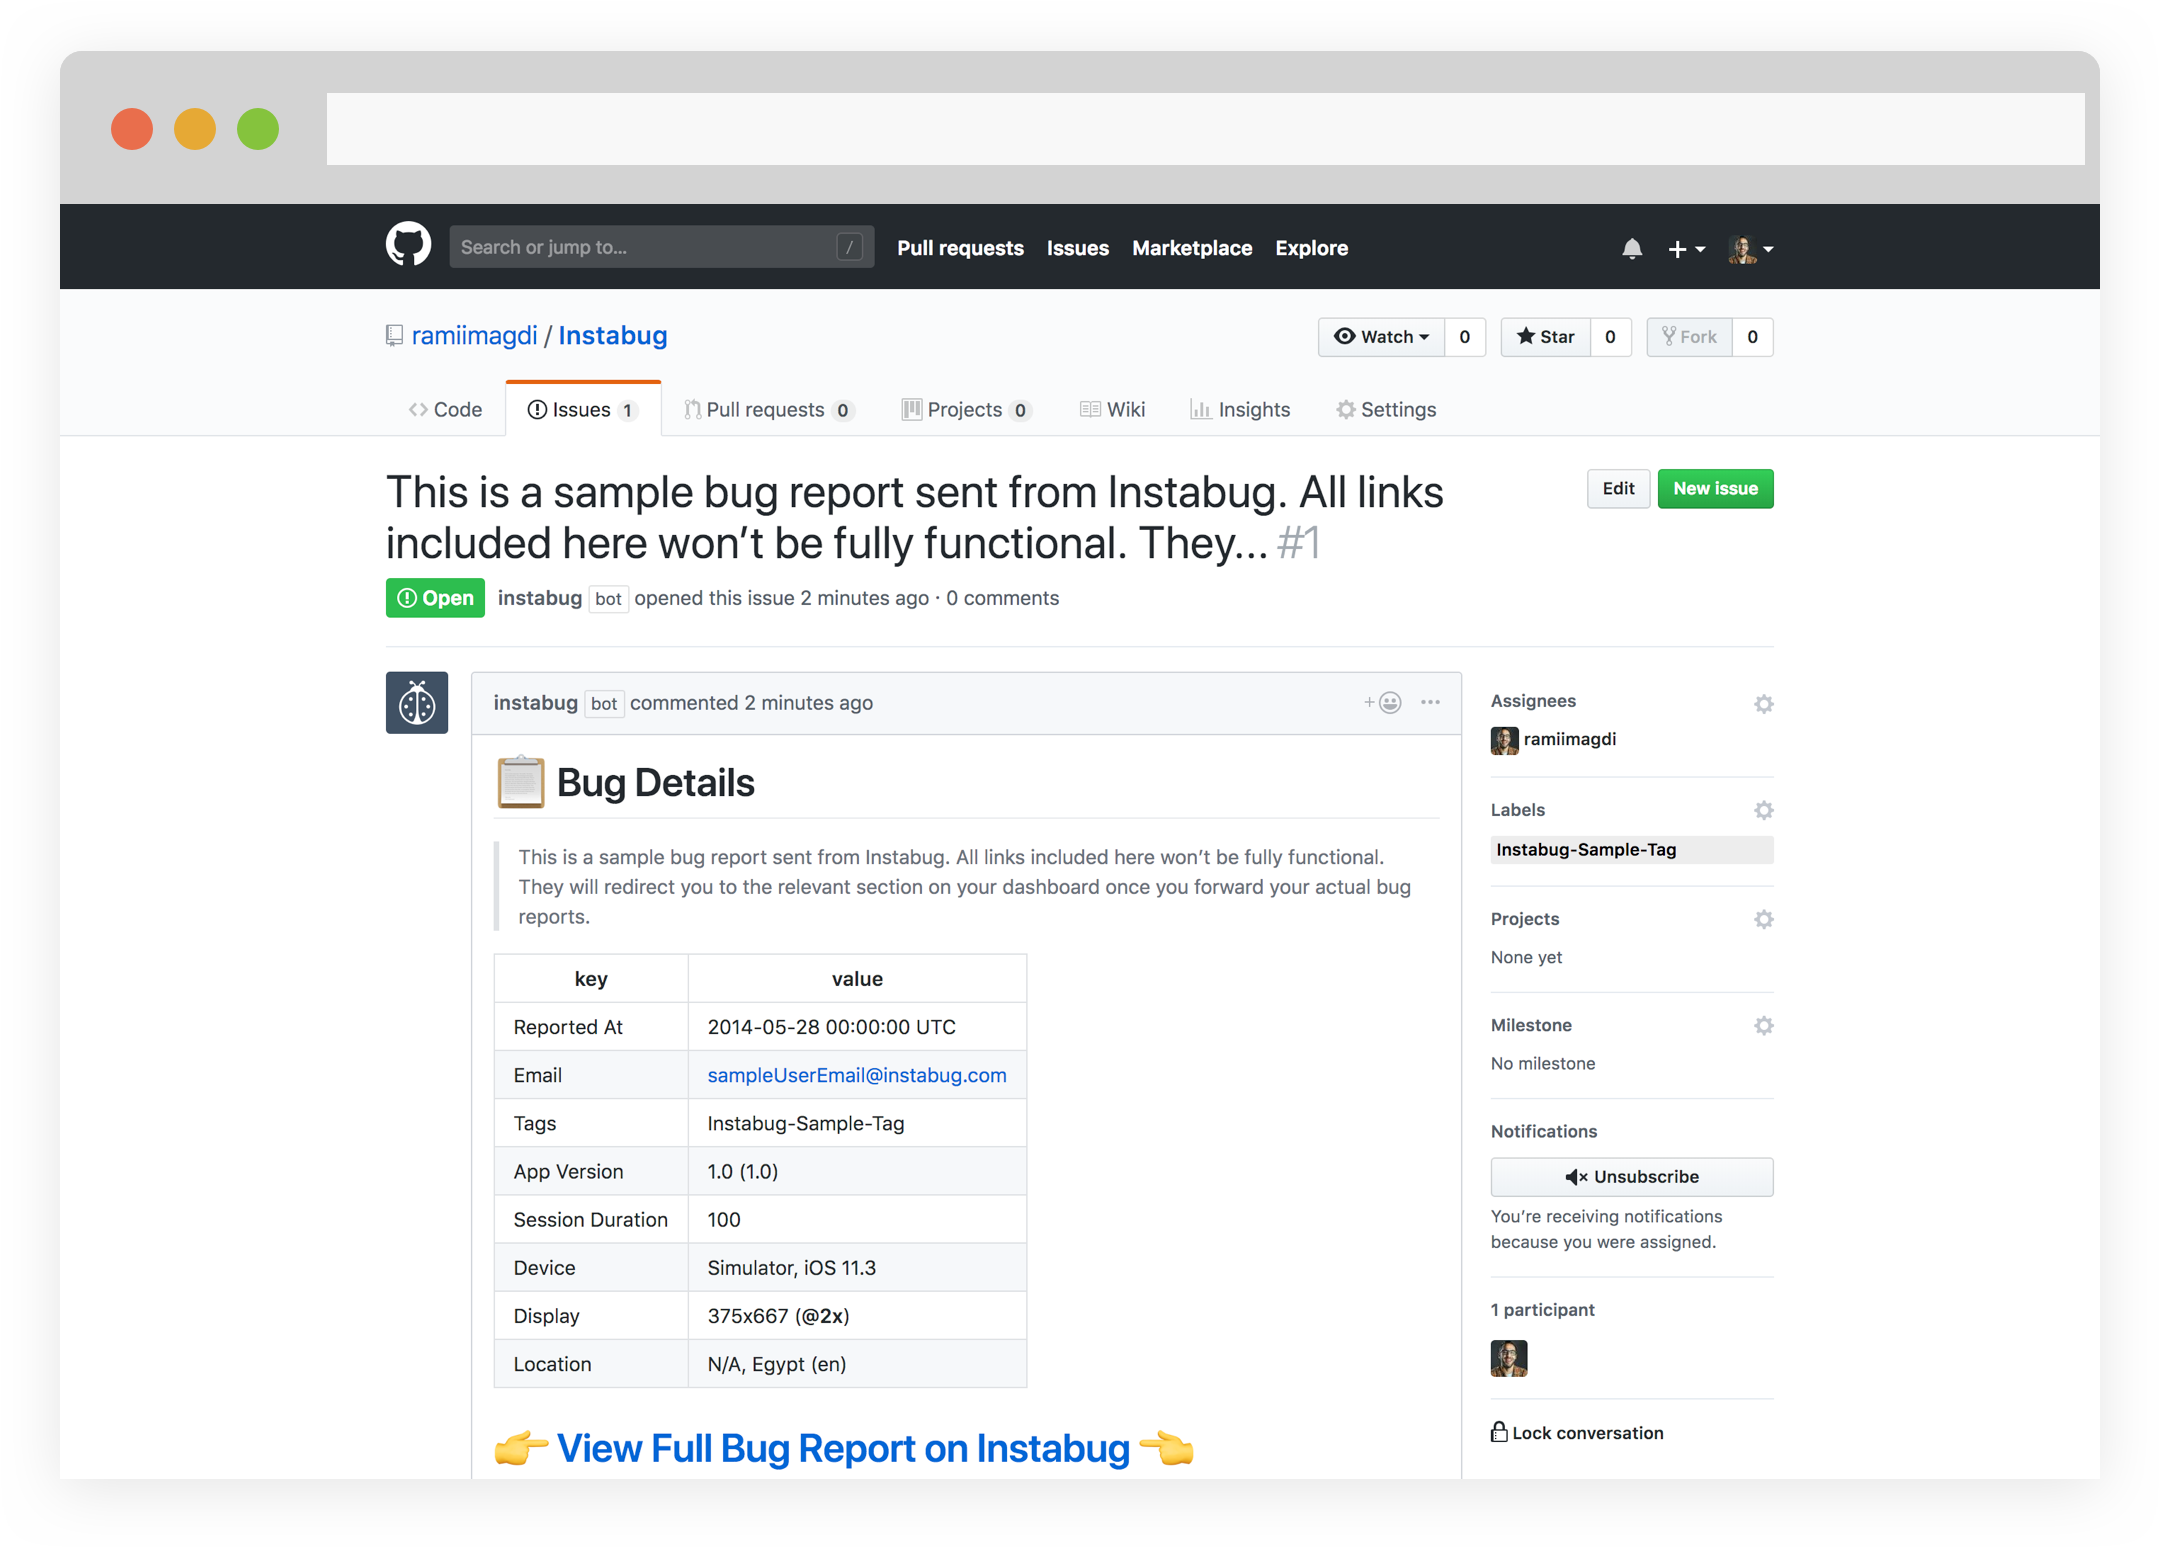
- Issues forwarded to Github should look something like this.
Plan ahead with your team and receive issues that matter right in your Pivotal tracker.
How to integrate?
- Enter your API token. If you don't have one, be sure to select here below the text box to generate one over on the Pivotal dashboard.
- Choose the Project Name and Assignee. You can also choose which details get forwarded as well.
- At this point, we just need to test your integration so that we're sure everything is working smoothly.
- All done! You're integration is now set-up and ready to go. From this final page, you can allow automatic forwarding (don't worry though, this can be reconfigured at any time!)
- Issues forwarded to Pivotal should look something like this.
This integration will allow you to create tasks on Asana's dashboard for the bugs you receive on Instabug. So instead of going back and forth between the two dashboards, you can forward all the bugs directly to Asana to track your progress hassle-free.
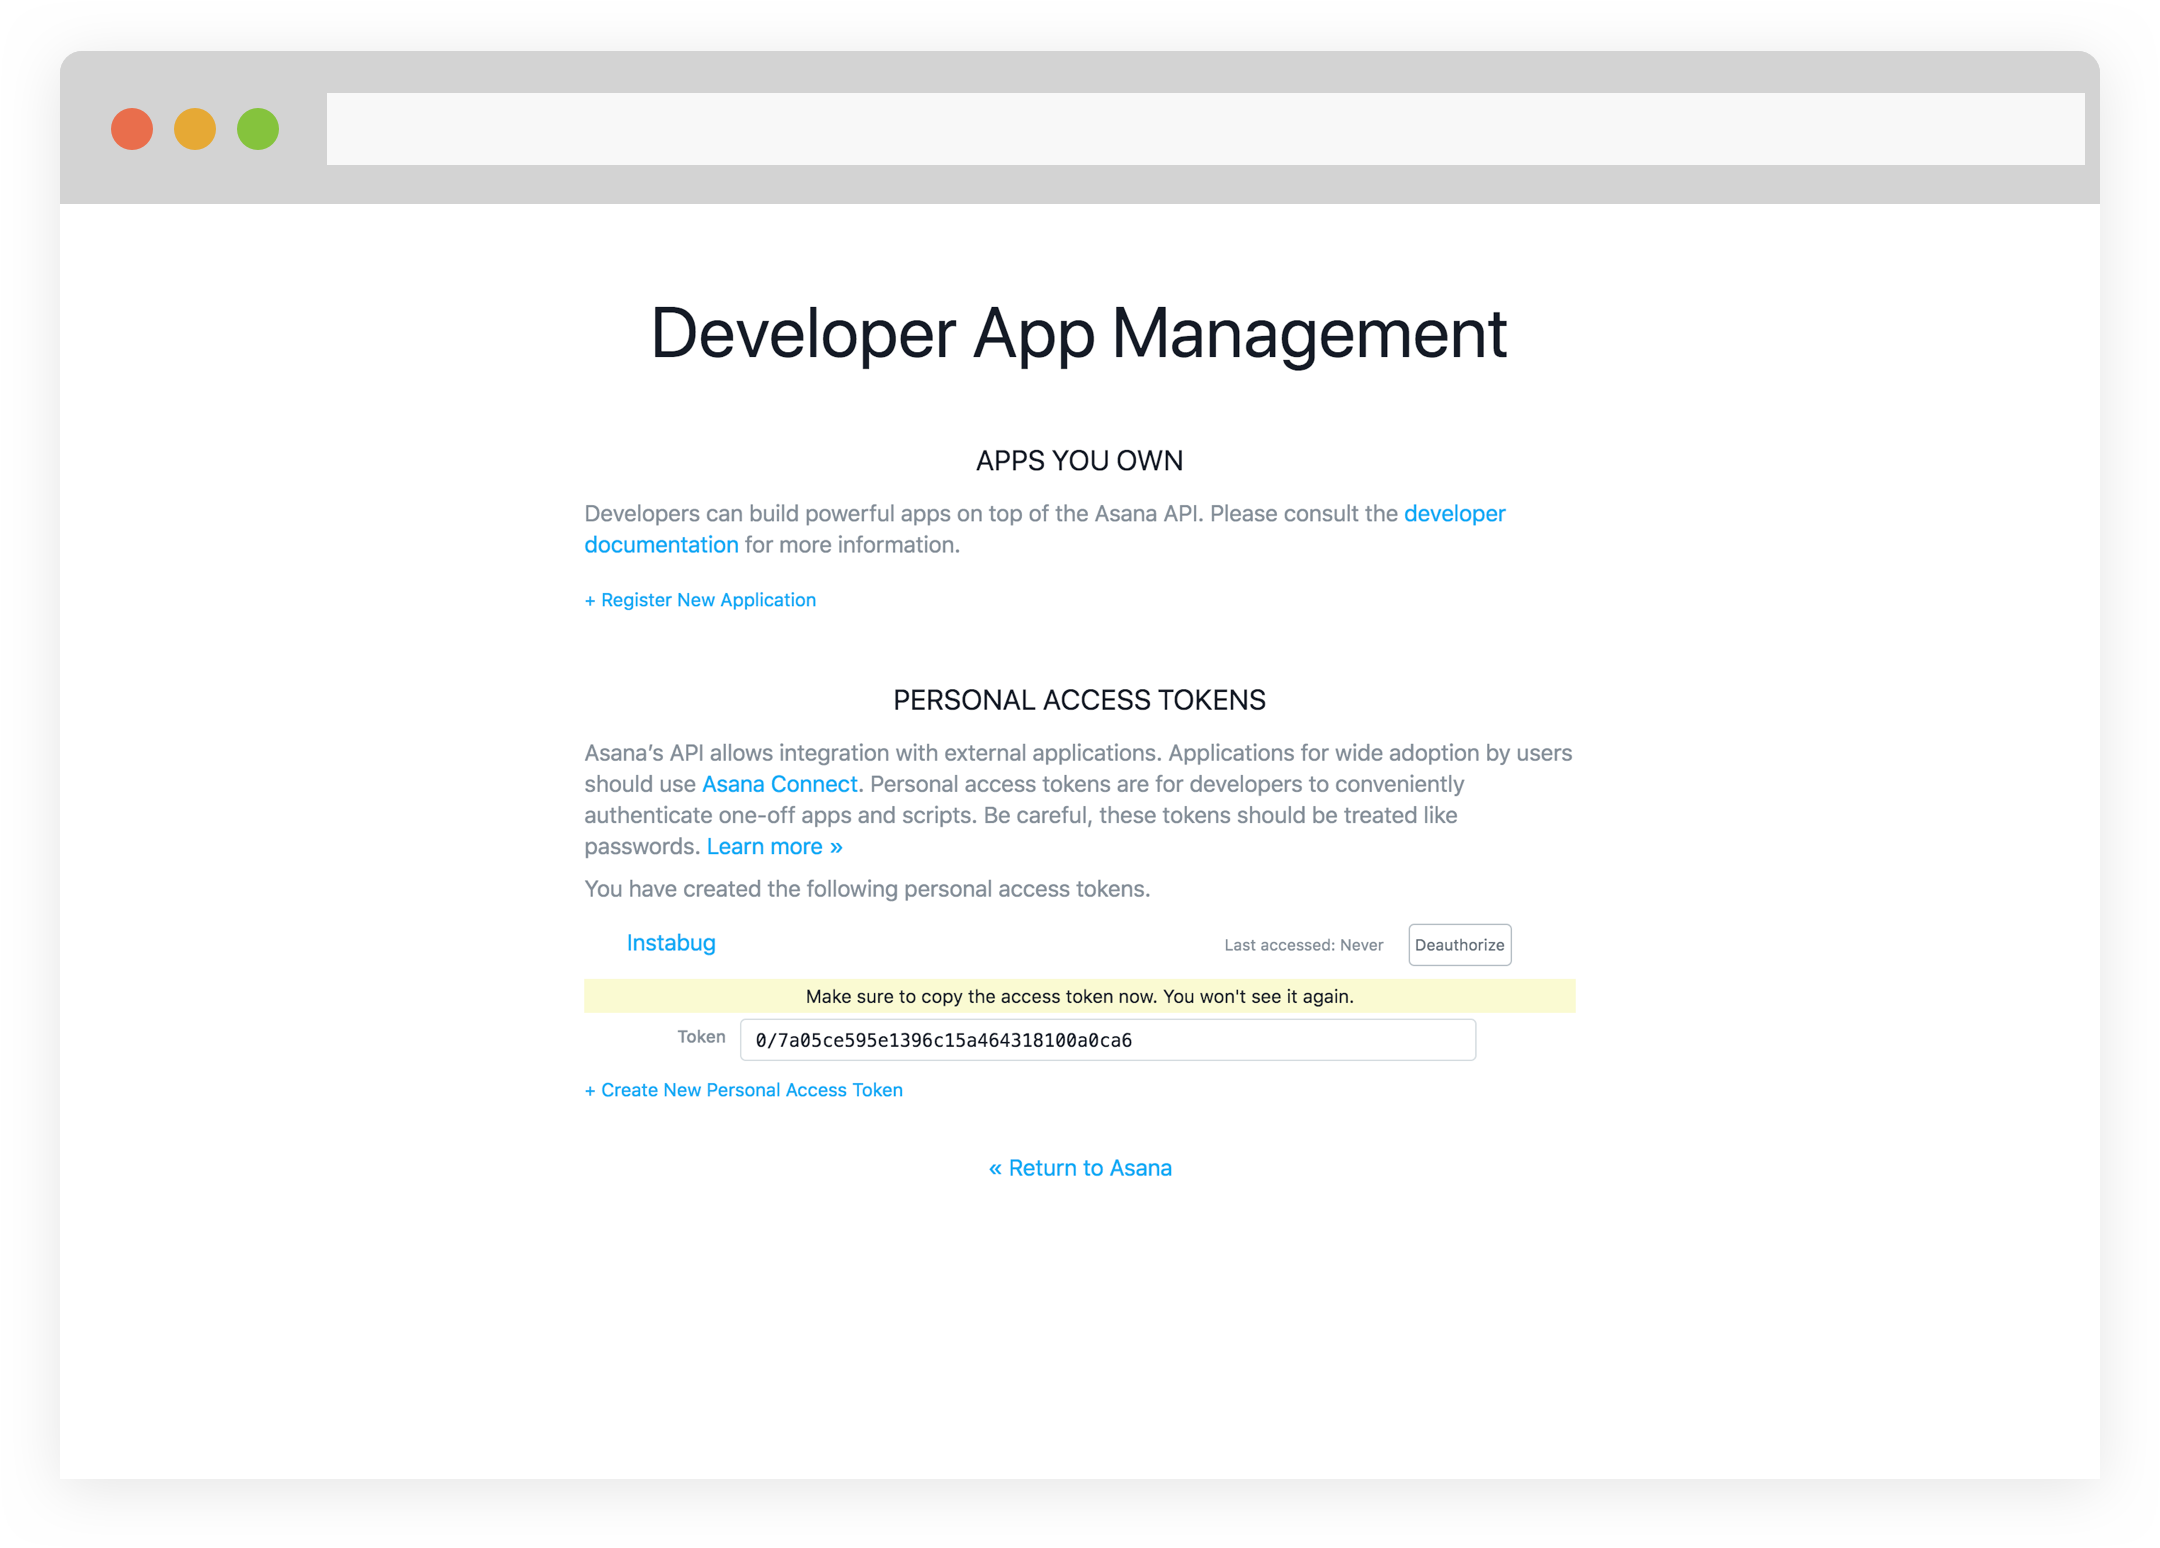
1a. Enter your token. If you don't currently have one, click on here right below it and follow the instructions.
1b. Click on Manage Developers Apps.
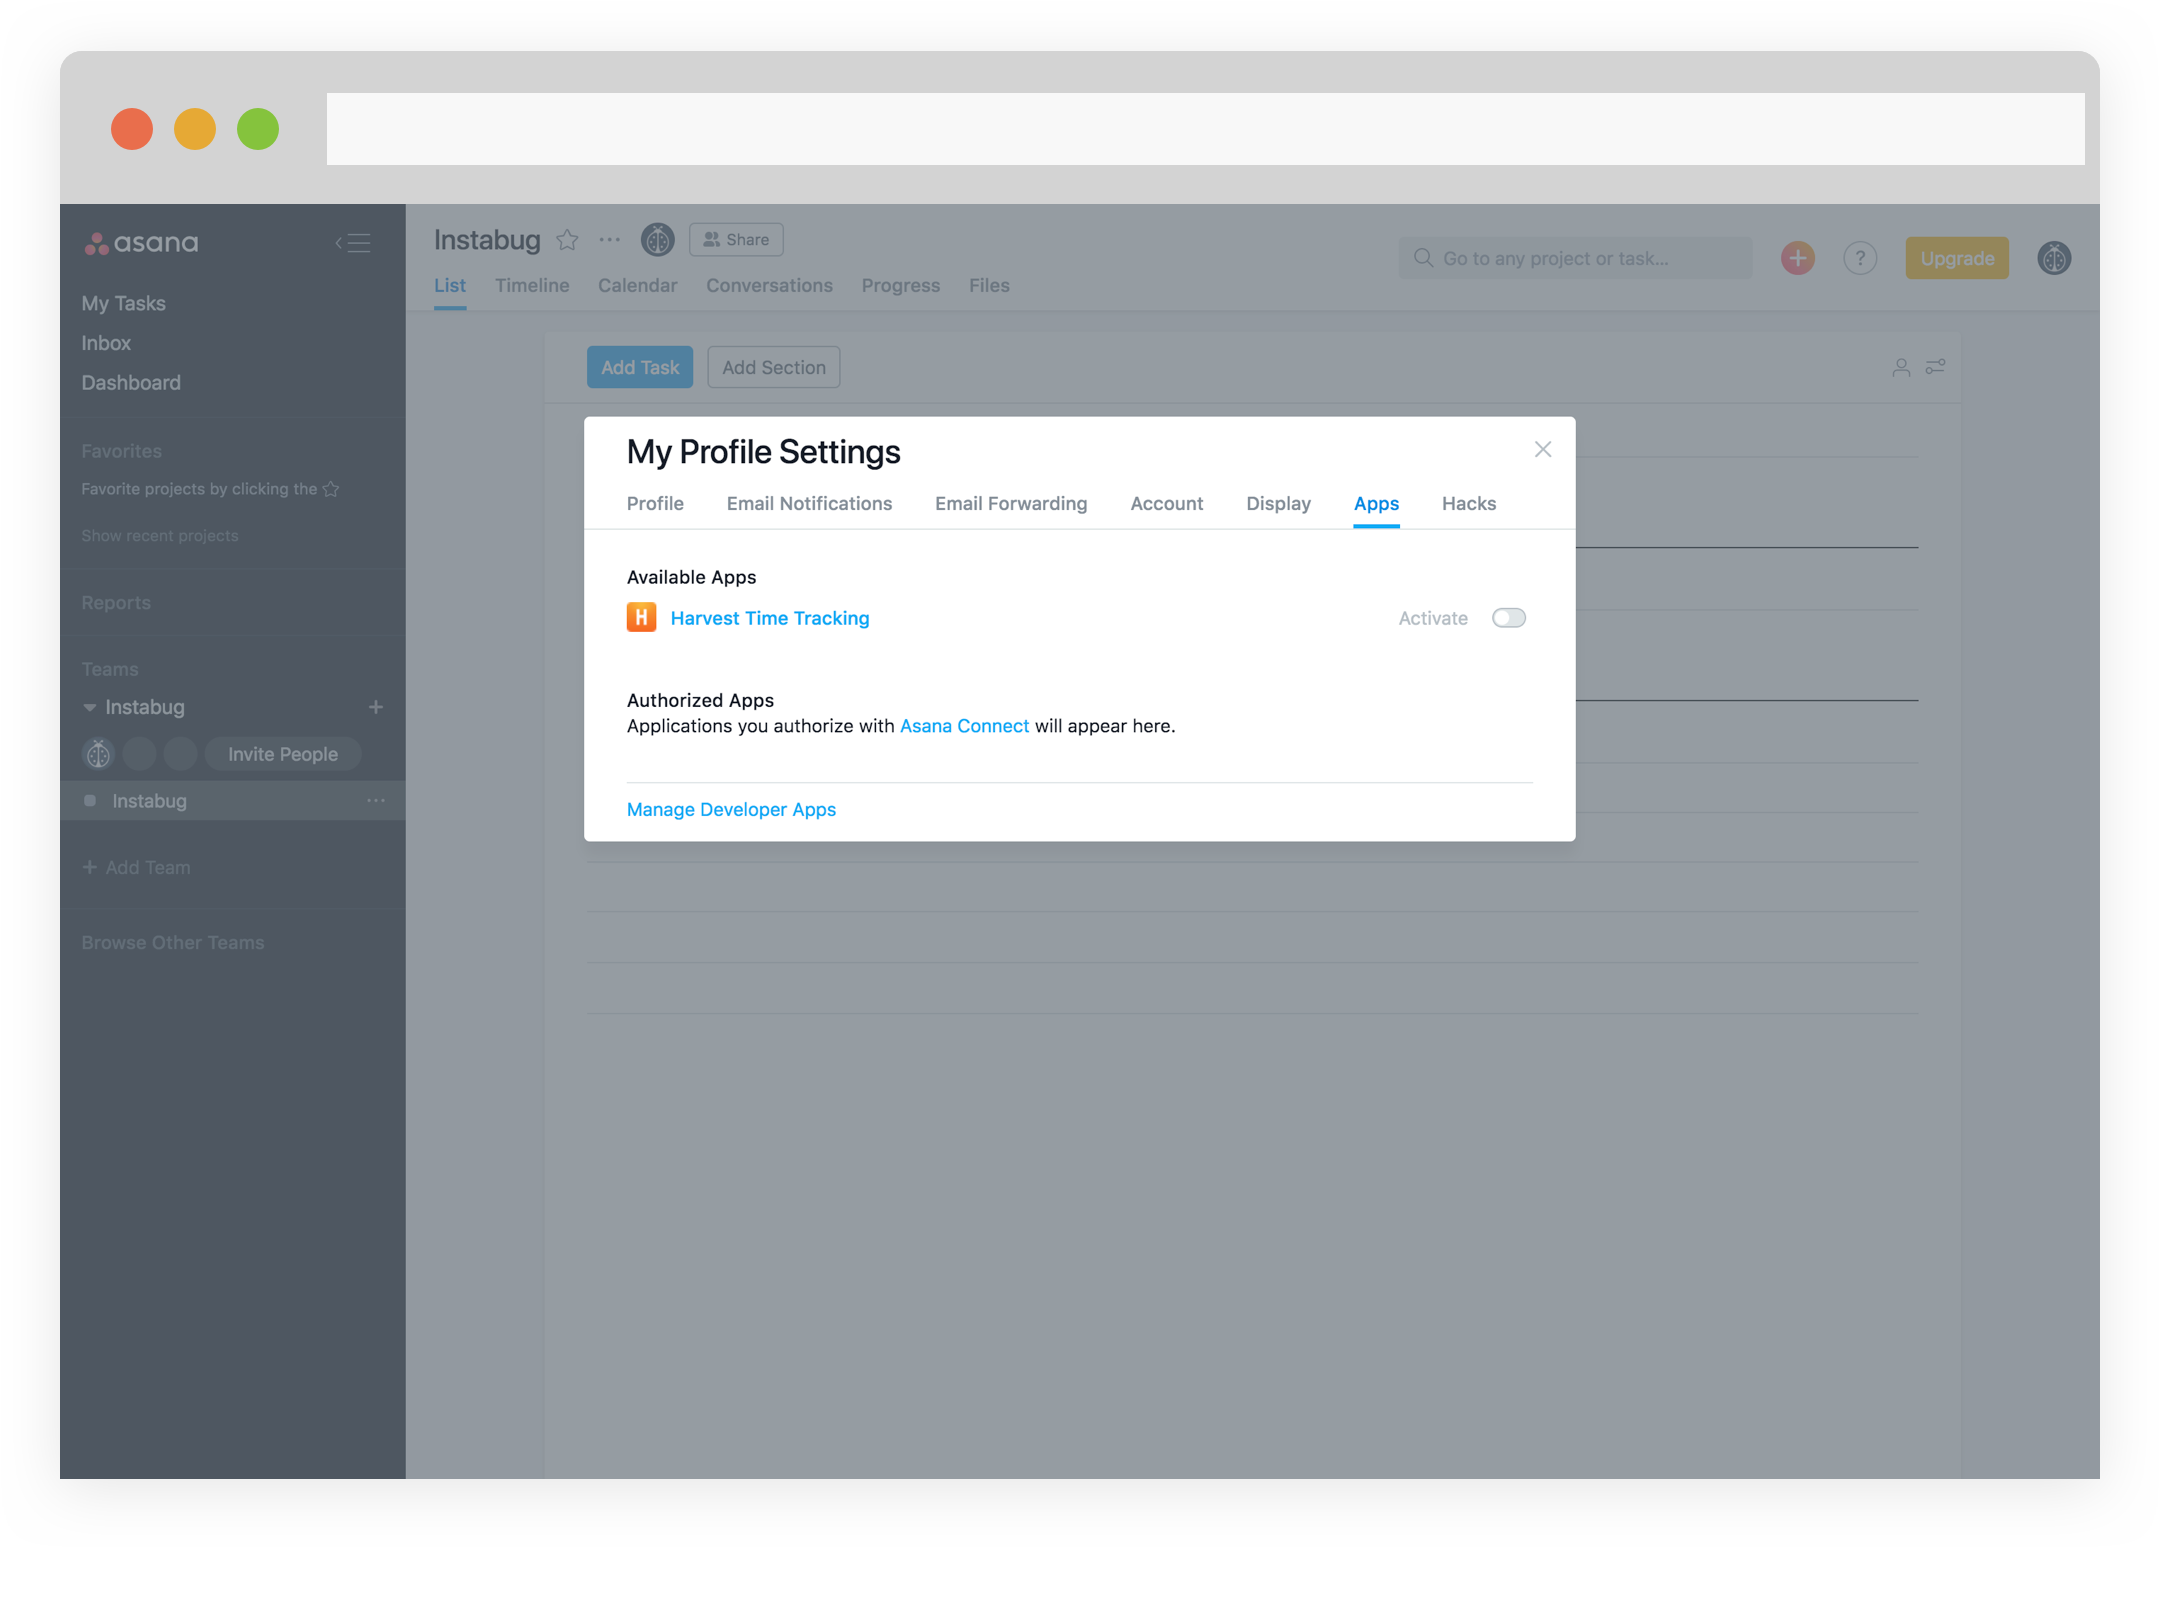
1c. Create a new personal token and enter it in the integrations screen on your Instabug dashboard.
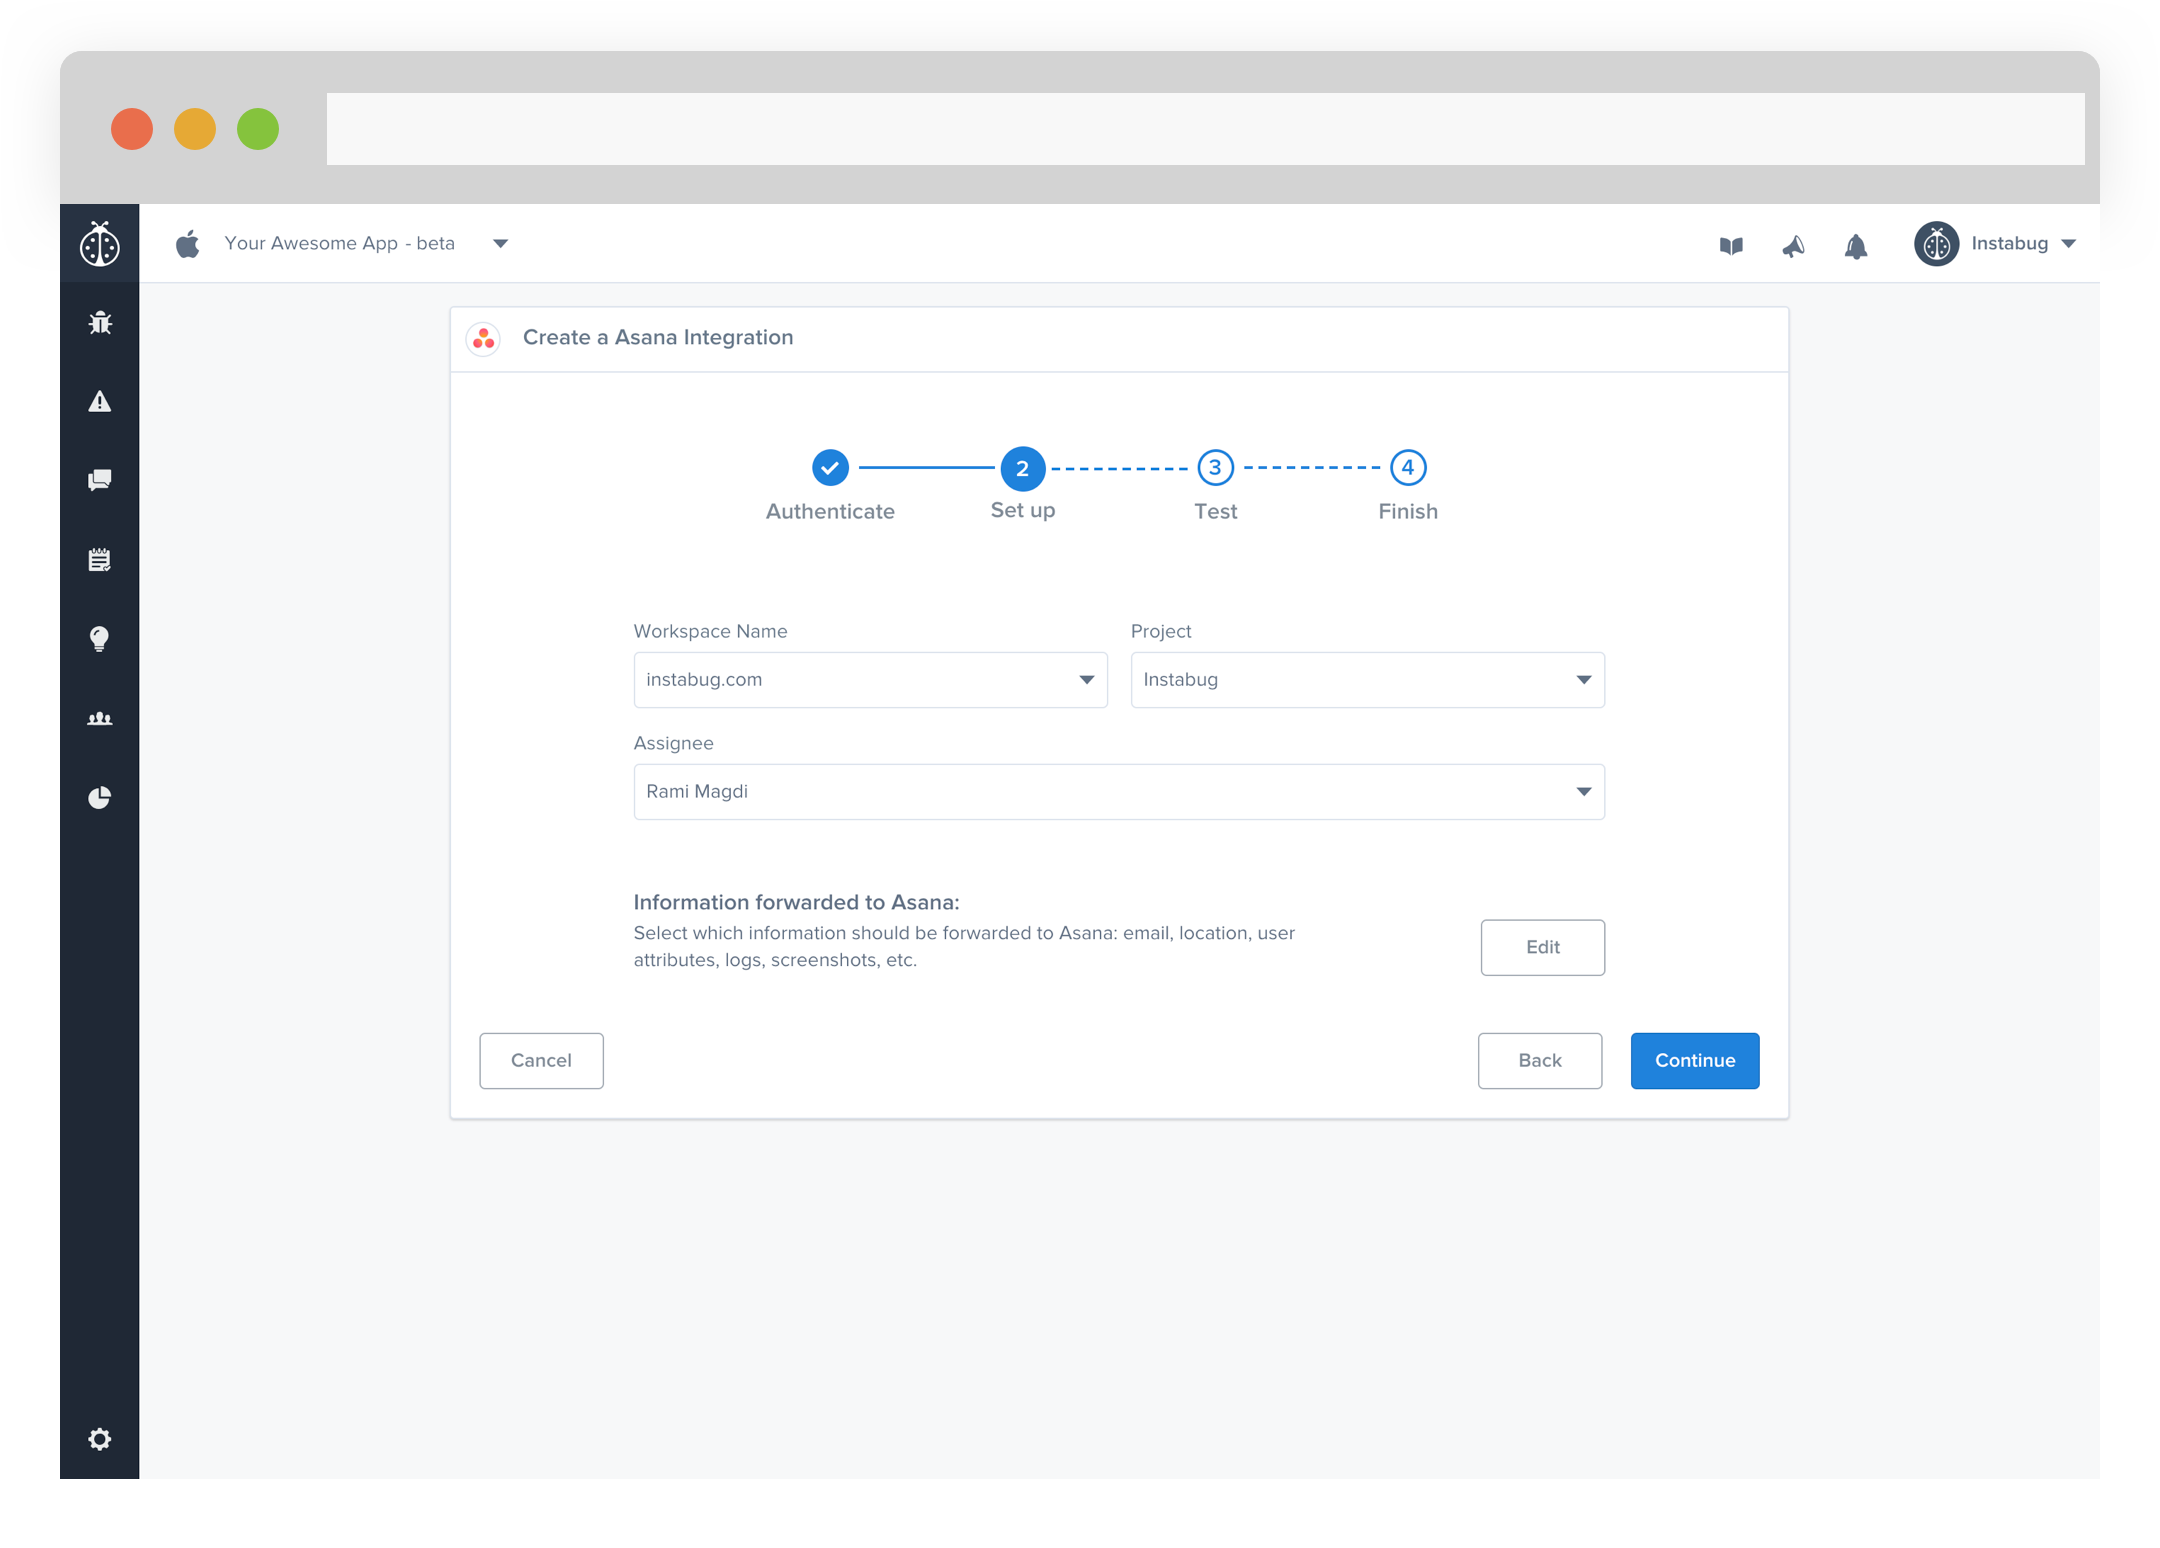
- Choose the Workspace Name, Project, and Assignee. You can also choose which details get forwarded as well.
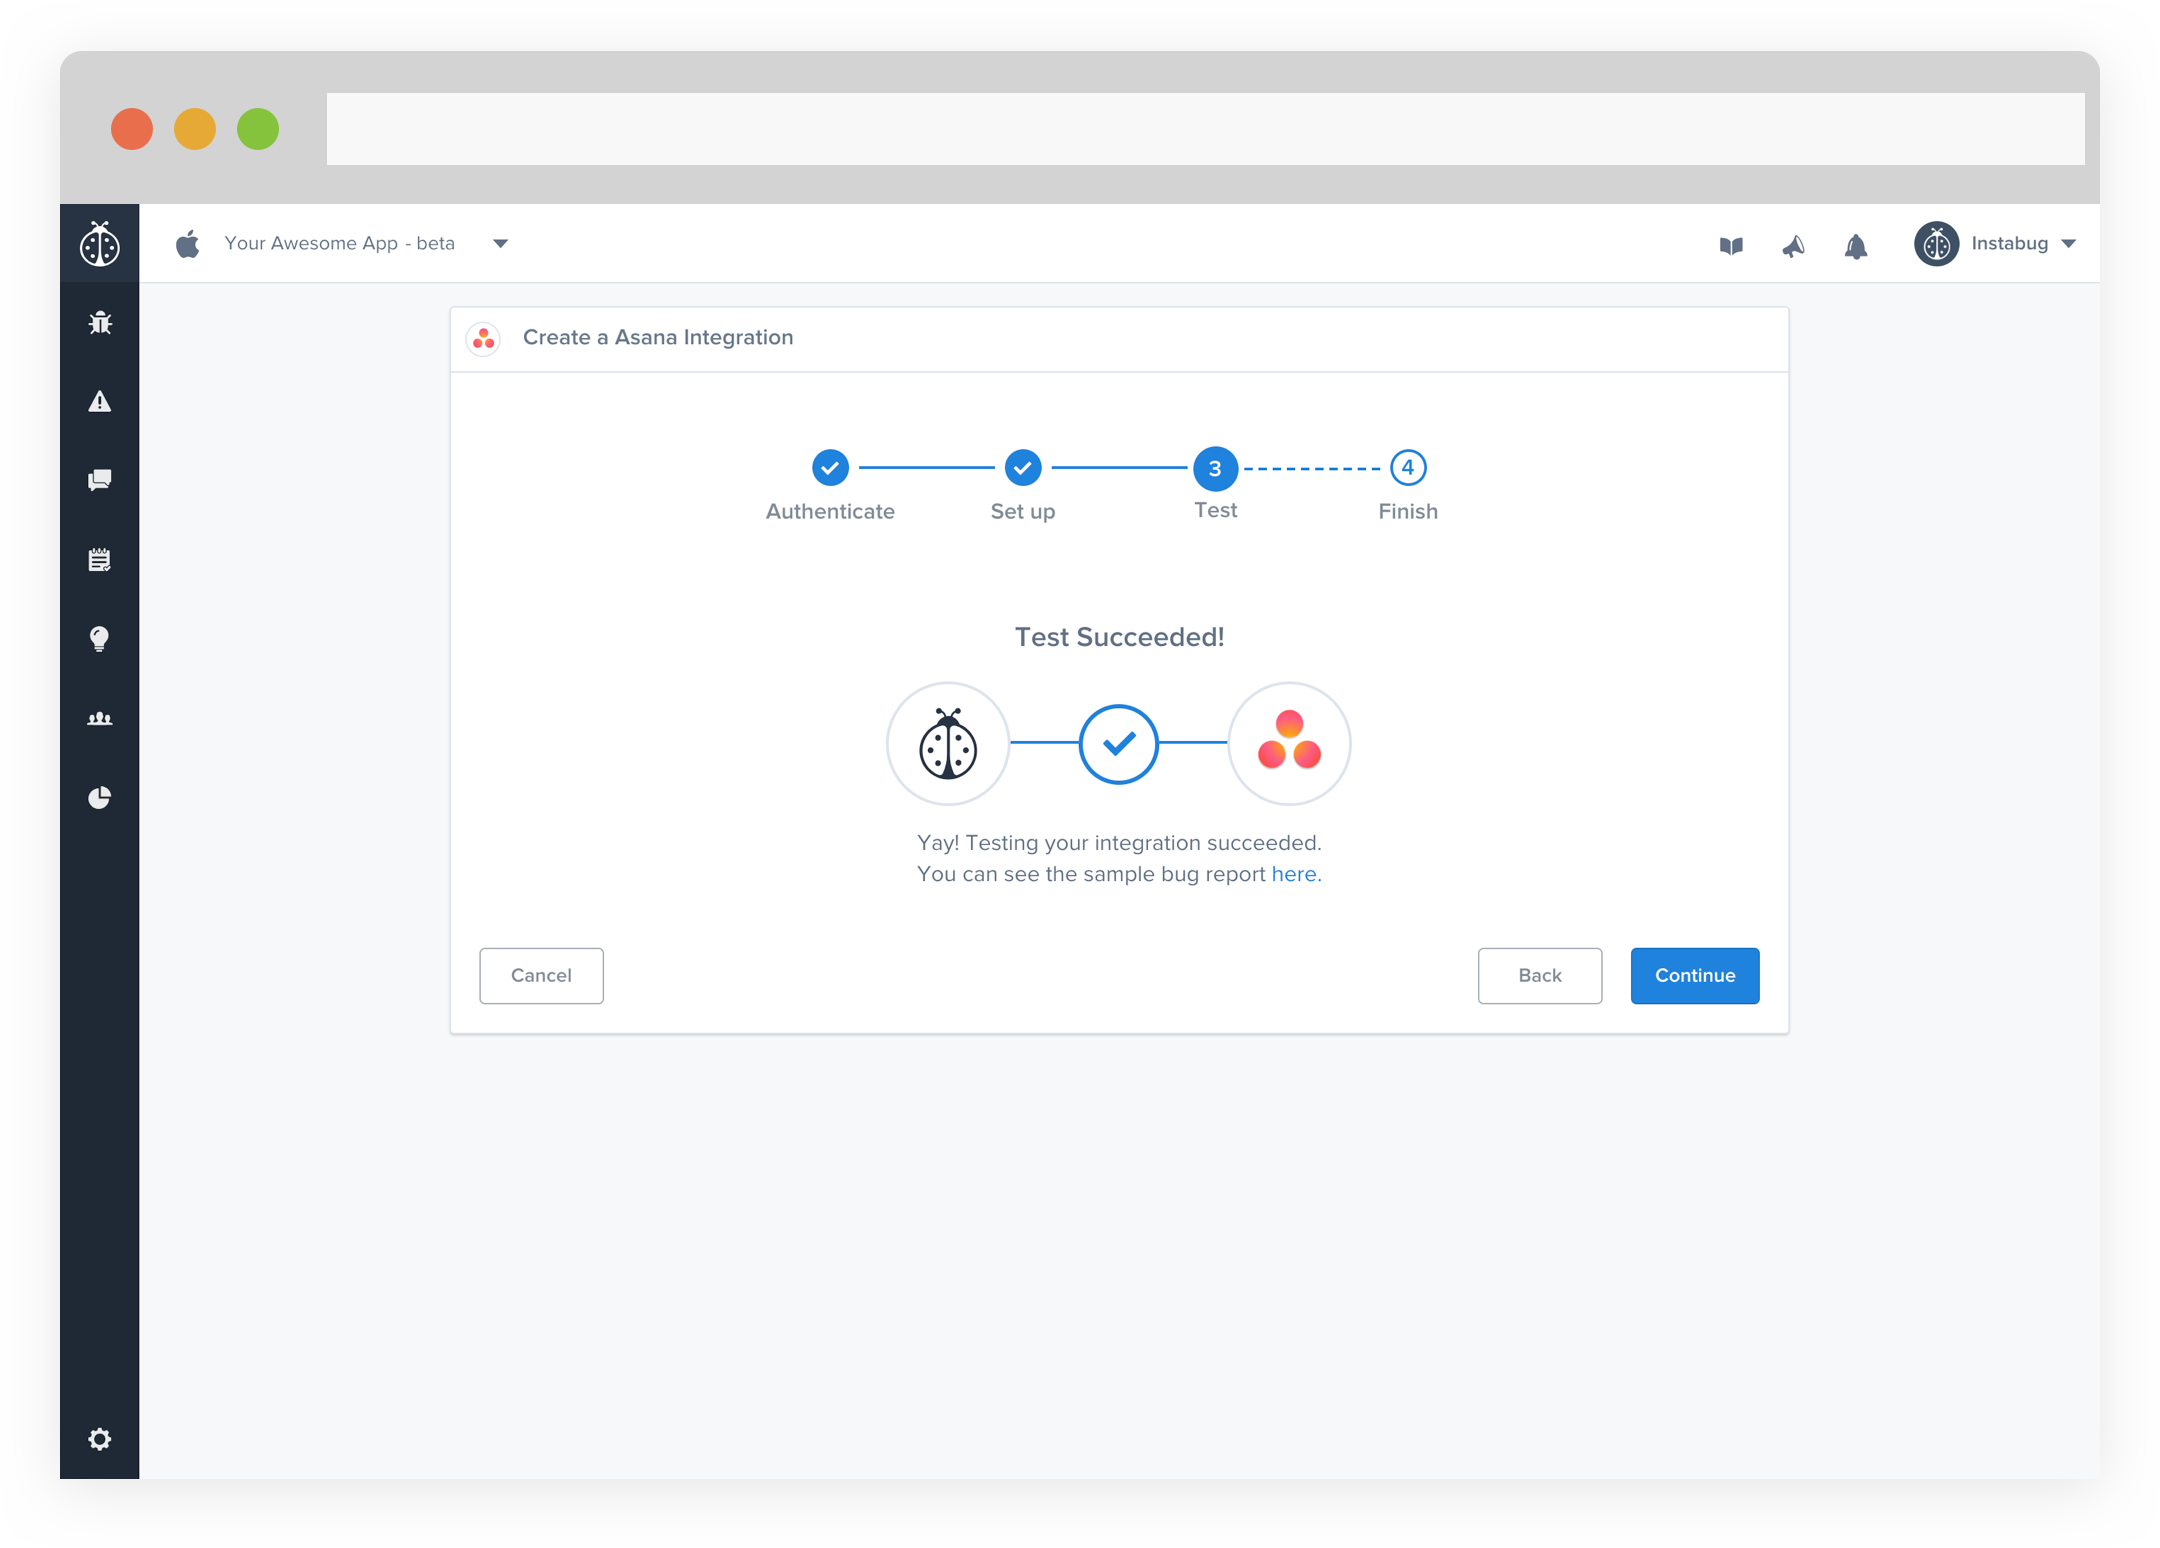
- At this point, we just need to test your integration so that we're sure everything is working smoothly.
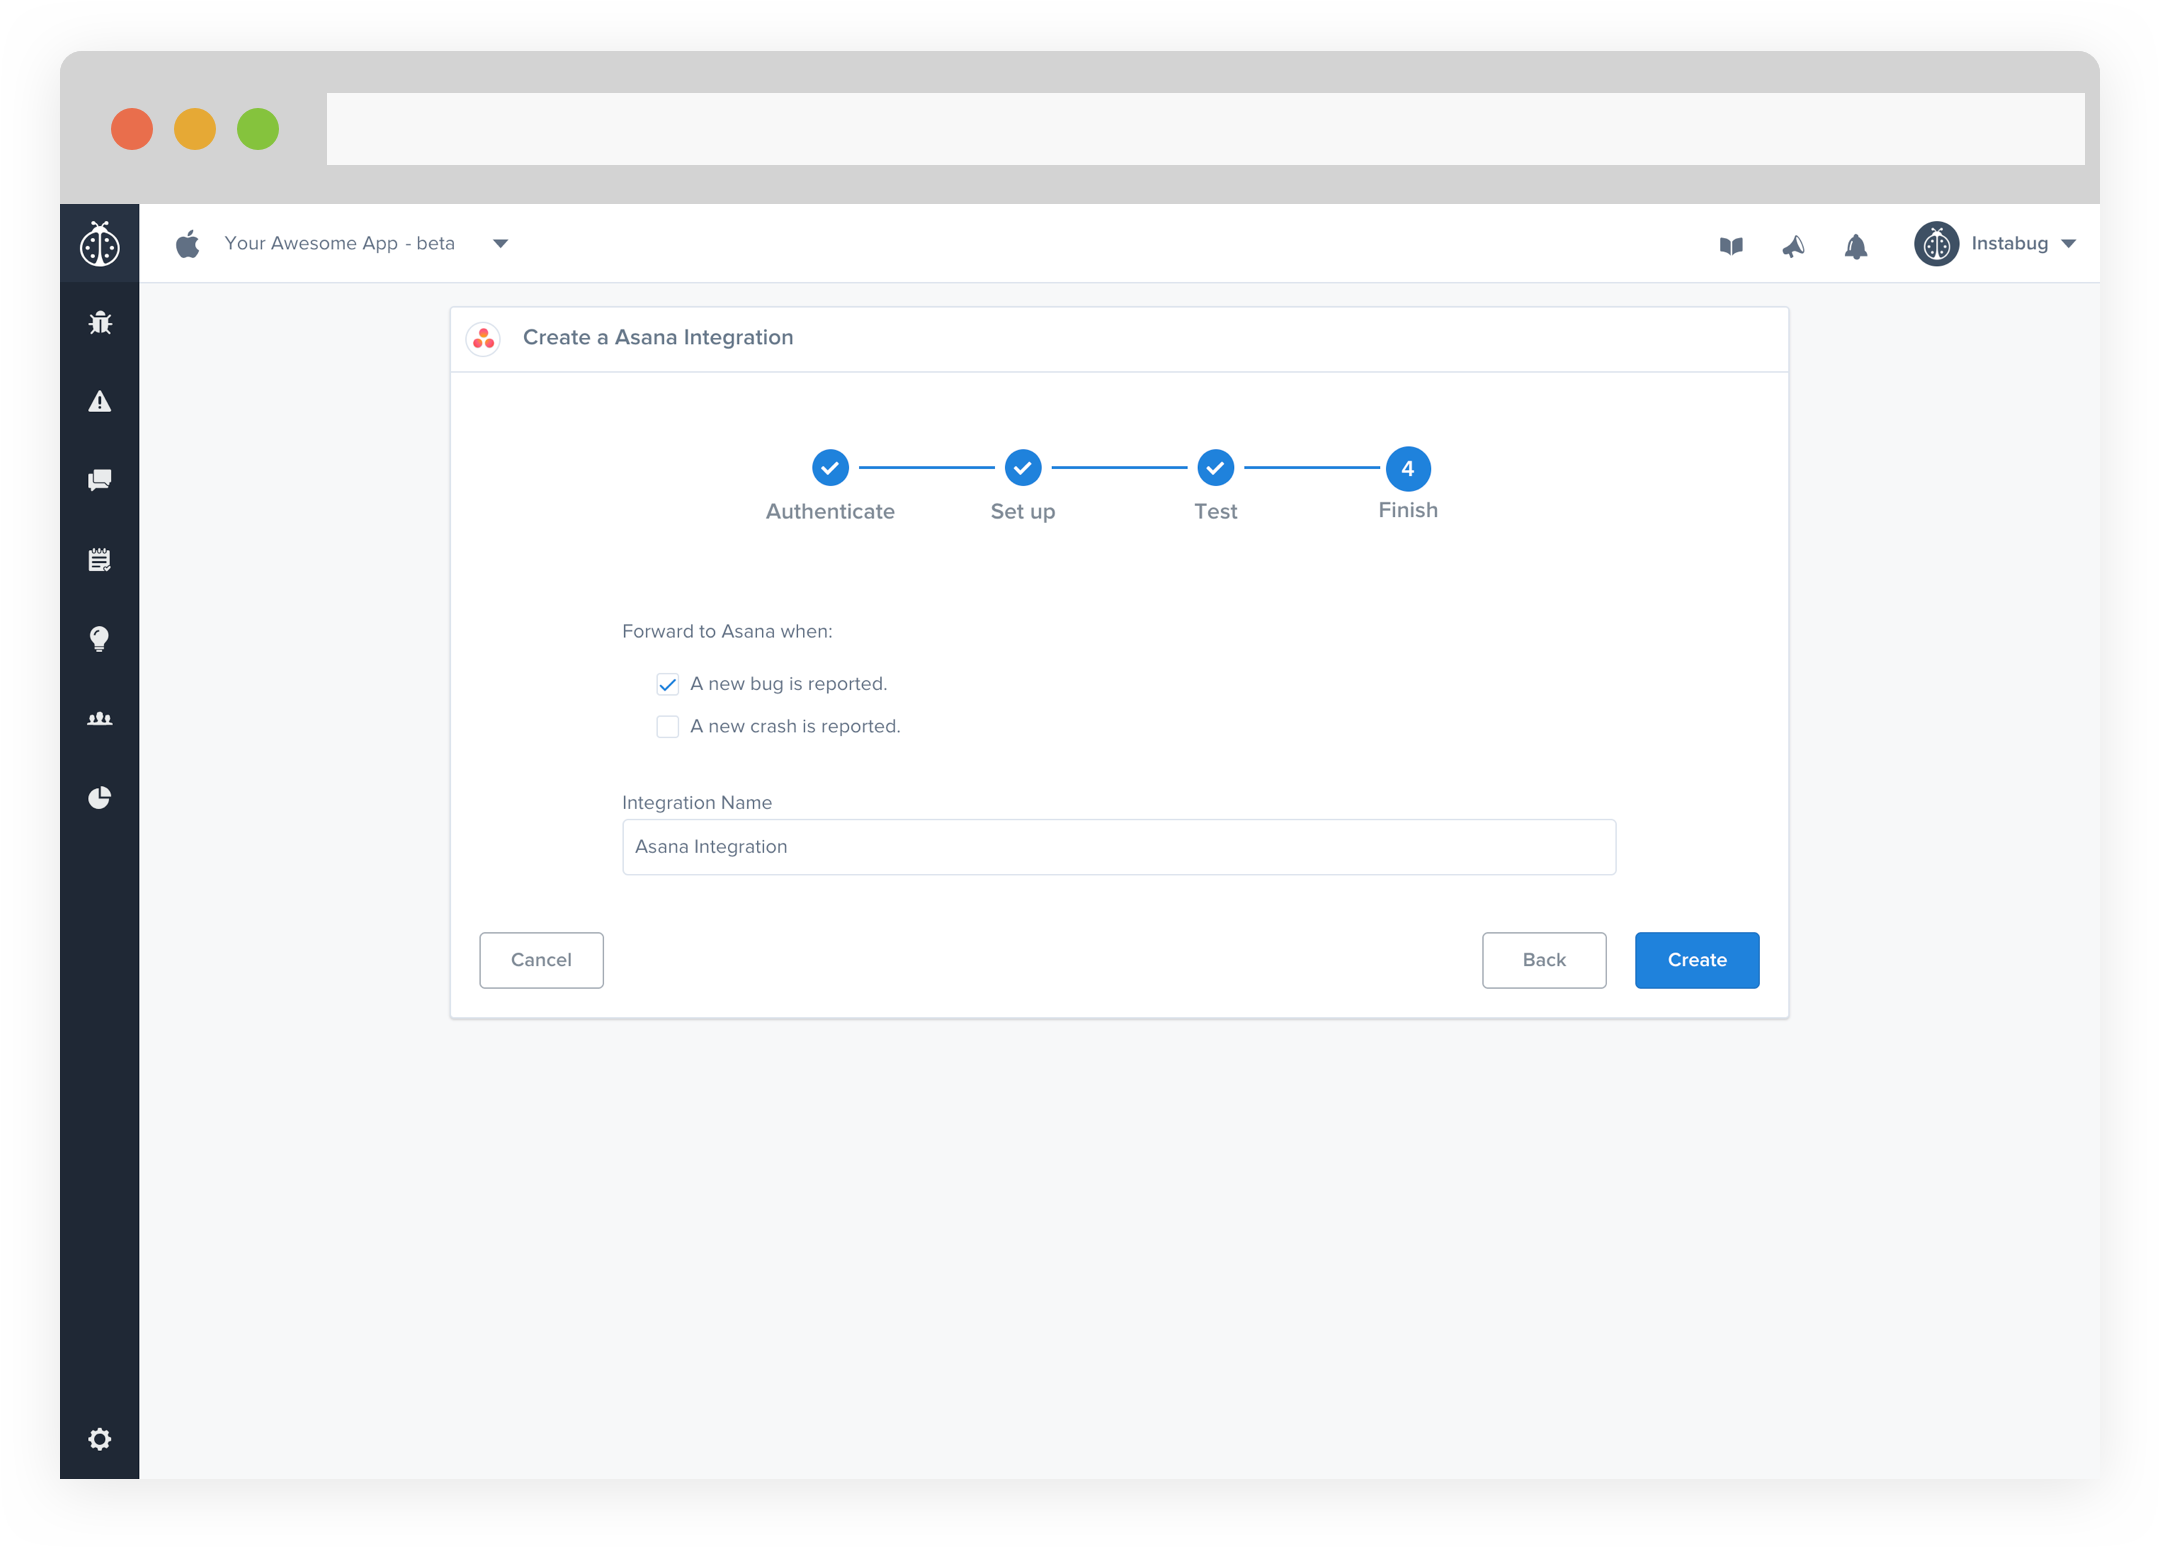
- All done! You're integration is now set-up and ready to go. From this final page, you can allow automatic forwarding (don't worry though, this can be reconfigured at any time!)
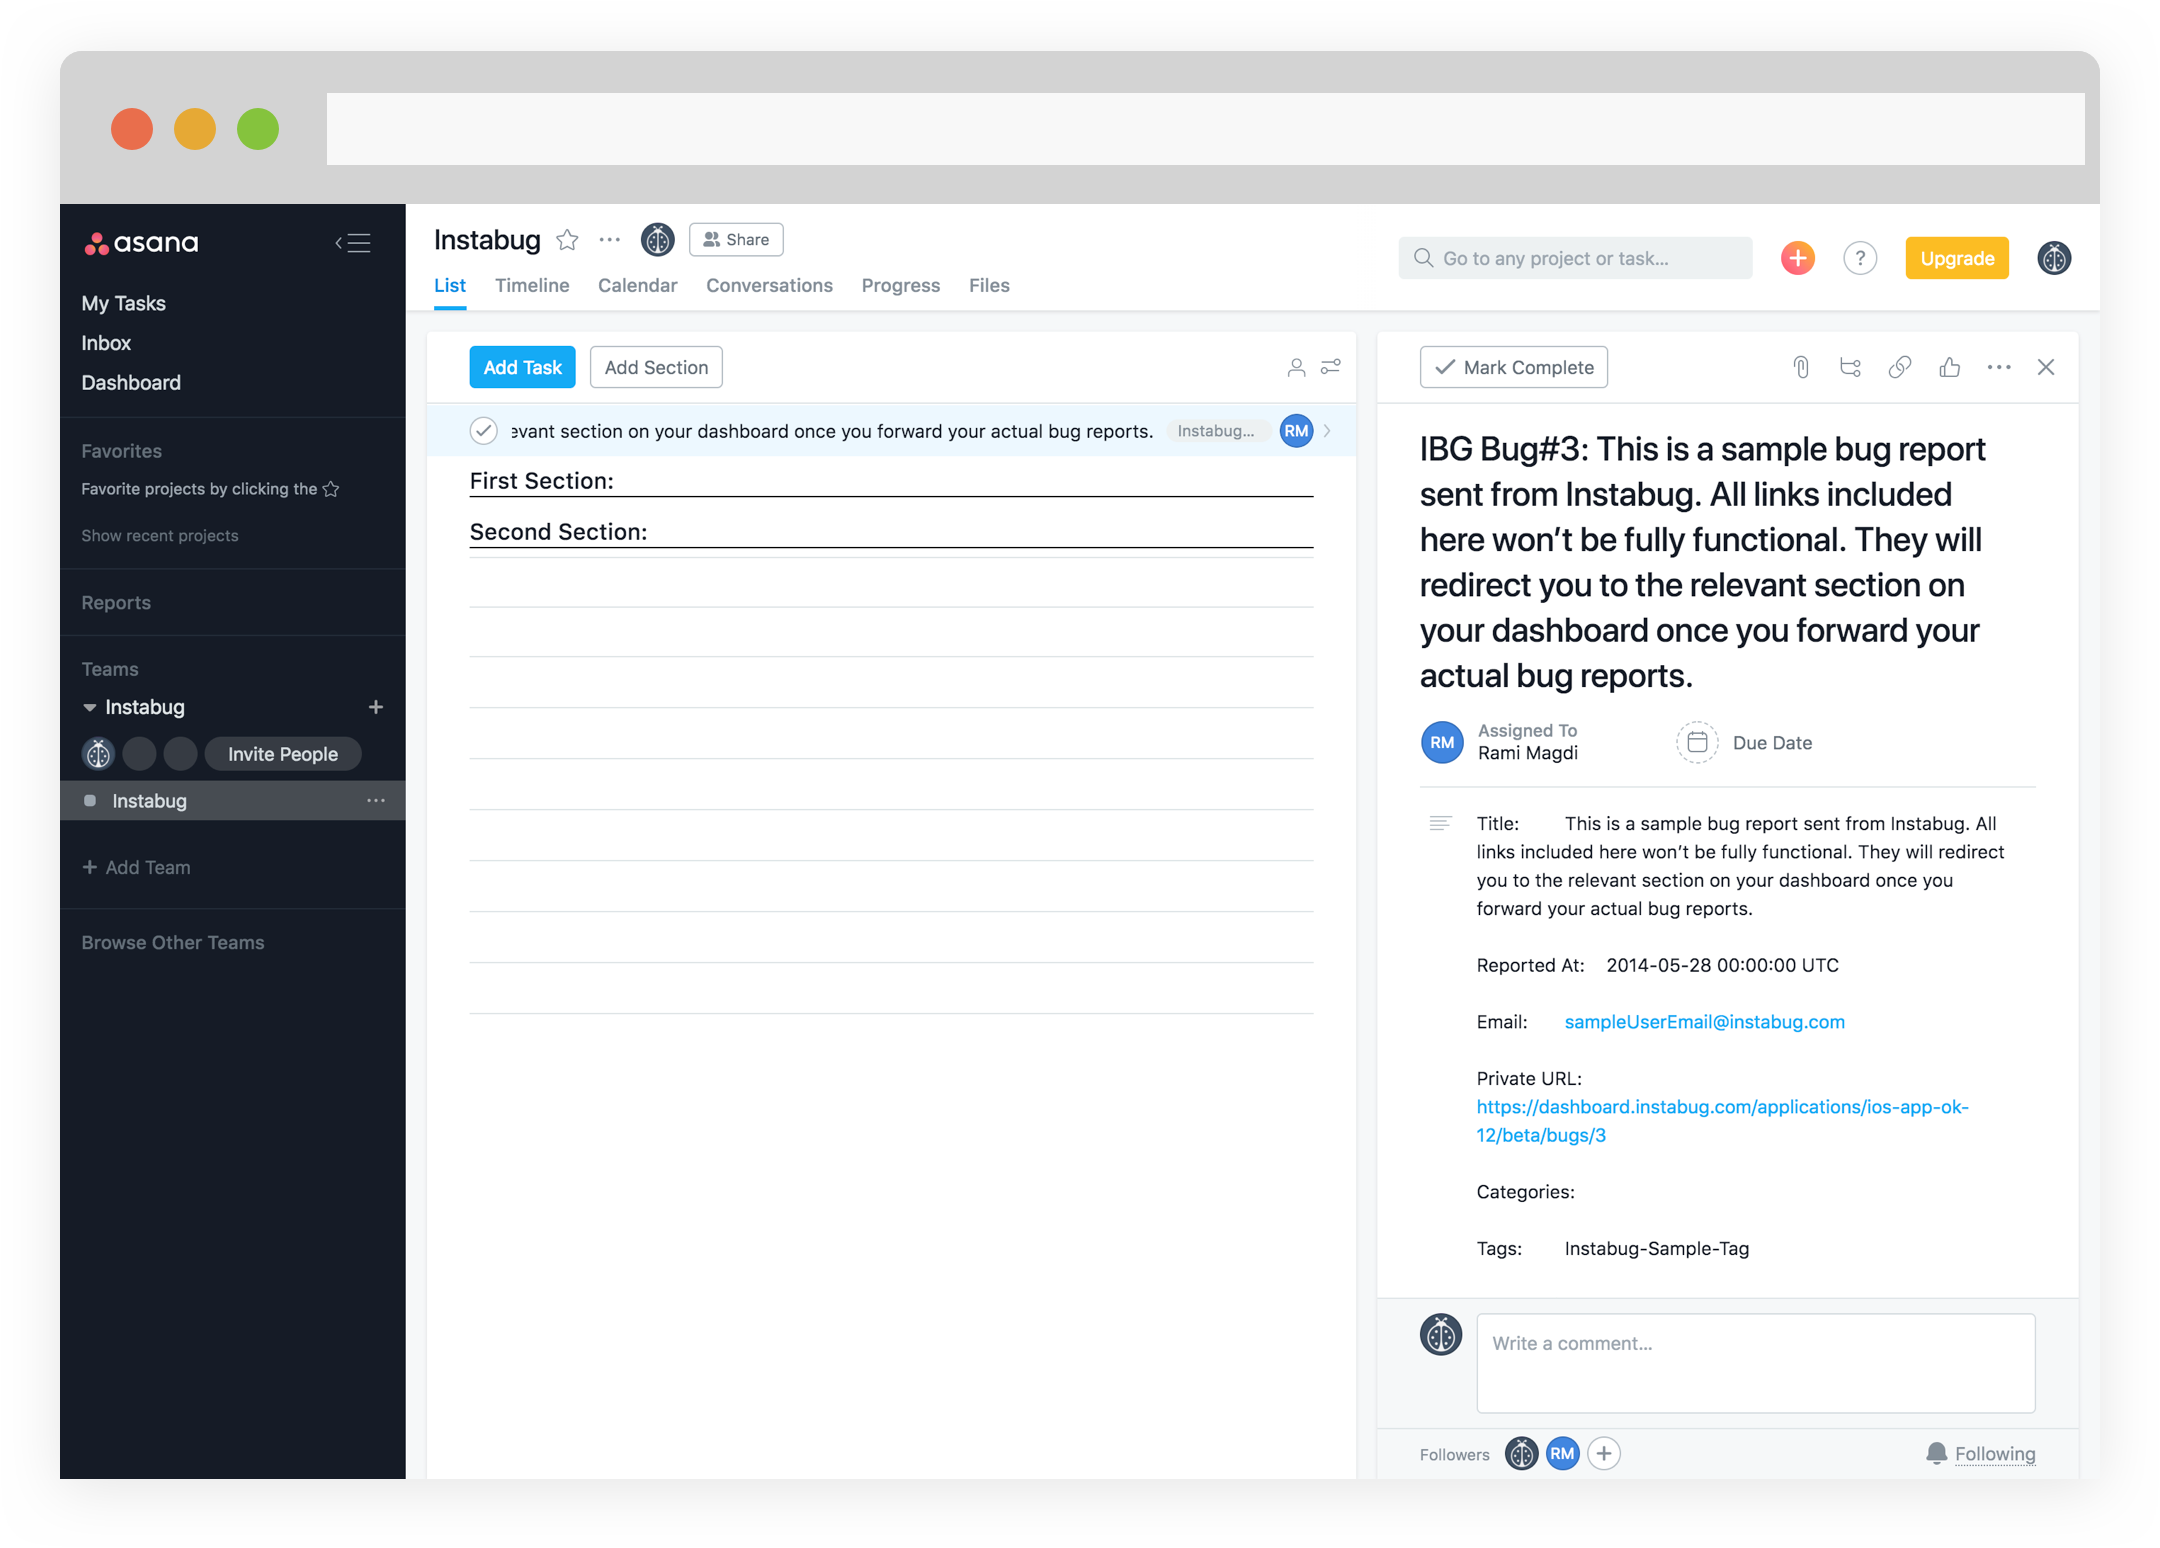
- Issues forwarded to Asana should look something like this.
Webhook
Setting up the Integration
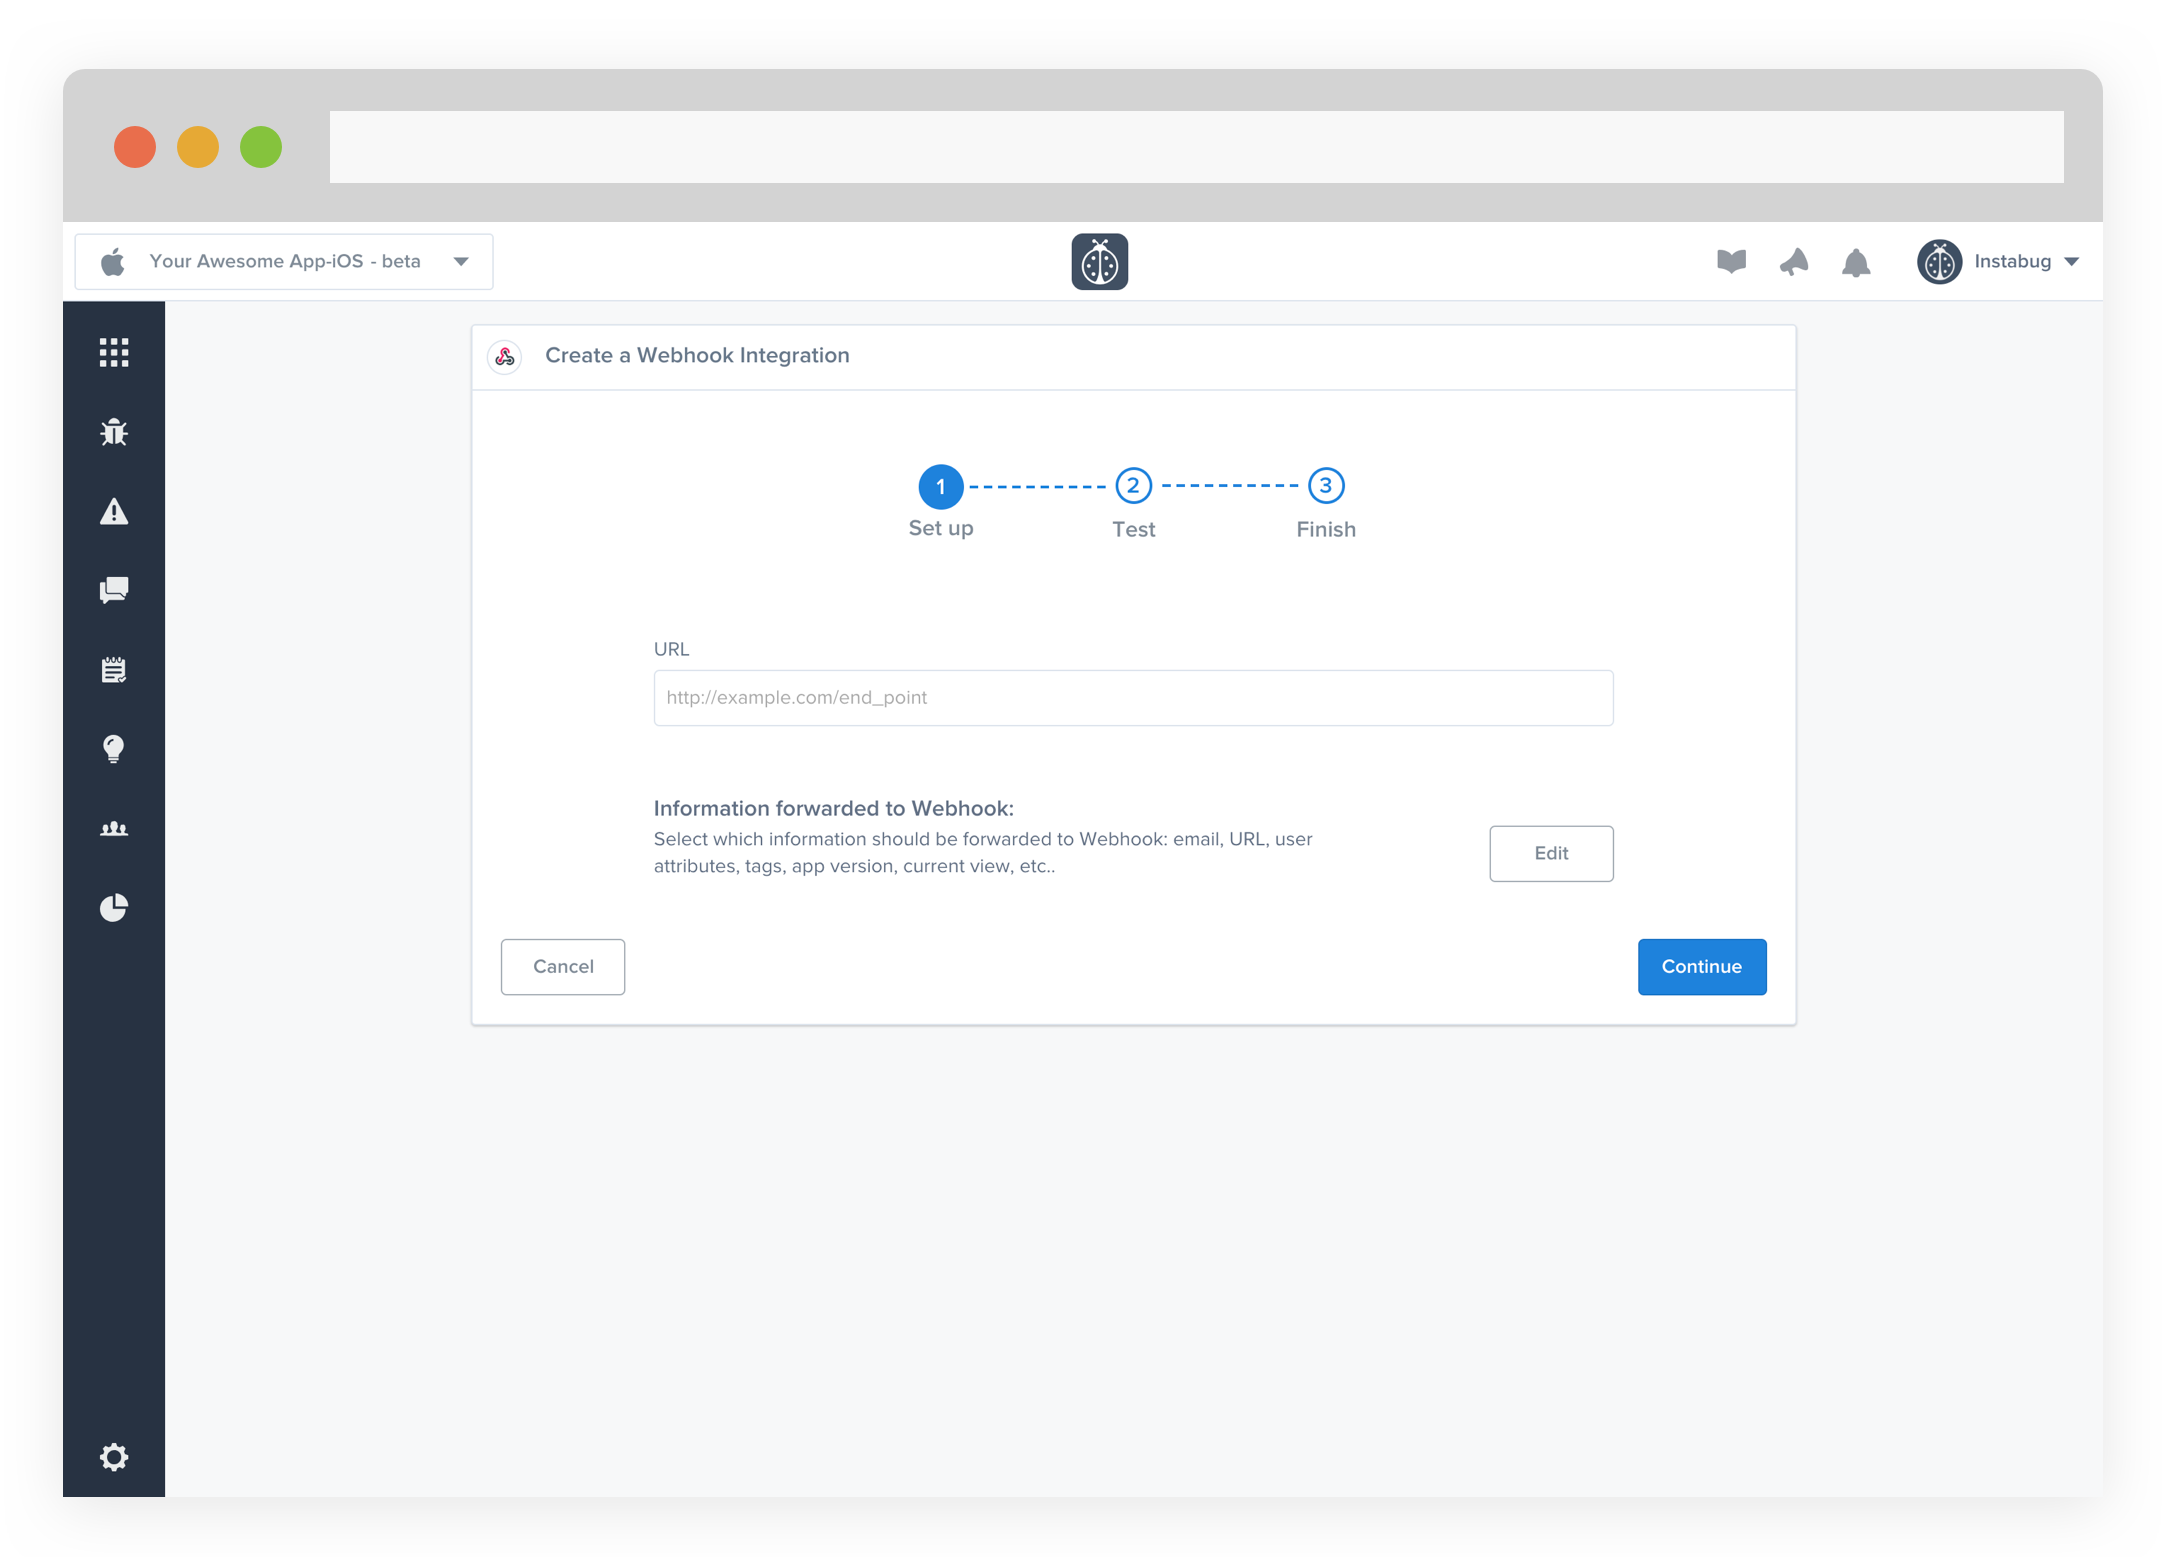
- To set up your Webhook integration, simply add the link to which Instabug should forward your reports. You can also choose which details get forwarded as well.
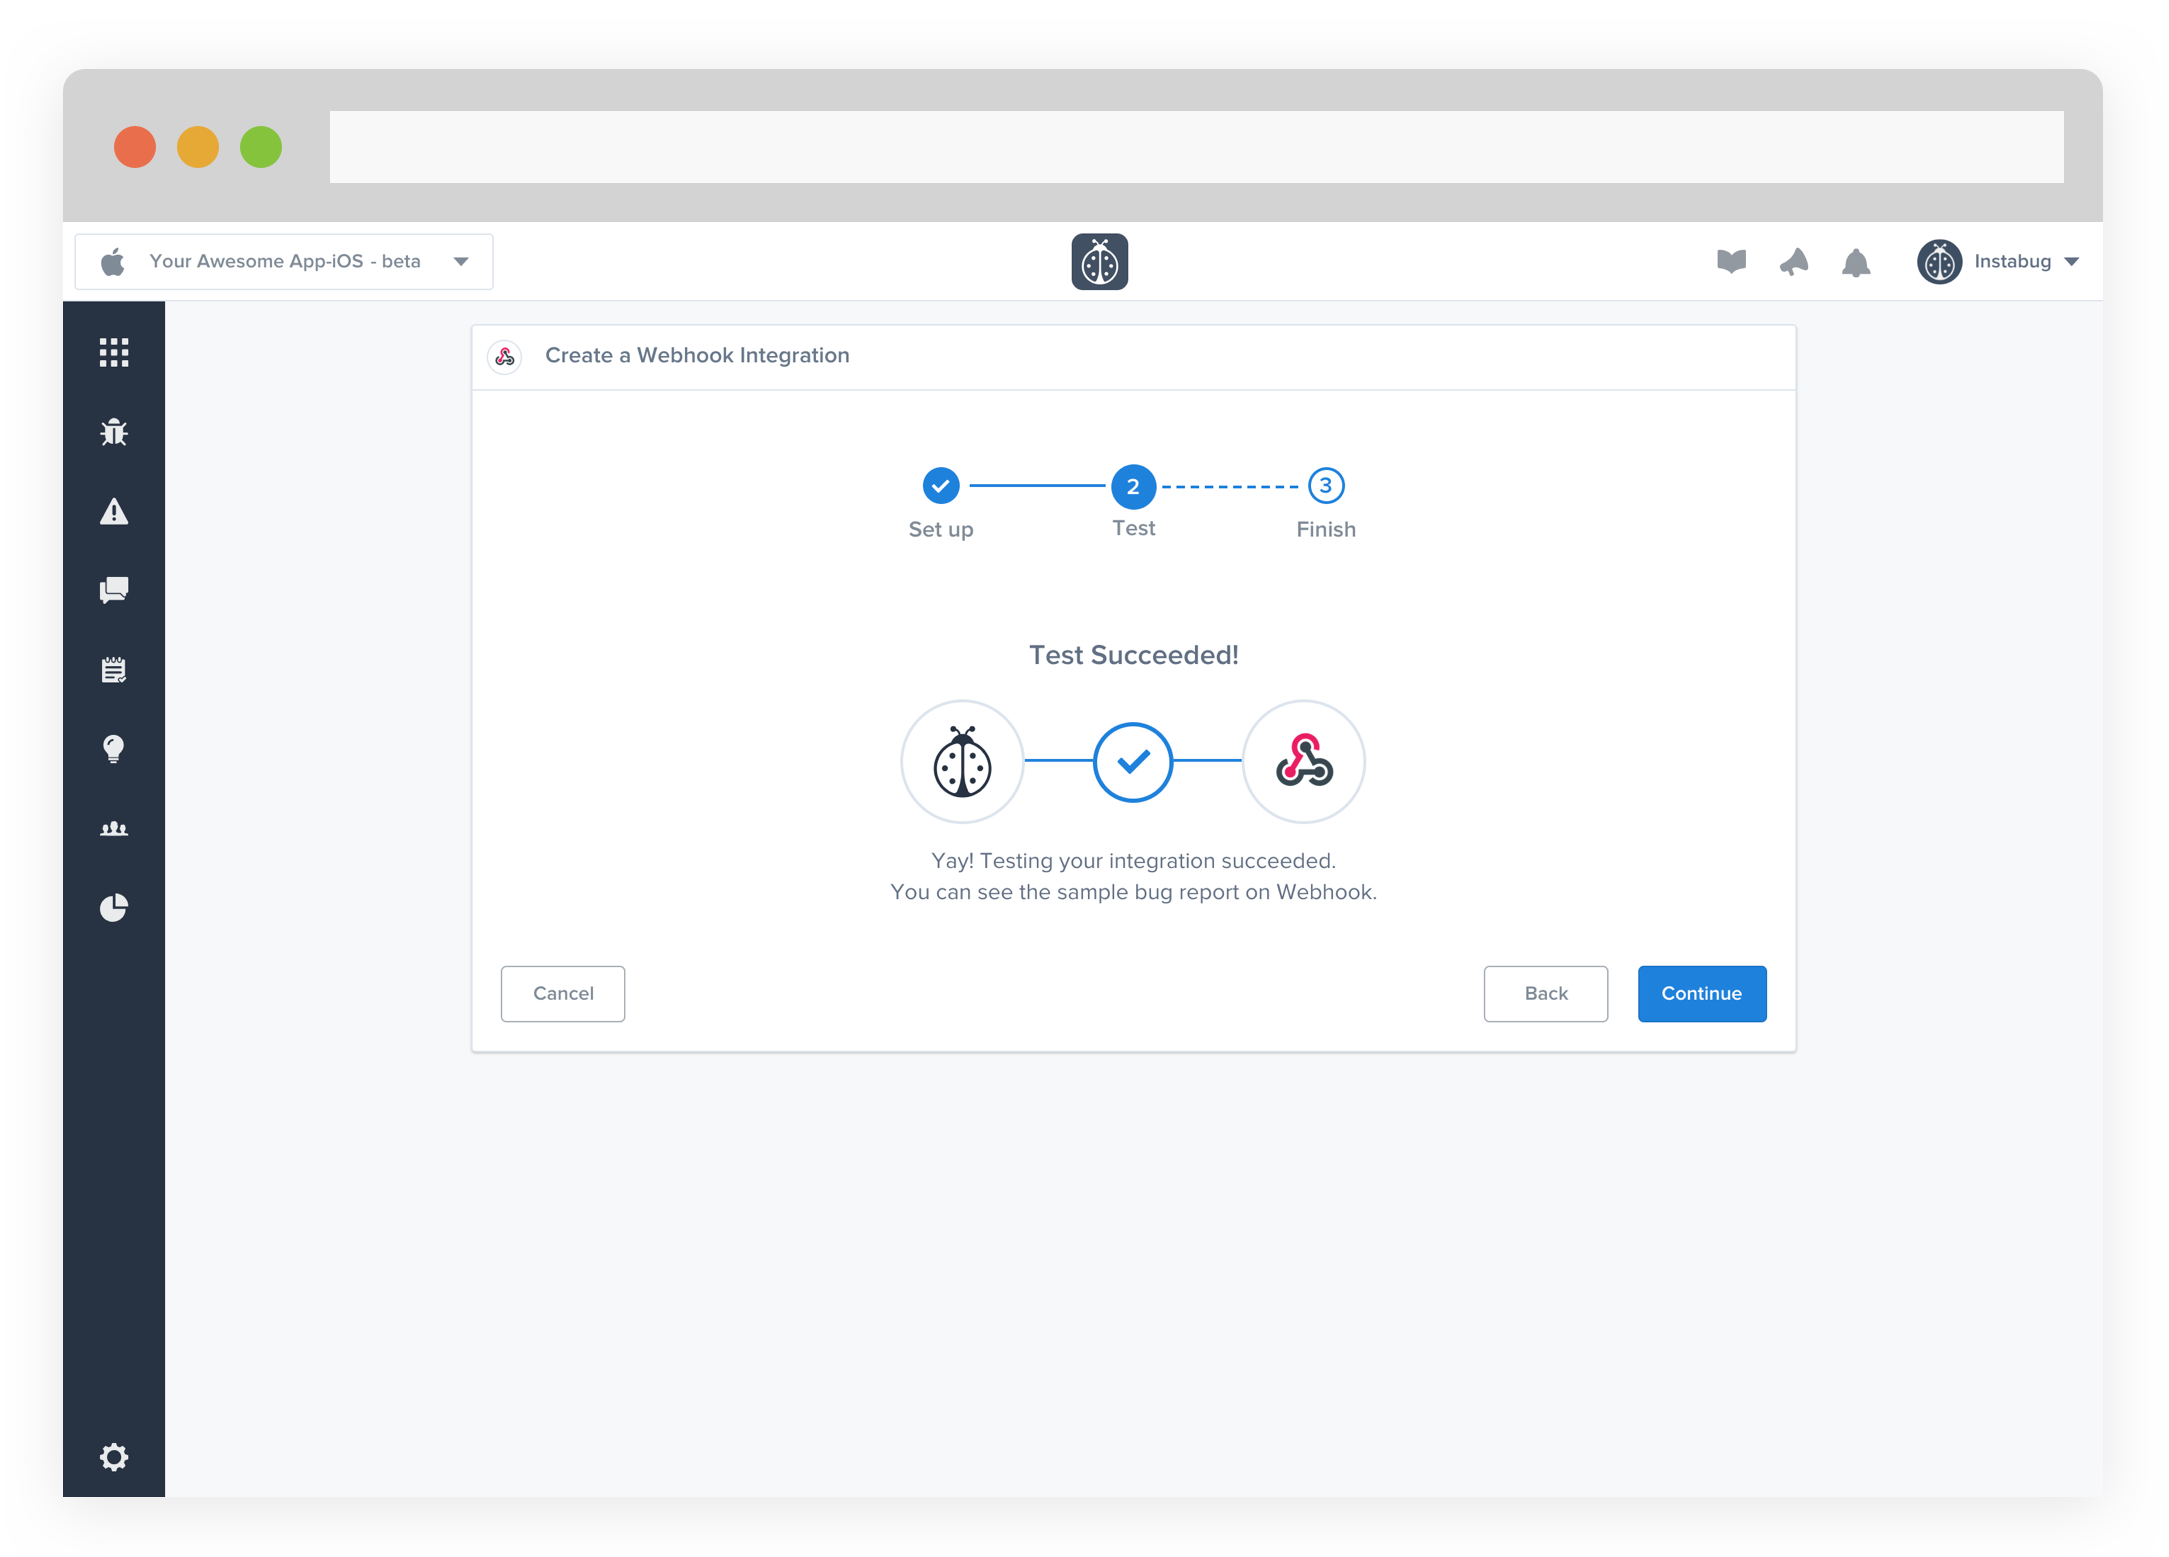
- At this point, we just need to test your integration so that we're sure everything is working smoothly.
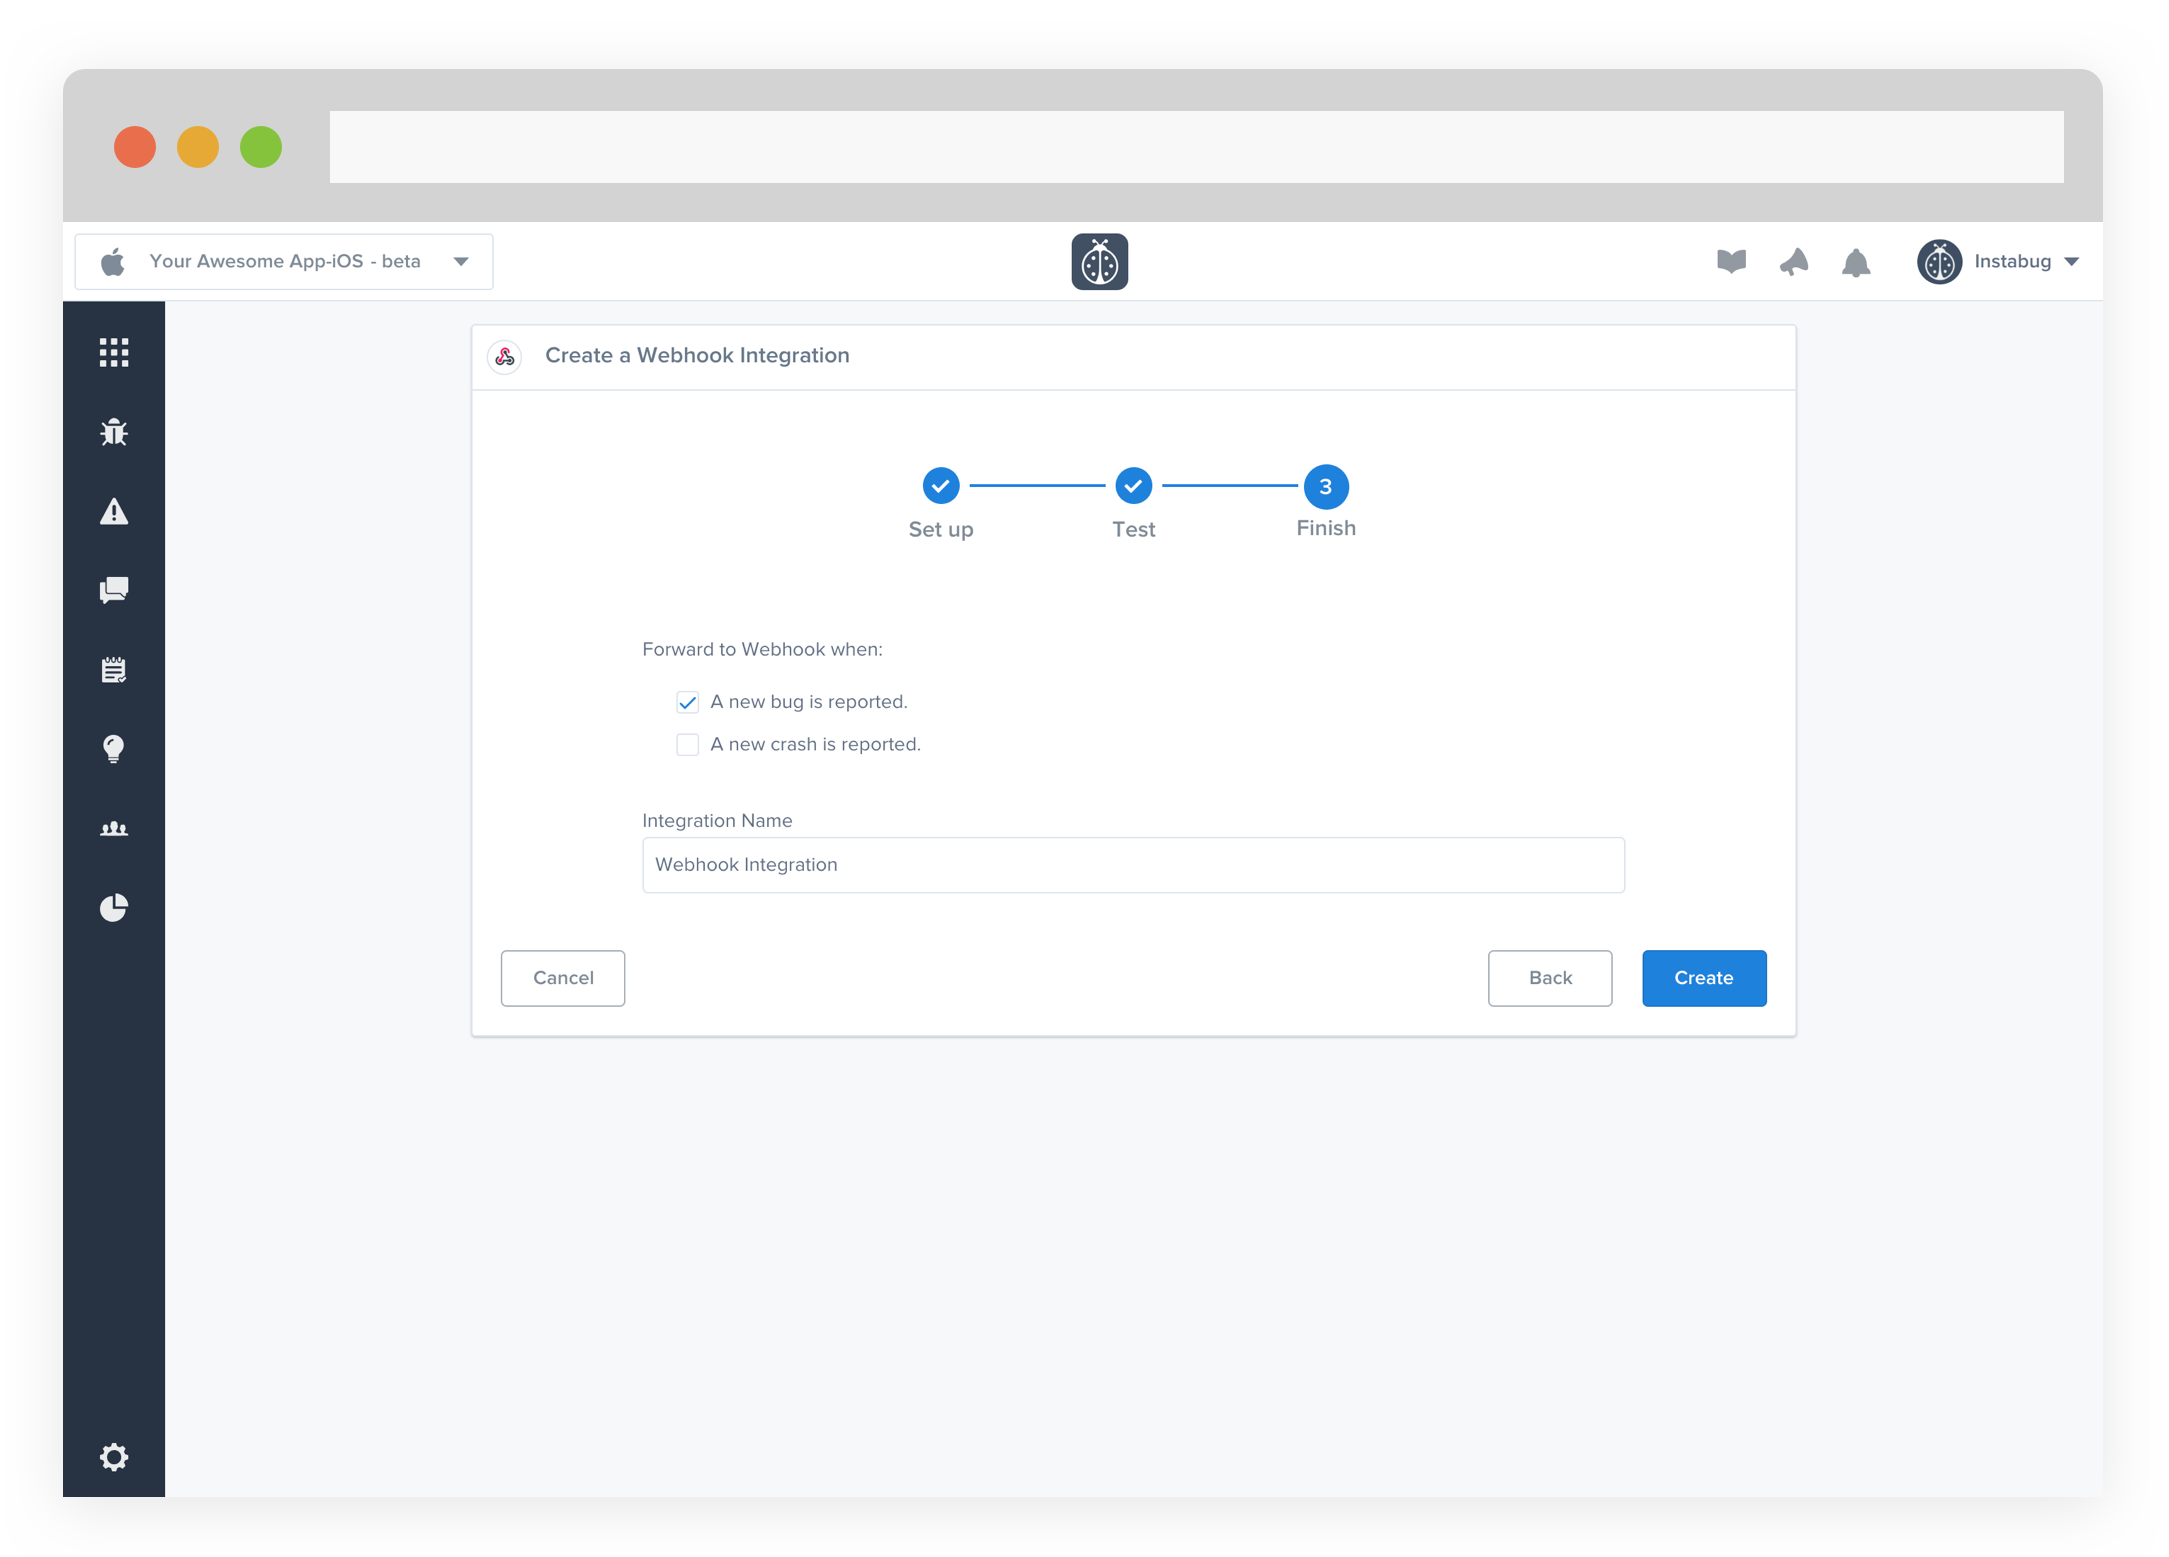
- All done! You're integration is now set-up and ready to go. From this final page, you can allow automatic forwarding (don't worry though, this can be reconfigured at any time!)
Below, you can find more details about the JSON payload that you will receive.
Crashes' JSON model:
{
    "Exception": "String",
    "Number": "Number",
    "URL": "String",
    "Status": "String",
    "Email": "",
    "Reported At": "String",
    "Location": "String",
    "Device": "String",
    "Memory": "String",
    "Storage": "String",
    "Connectivity": "string",
    "Battery": "string",
    "App Version": "string",
    "Duration": "number",
    "User Data": "String",
    "Console Log": "Text",
    "Instabug Log": "Text",
    "User Steps": "Text",
    "User Attributes": {},
    "Current View": "String",
    "Locale": "en_US",
    "Orientation": "landscape",
    "Screen Size": "String",
    "Density": "string",
    "Image Attachments": []
}
Bugs' JSON model:
{
   "Title":"String",
   "Number":"number",
   "URL":"String",
   "Status":"String",
   "Email":"String",
   "Reported At":"Date",
   "Location":"String",
   "Device":"String",
   "Memory":"String",
   "Storage":"String",
   "Connectivity":"String",
   "Battery":"String",
   "App Version":"String",
   "Duration":"Number",
   "User Attributes":{

   },
   "Current View":"String",
   "Tags":"String",
   "Image Attachments":[
   ]
}
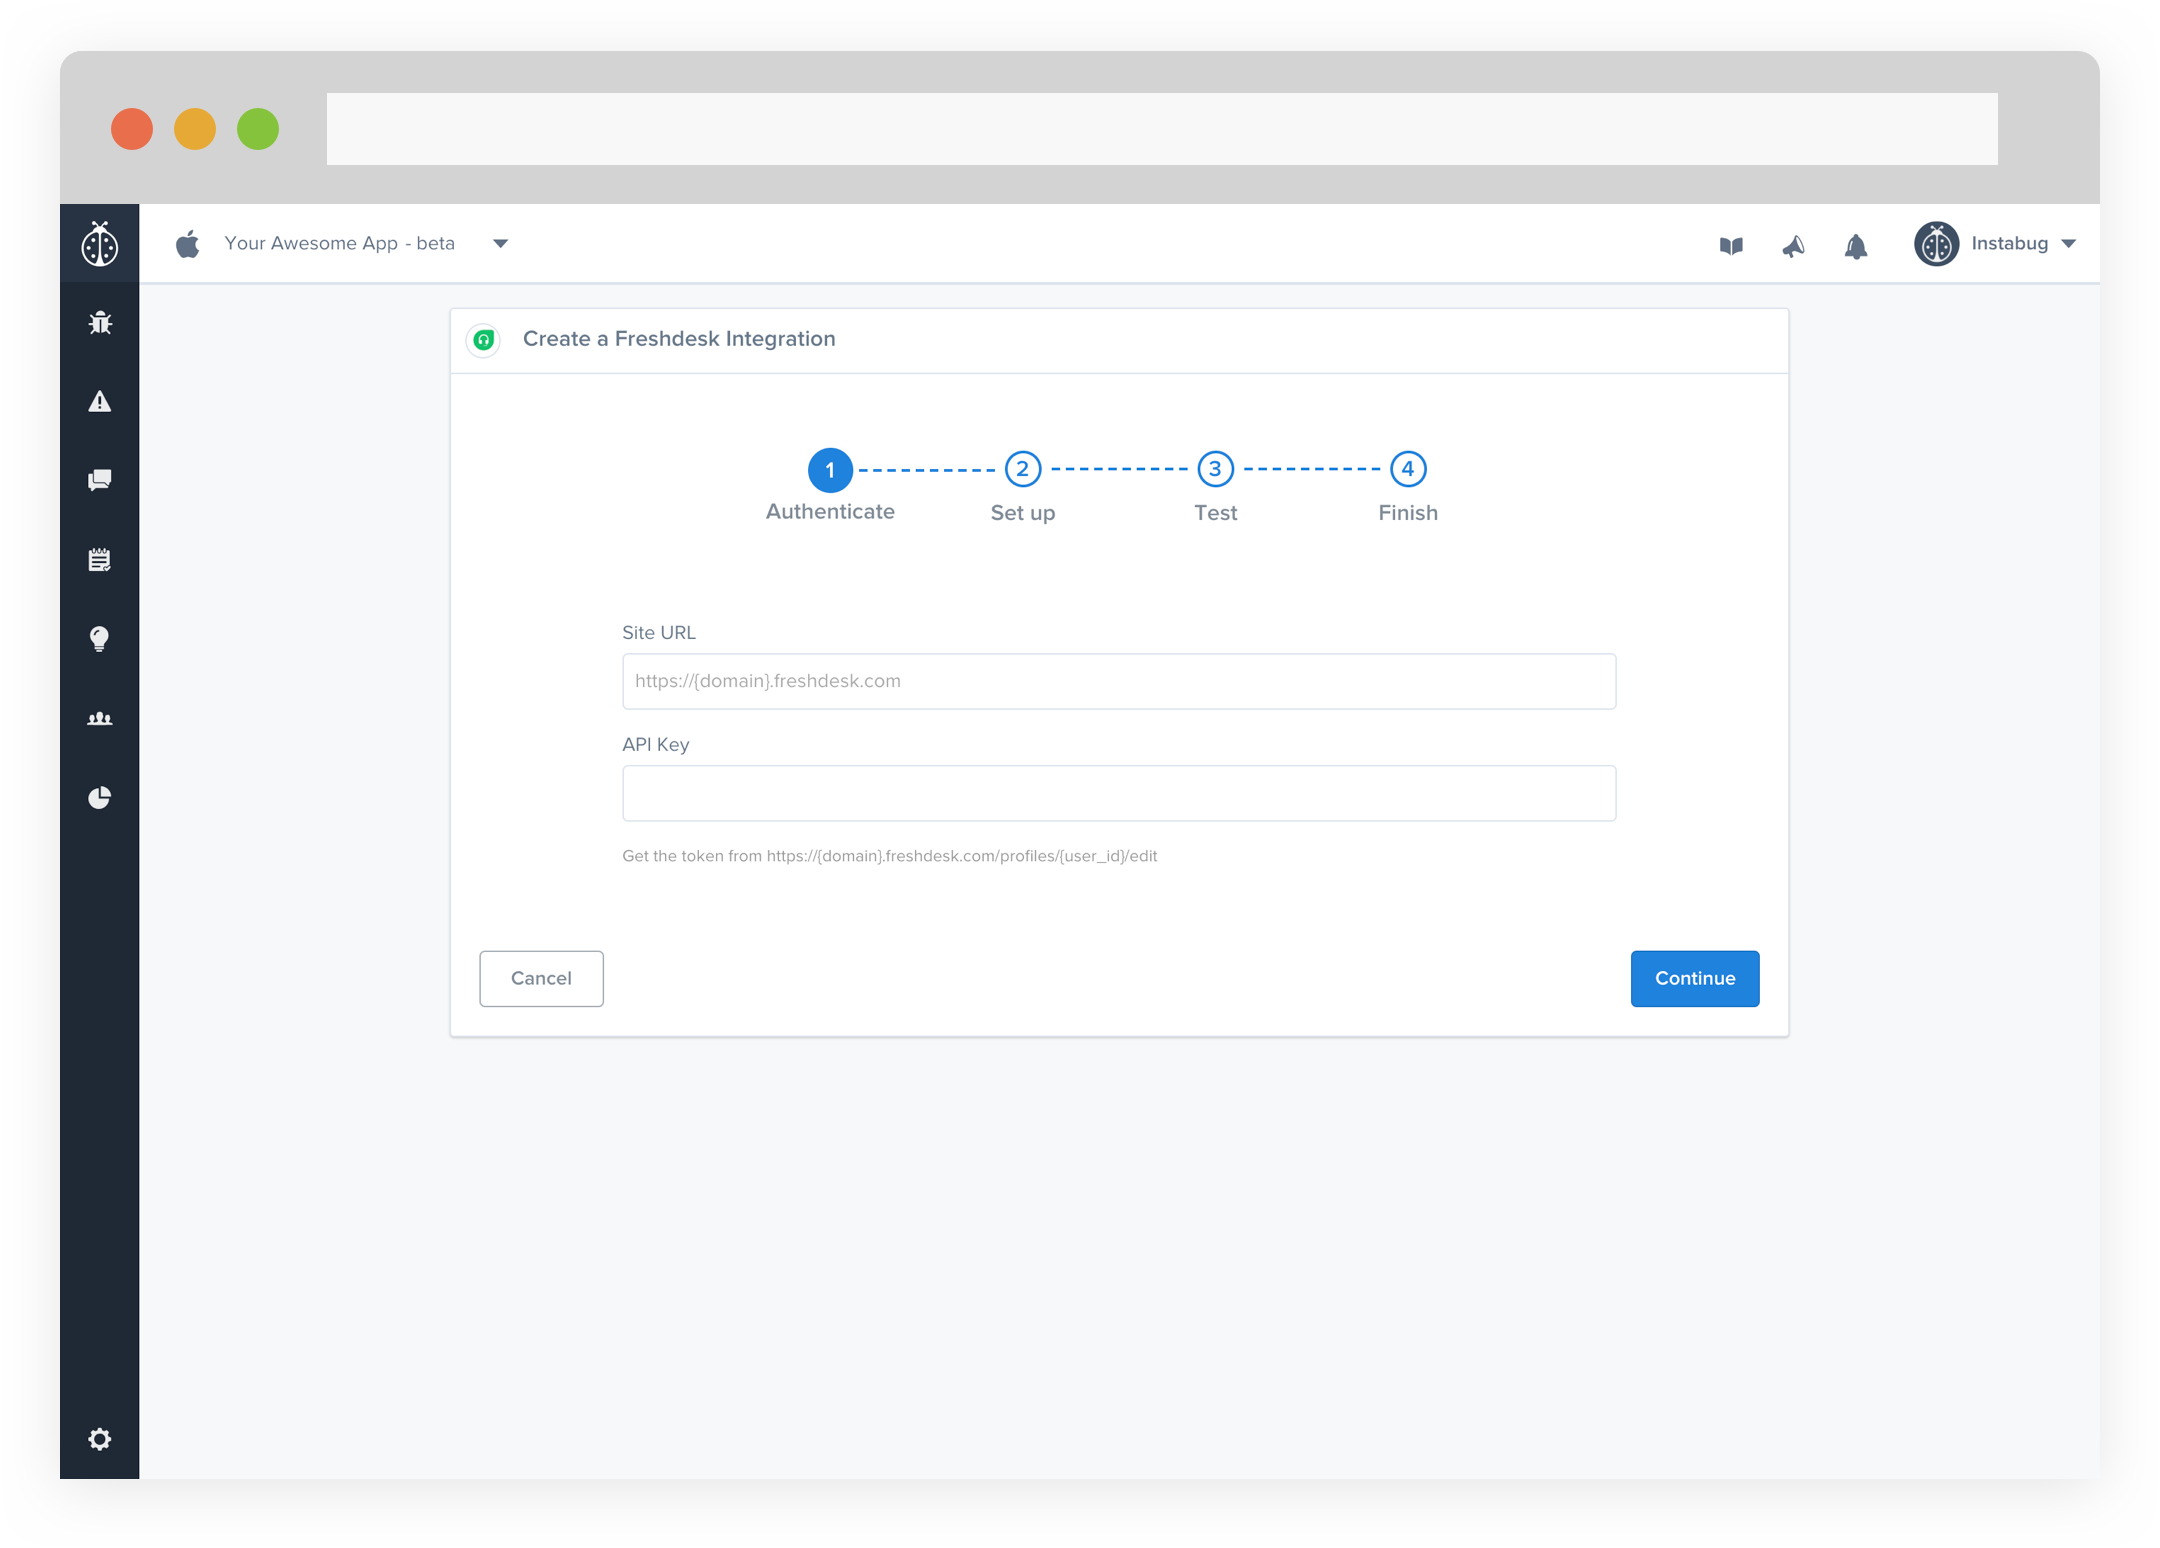
Never miss an issue from your clients by receiving messages and feedback right inside your FreshDesk dashboard.
- Enter your Site URL and API Key. To get your API Key, go to your FreshDesk profile and get the key from "https://{domain}.freshdesk.com/profiles/{user_id}/edit".
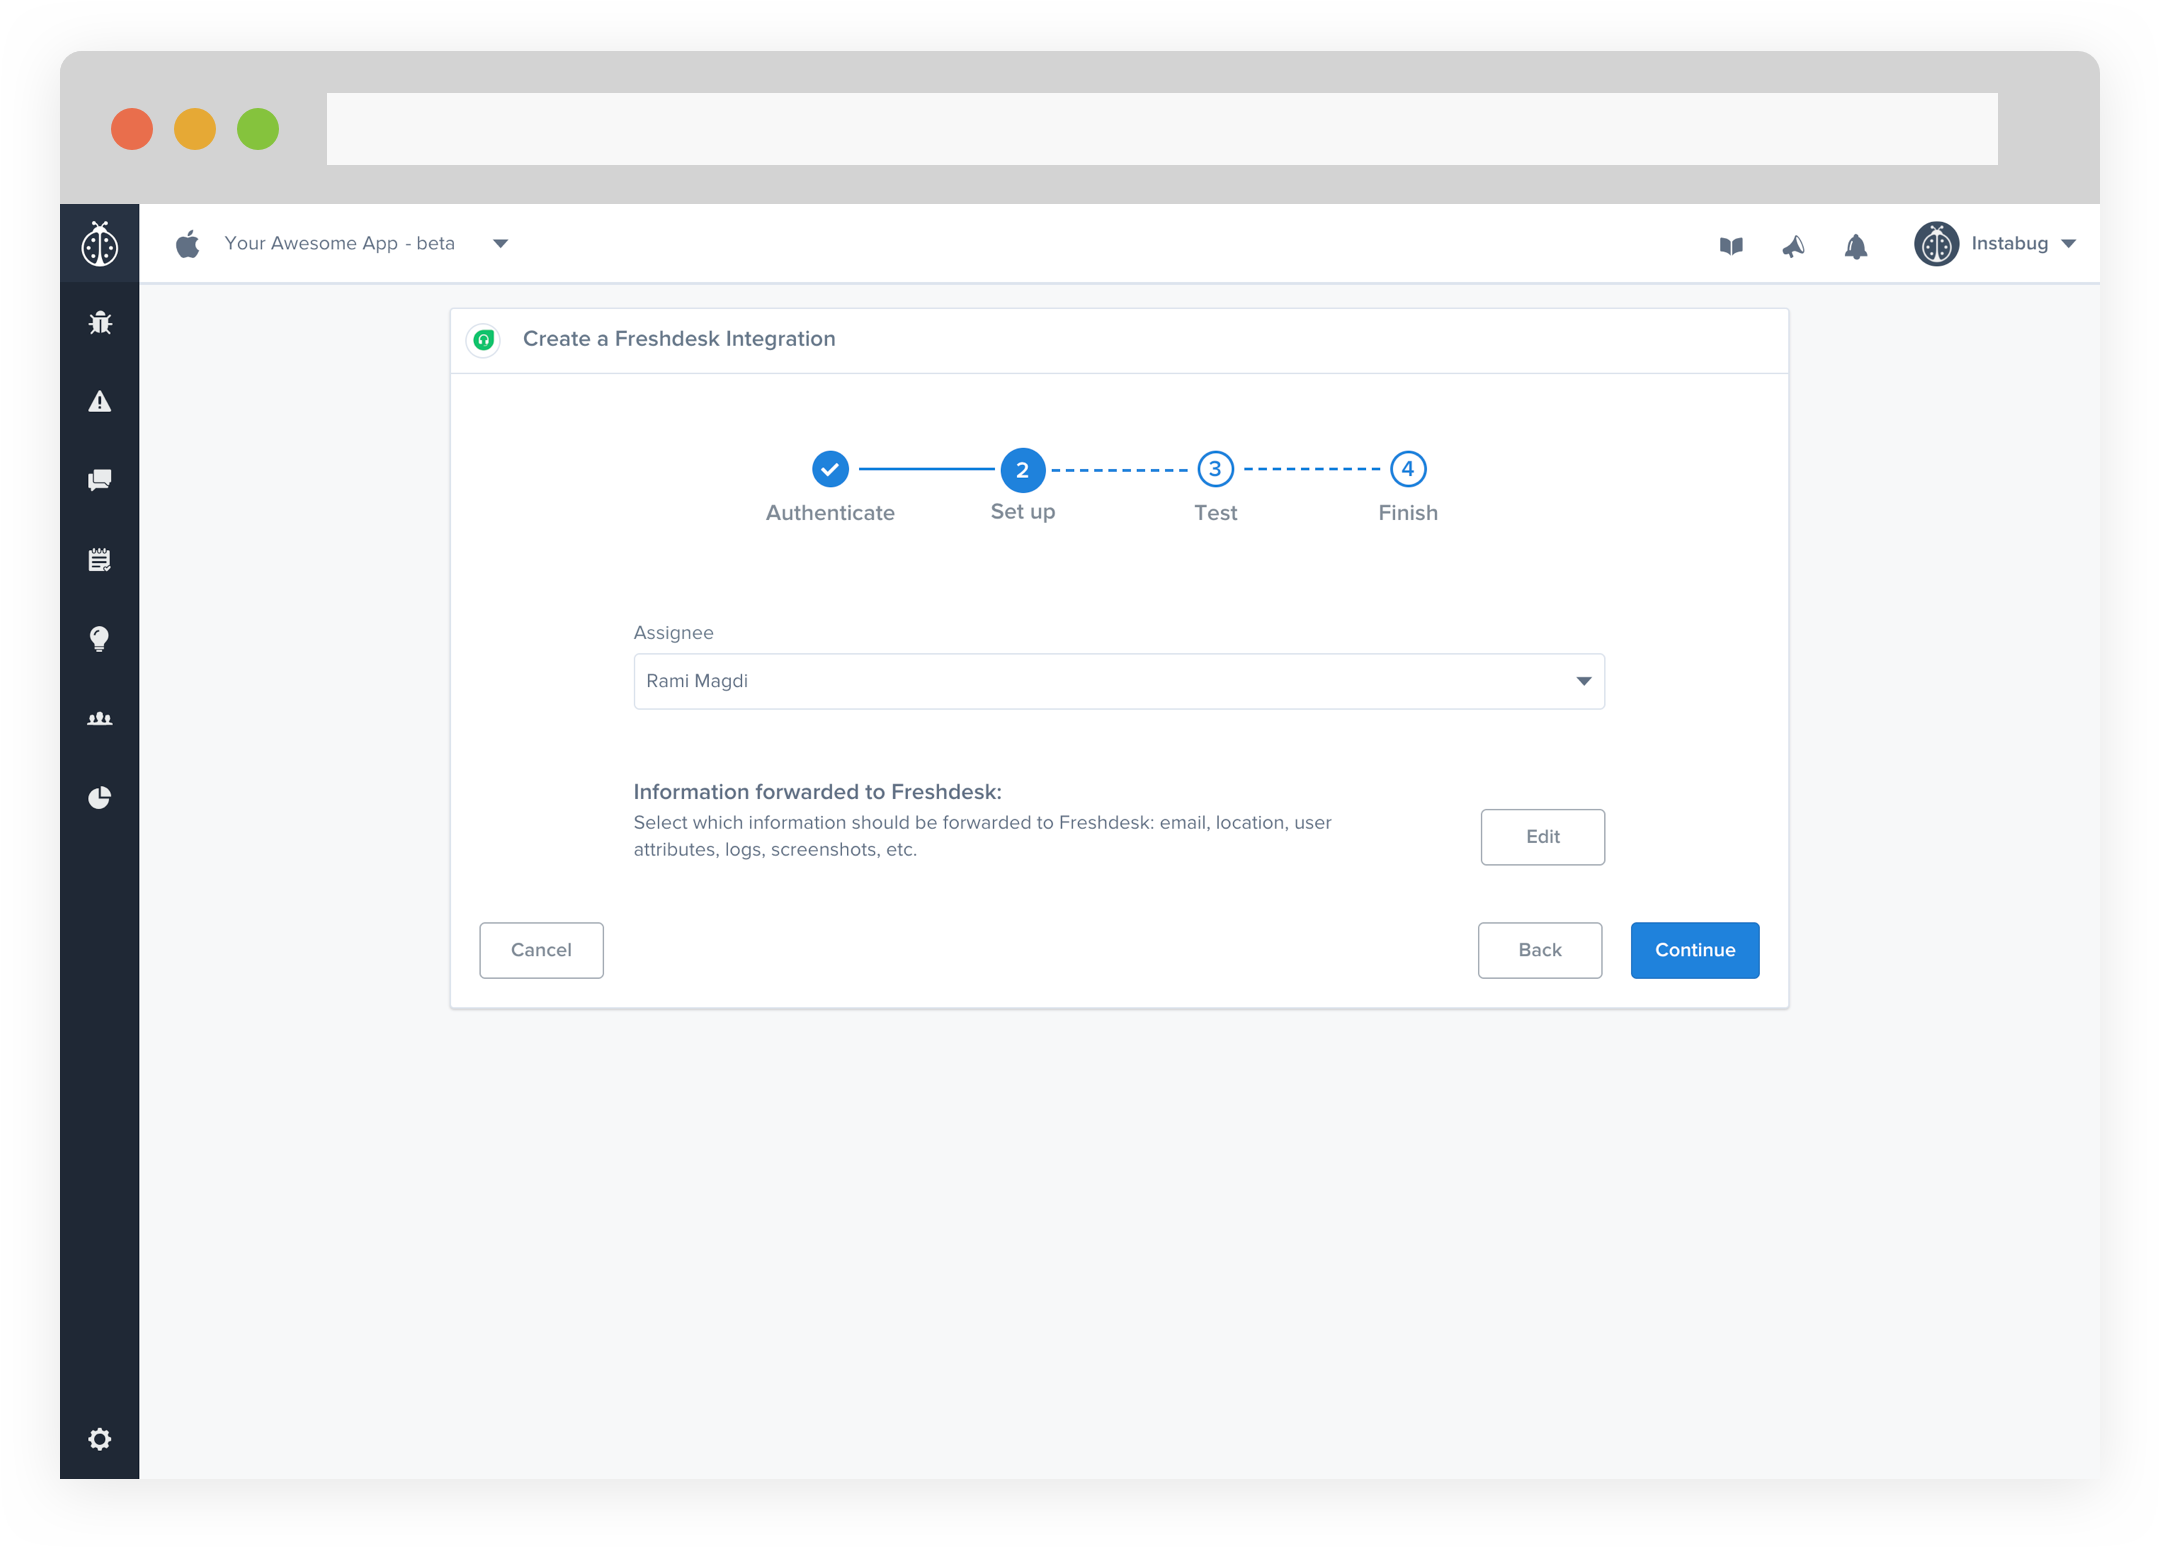
- From here you can choose the Assignee. You can also choose which details get forwarded as well.
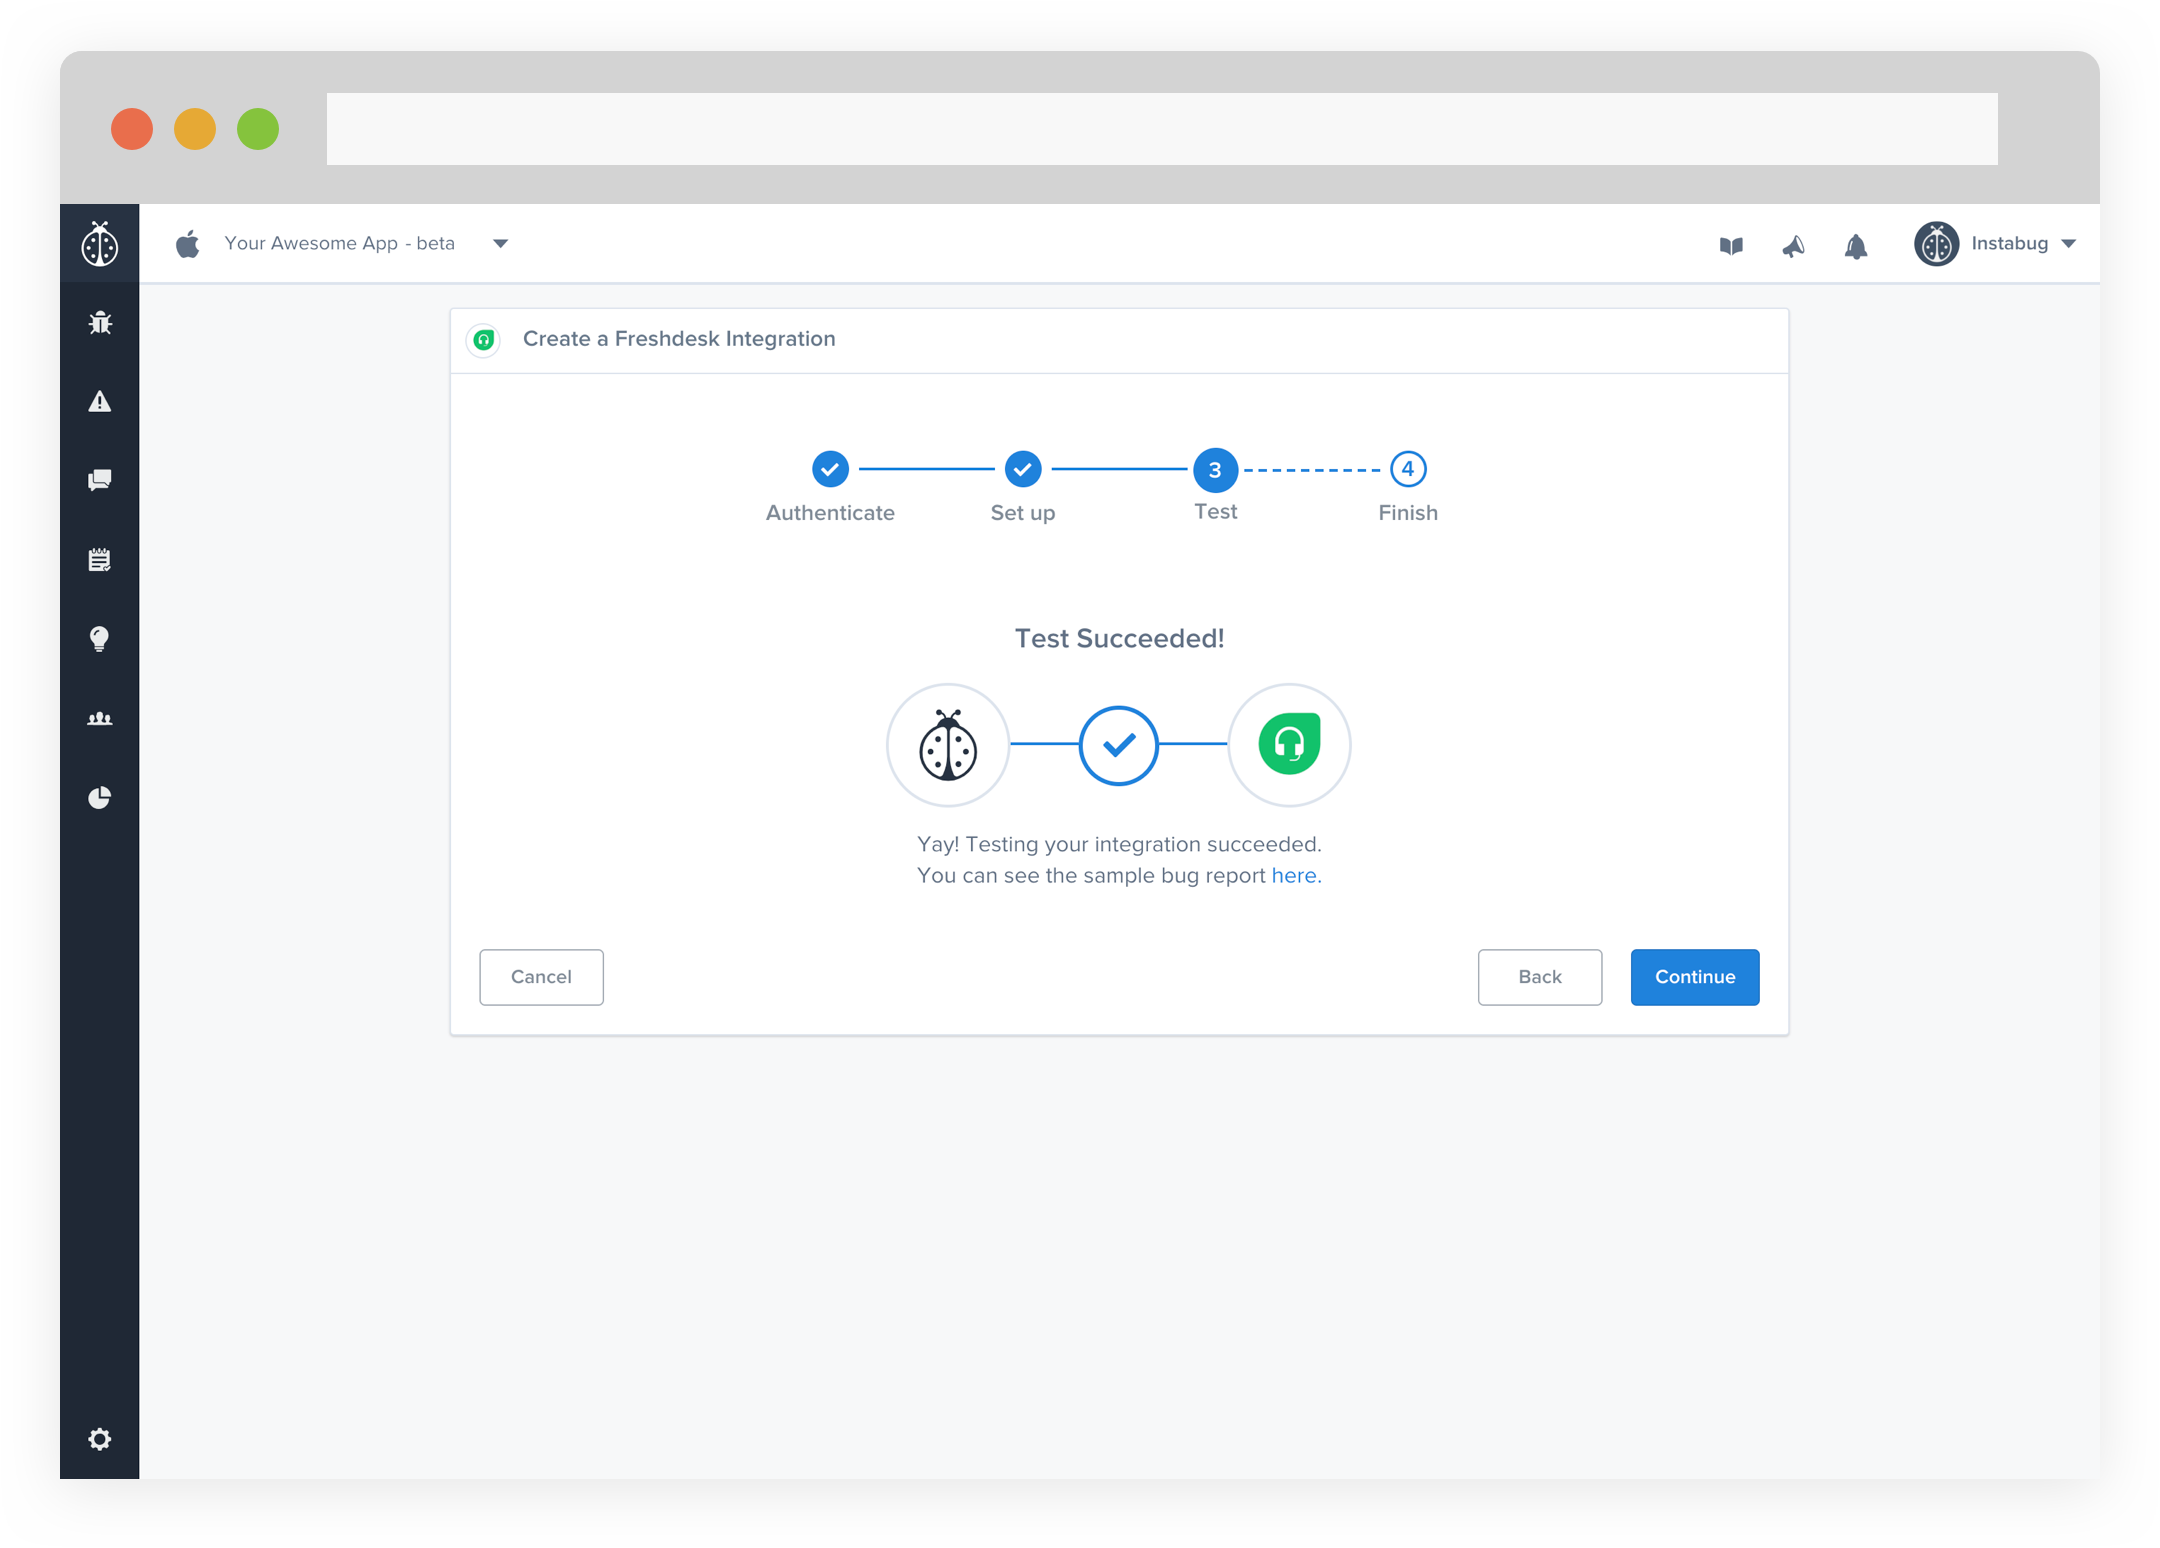
- At this point, we just need to test your integration so that we're sure everything is working smoothly.
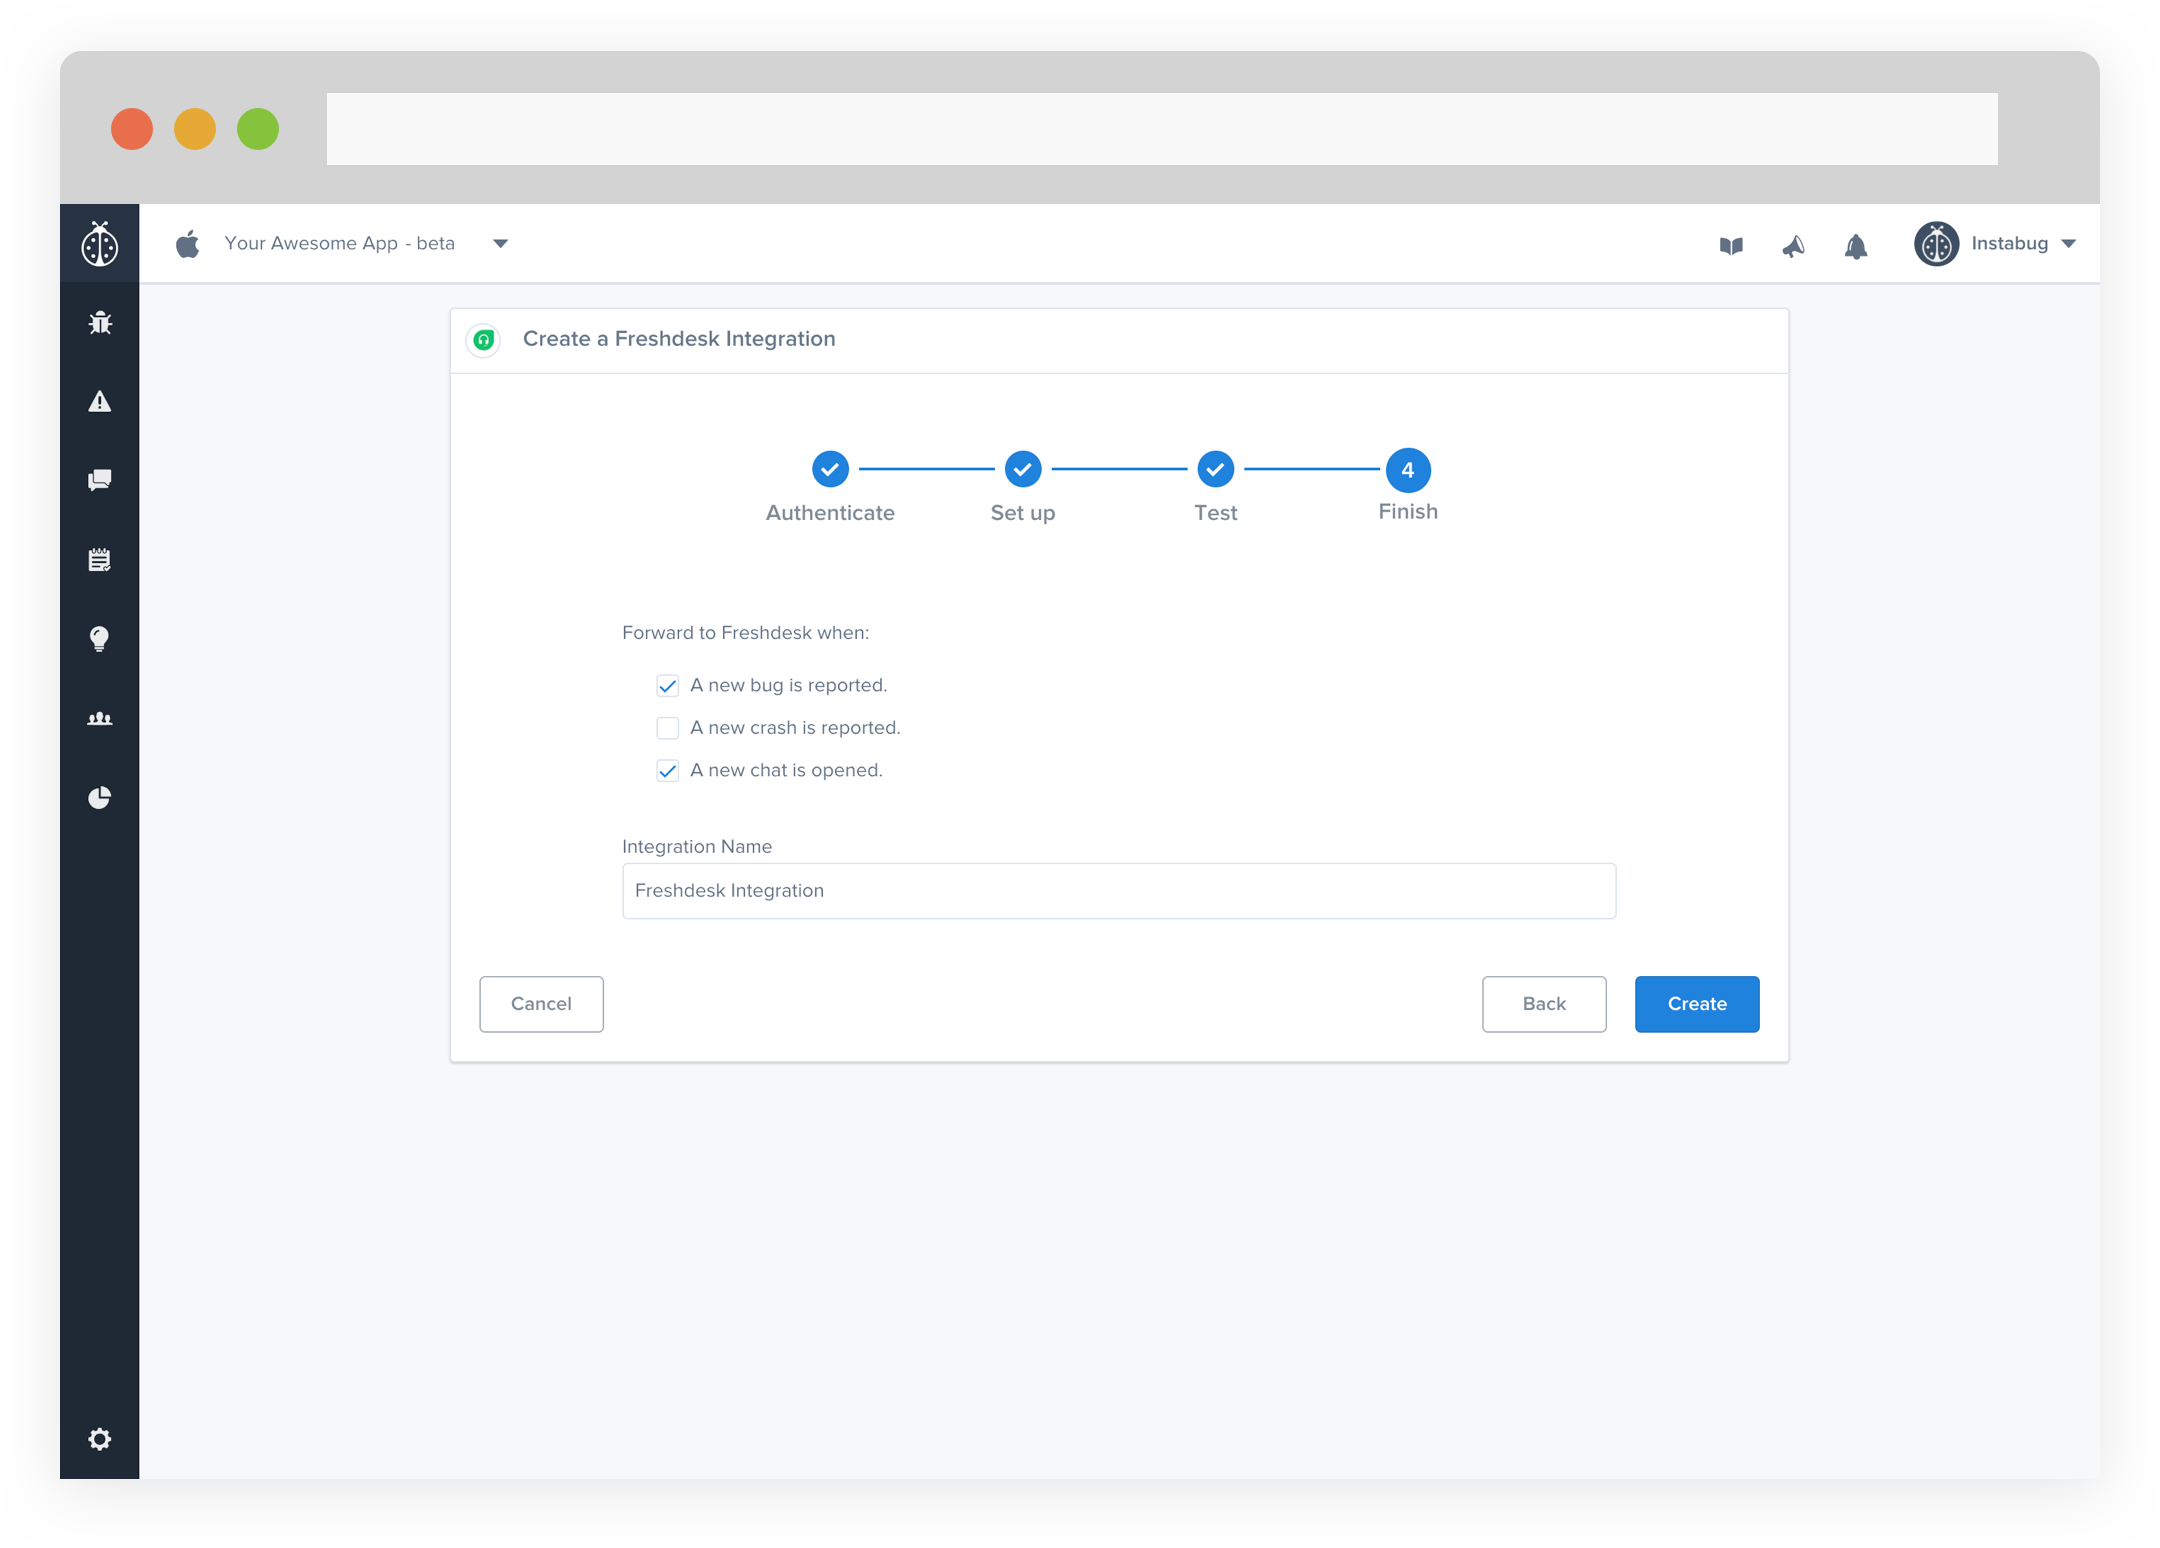
- All done! You're integration is now set-up and ready to go. From this final page, you can allow automatic forwarding (don't worry though, this can be reconfigured at any time!)
Instead of manually logging issues into Bitbucket, now you can have them forwarded over there directly from your mobile app!
- Enter your Username and Password.
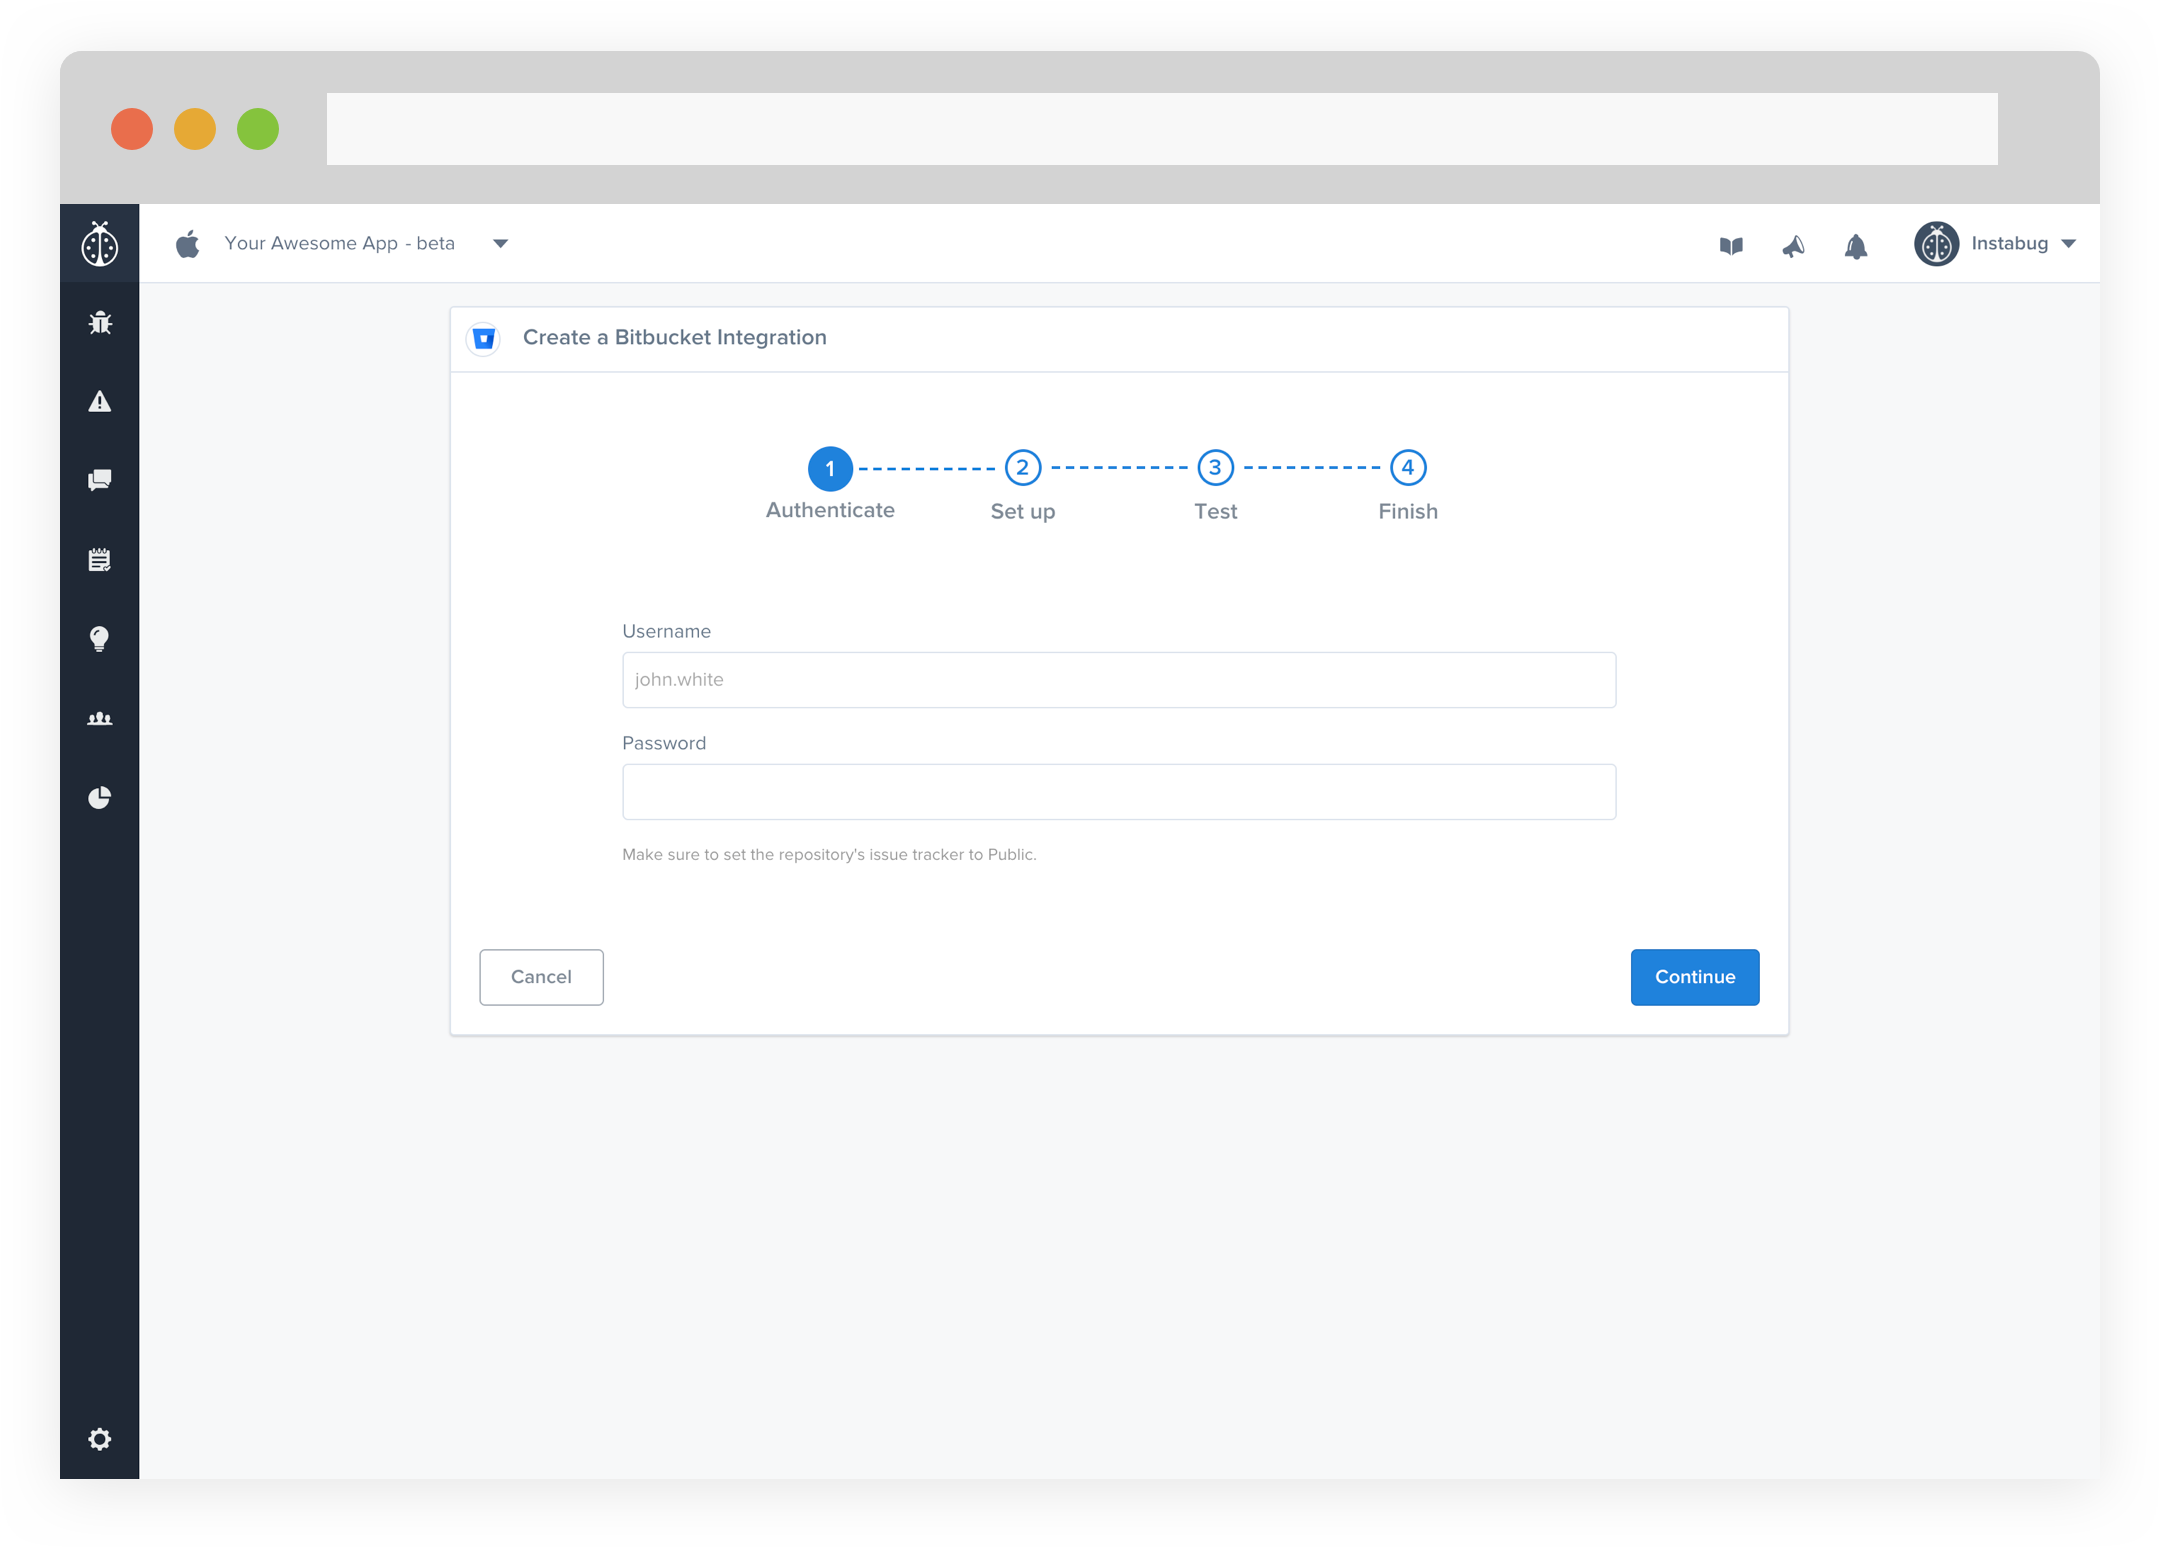
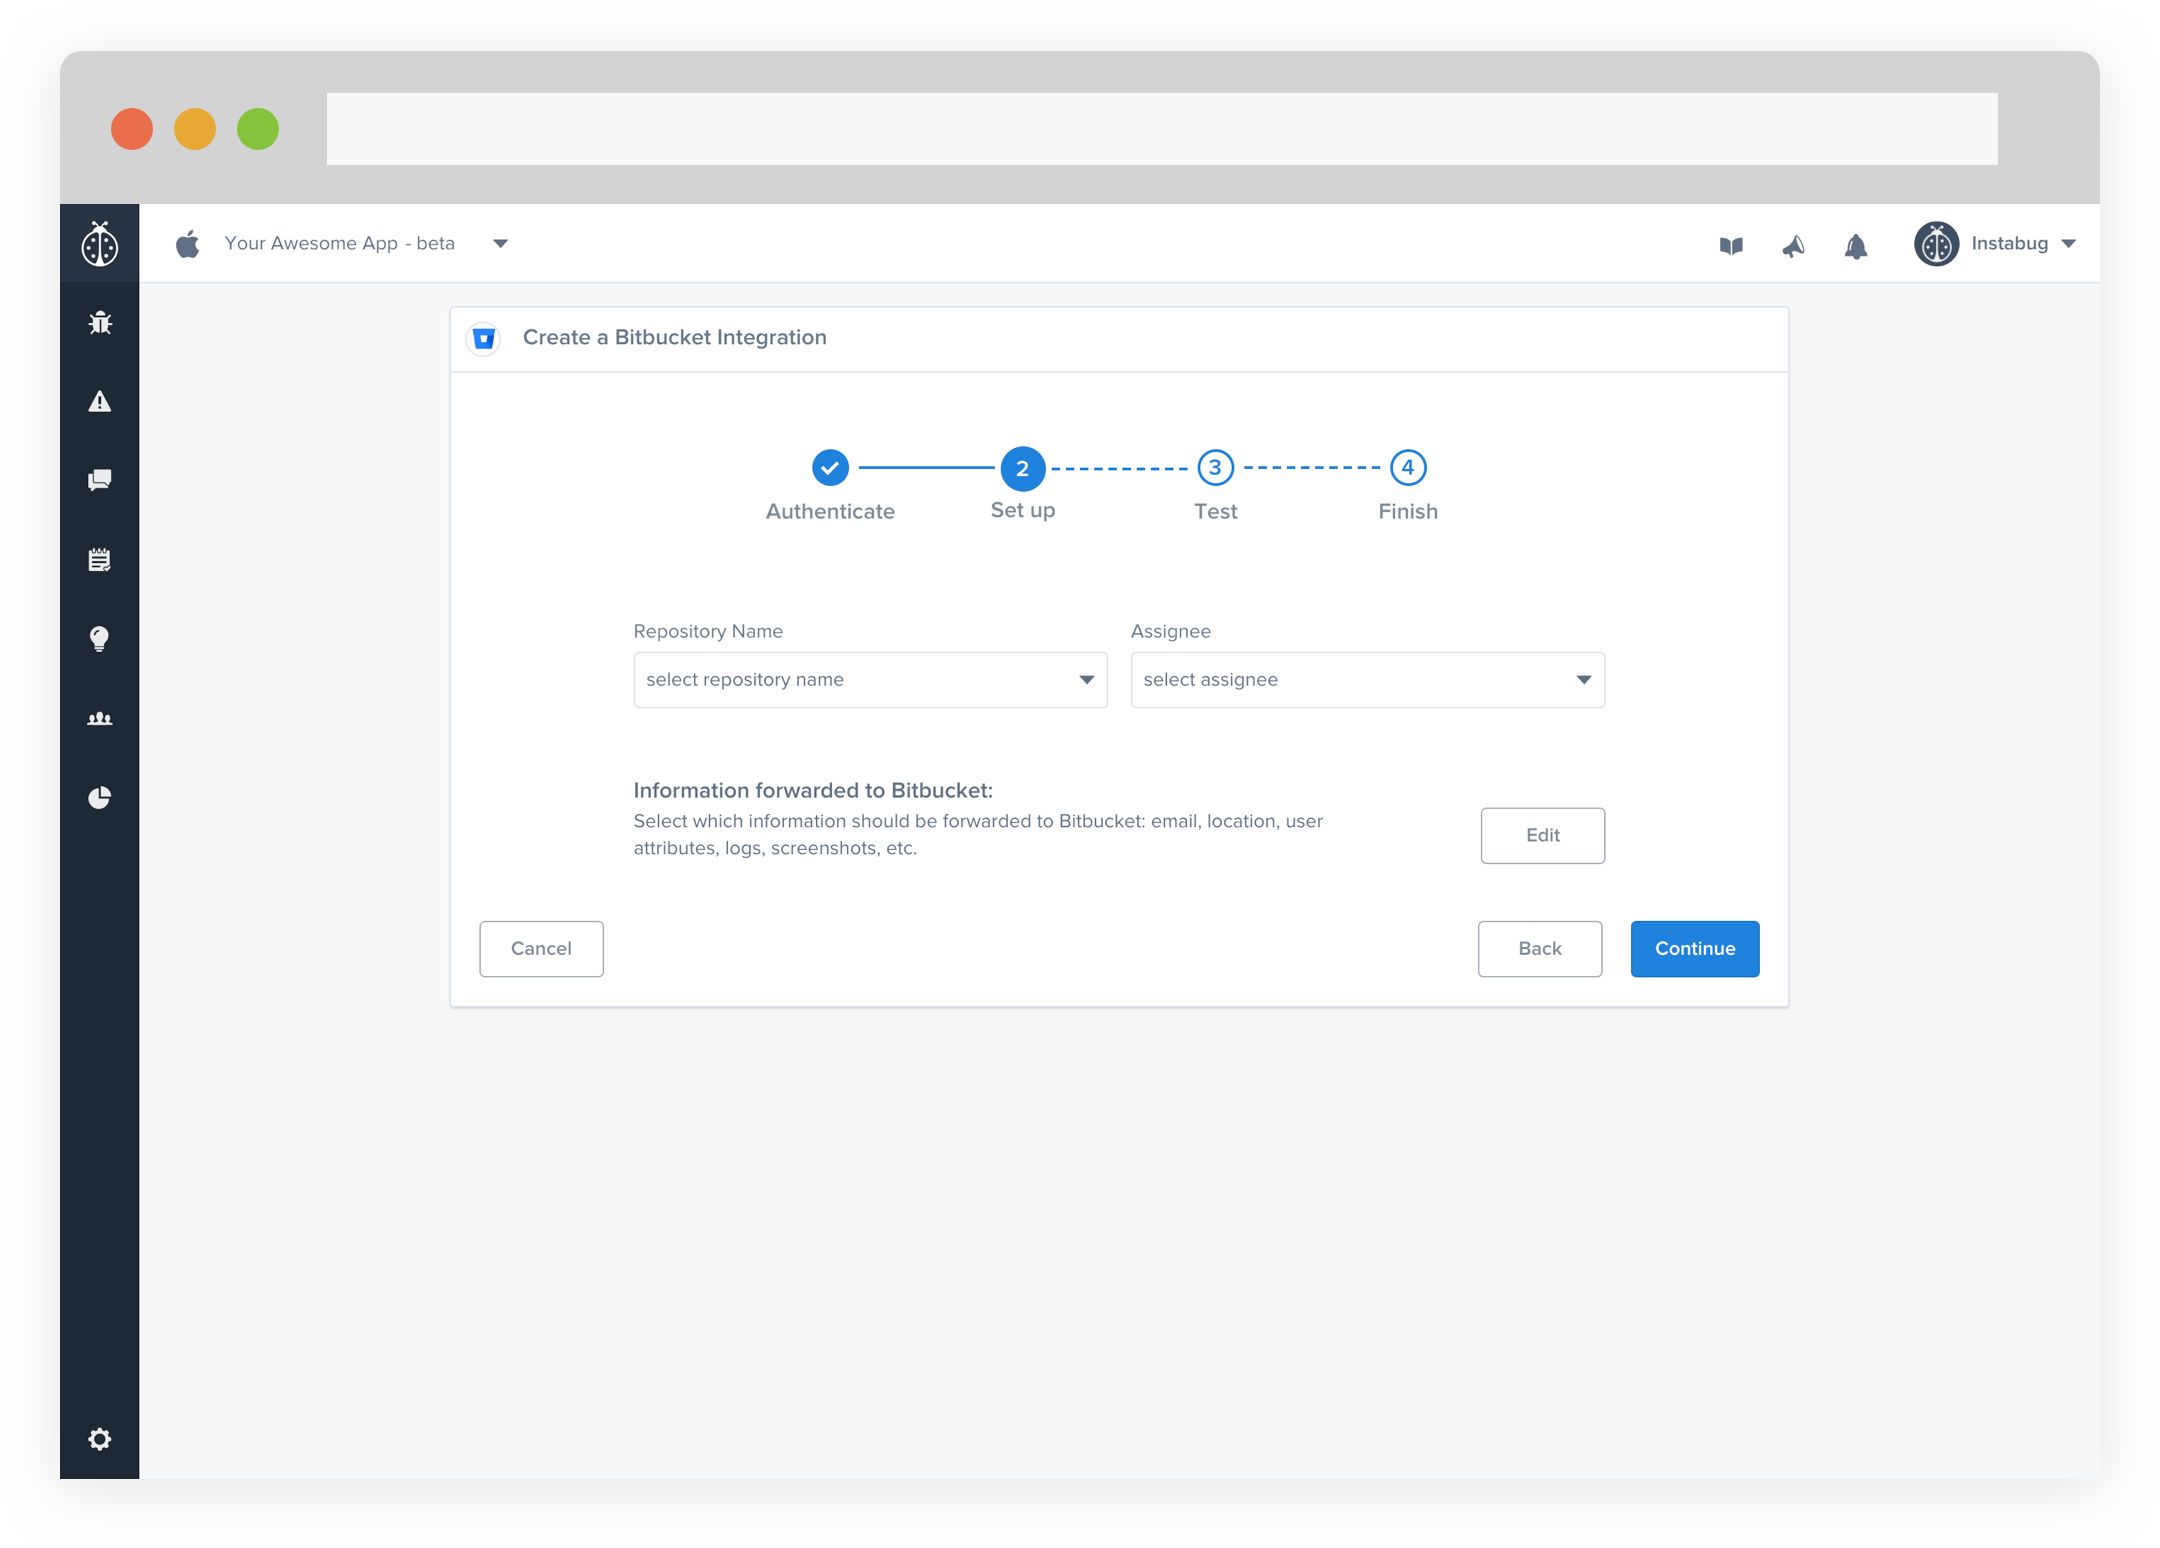
- Choose the Repository Name and Assignee. You can also choose which details get forwarded as well.
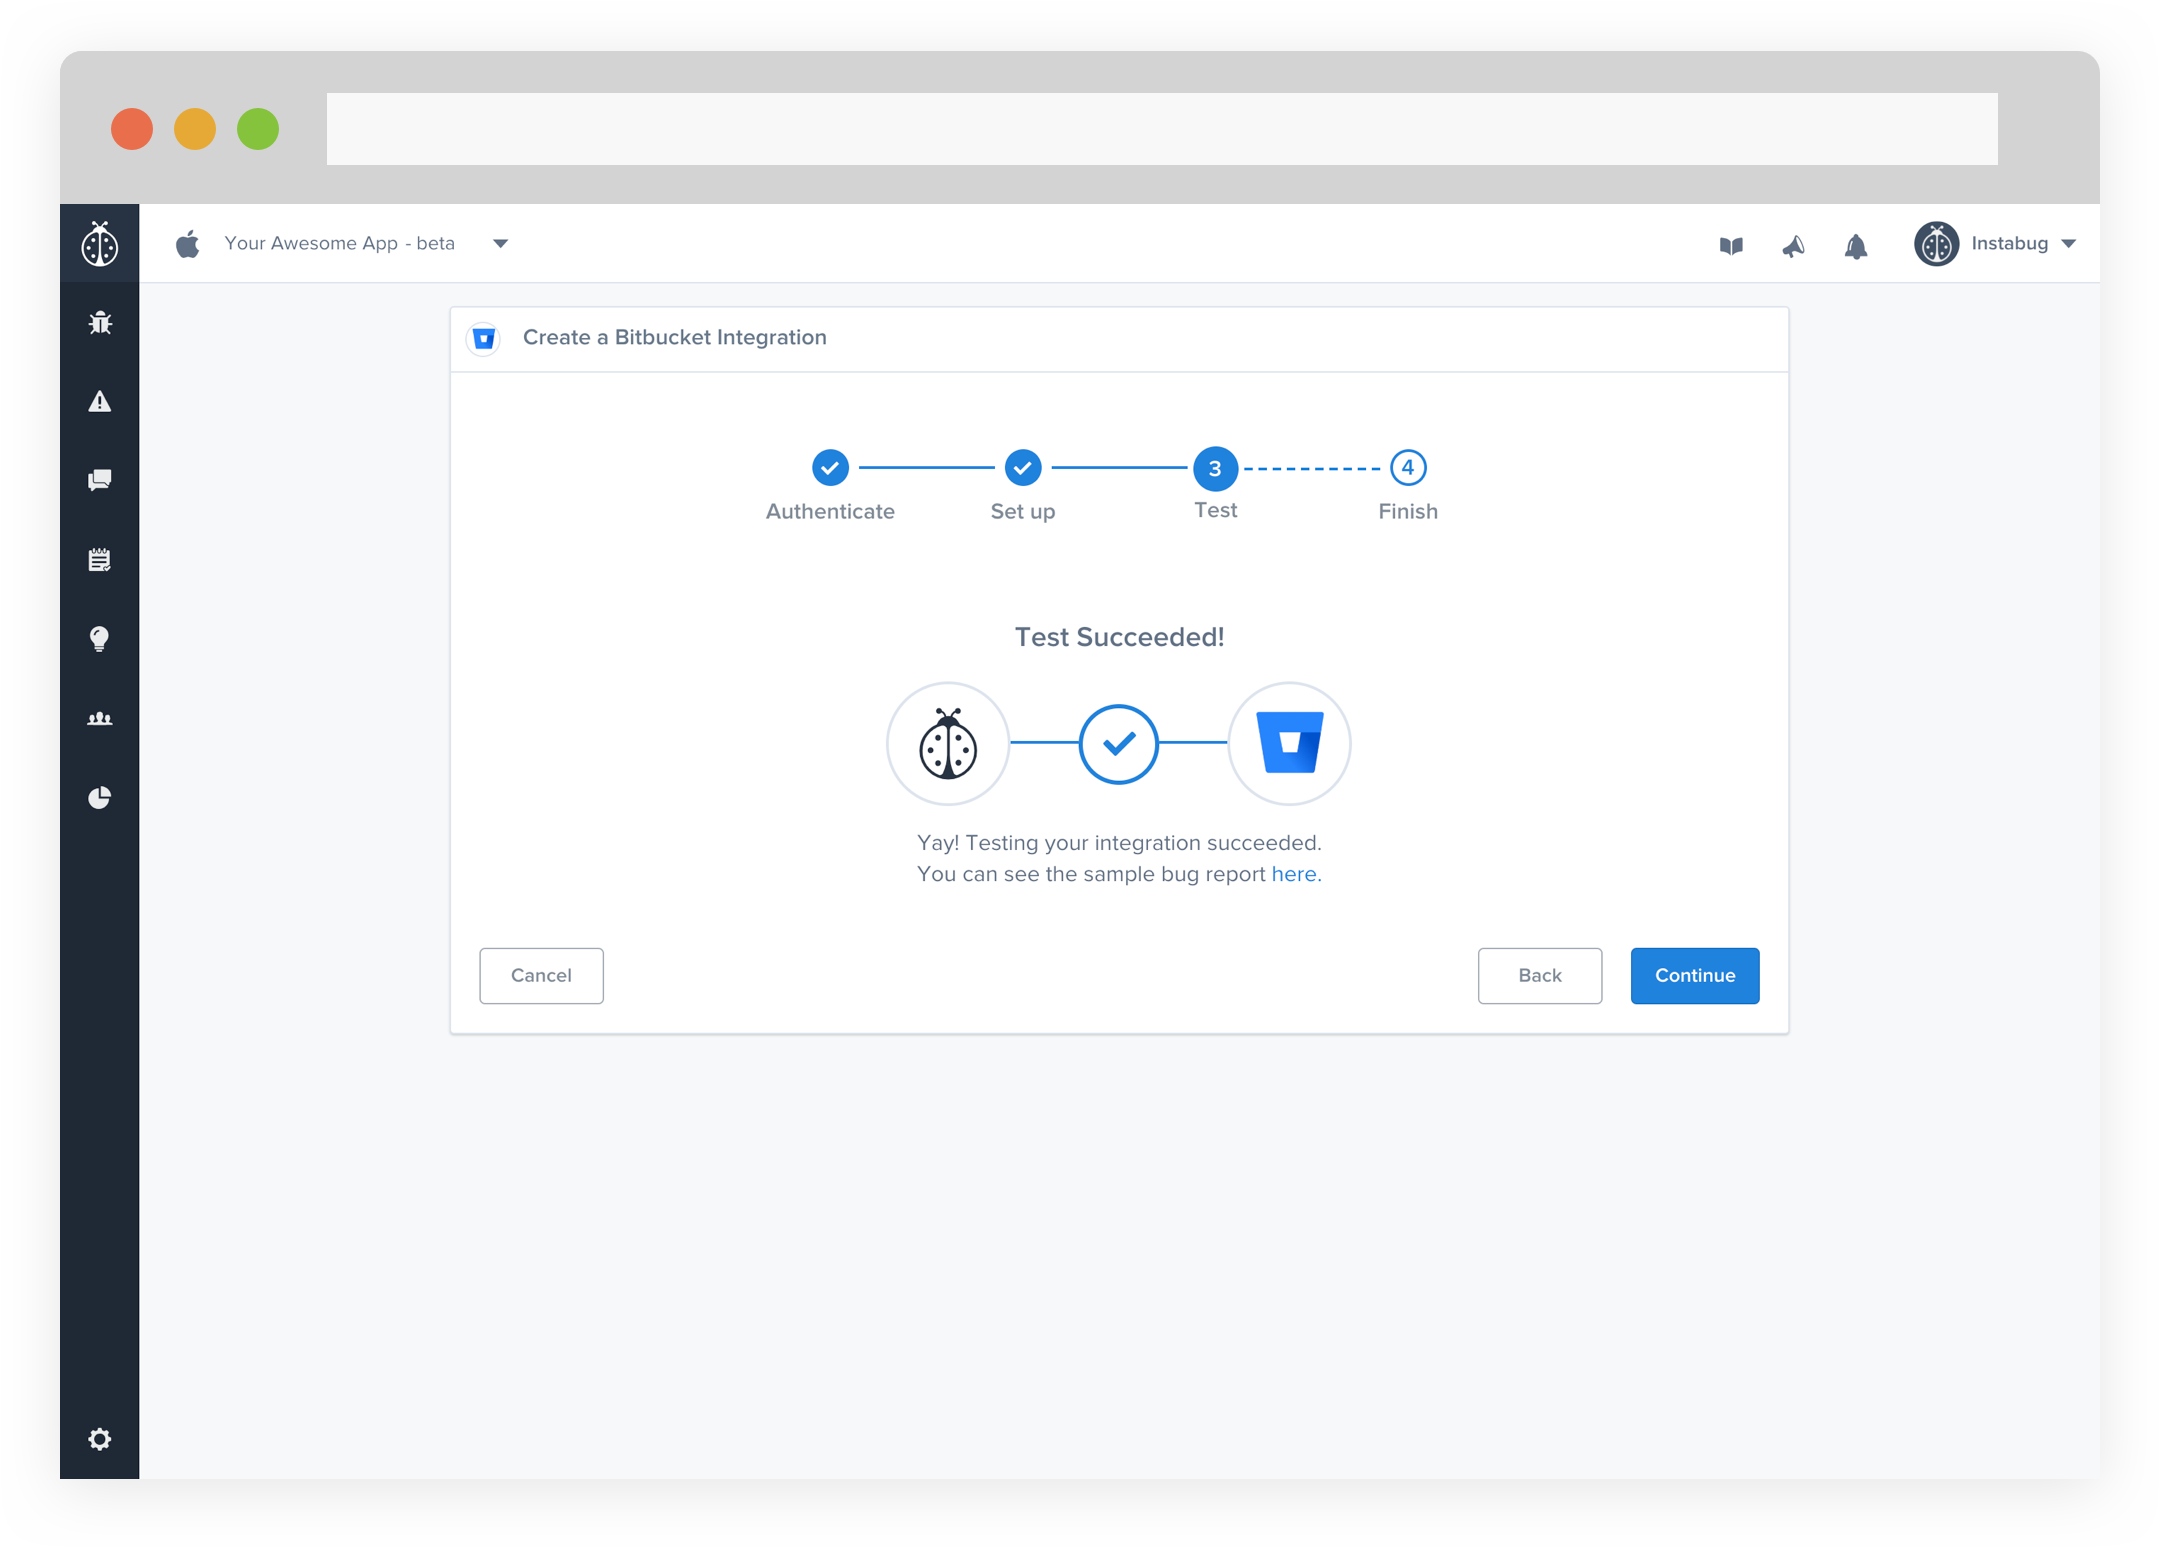
- At this point, we just need to test your integration so that we're sure everything is working smoothly.
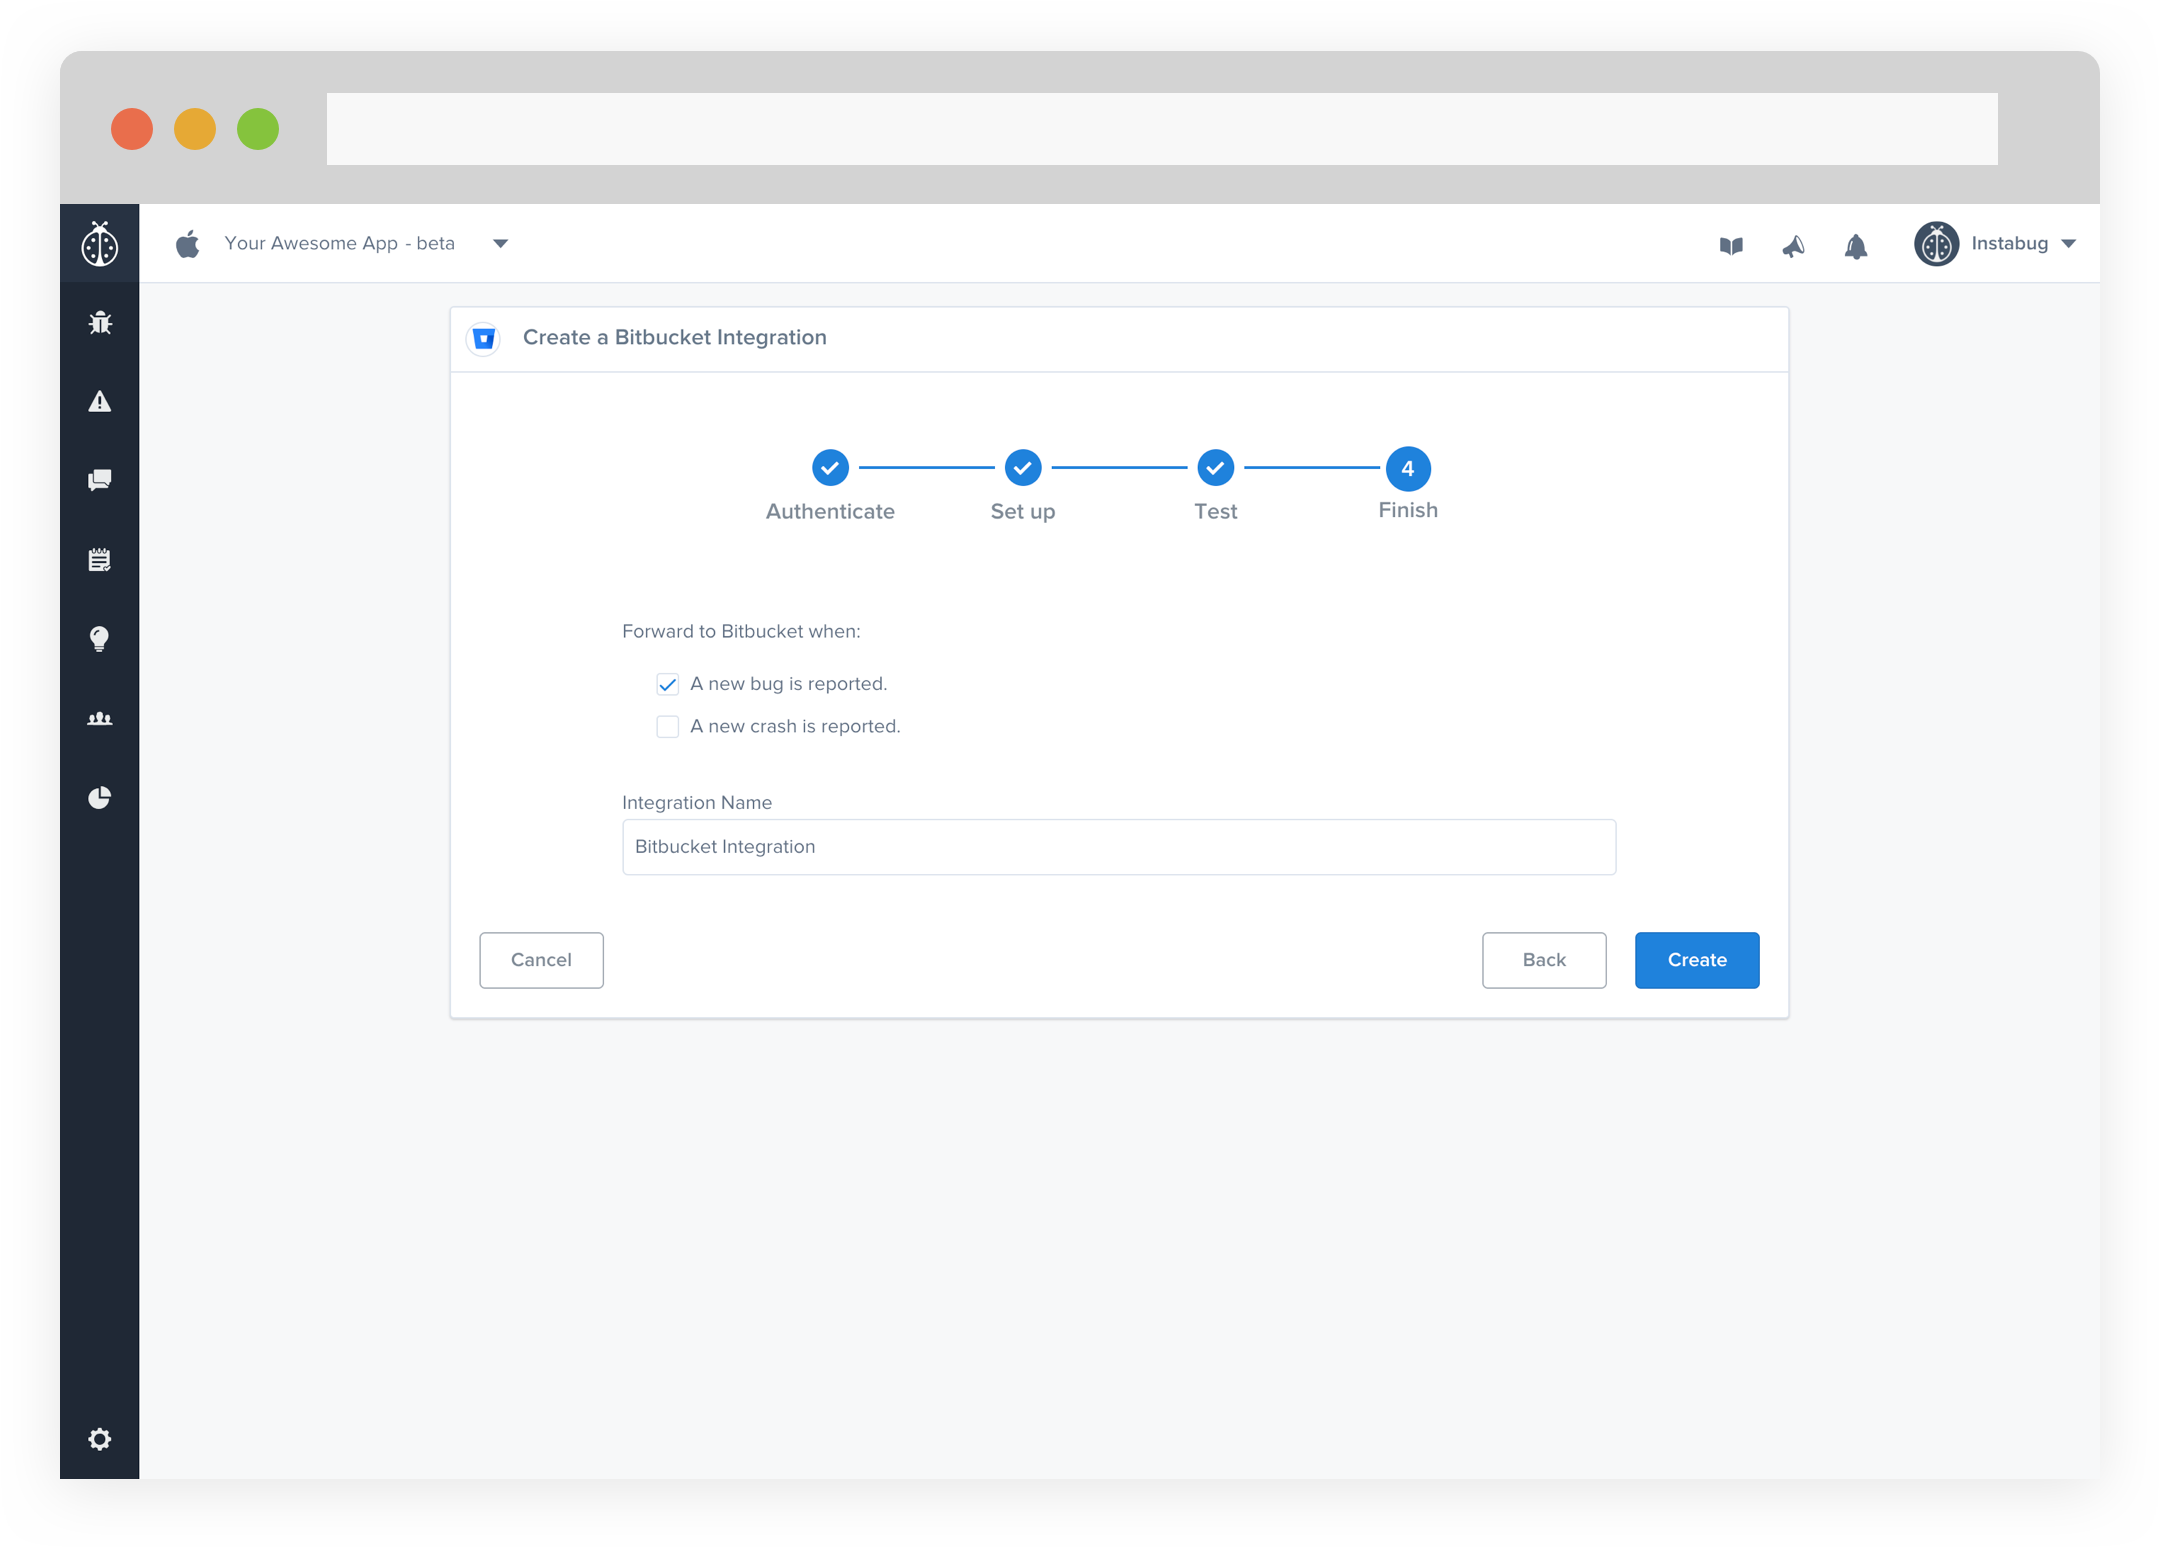
- All done! You're integration is now set-up and ready to go. From this final page, you can allow automatic forwarding (don't worry though, this can be reconfigured at any time!)
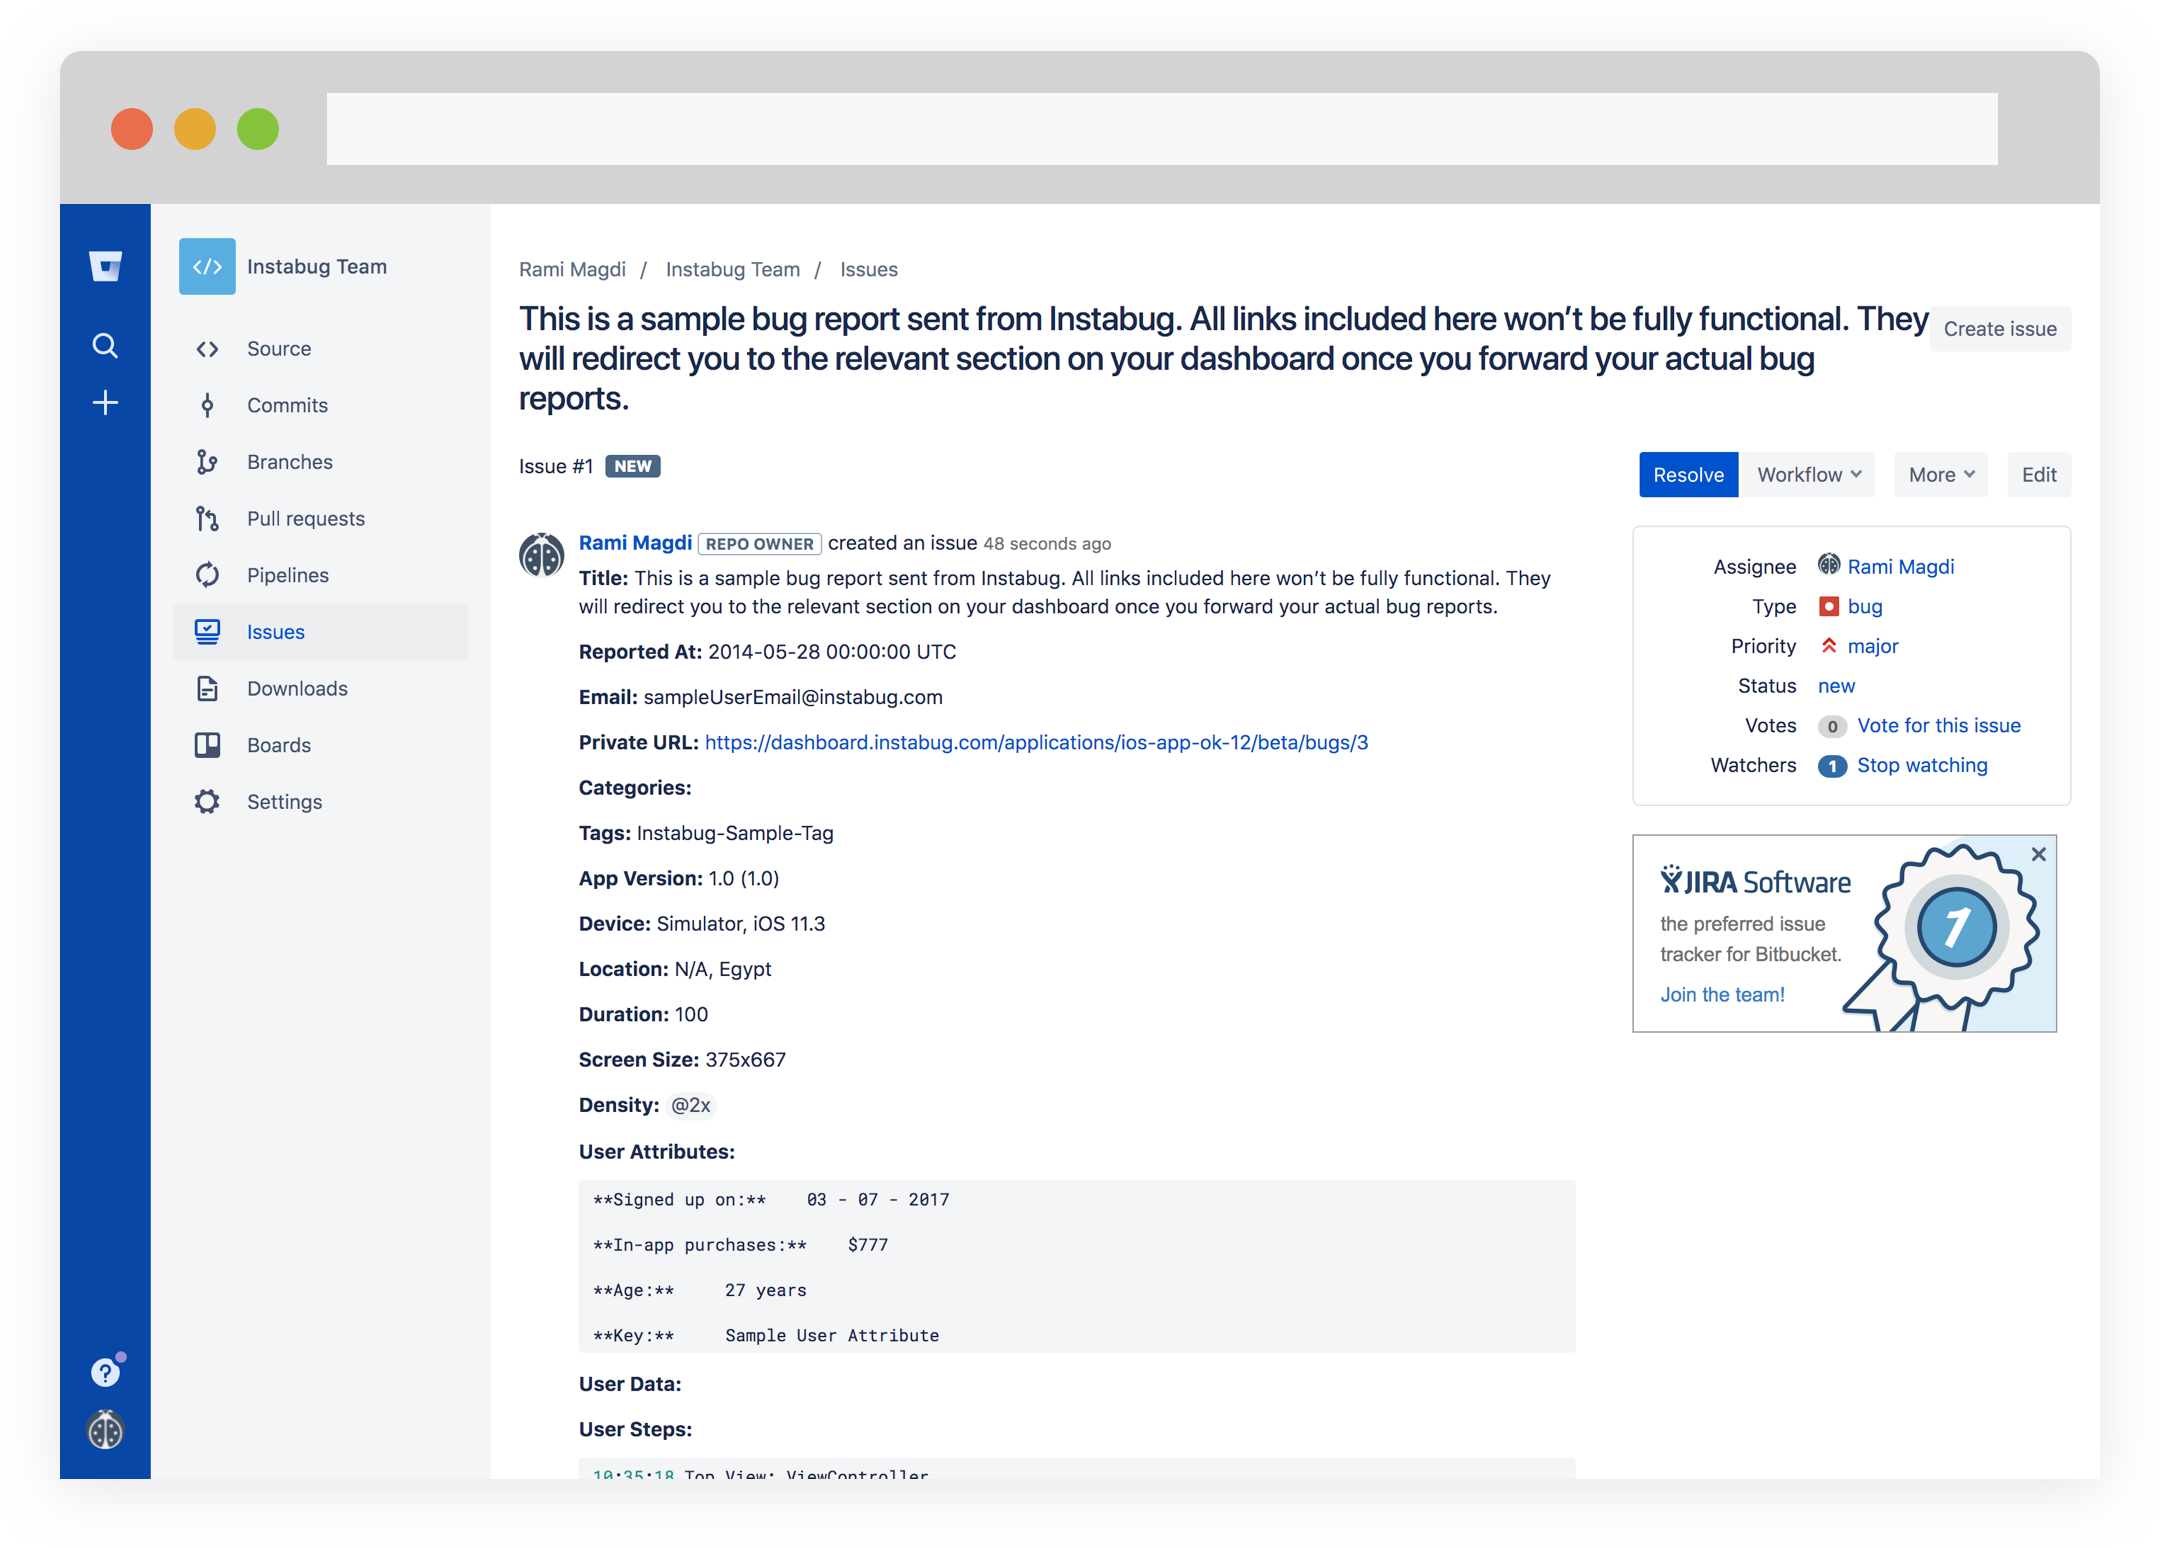
- Issues forwarded to Bitbucket should look something like this.
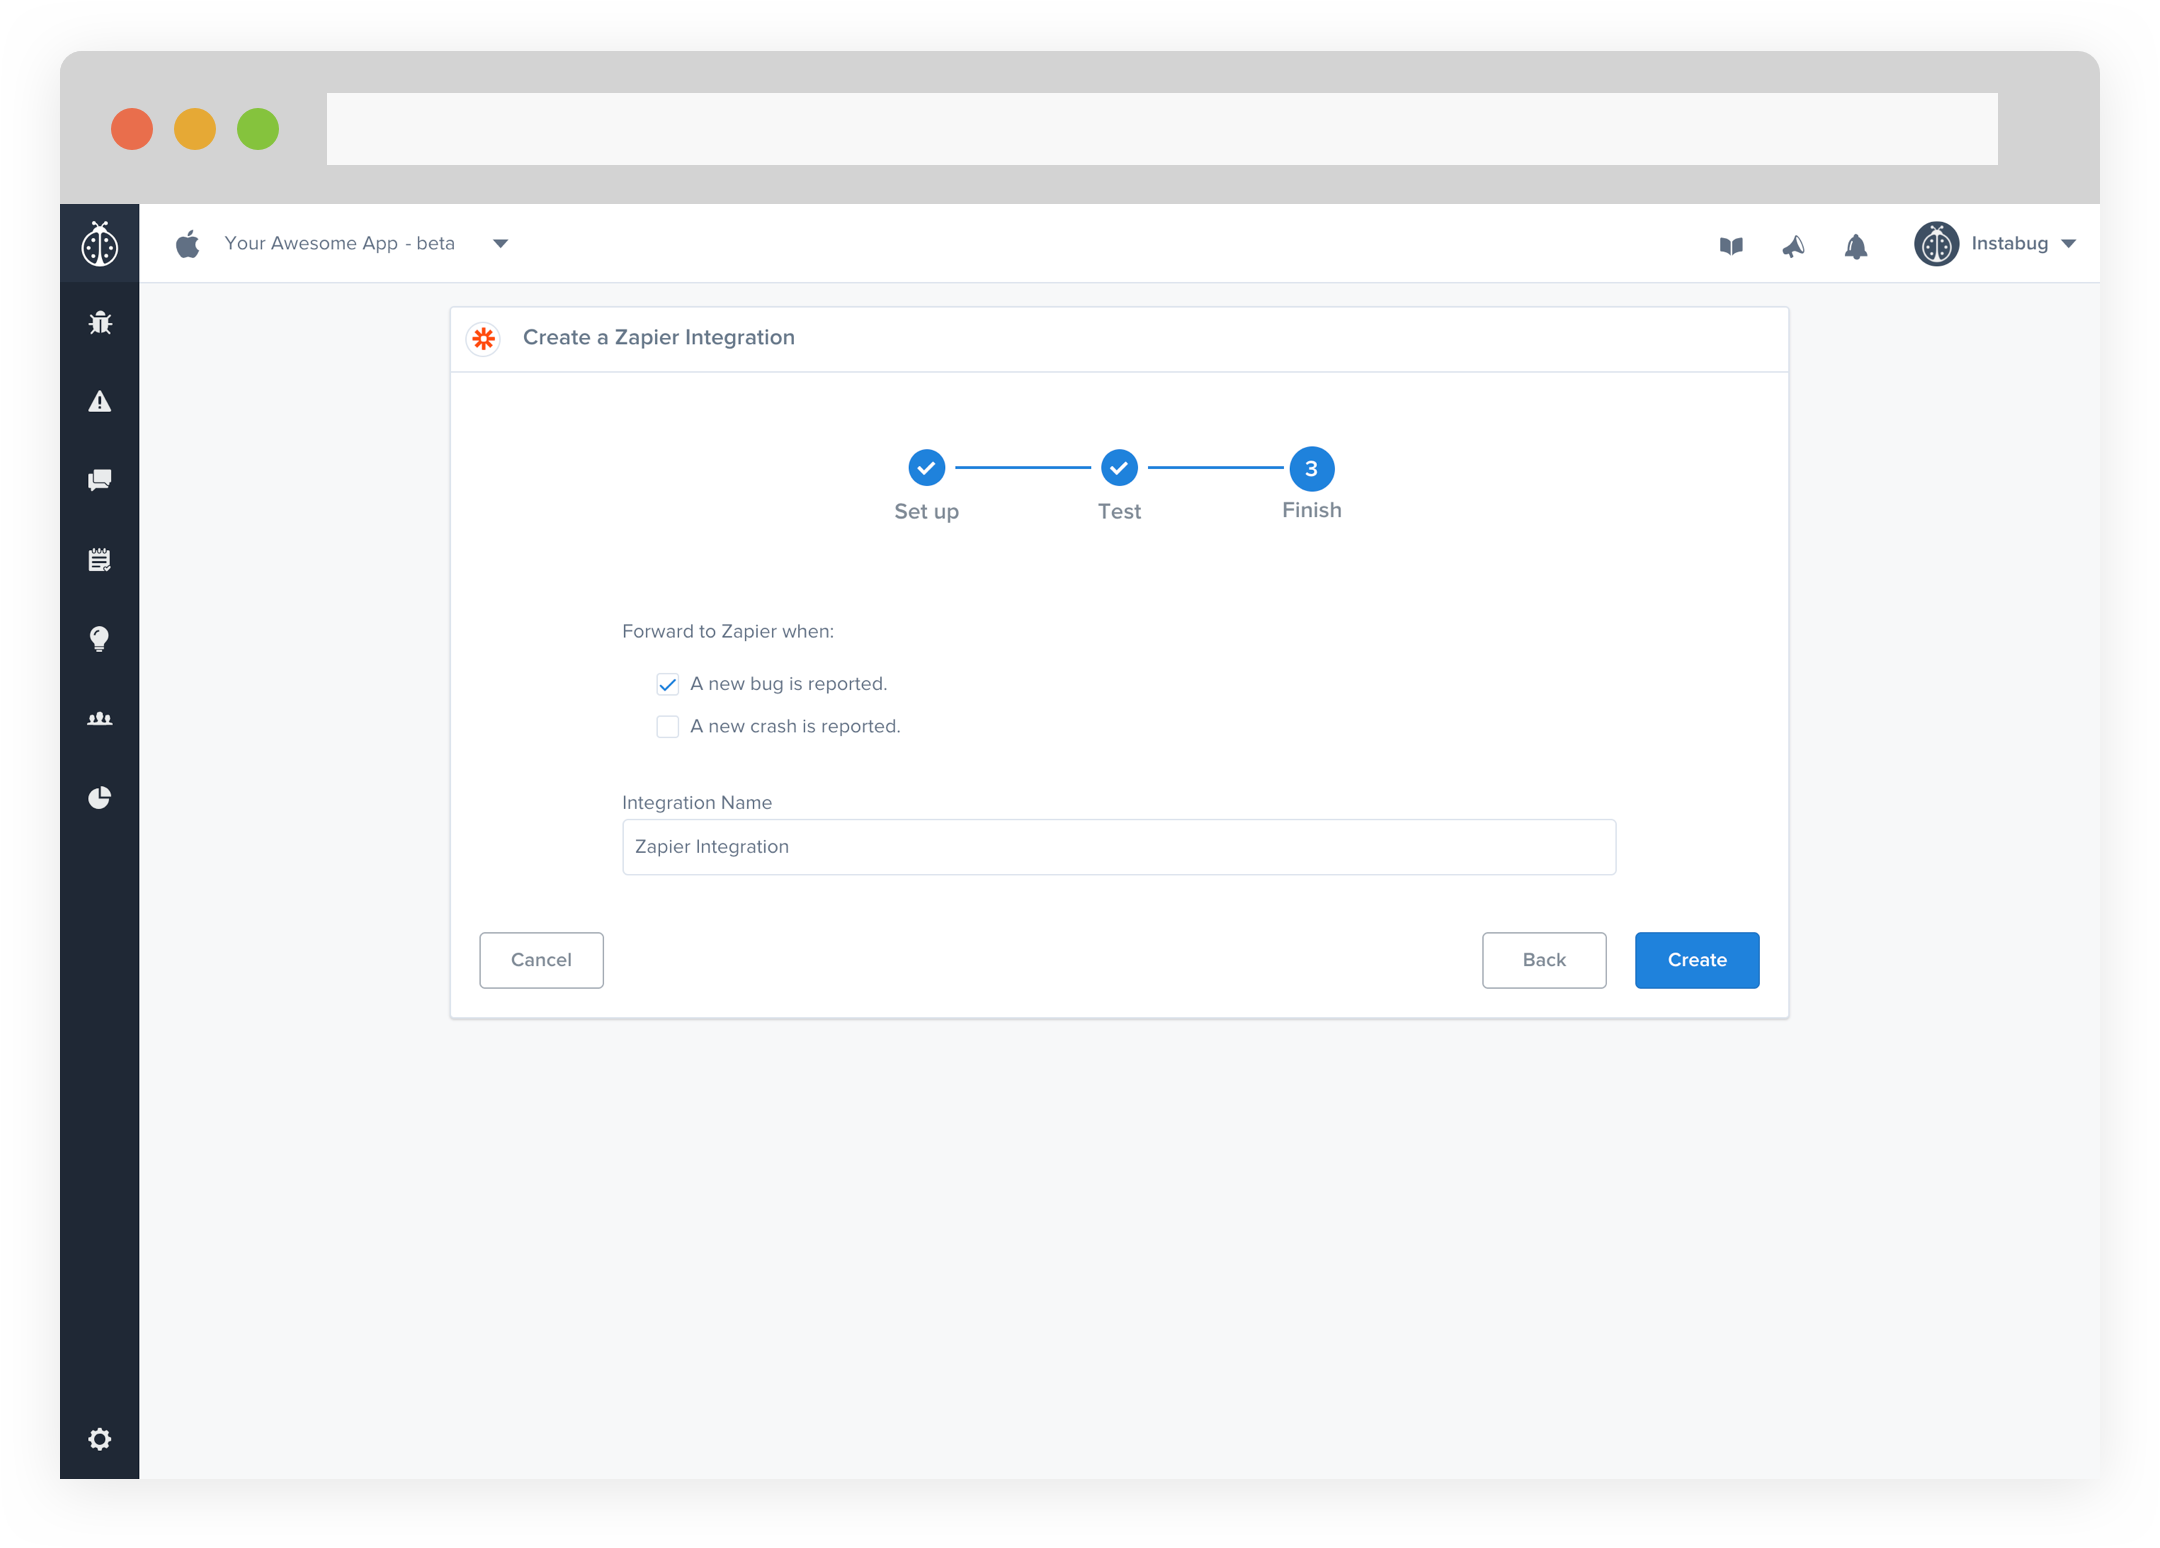
Automatically forward all bugs and issues from Instabug with simple zaps.
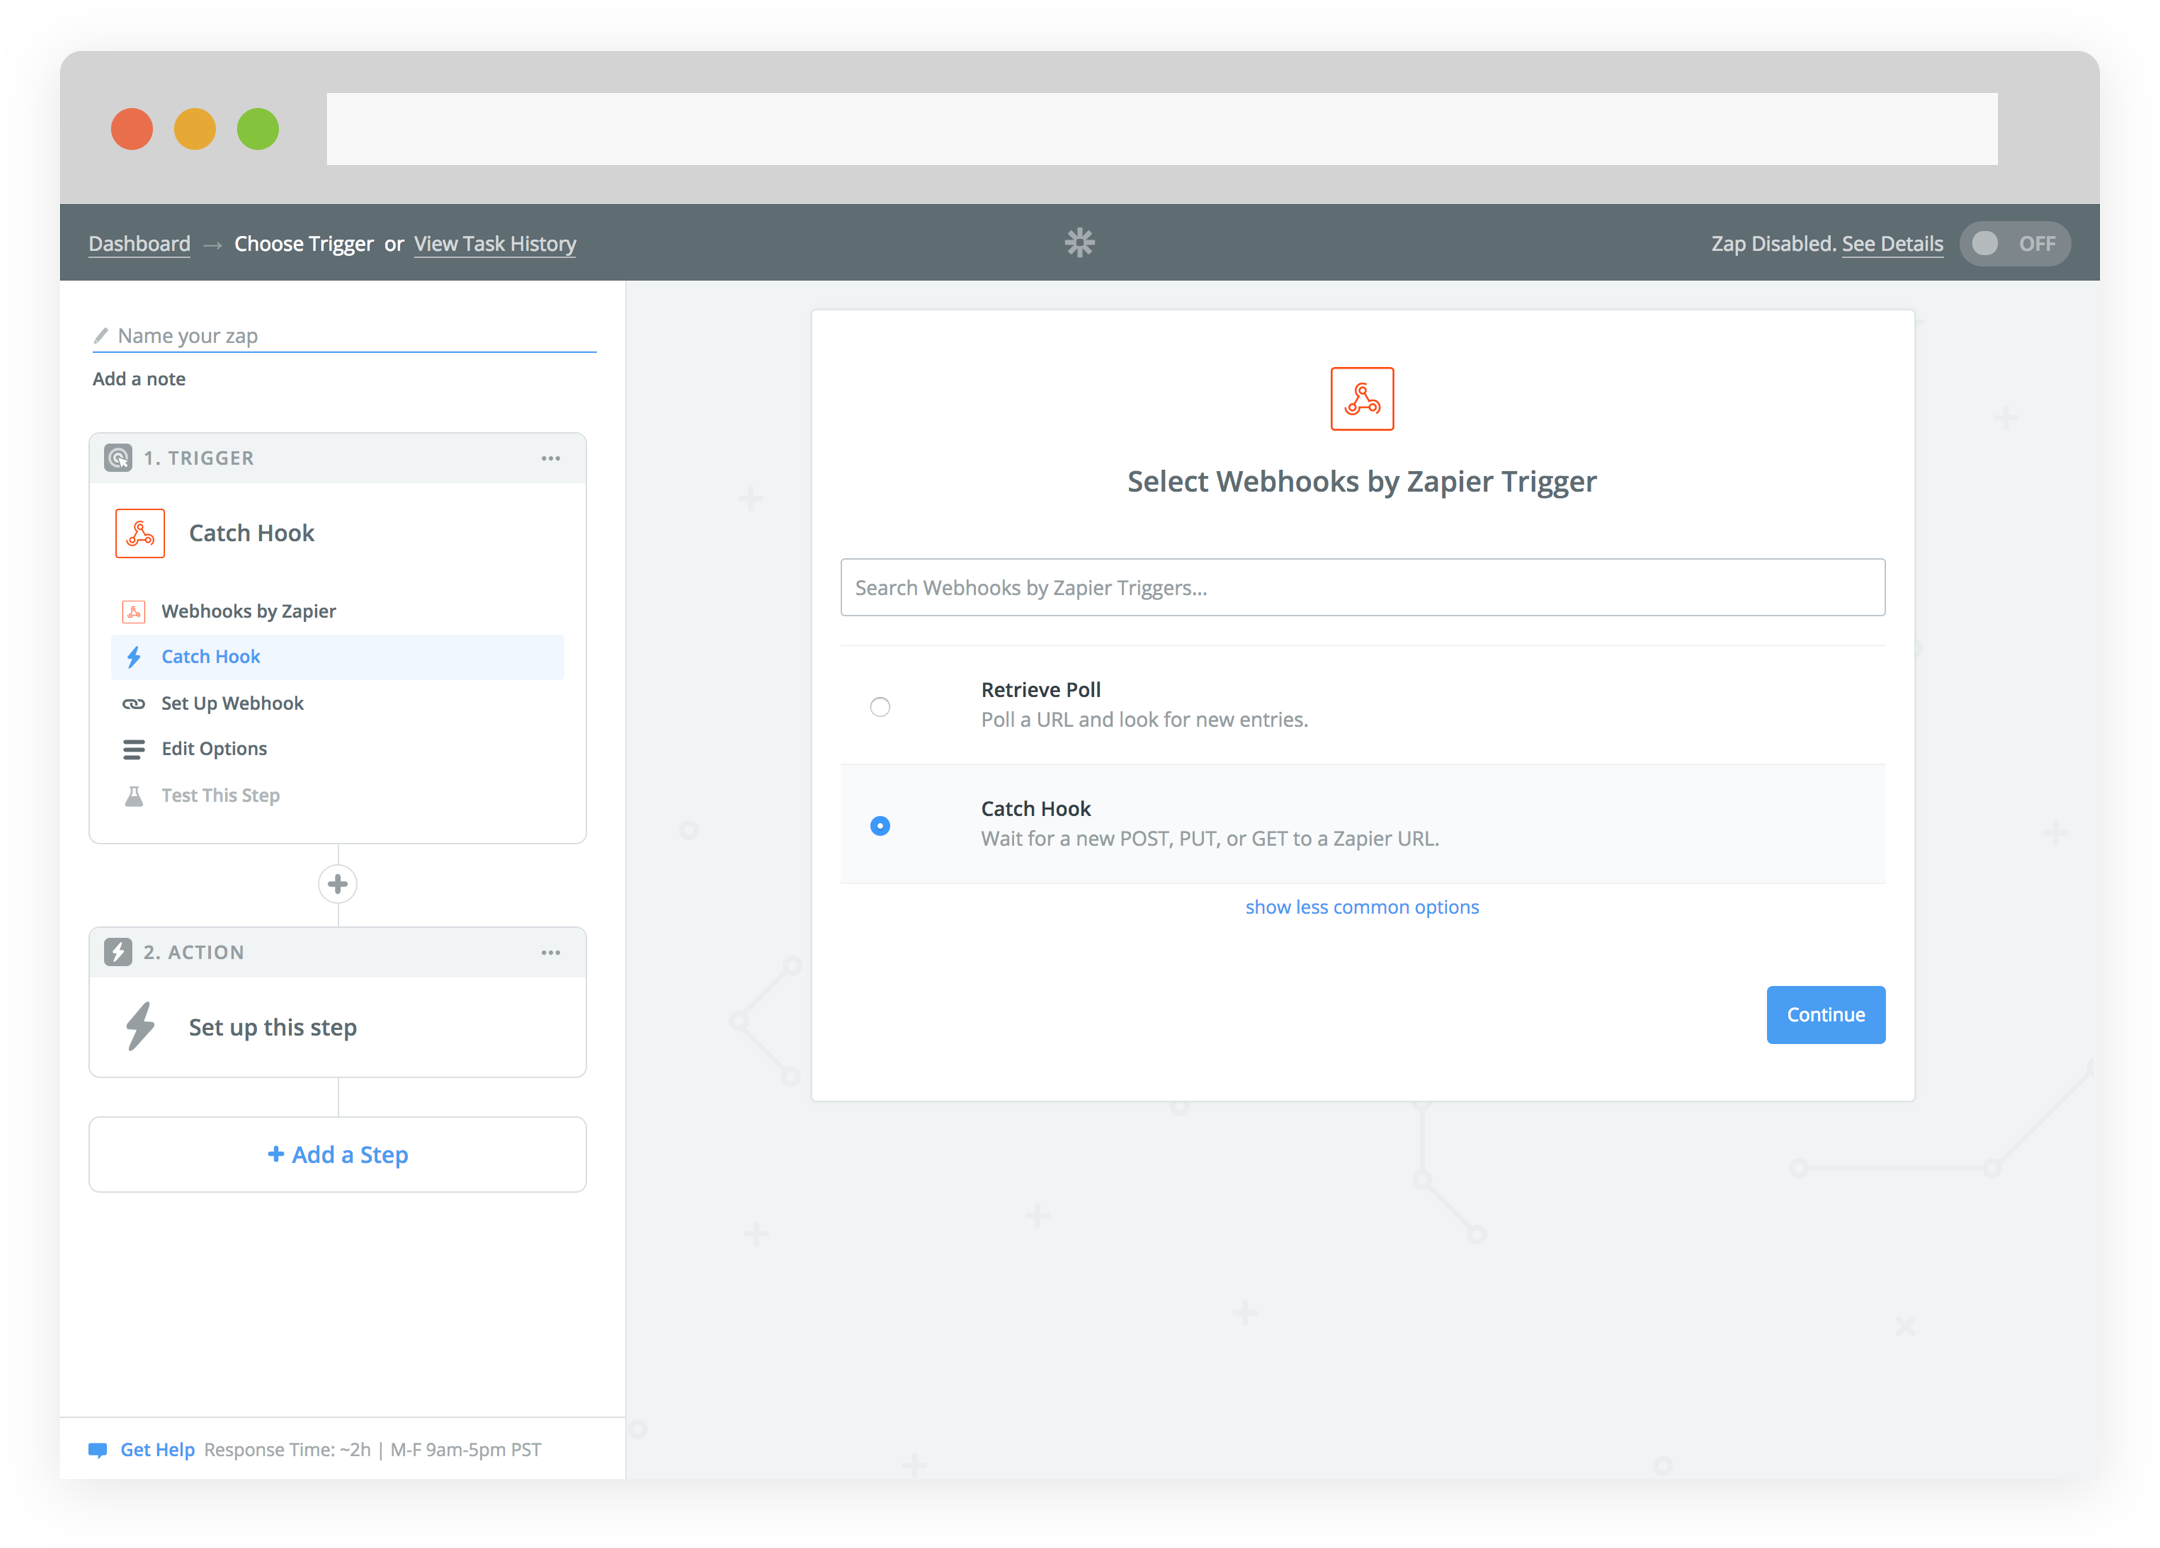
- Log into your Zapier's account and create a new zap, then choose webhook and then catch hooks.
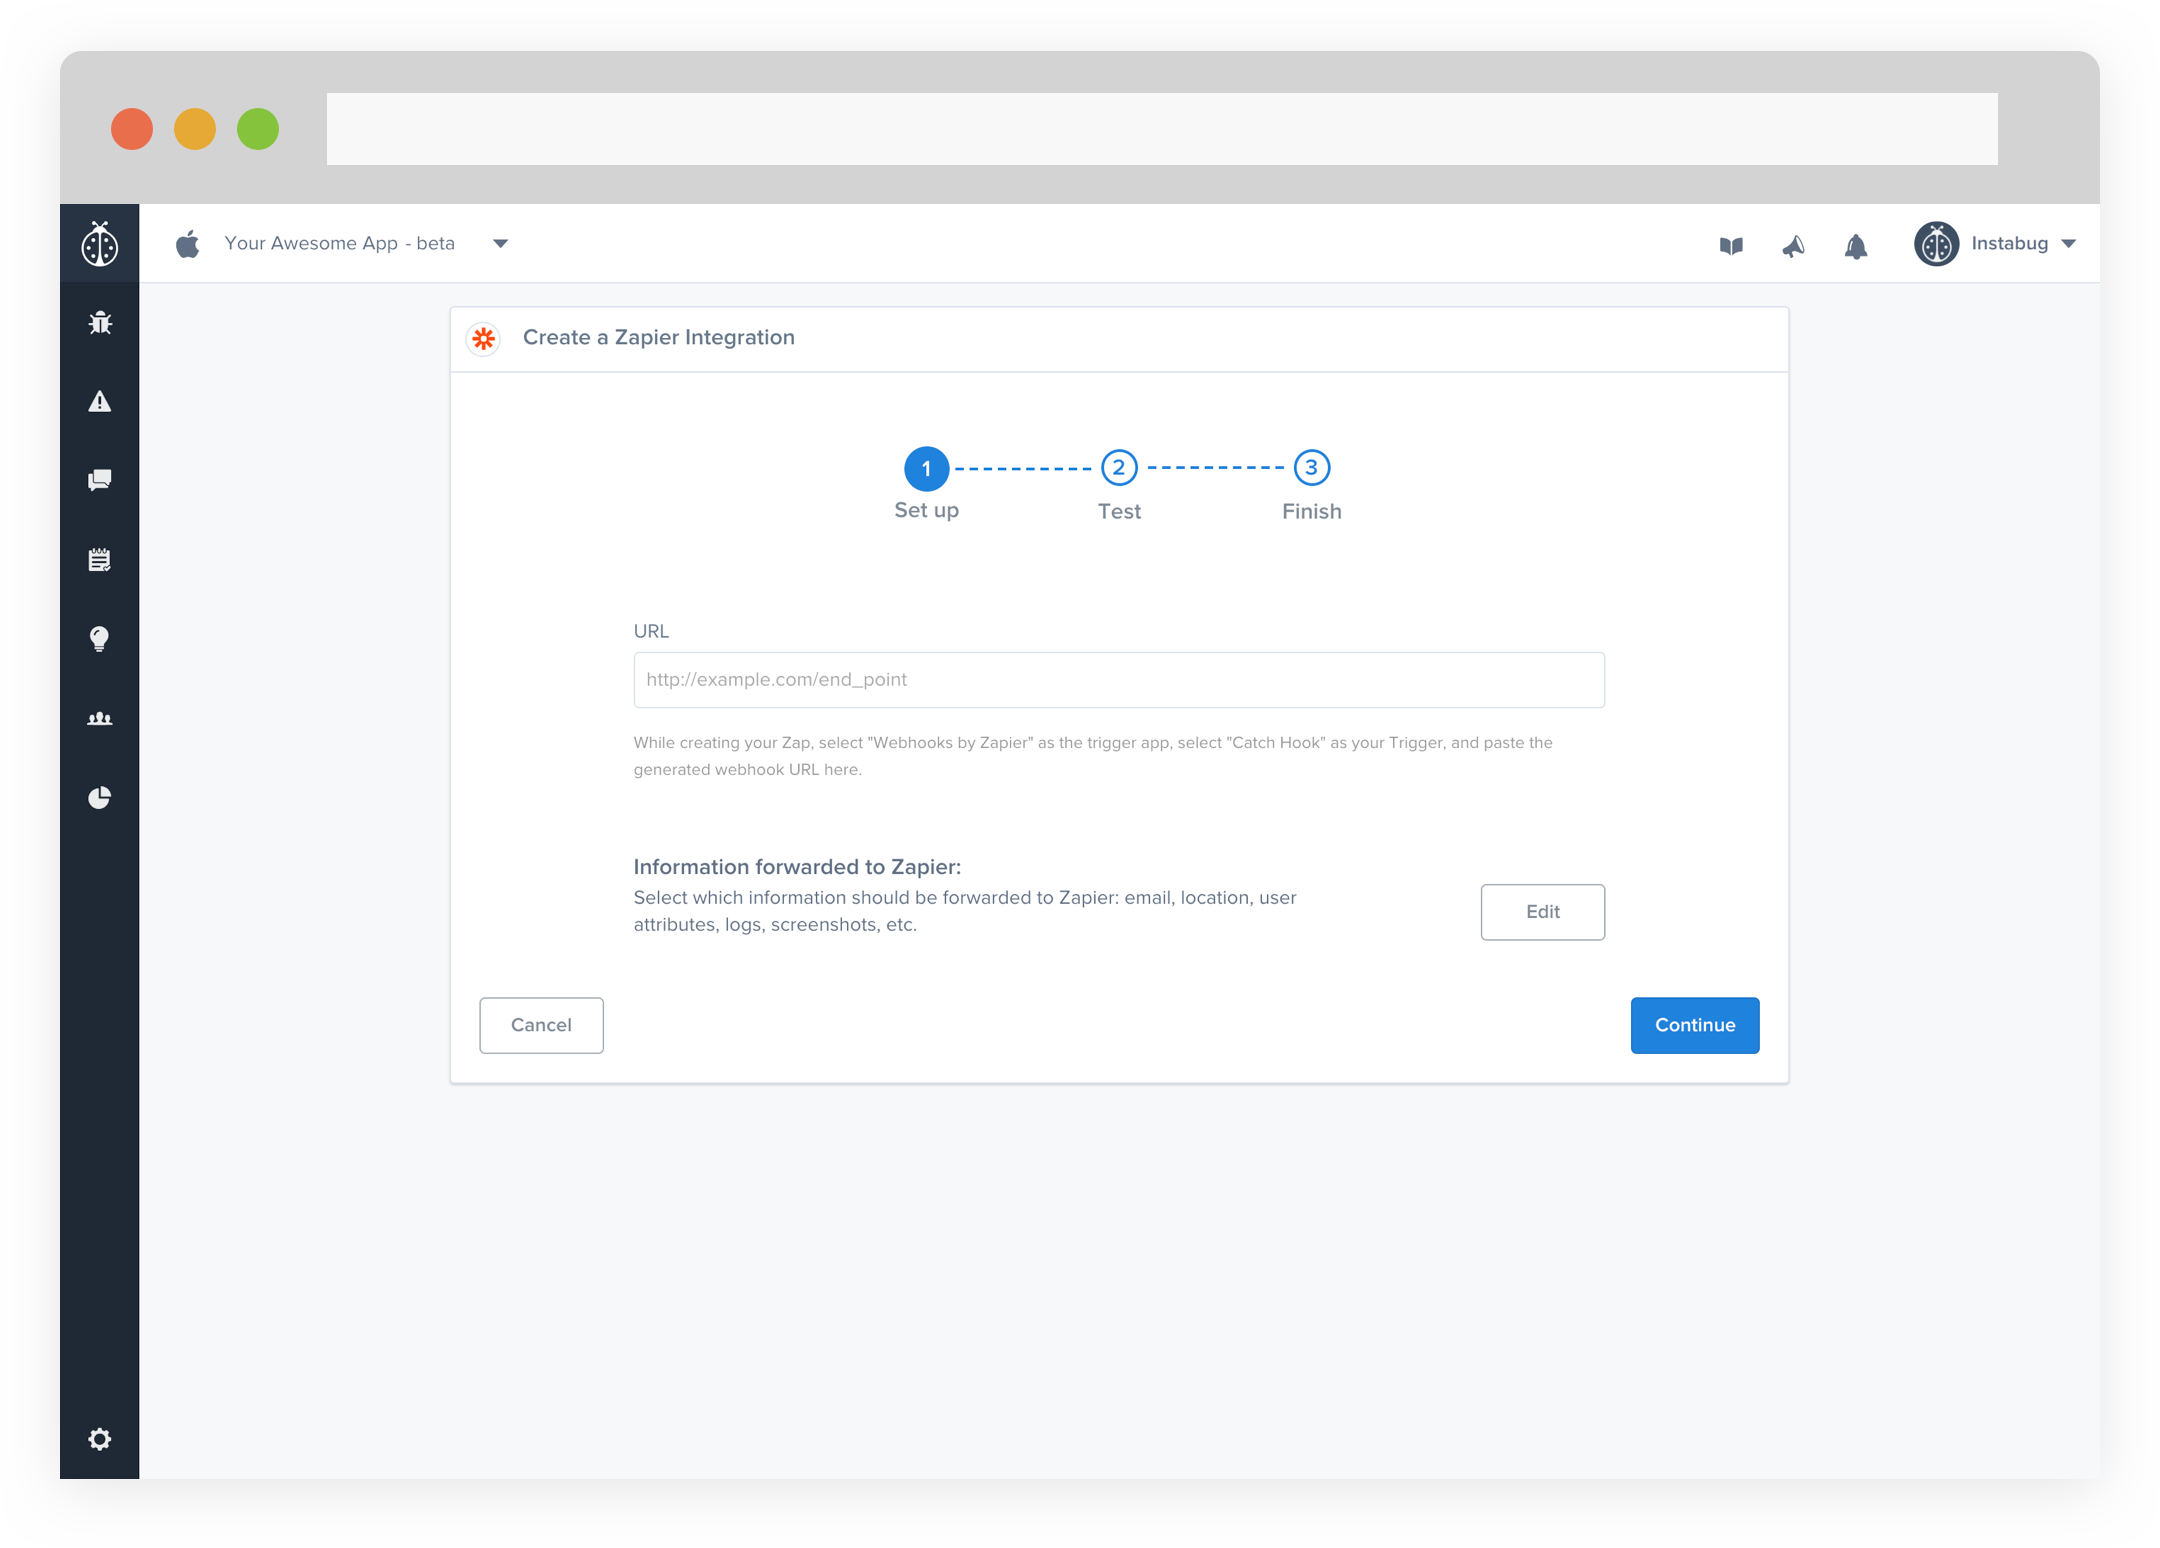
- Paste the generated URL into Instabug's integration page. You can also choose which details get forwarded as well.
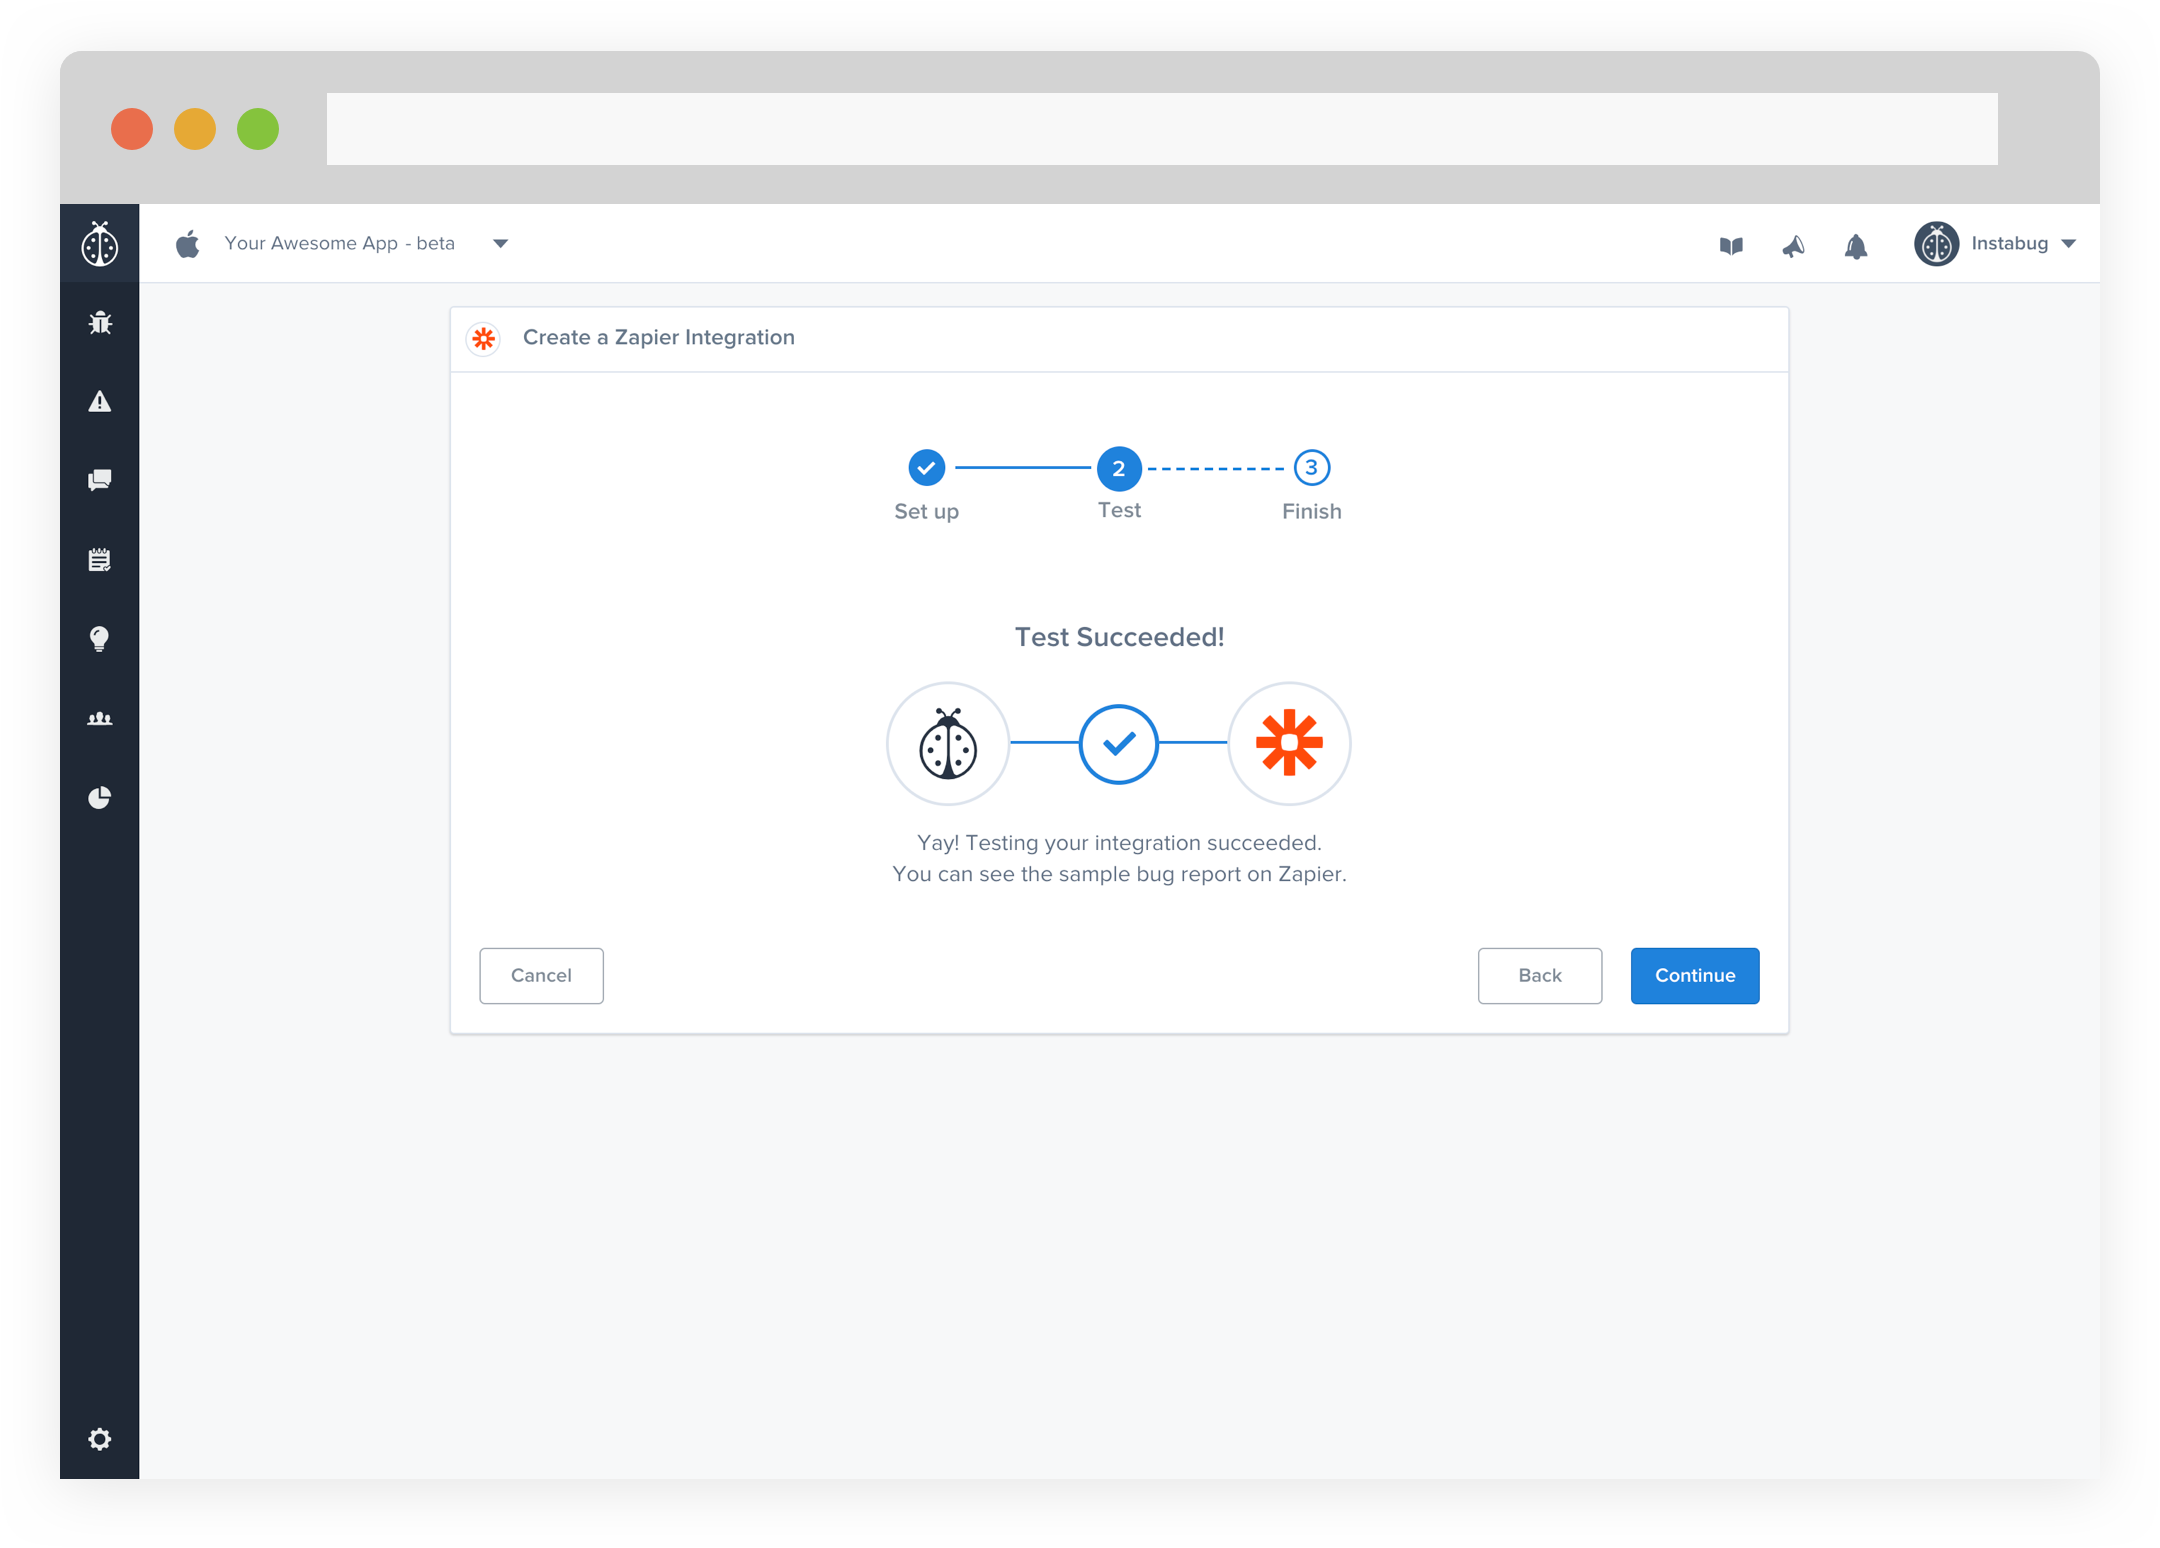
- At this point, we just need to test your integration so that we're sure everything is working smoothly.
- All done! You're integration is now set-up and ready to go. From this final page, you can allow automatic forwarding (don't worry though, this can be reconfigured at any time!)
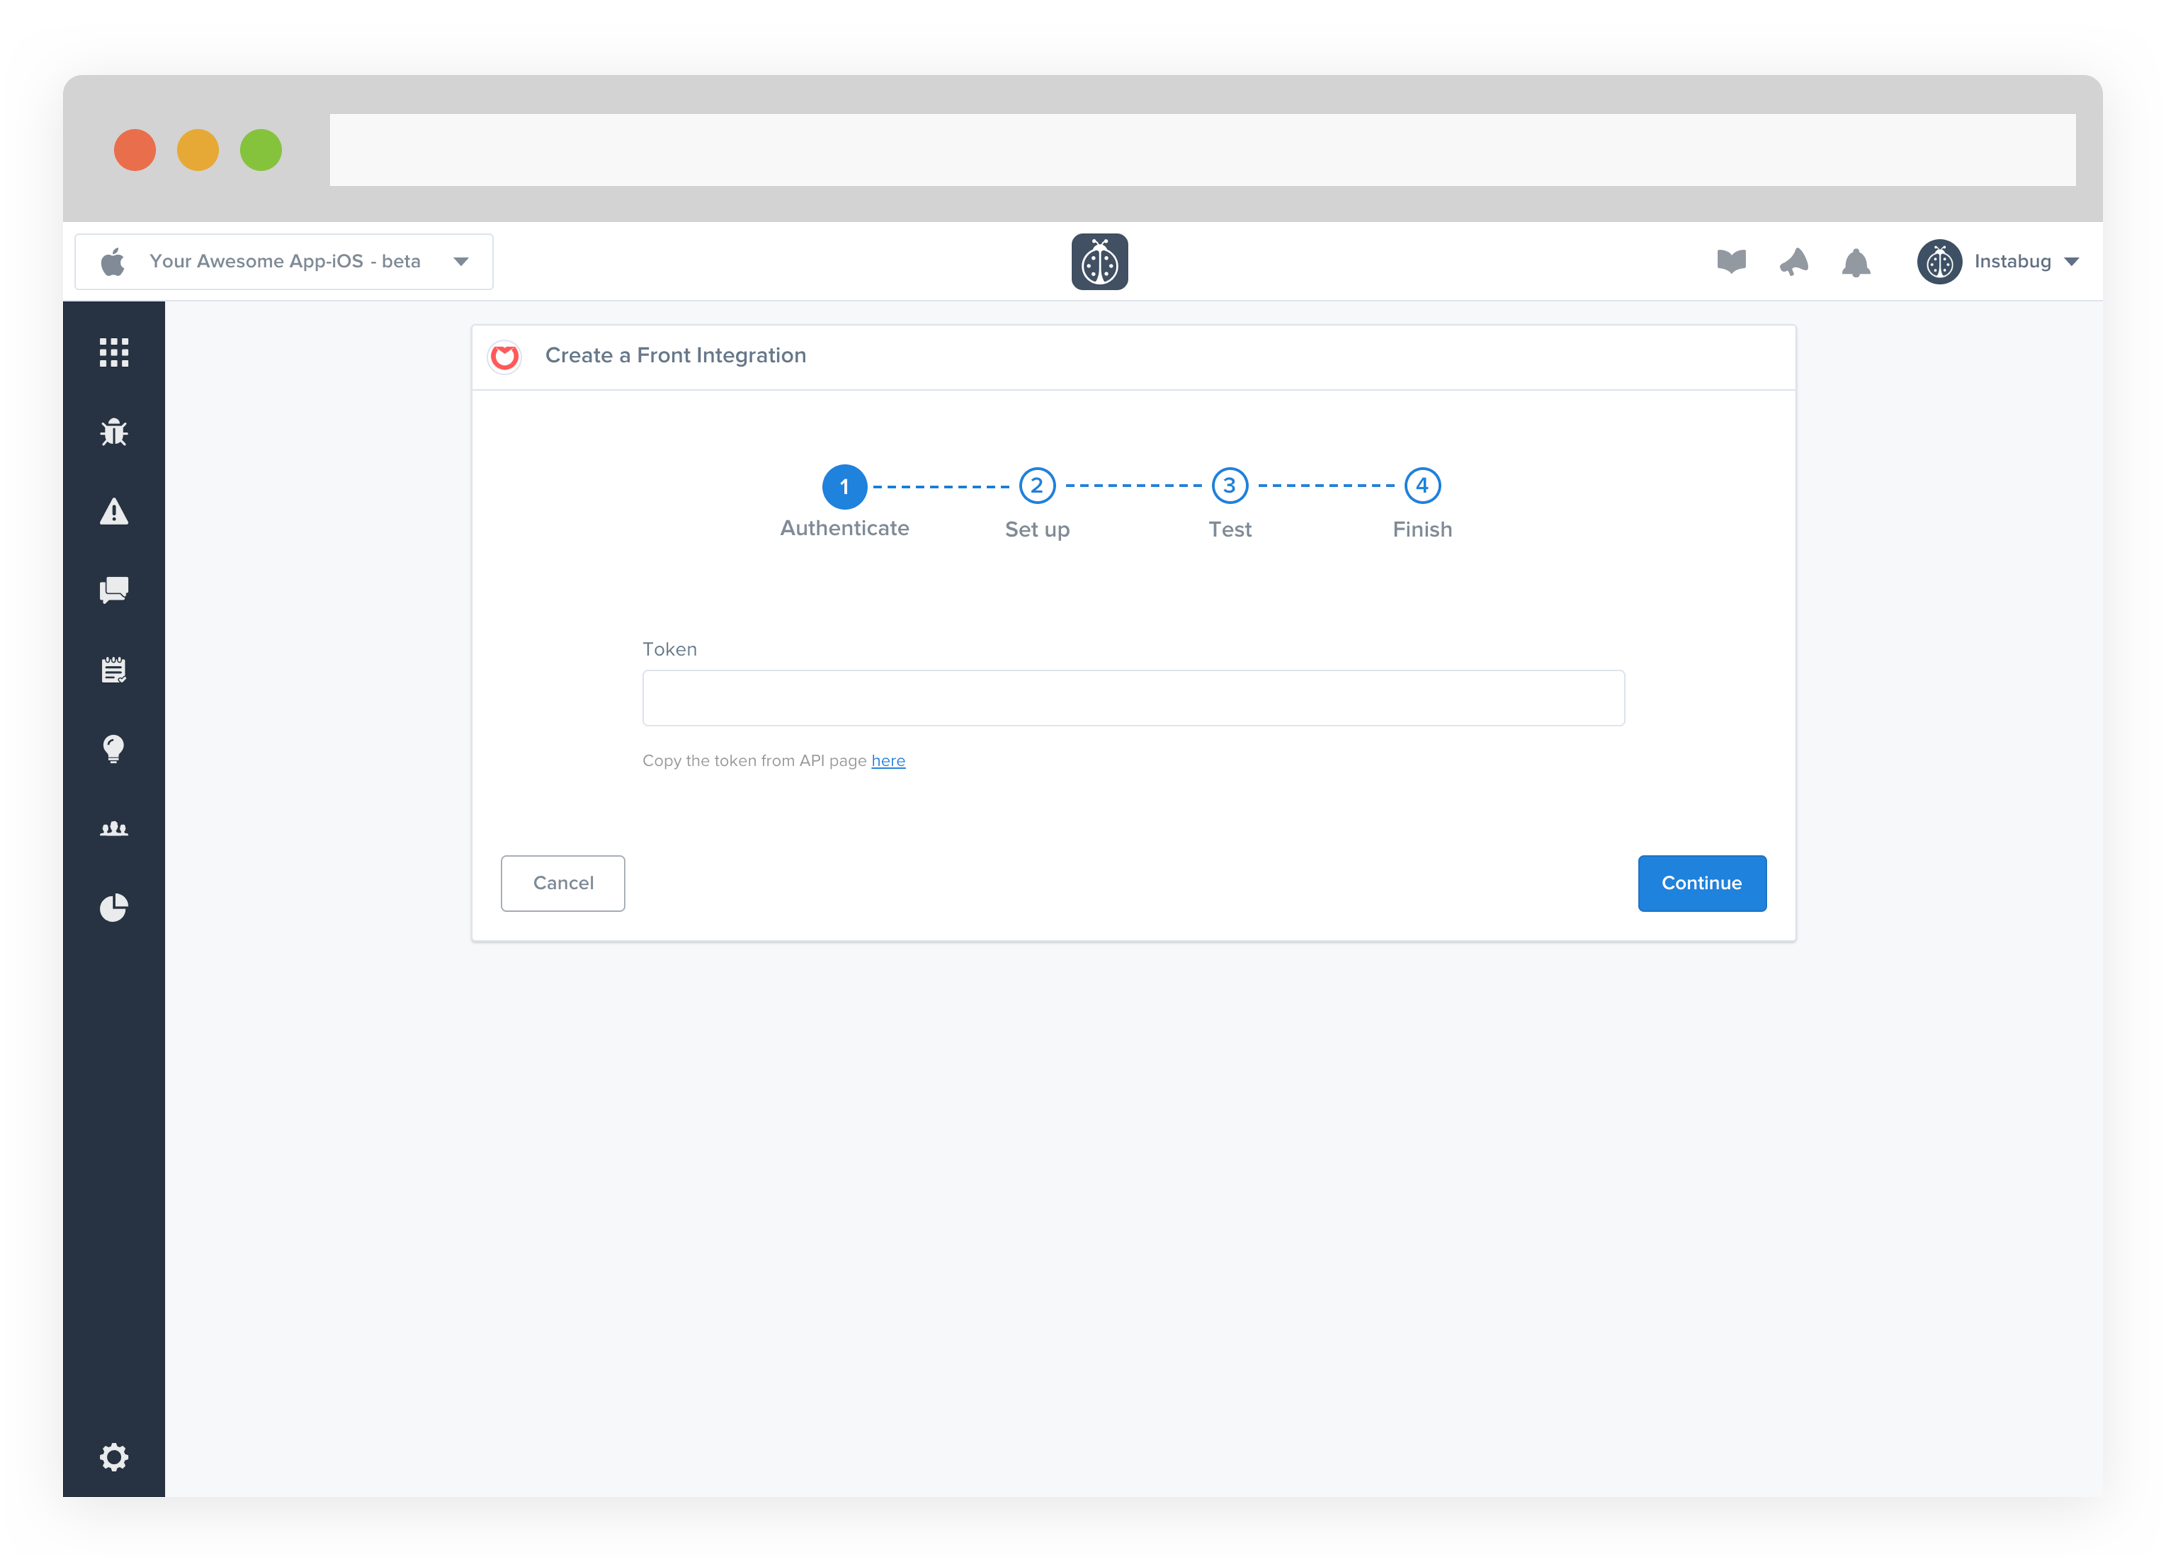
Integrating Instabug with Front allows your users to send feedback, ask questions, and report bugs in-app without the need to open another app to send it.
- Enter your token. If you don't have one, click on here below to be redirected to the Front so you can generate one.
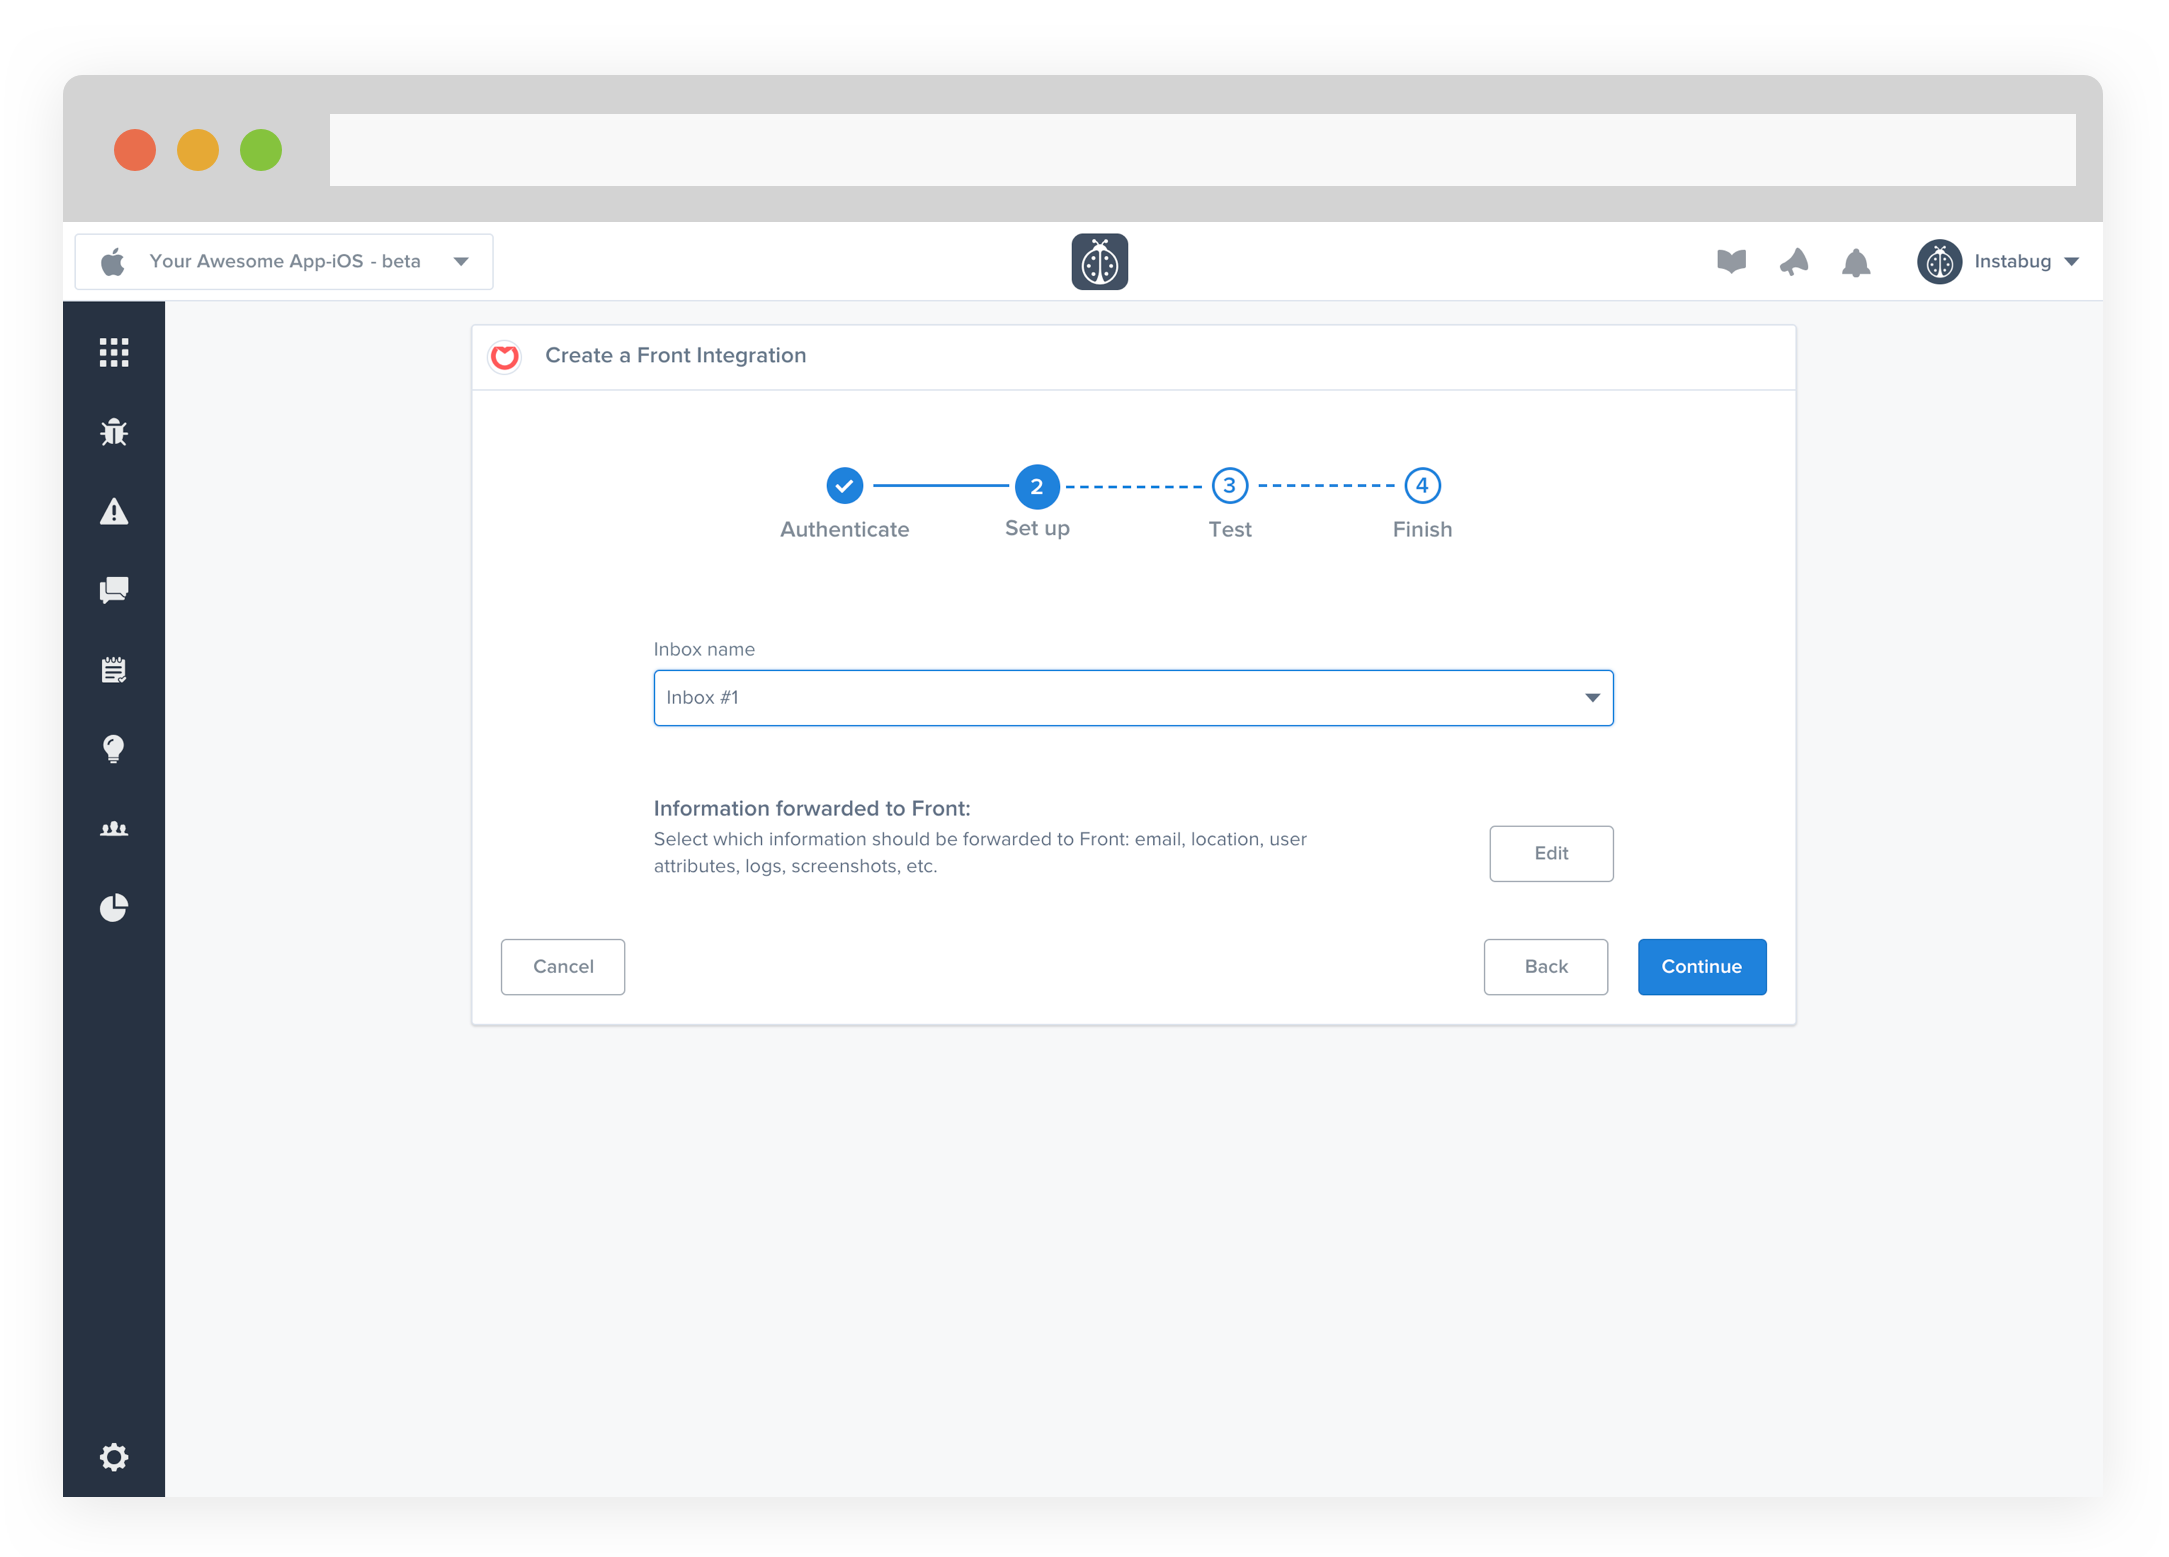
- Choose the Inbox name. You can also choose which details get forwarded as well.
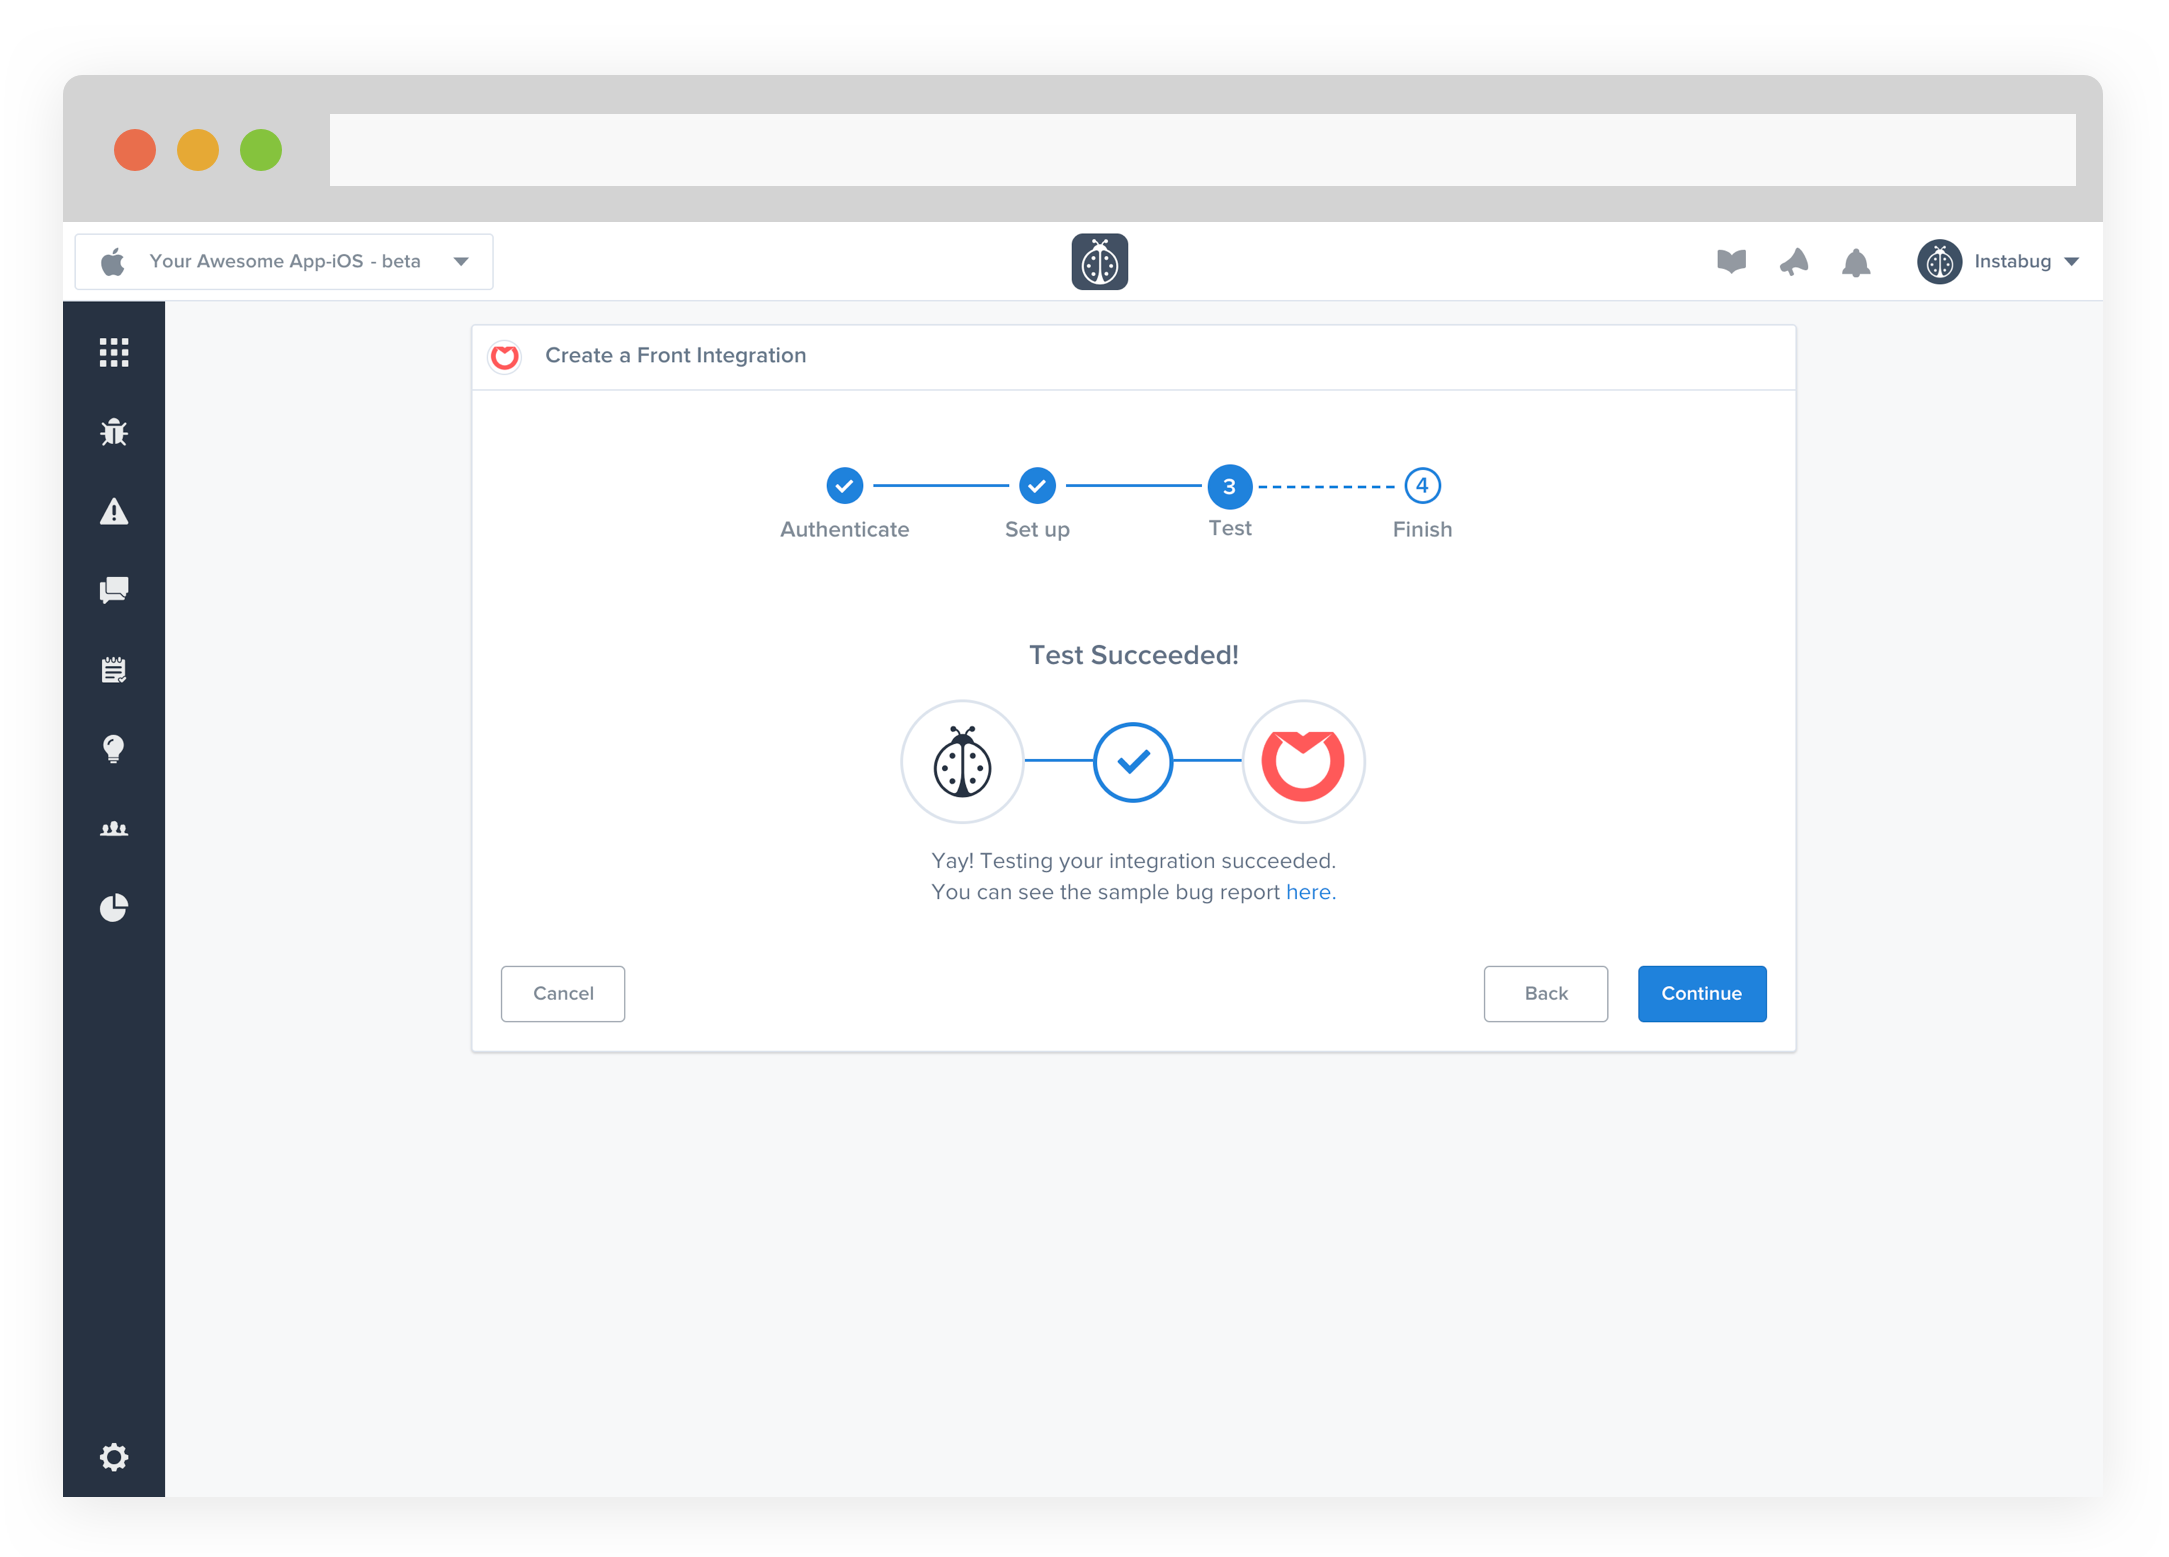
- At this point, we just need to test your integration so that we're sure everything is working smoothly.
- All done! You're integration is now set-up and ready to go. From this final page, you can allow automatic forwarding (don't worry though, this can be reconfigured at any time!)
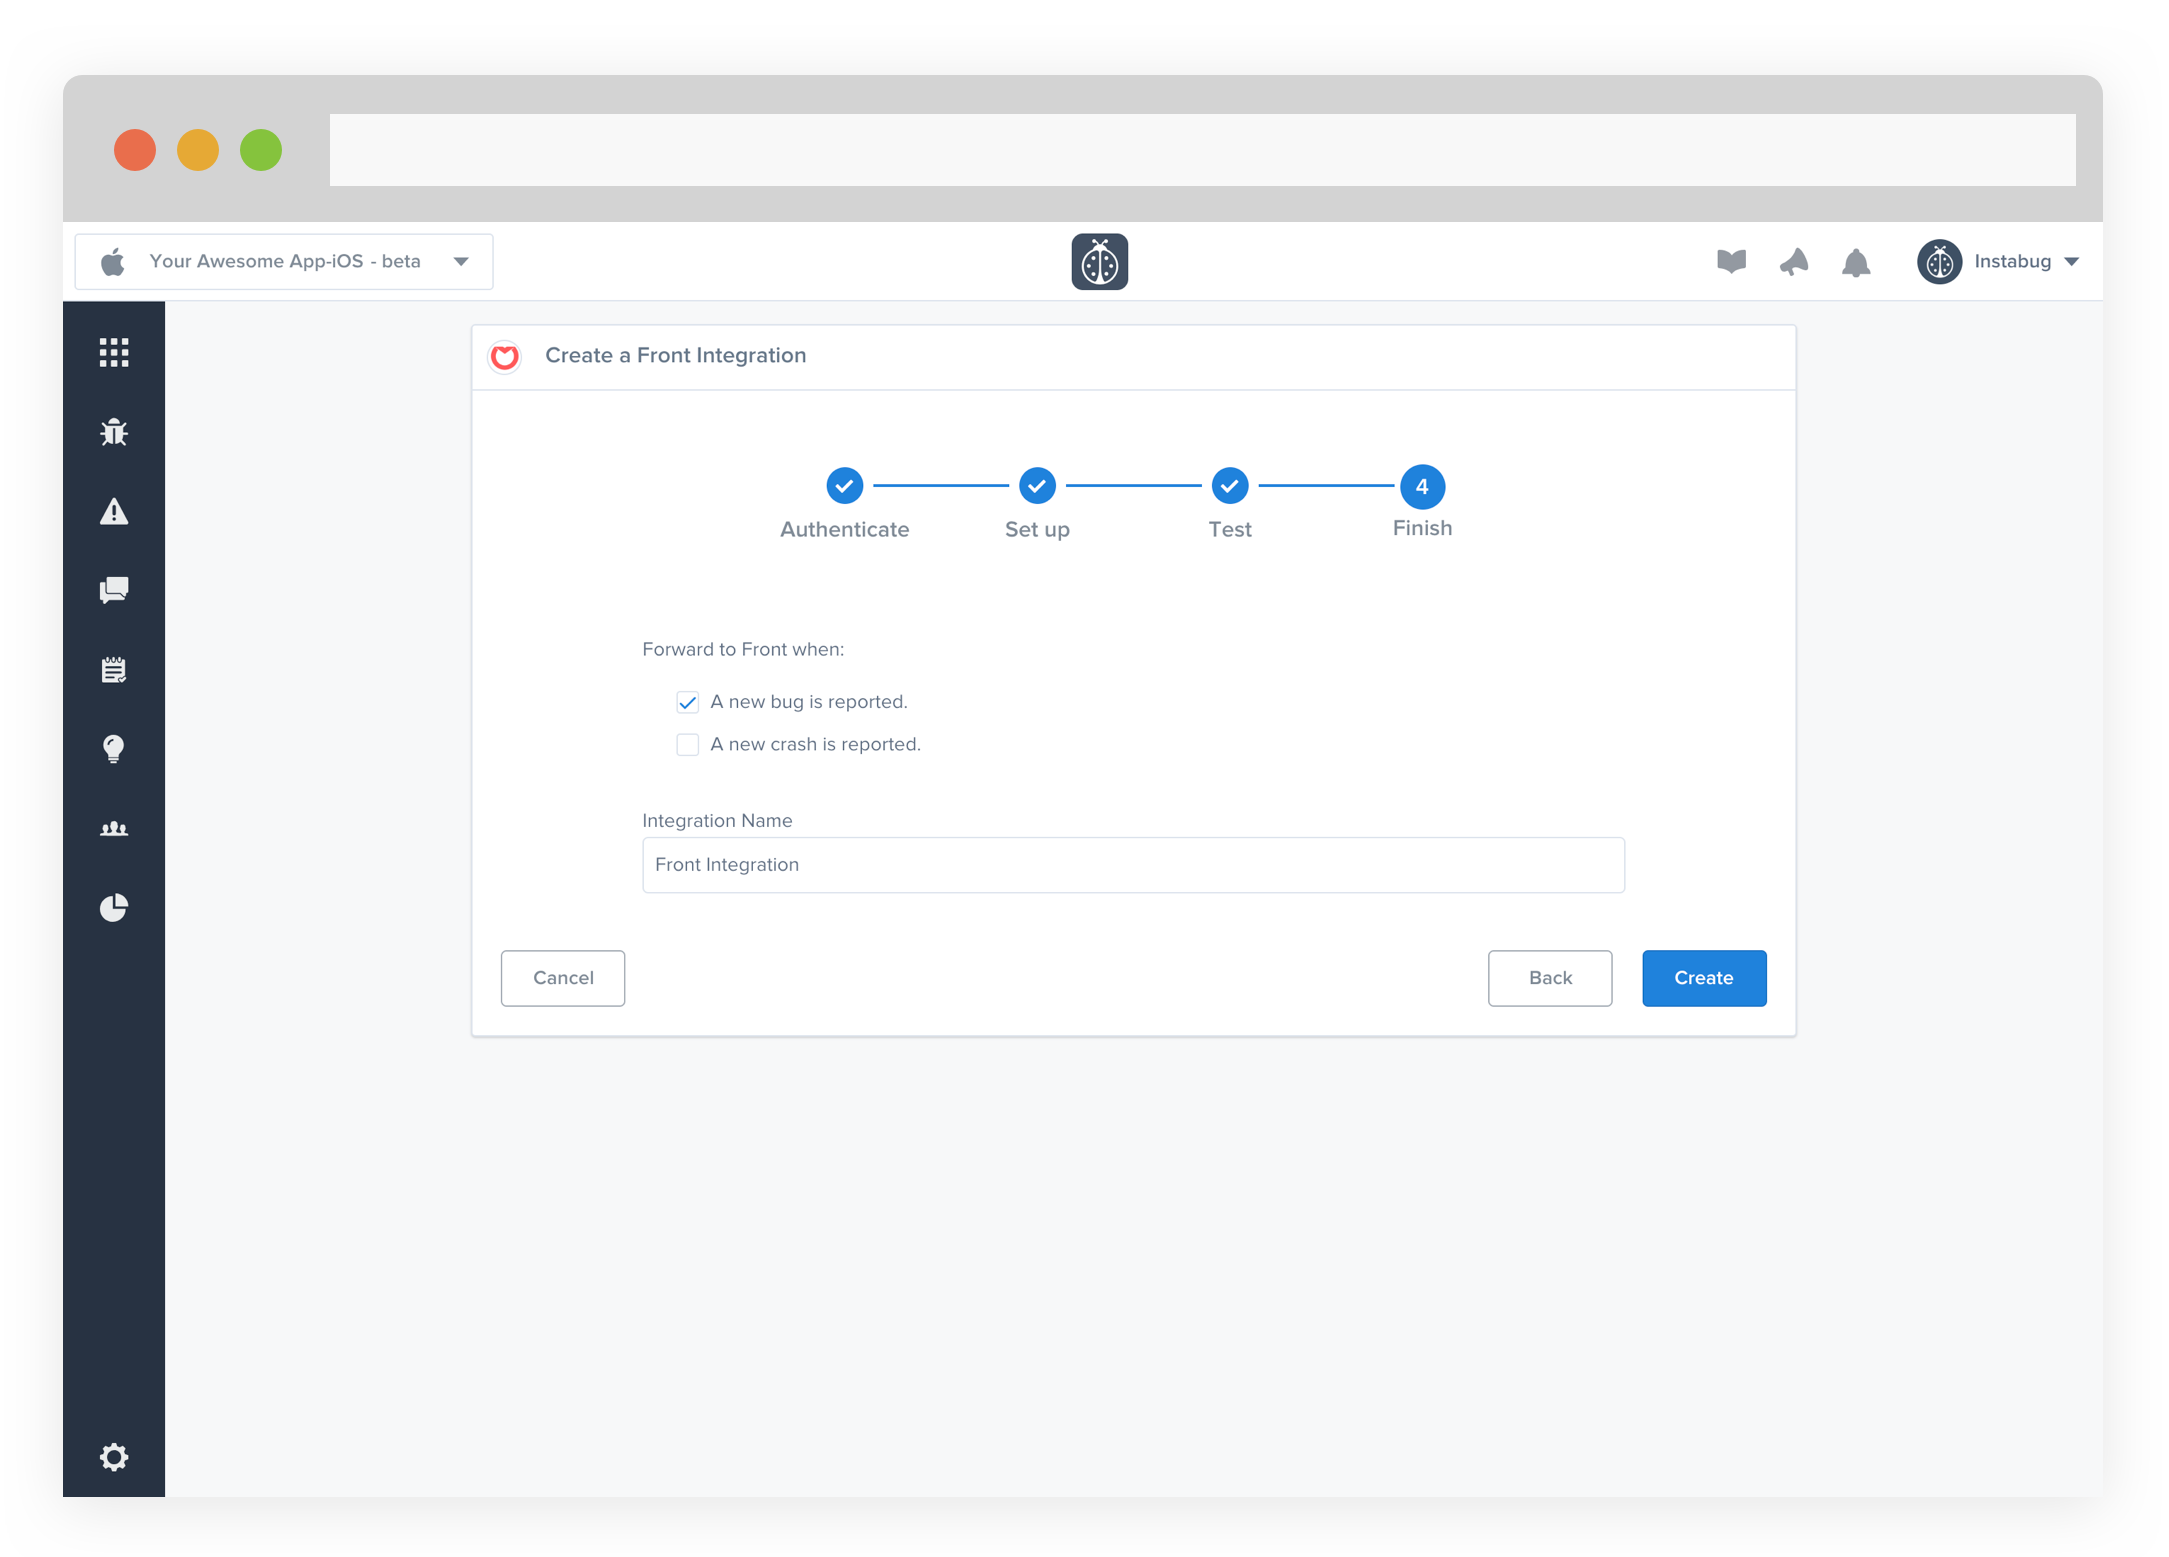
- Issues forwarded to Front should look something like this.
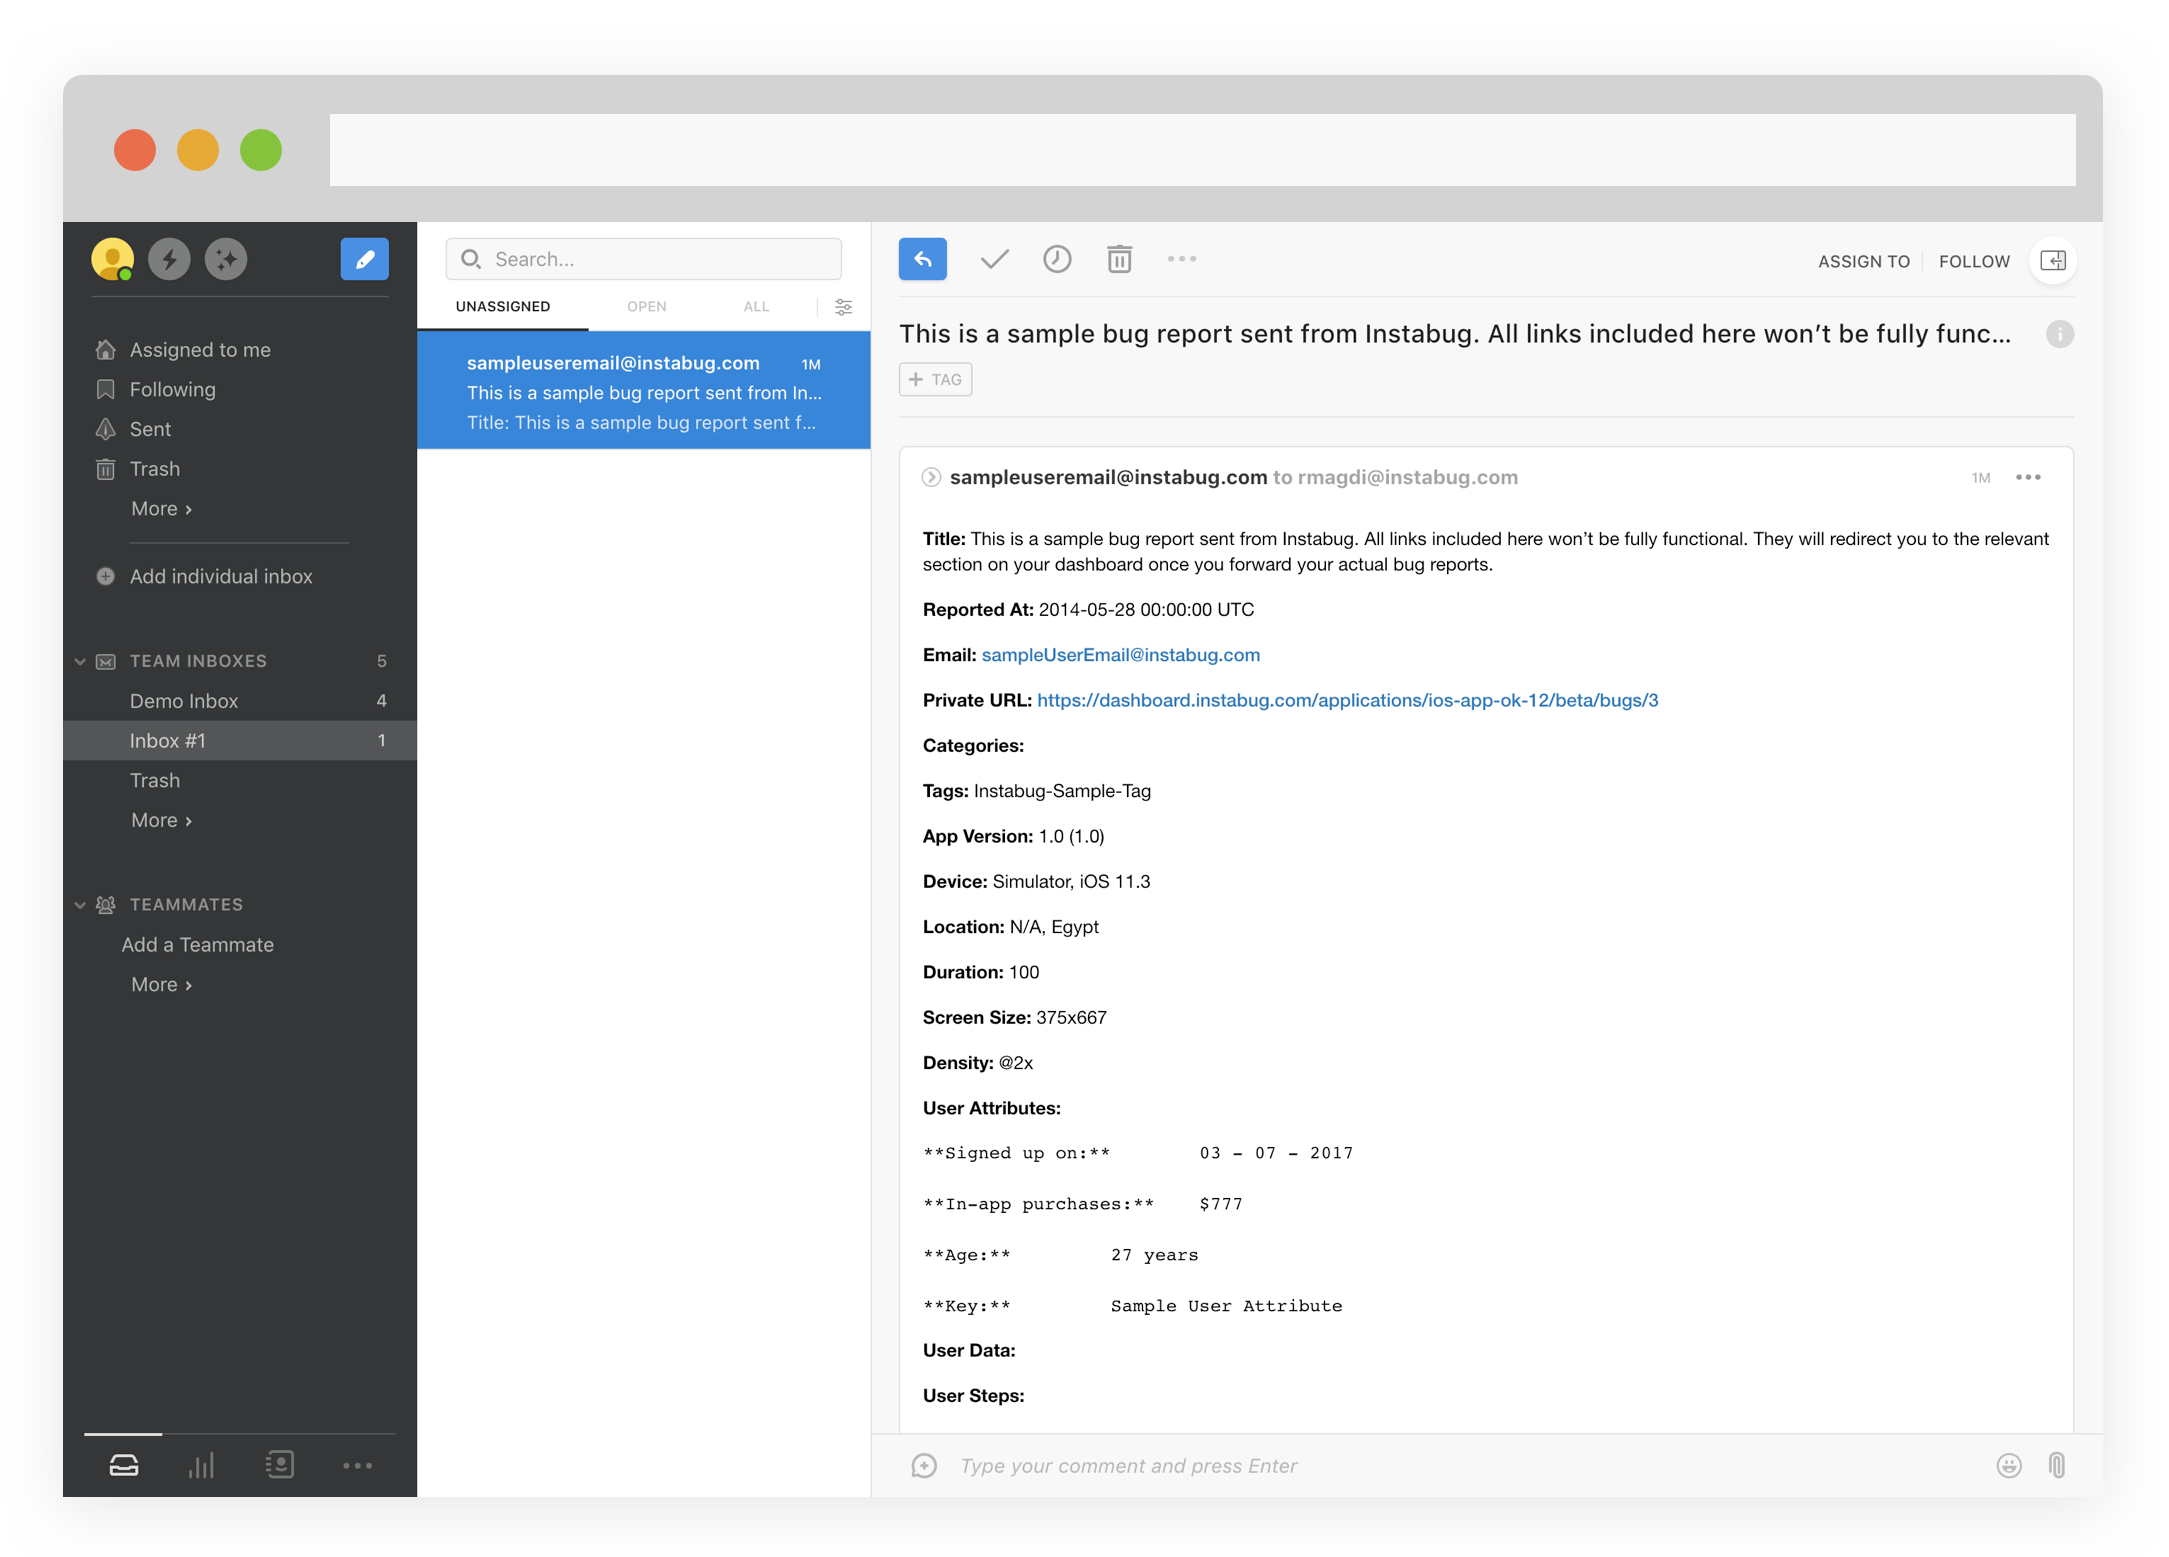
Track issues and collaborate with your team through forwarding all issues to your Manuscript account at once.
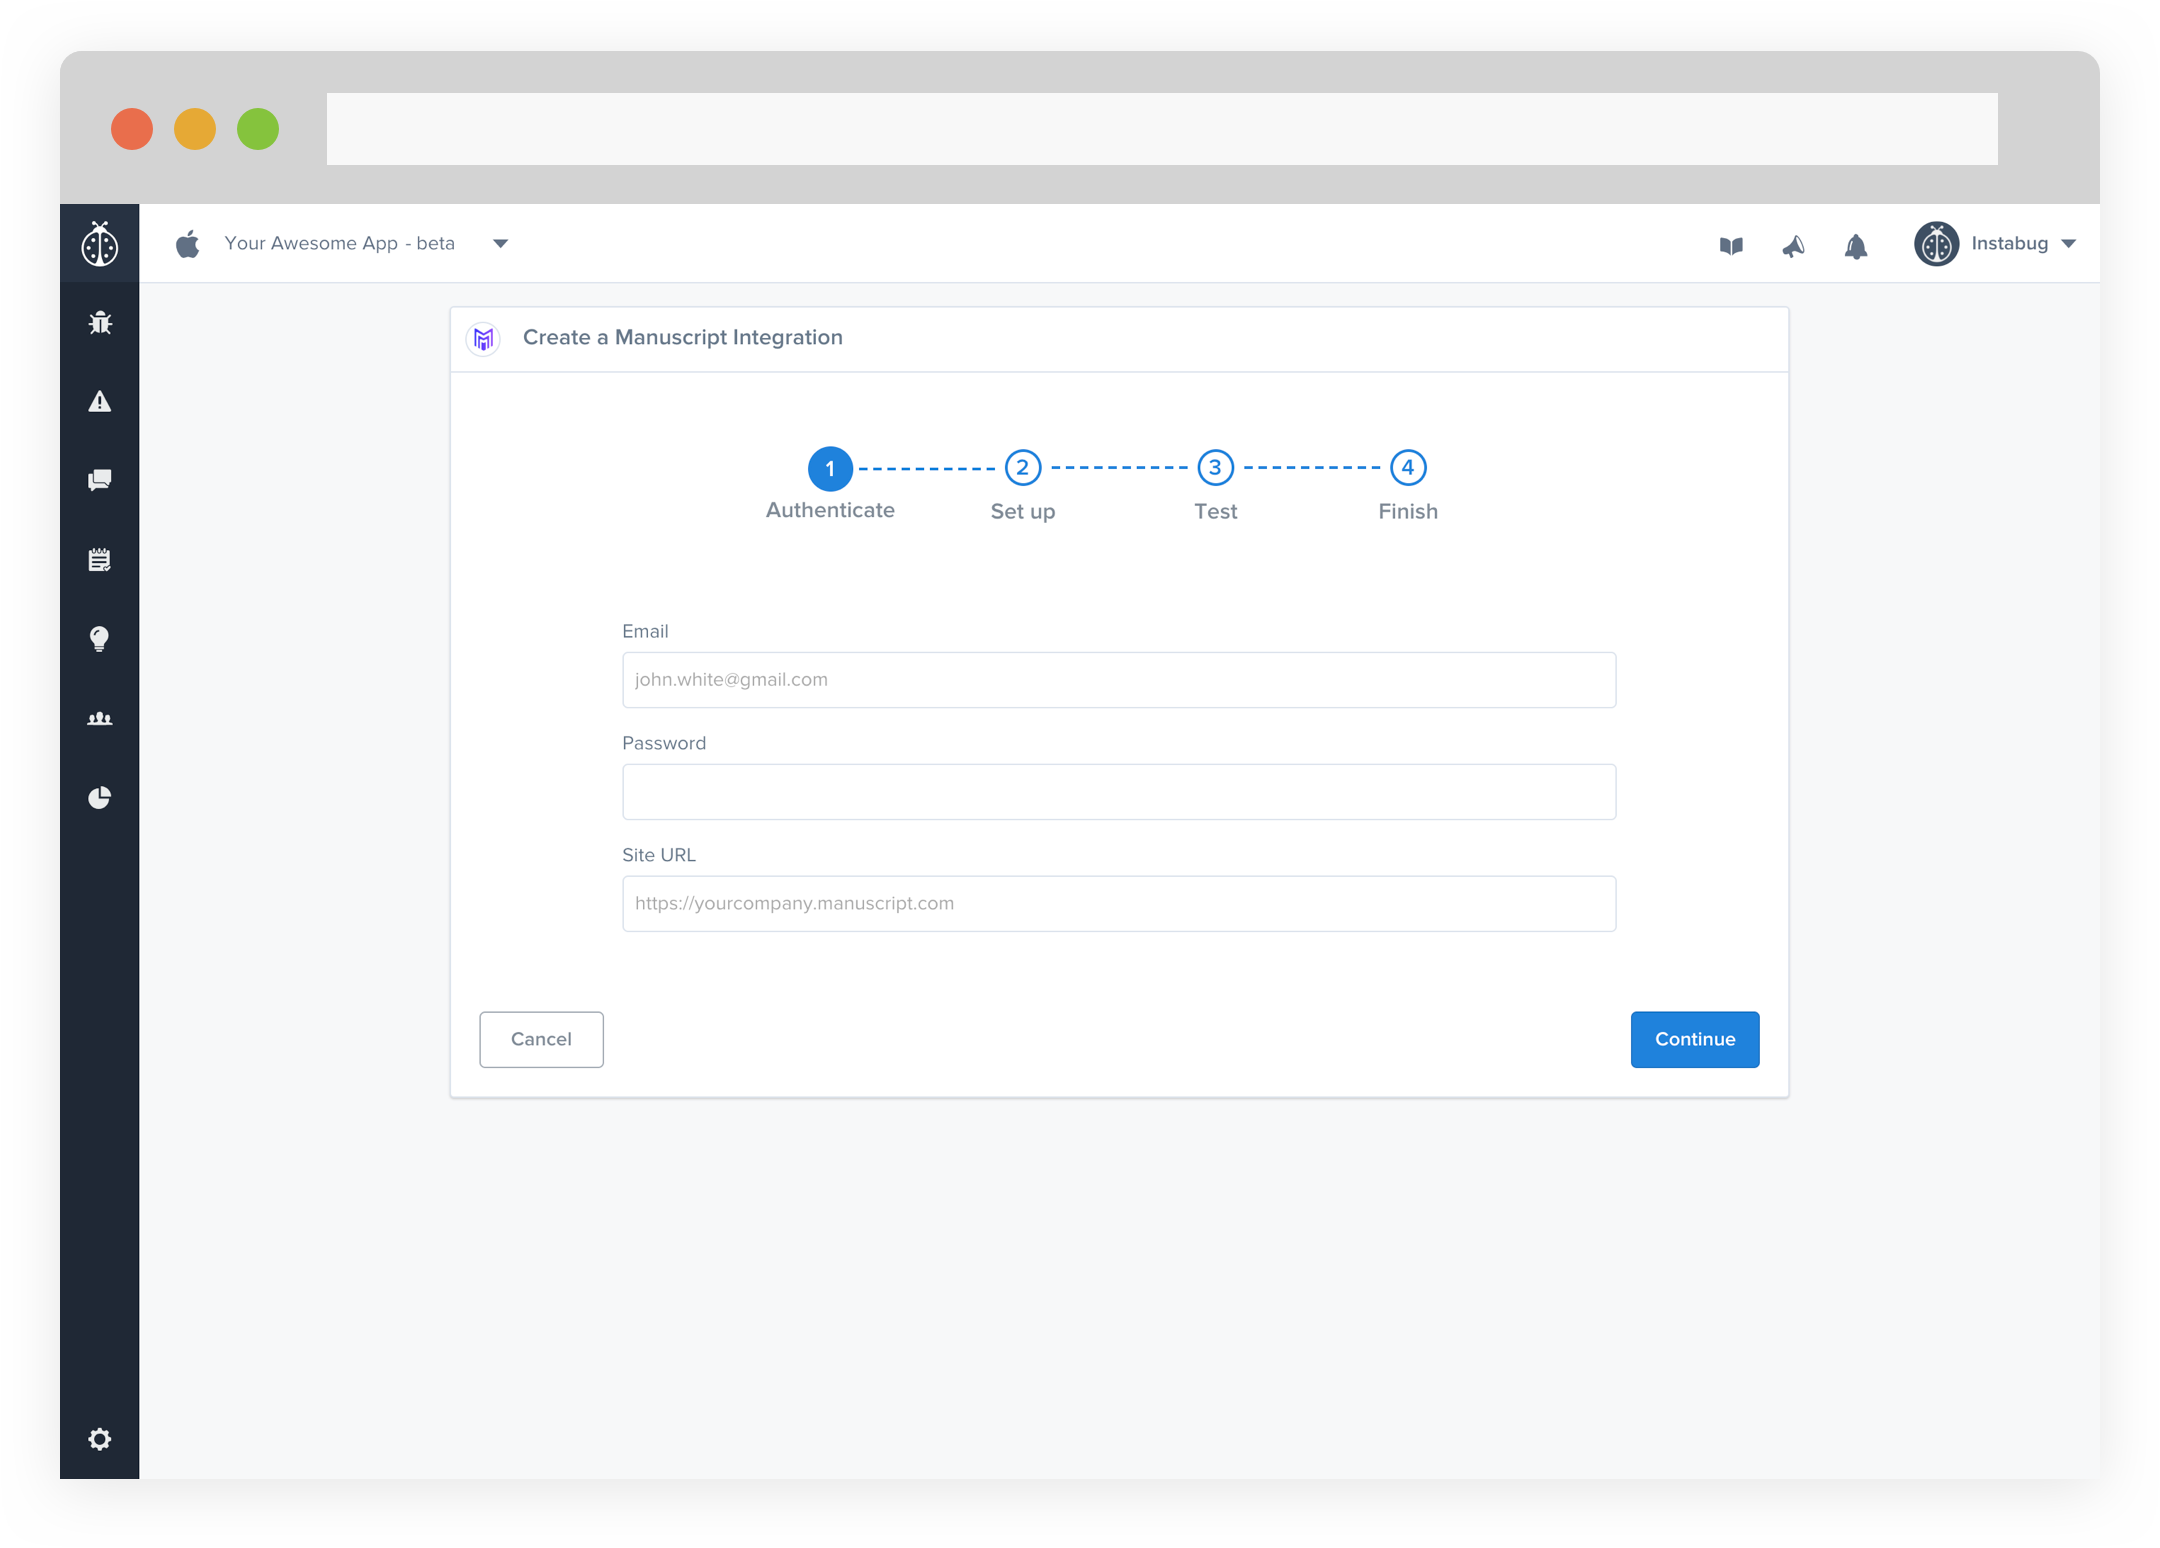
- Enter your Manuscript email, password, and account URL.
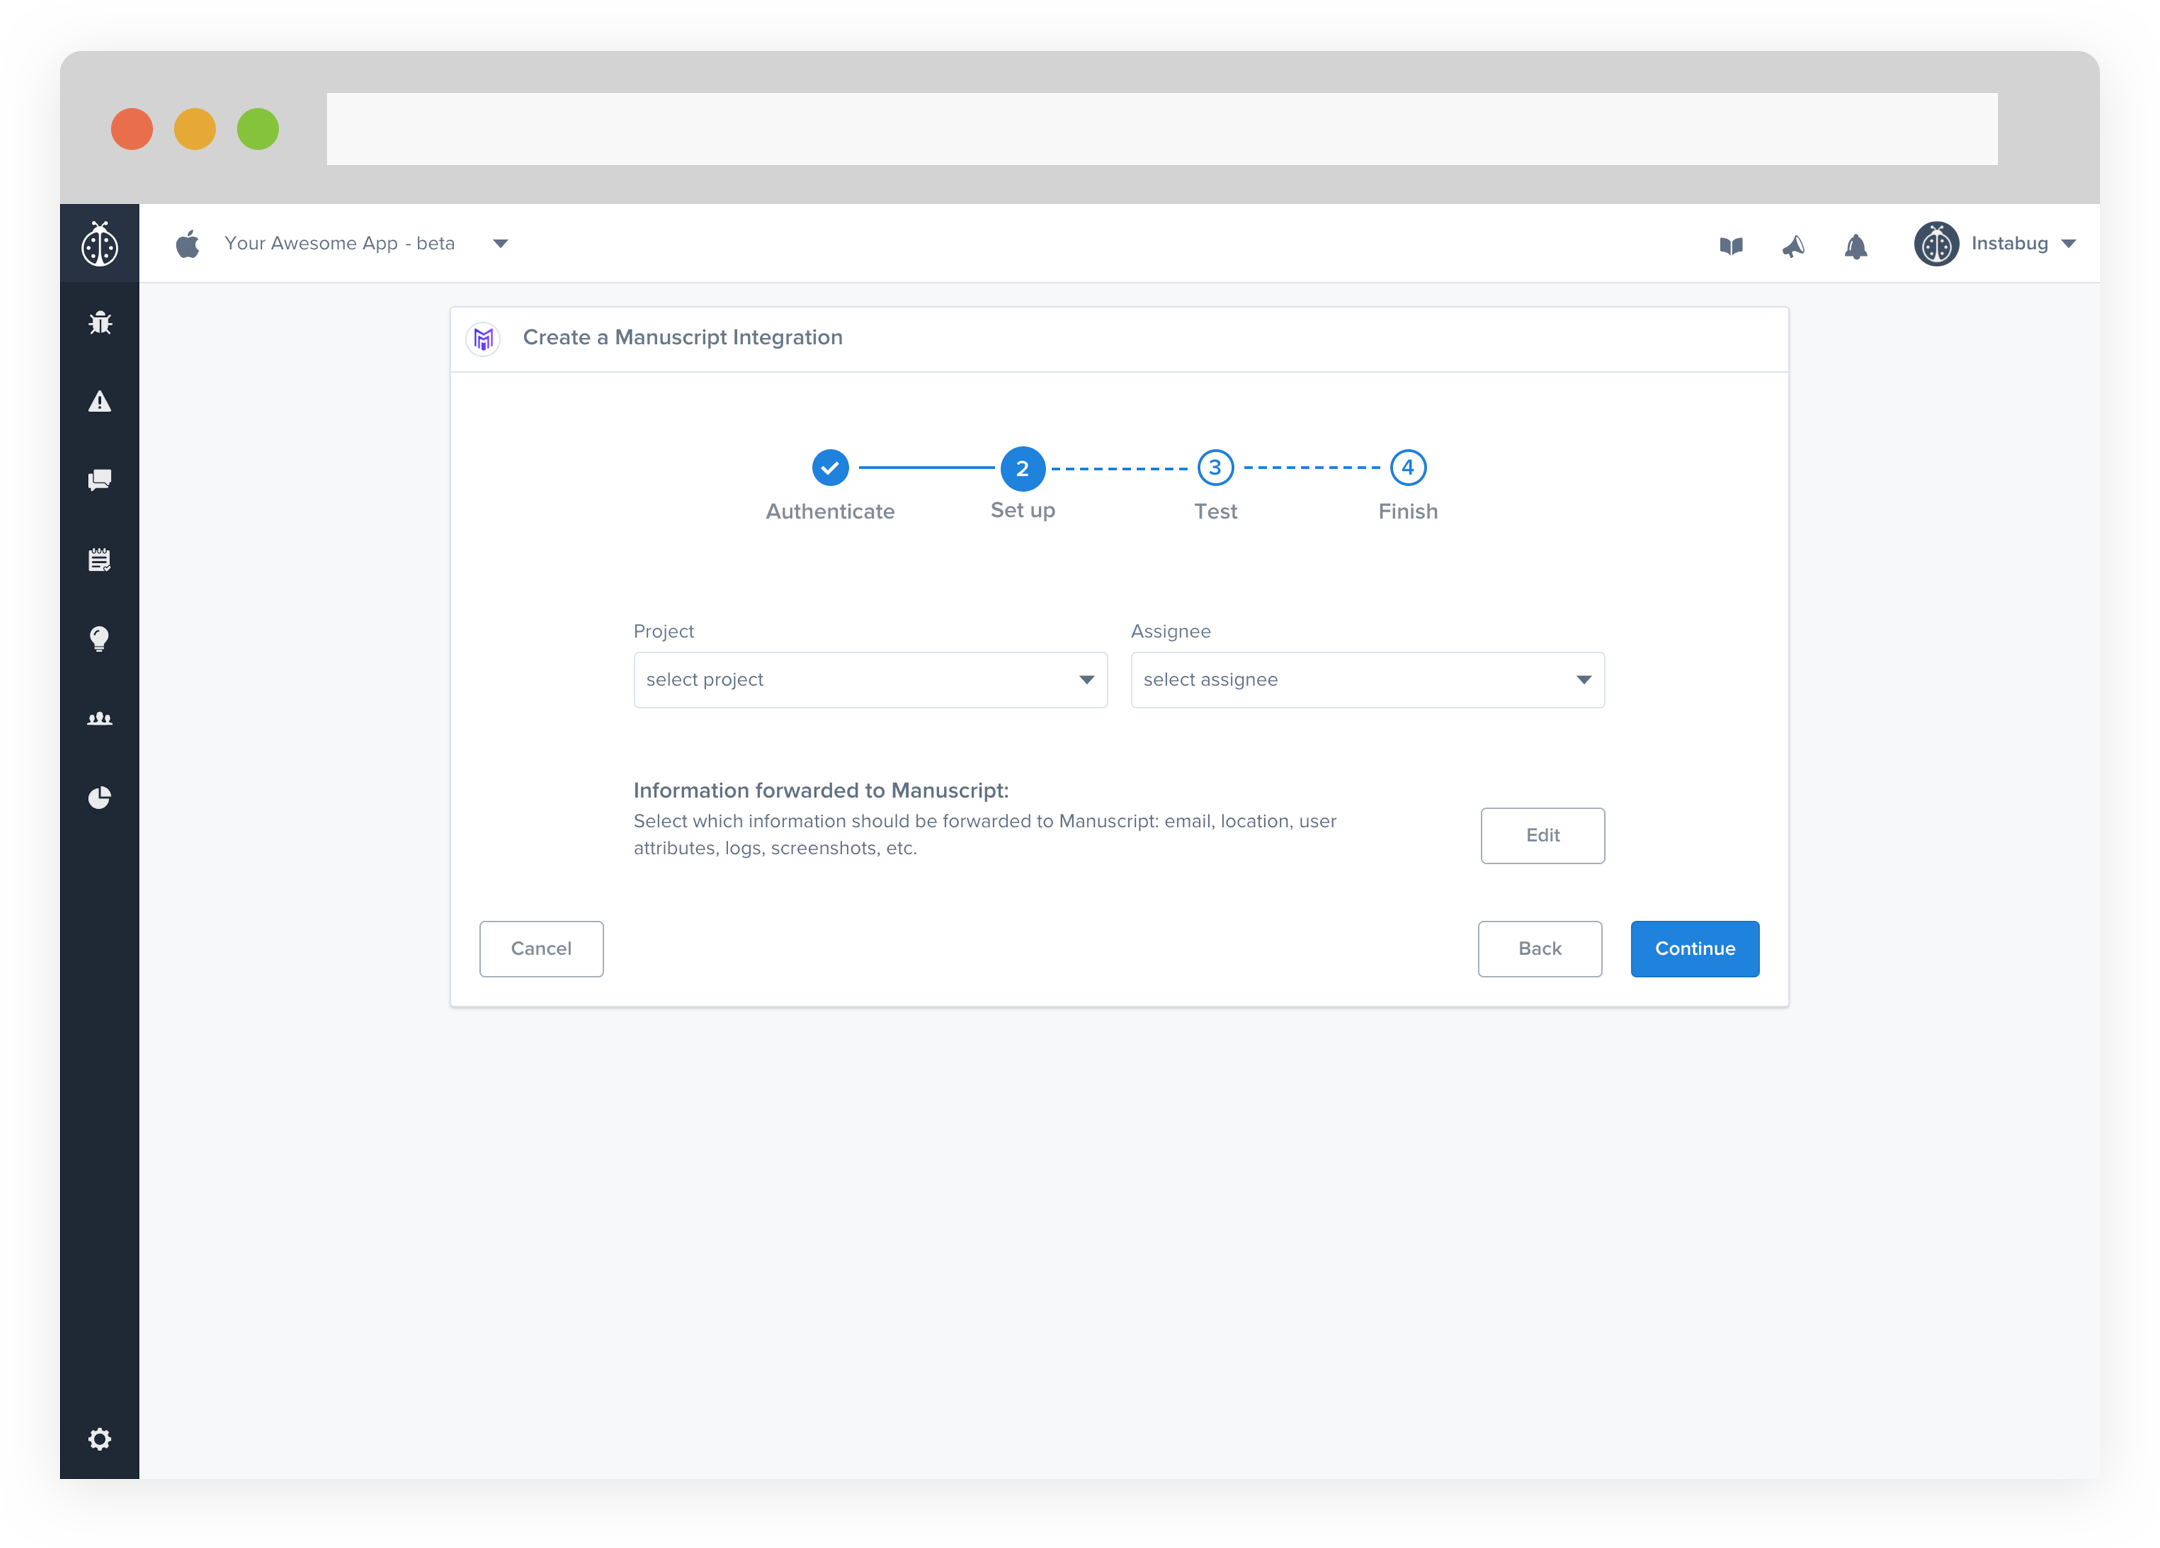
- Choose your Project and Assignee. You can also choose which details get forwarded as well.
- At this point, we just need to test your integration so that we're sure everything is working smoothly.
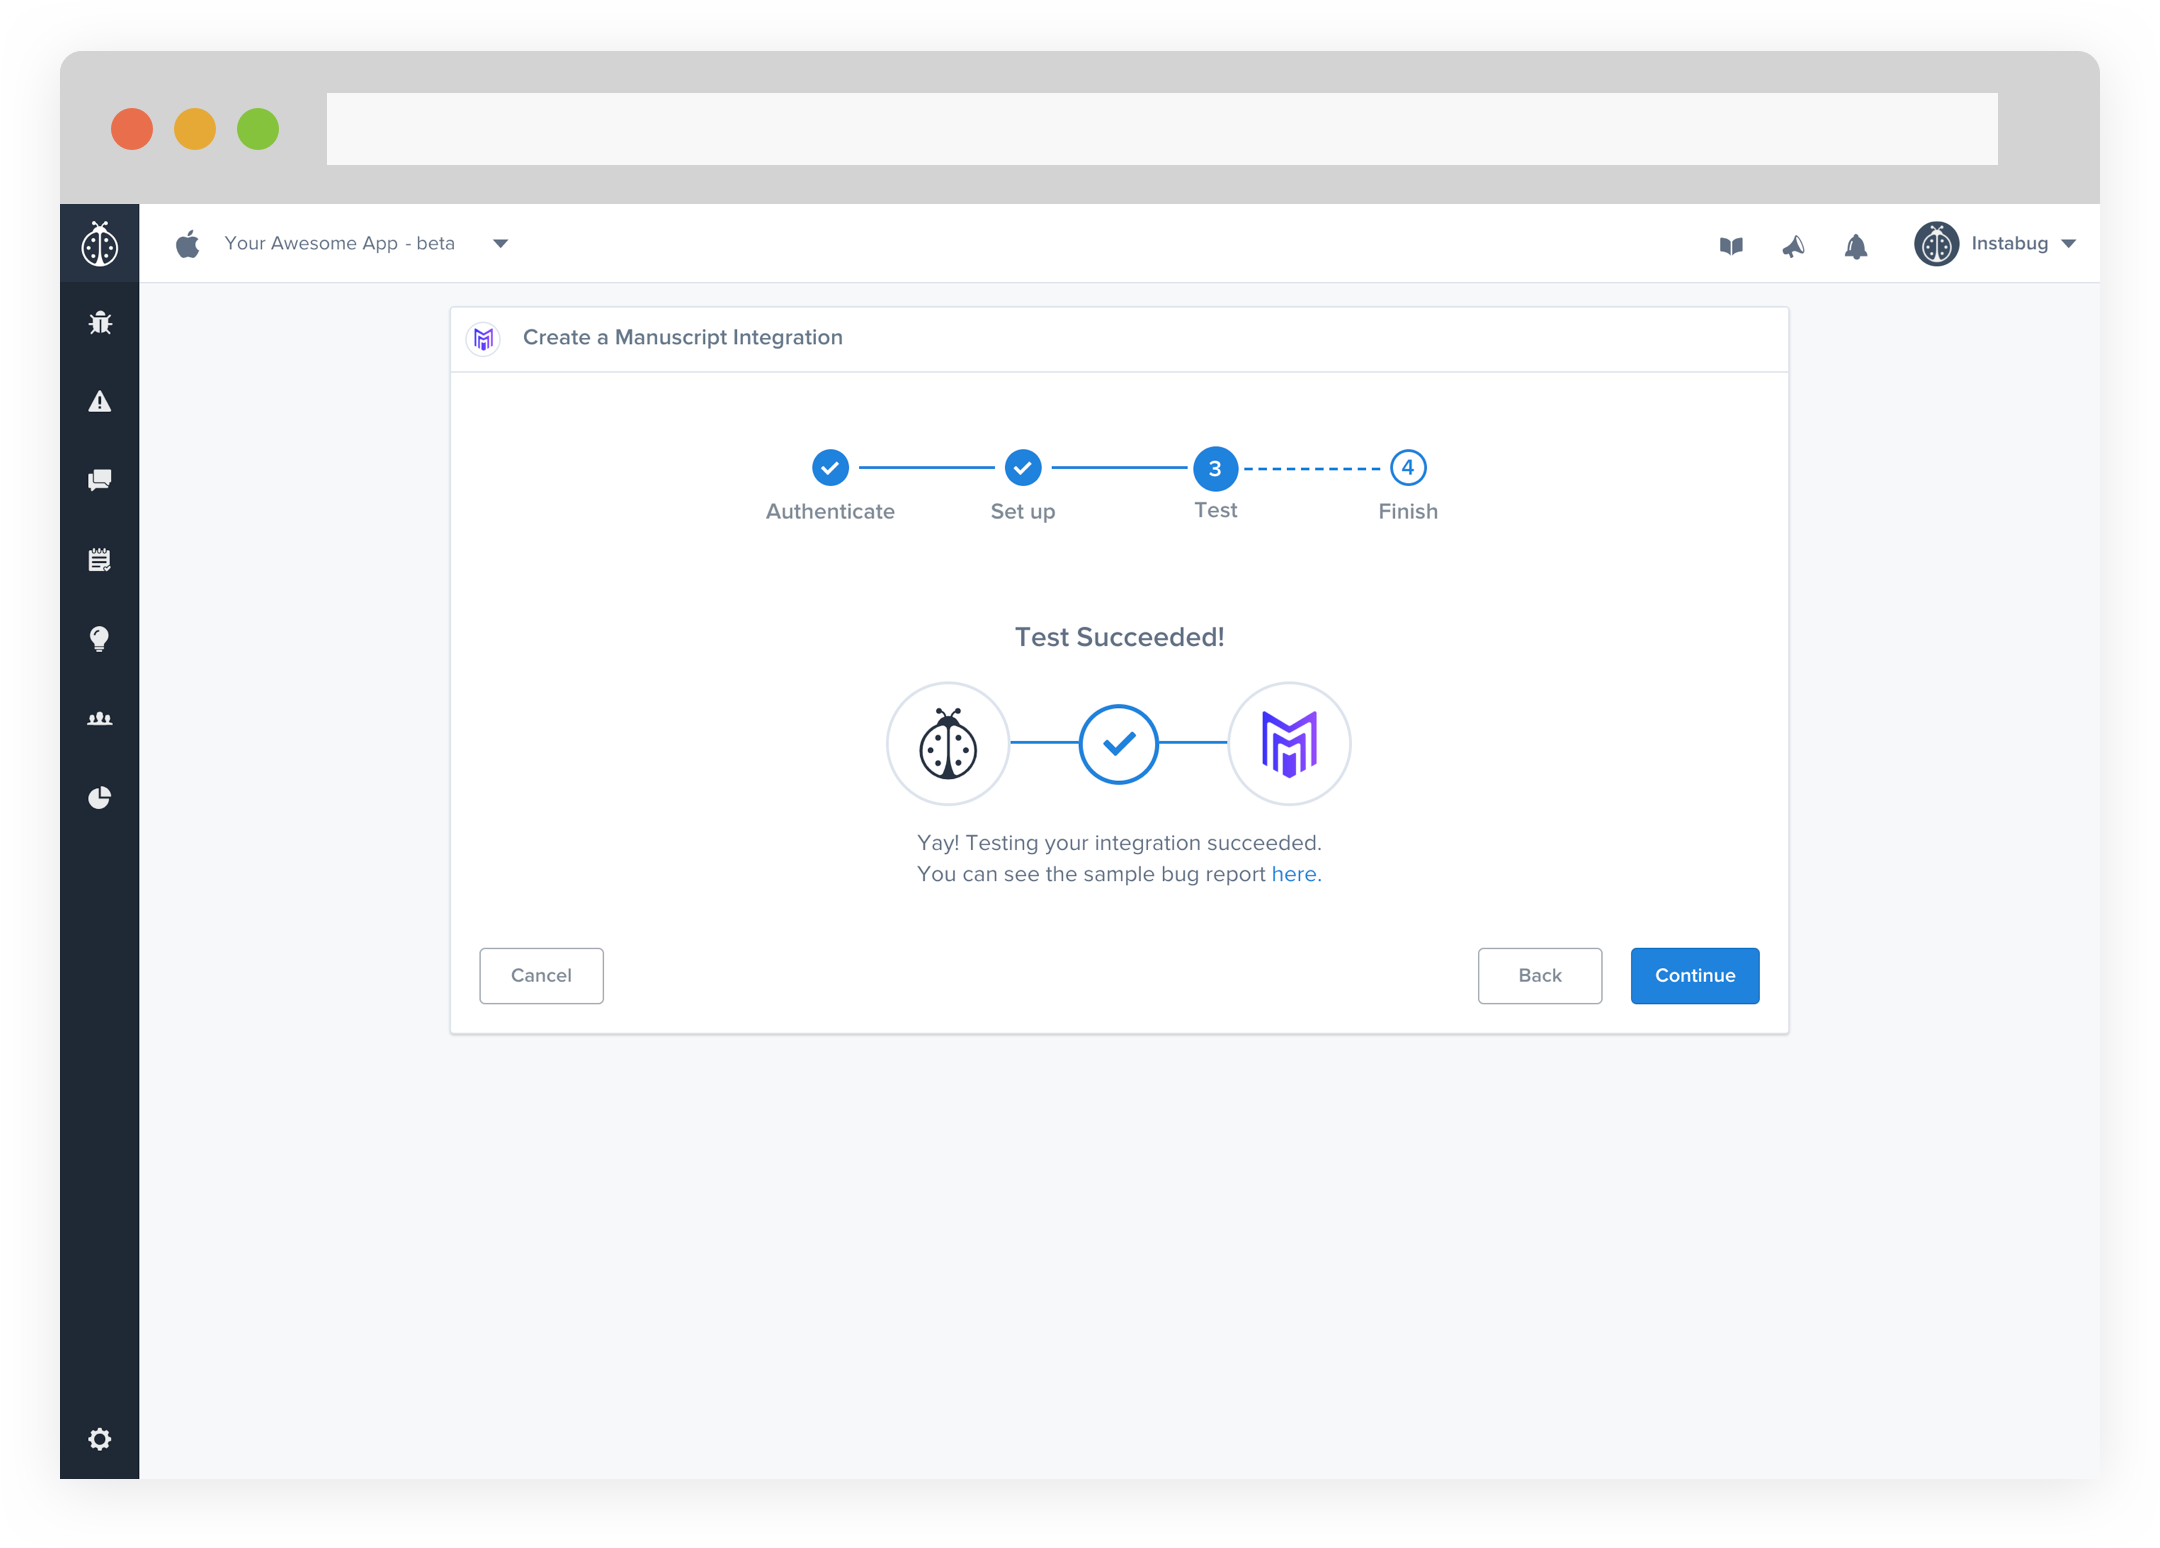
- All done! You're integration is now set-up and ready to go. From this final page, you can allow automatic forwarding (don't worry though, this can be reconfigured at any time!)
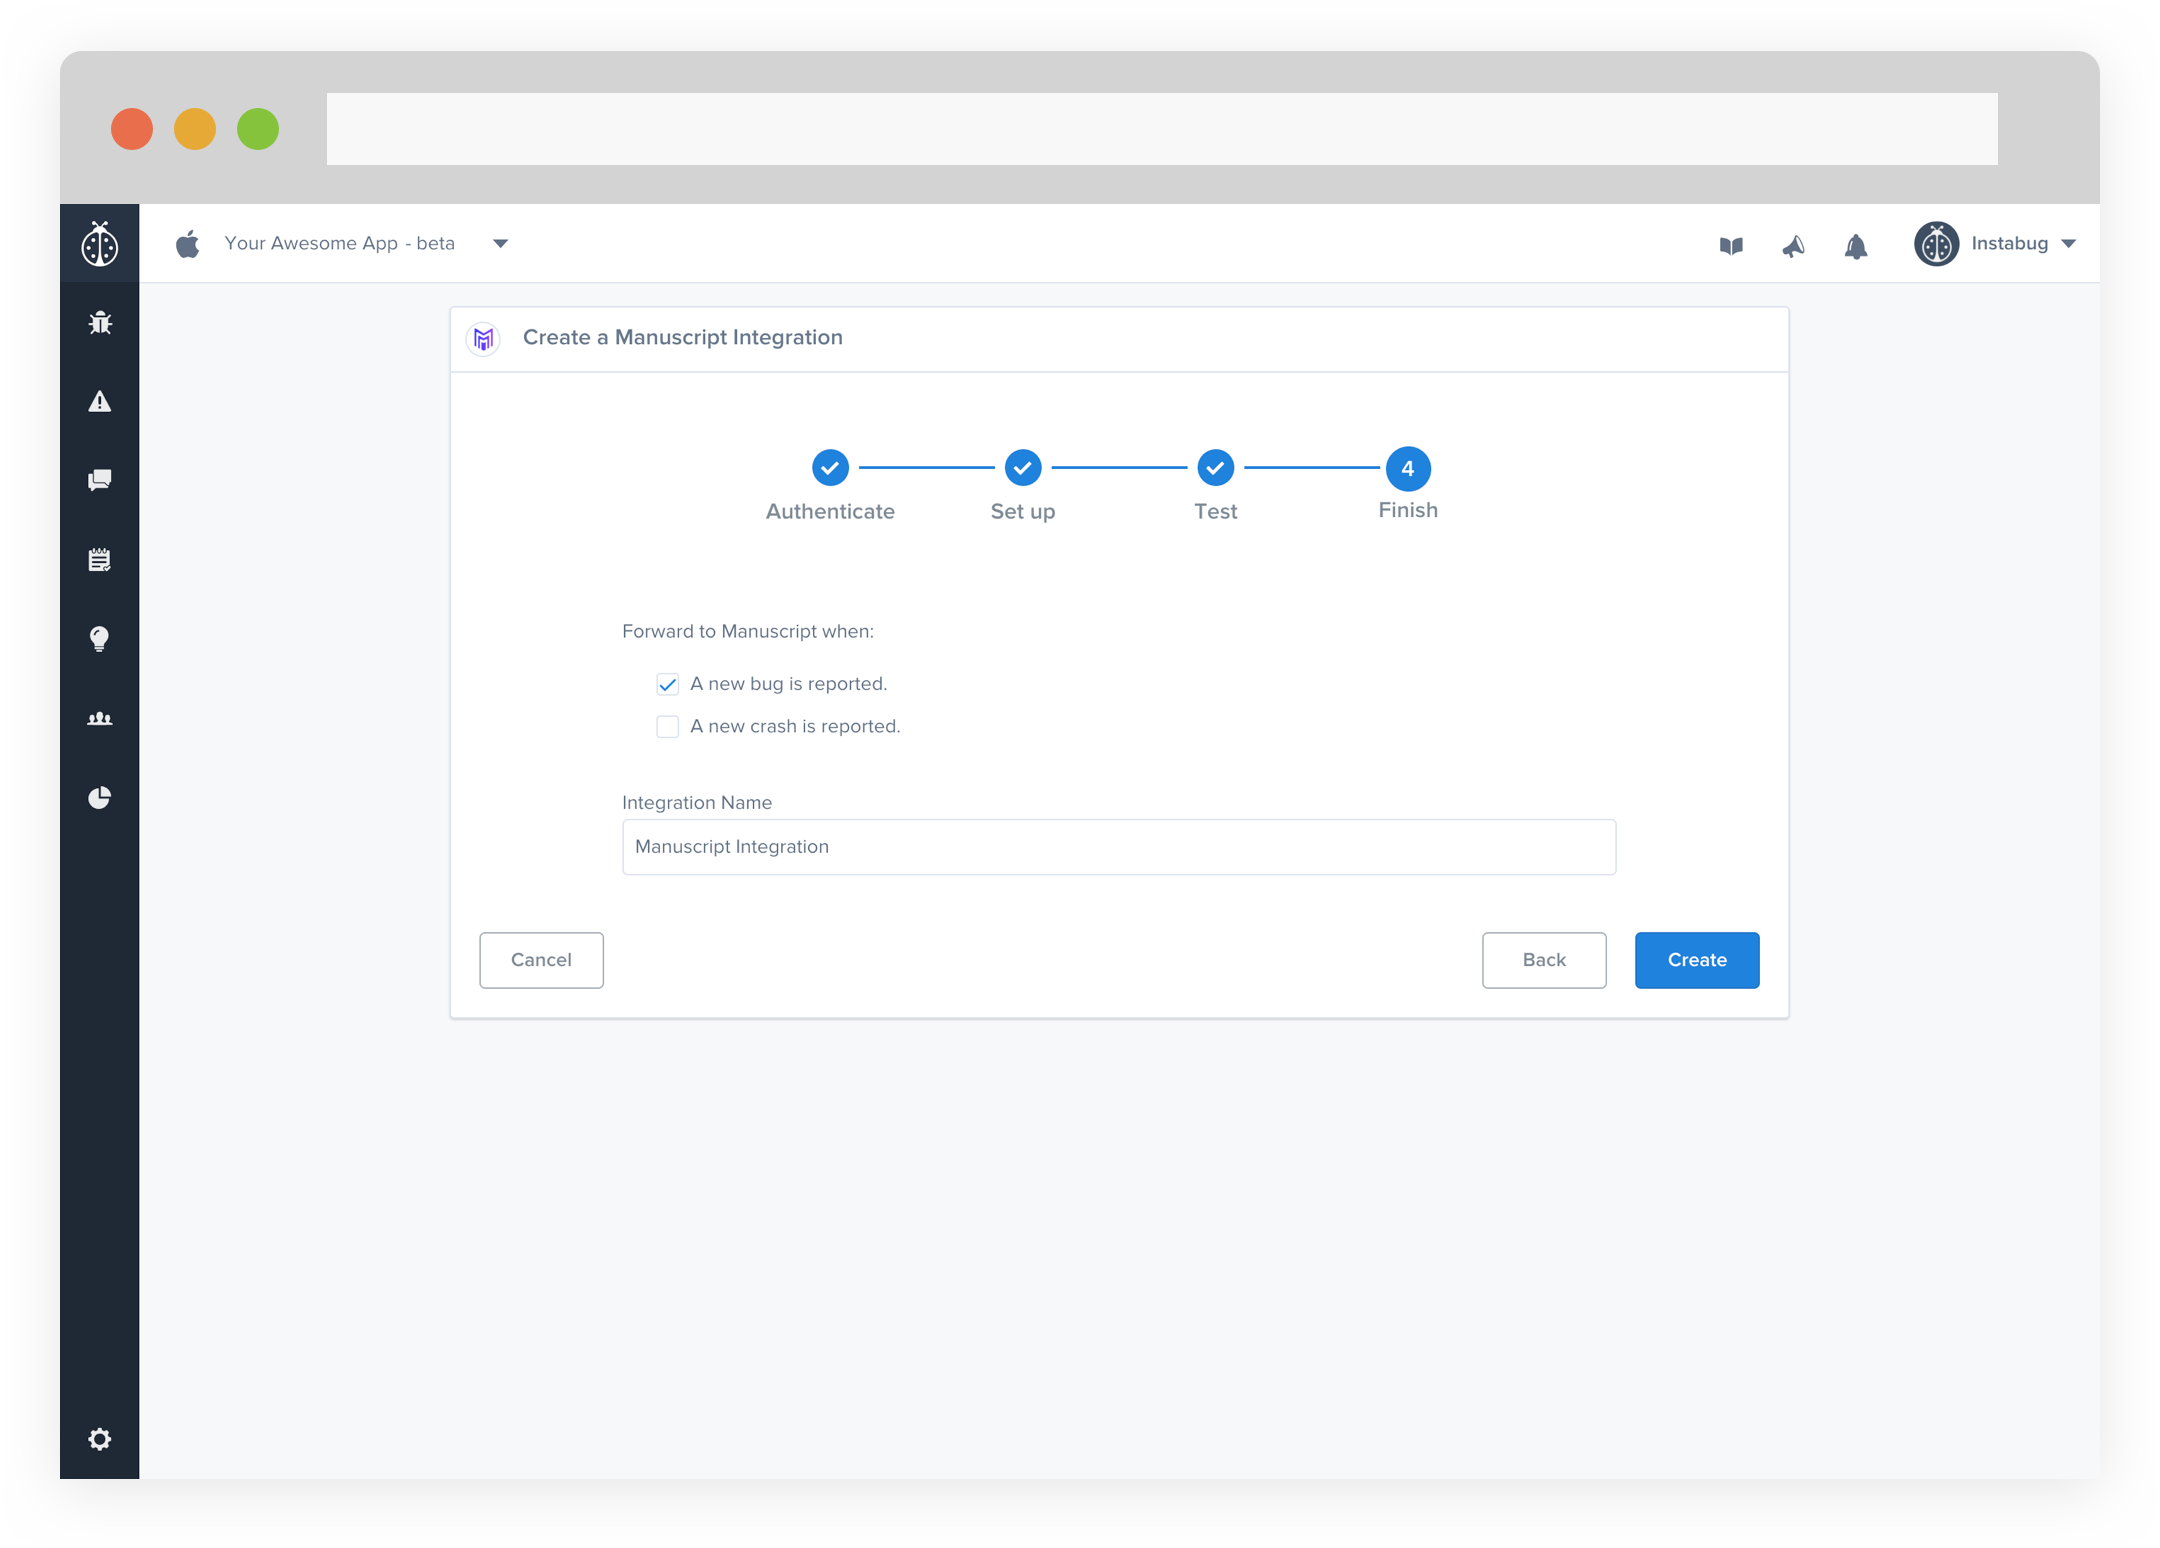
- Issues forwarded to Manuscript should look something like this.
With this integration we will forward every single bug or issue reported to you into your Clubhouse dashboard. So you can easily receive, track and assign issues from Clubhouse to your team without getting interrupted.
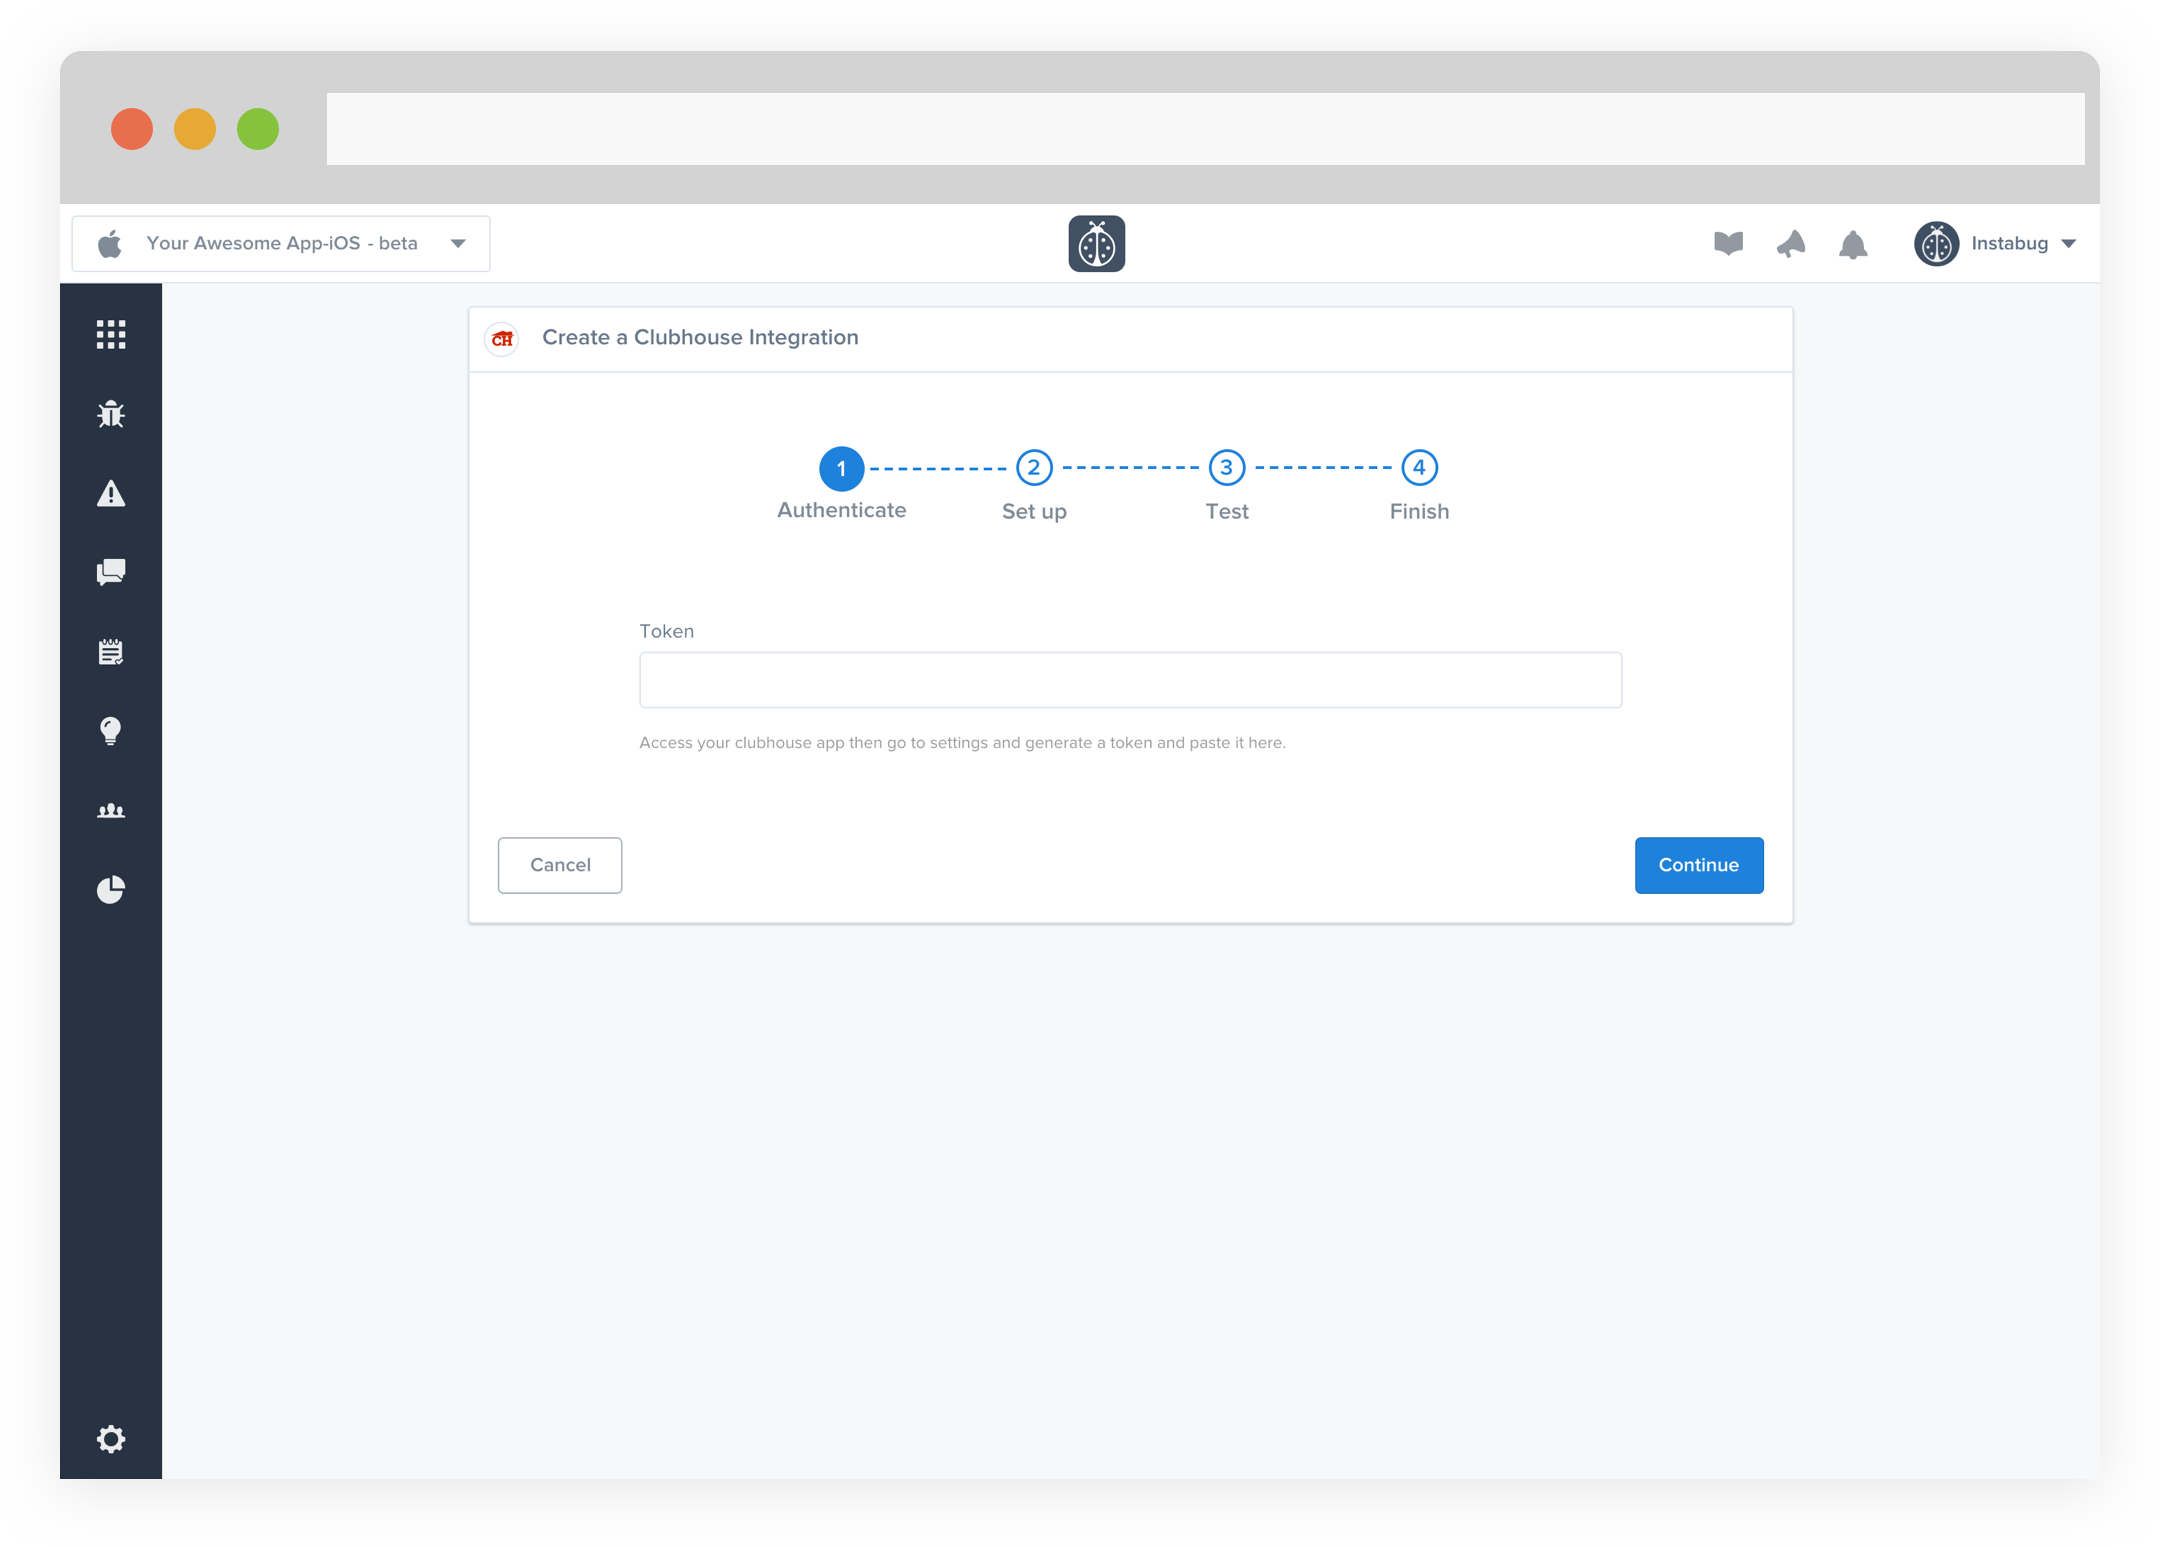
- Enter your Token. To get the token, access your clubhouse app then go to settings and generate a token.
- Choose your Project. You can also choose which details get forwarded as well.
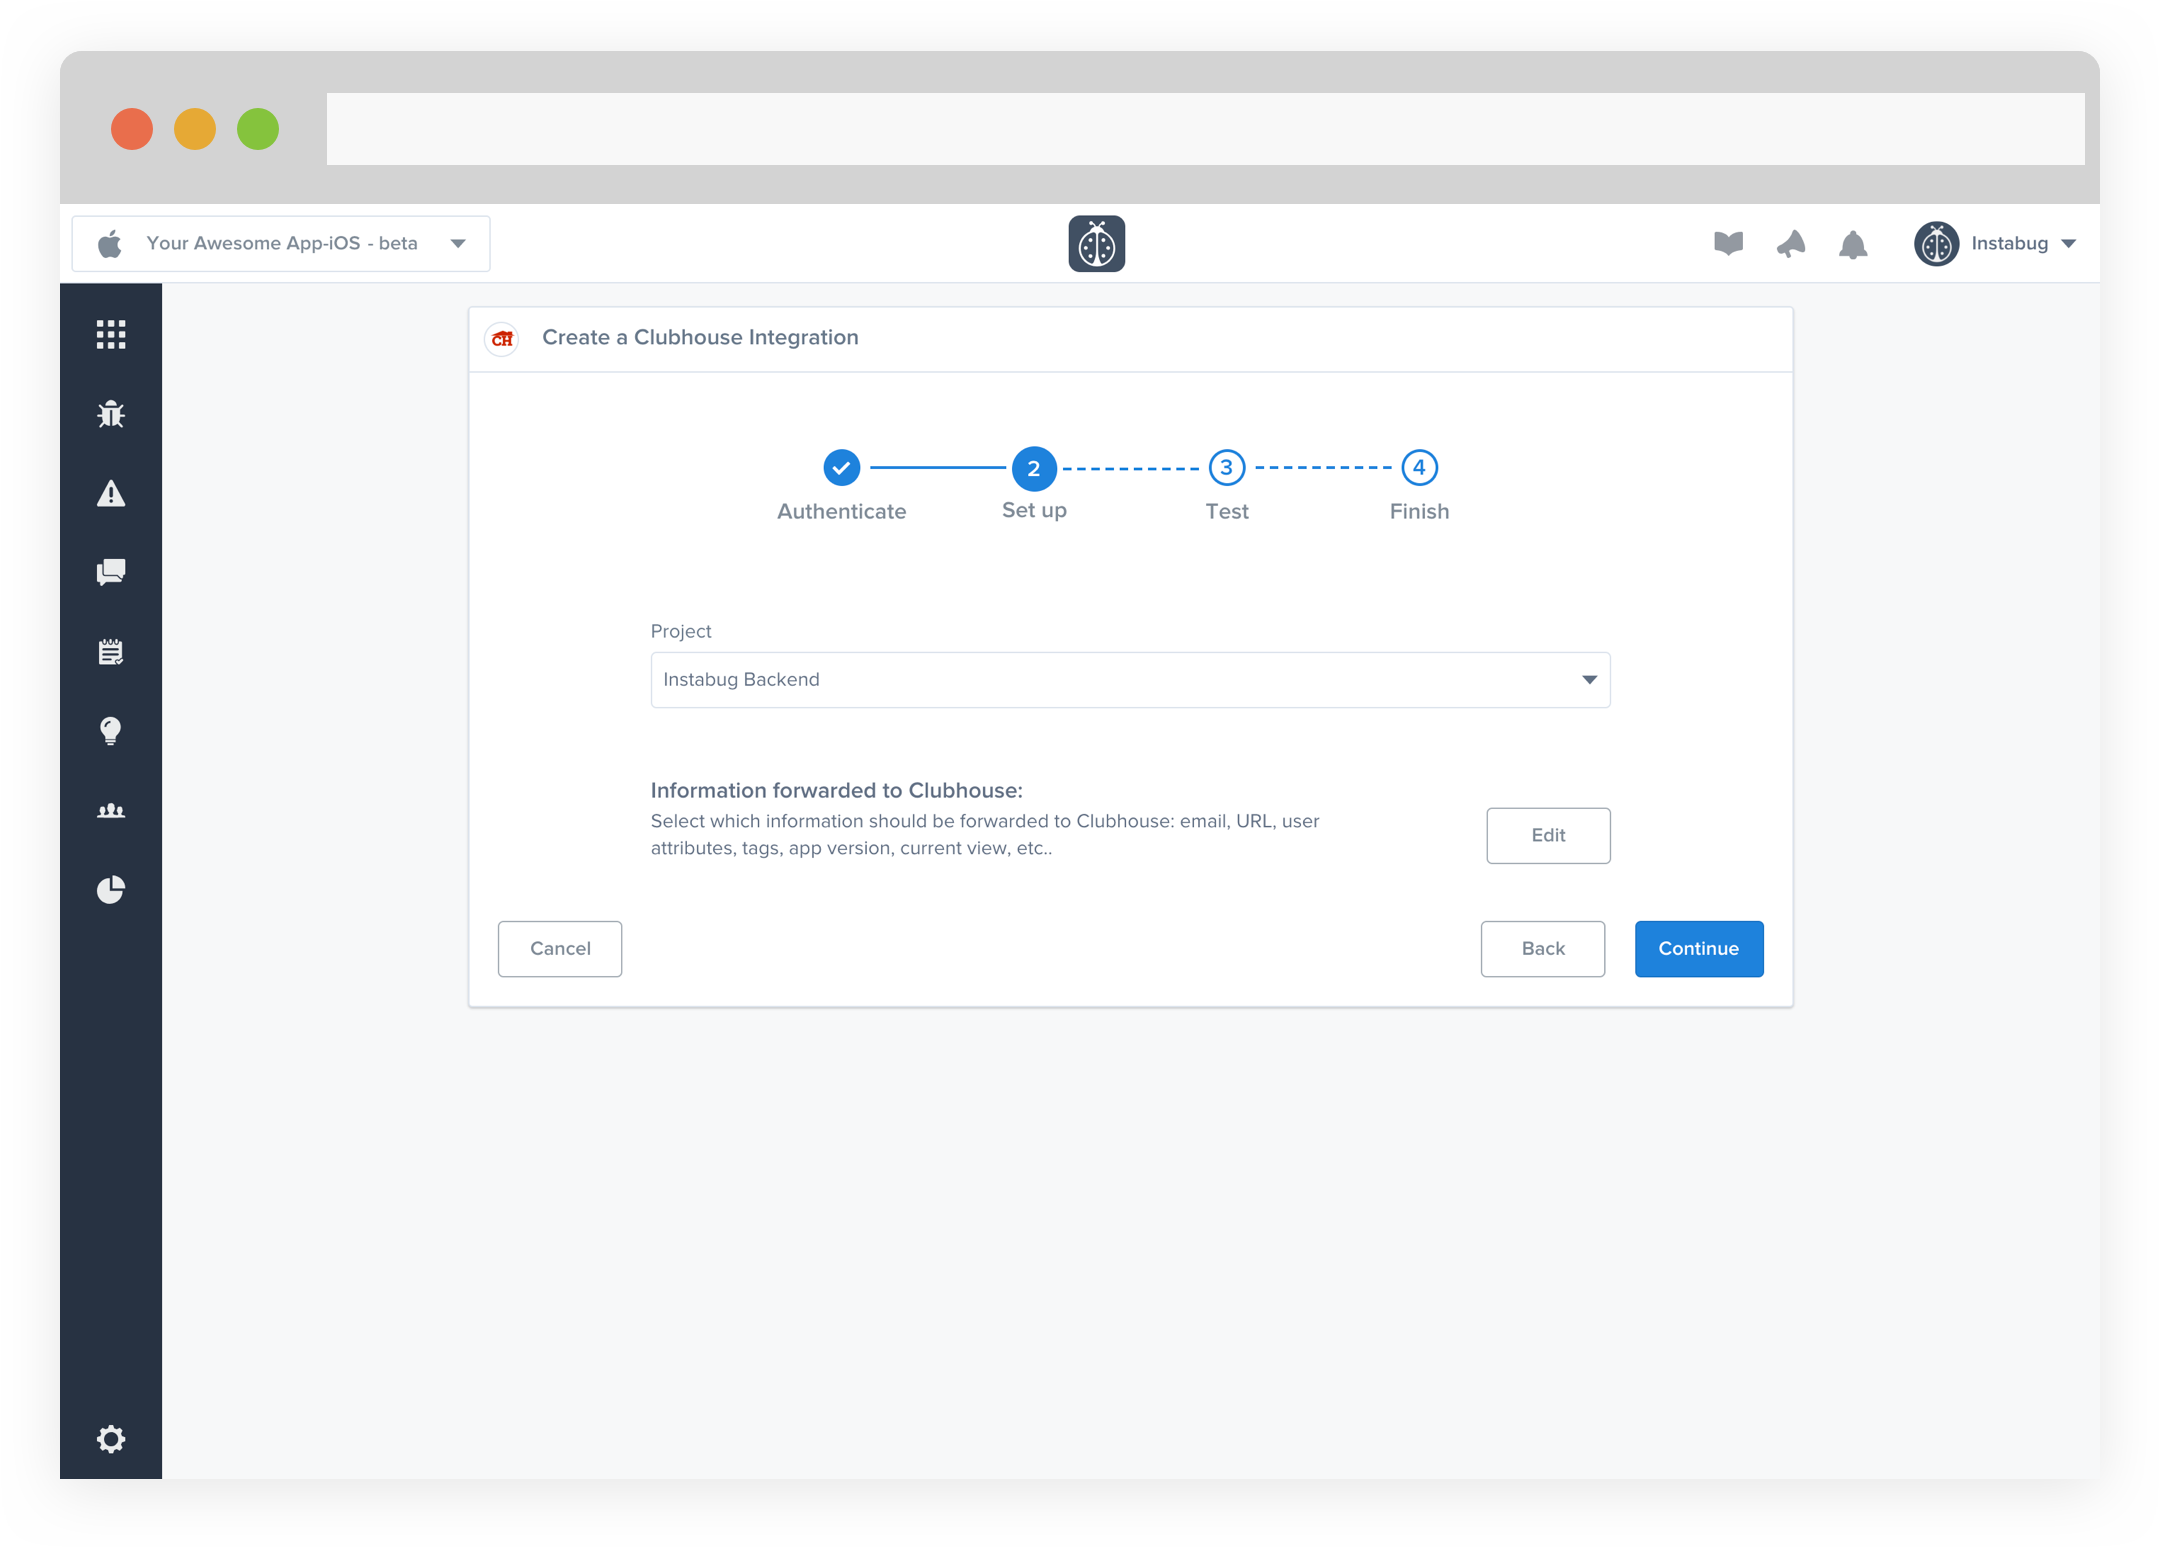
- At this point, we just need to test your integration so that we're sure everything is working smoothly.
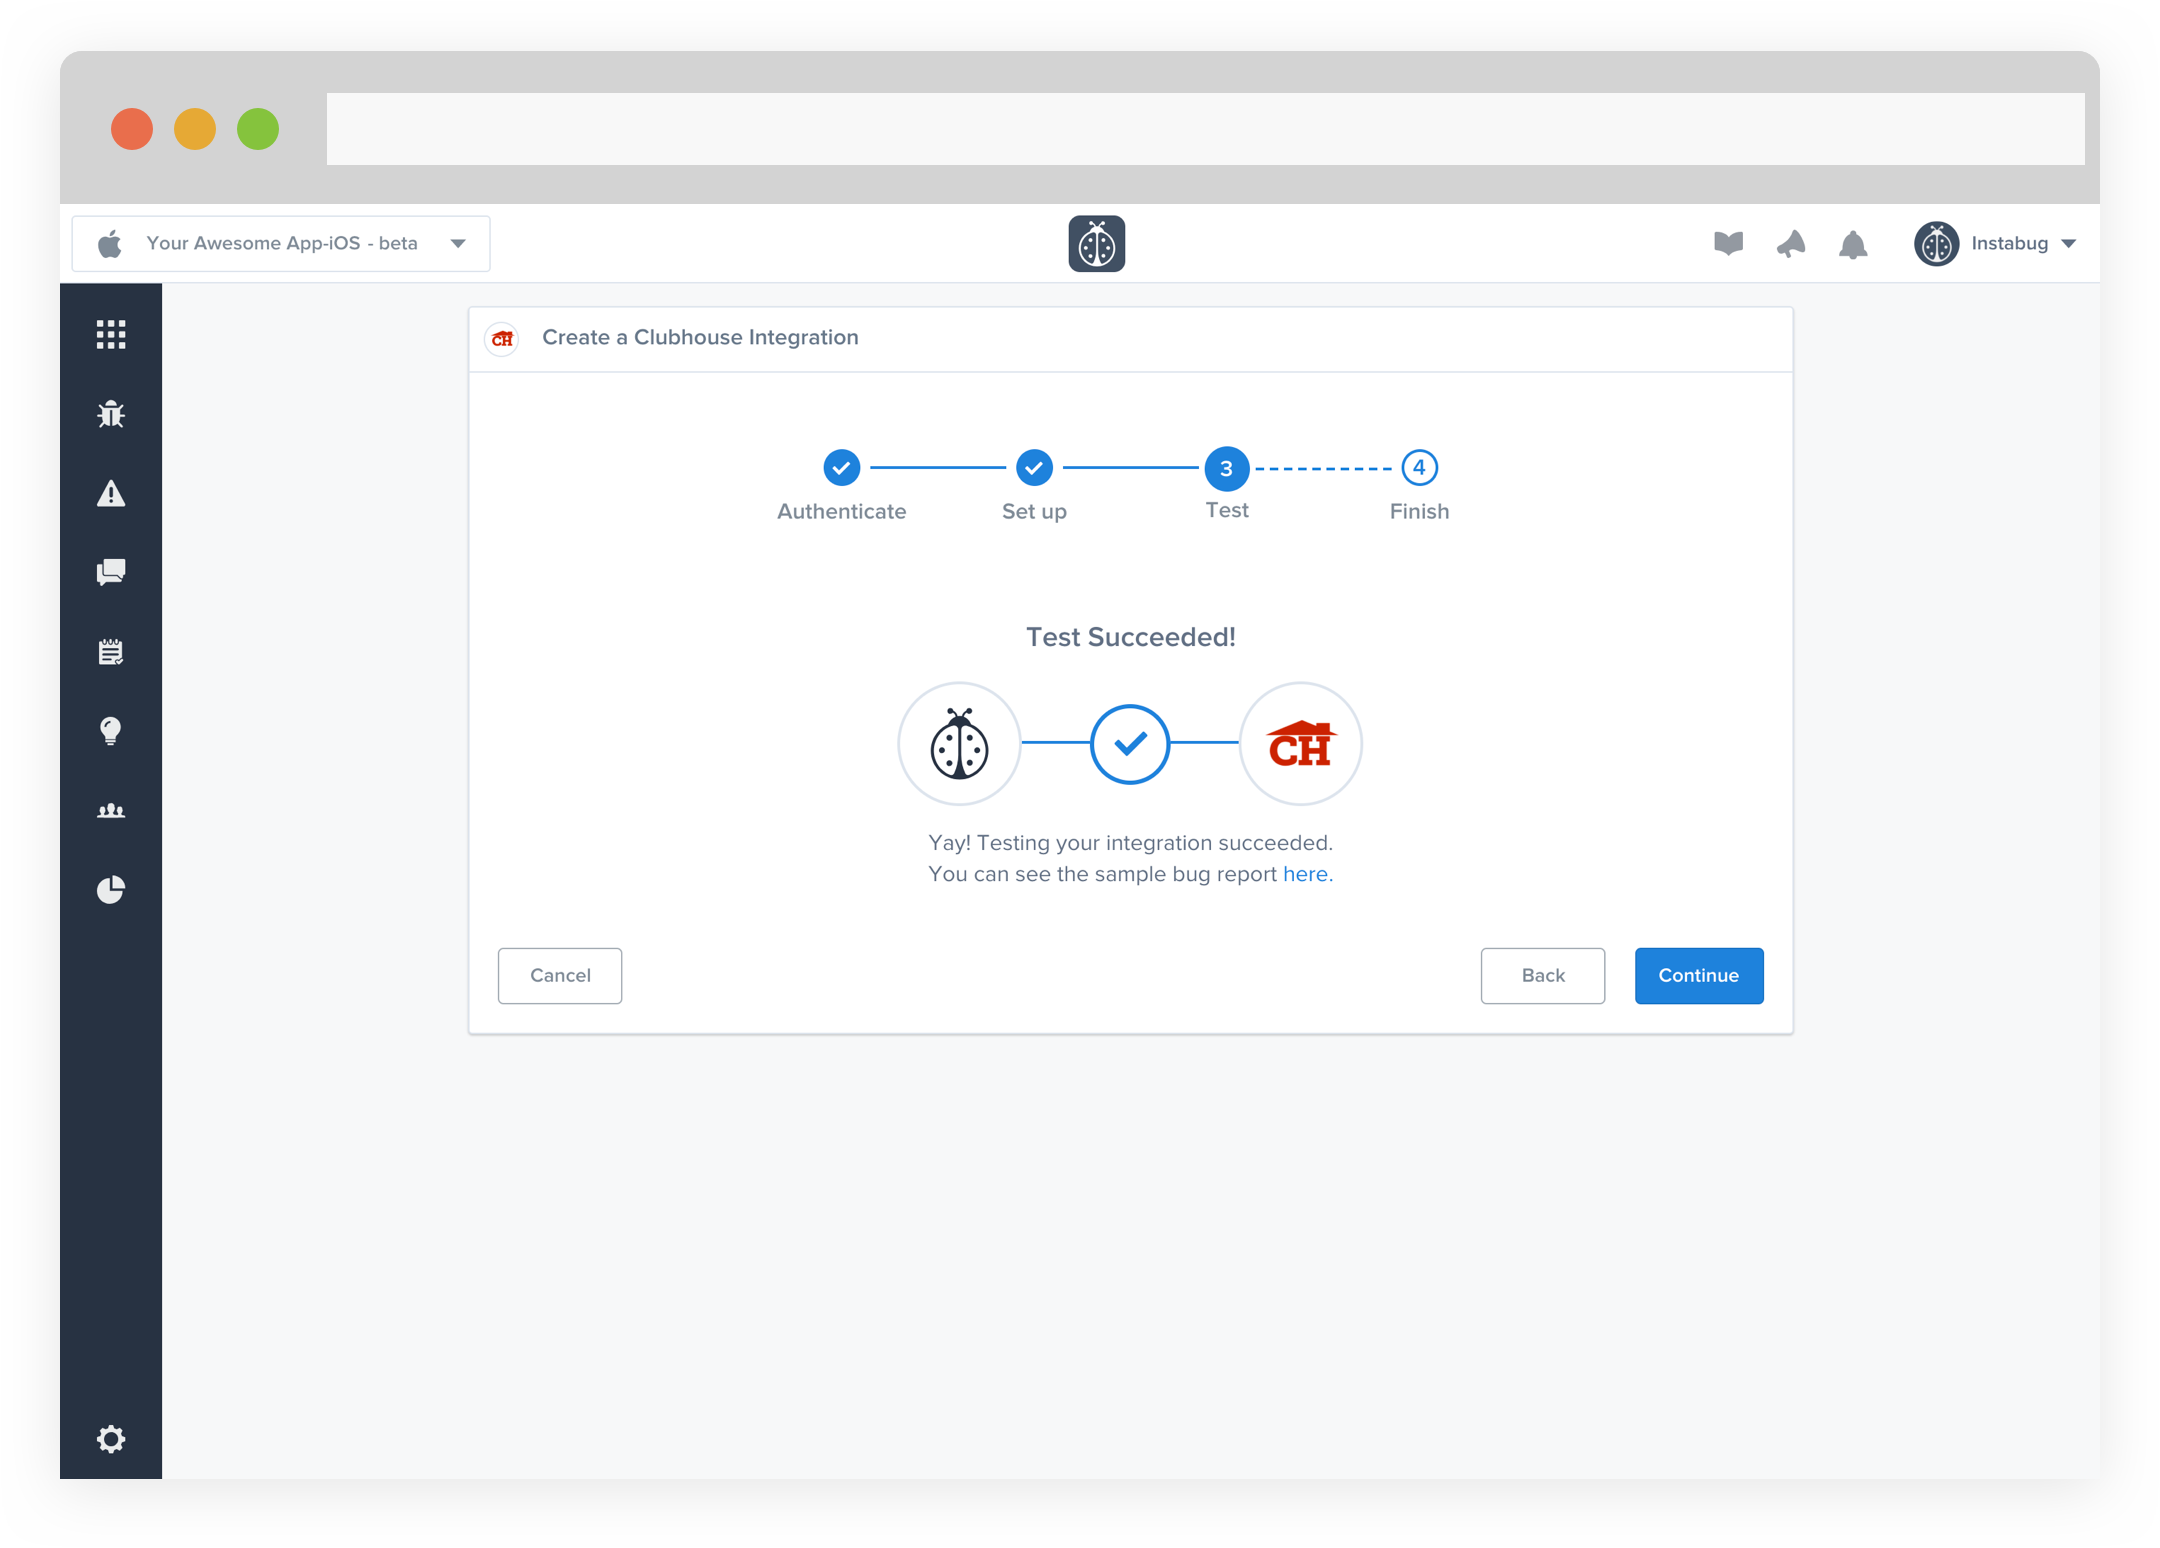
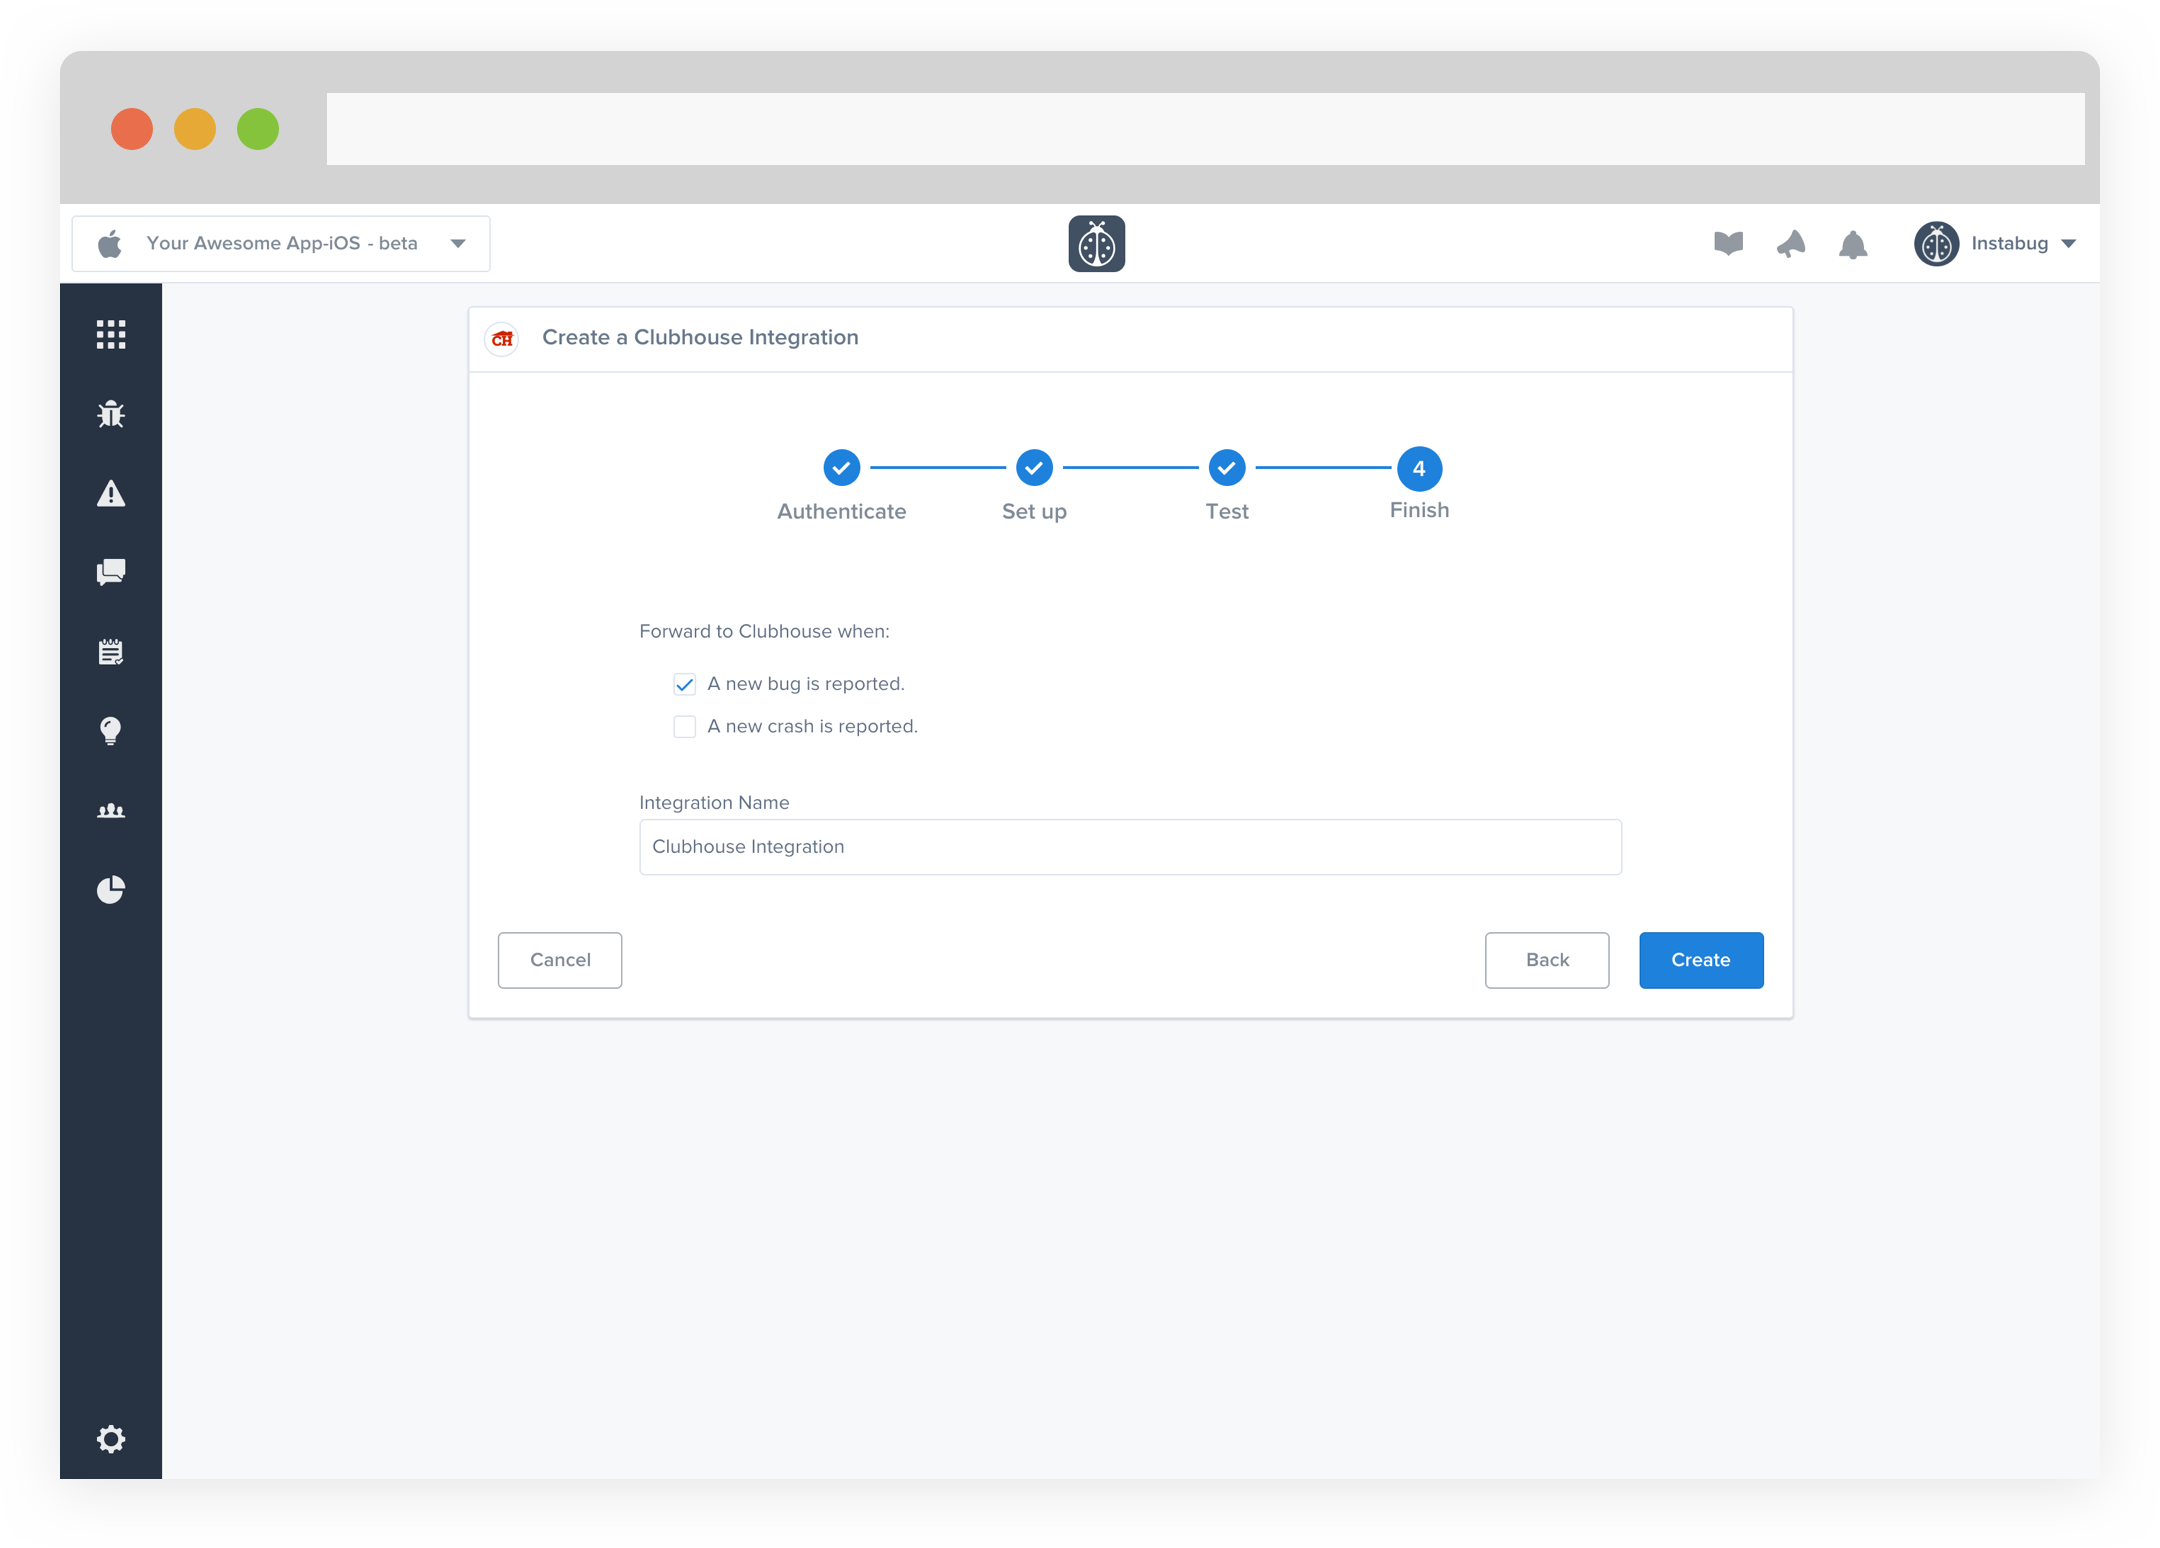
- All done! You're integration is now set-up and ready to go. From this final page, you can allow automatic forwarding (don't worry though, this can be reconfigured at any time!)
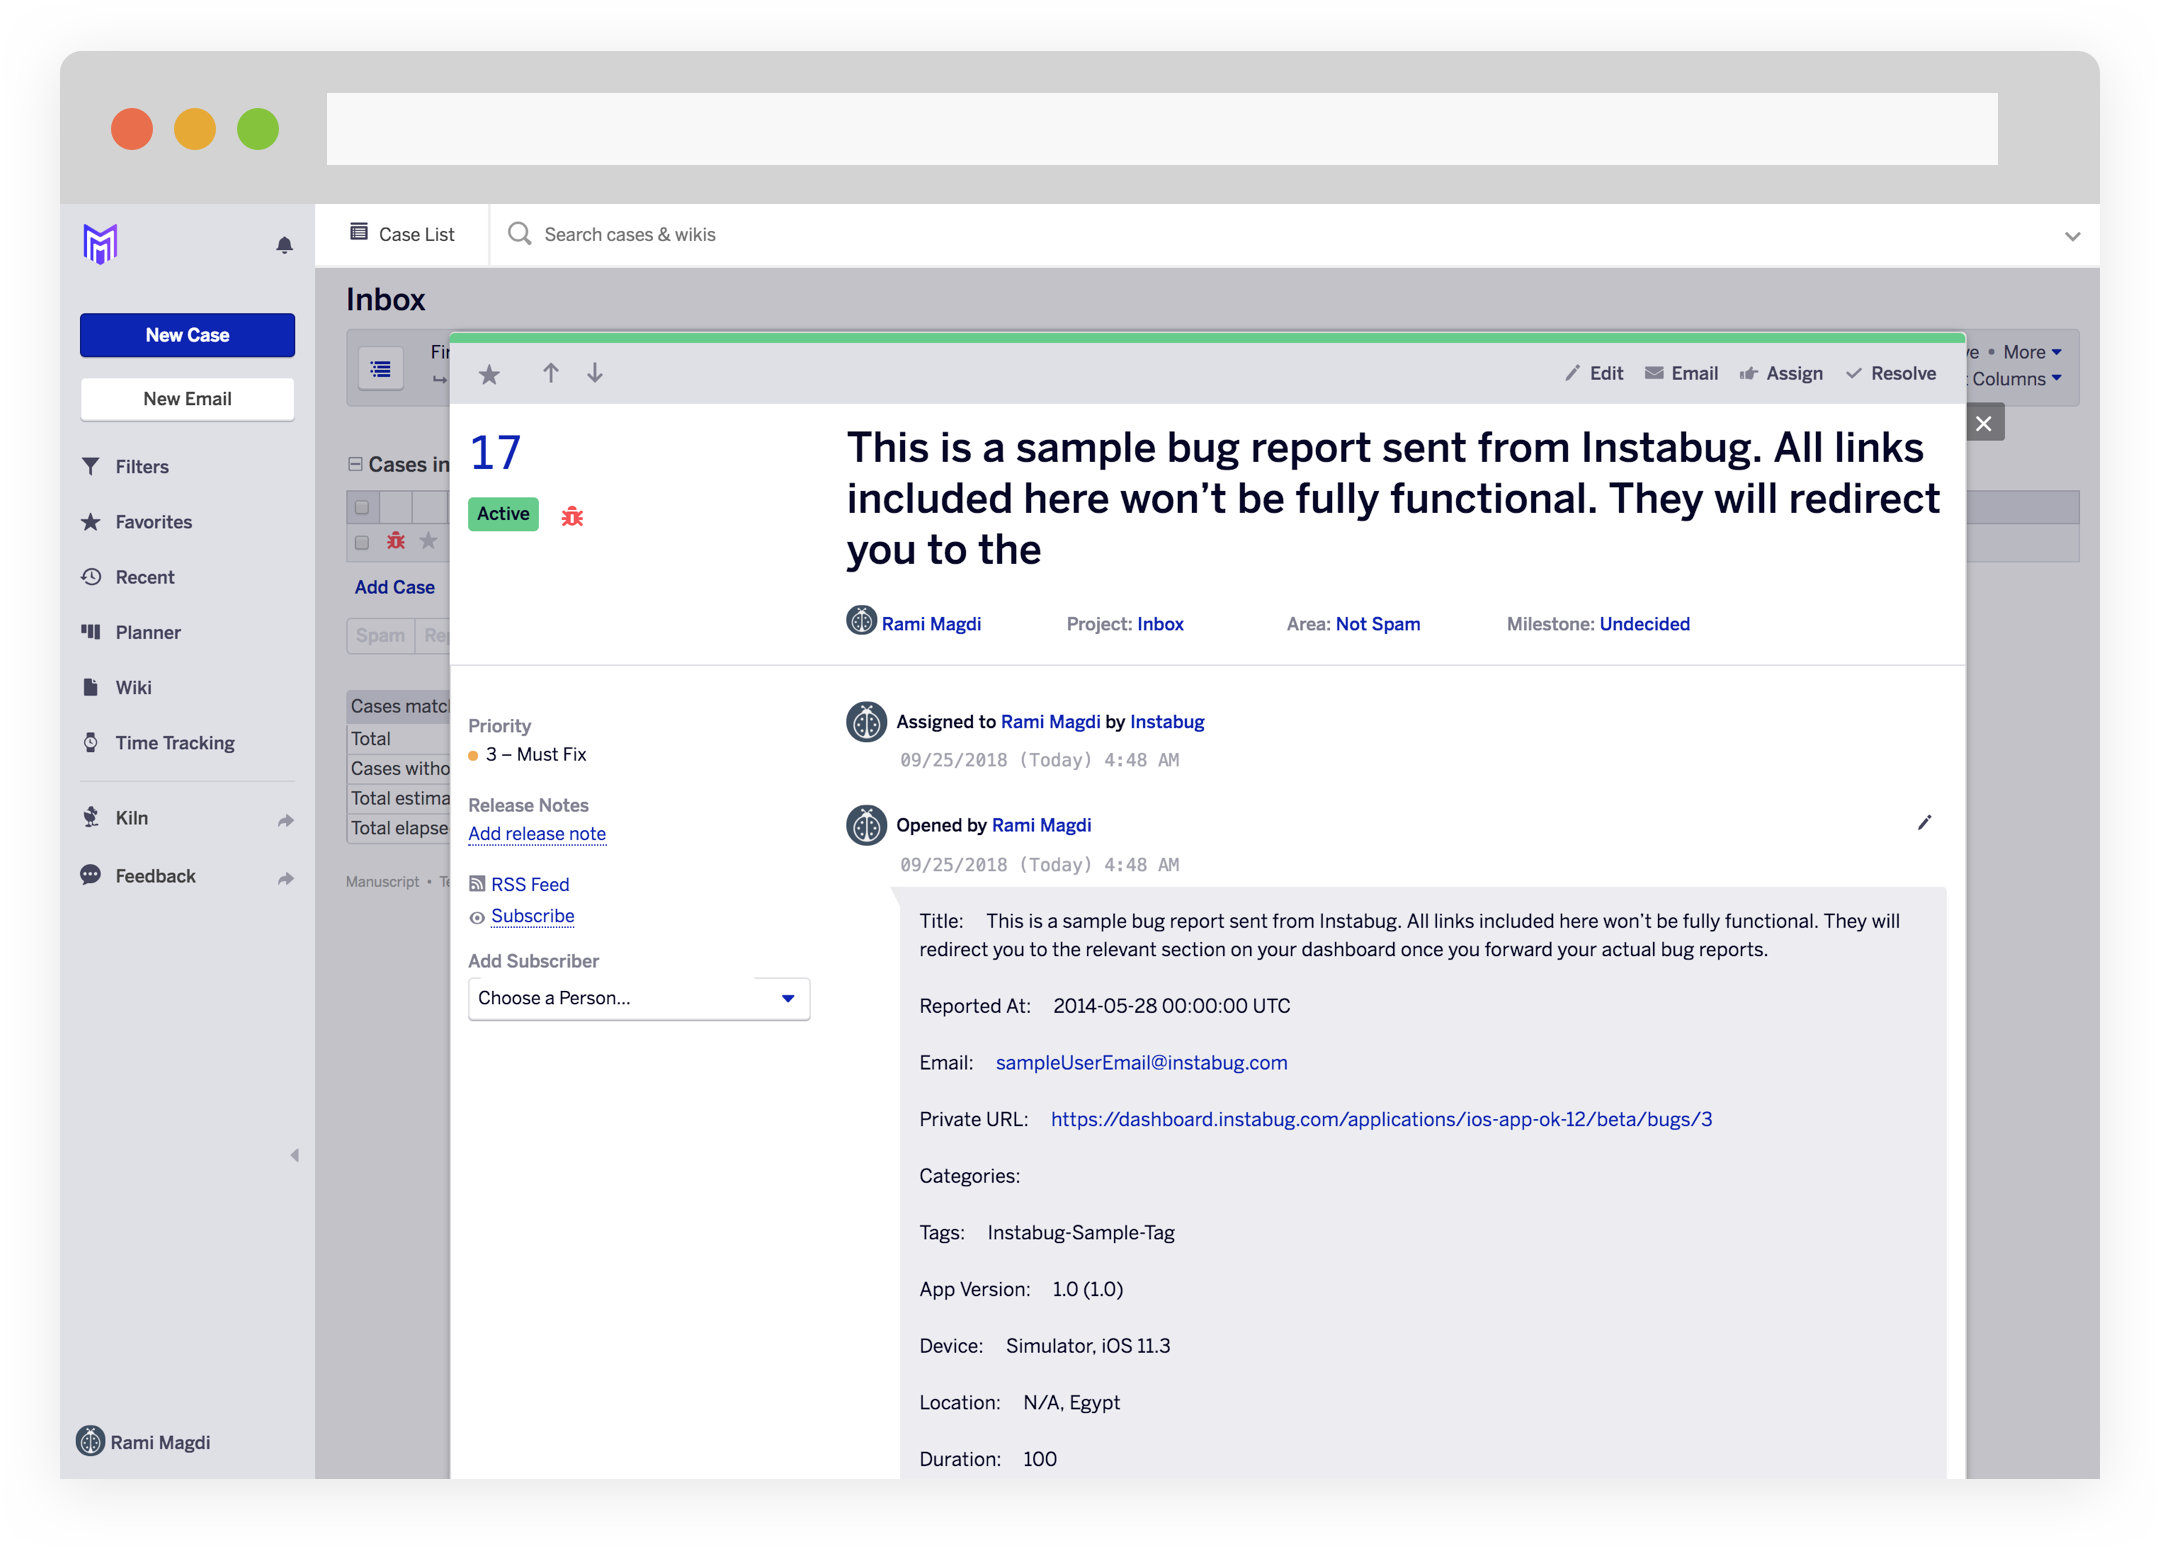
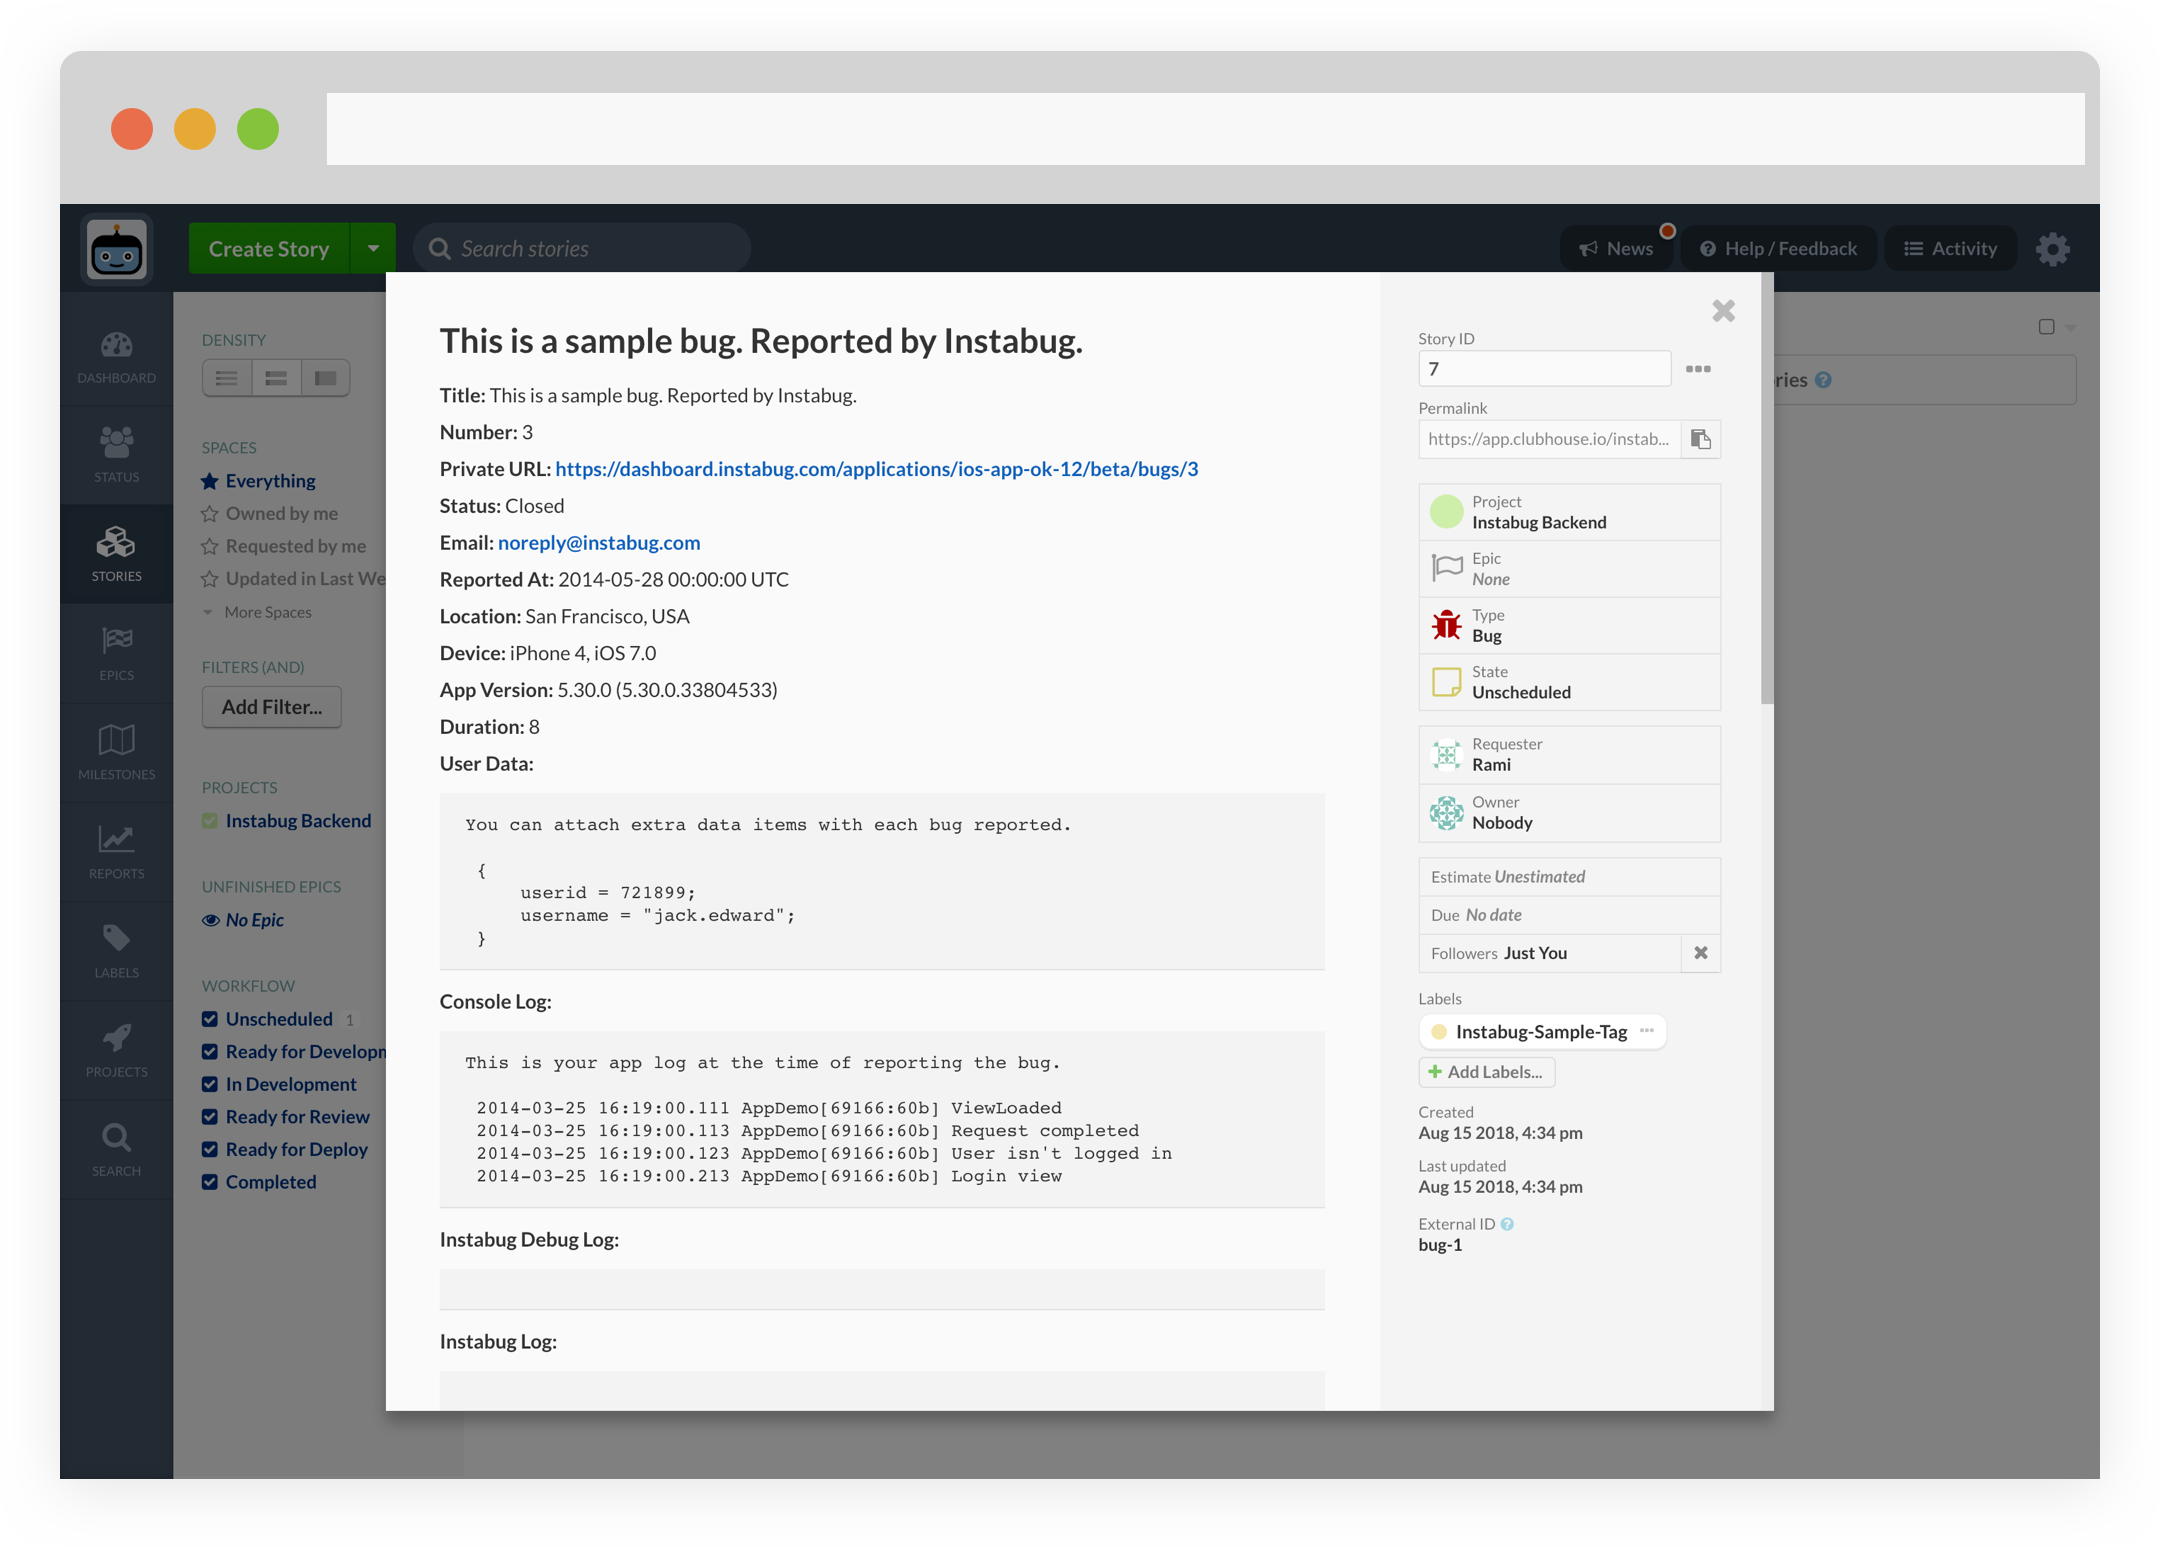
- Issues forwarded to Clubhouse should look something like this.
Phabricator
You can integrate Instabug with Phabricator to forward all your issues to it.
- Enter your User, Host, and Token.
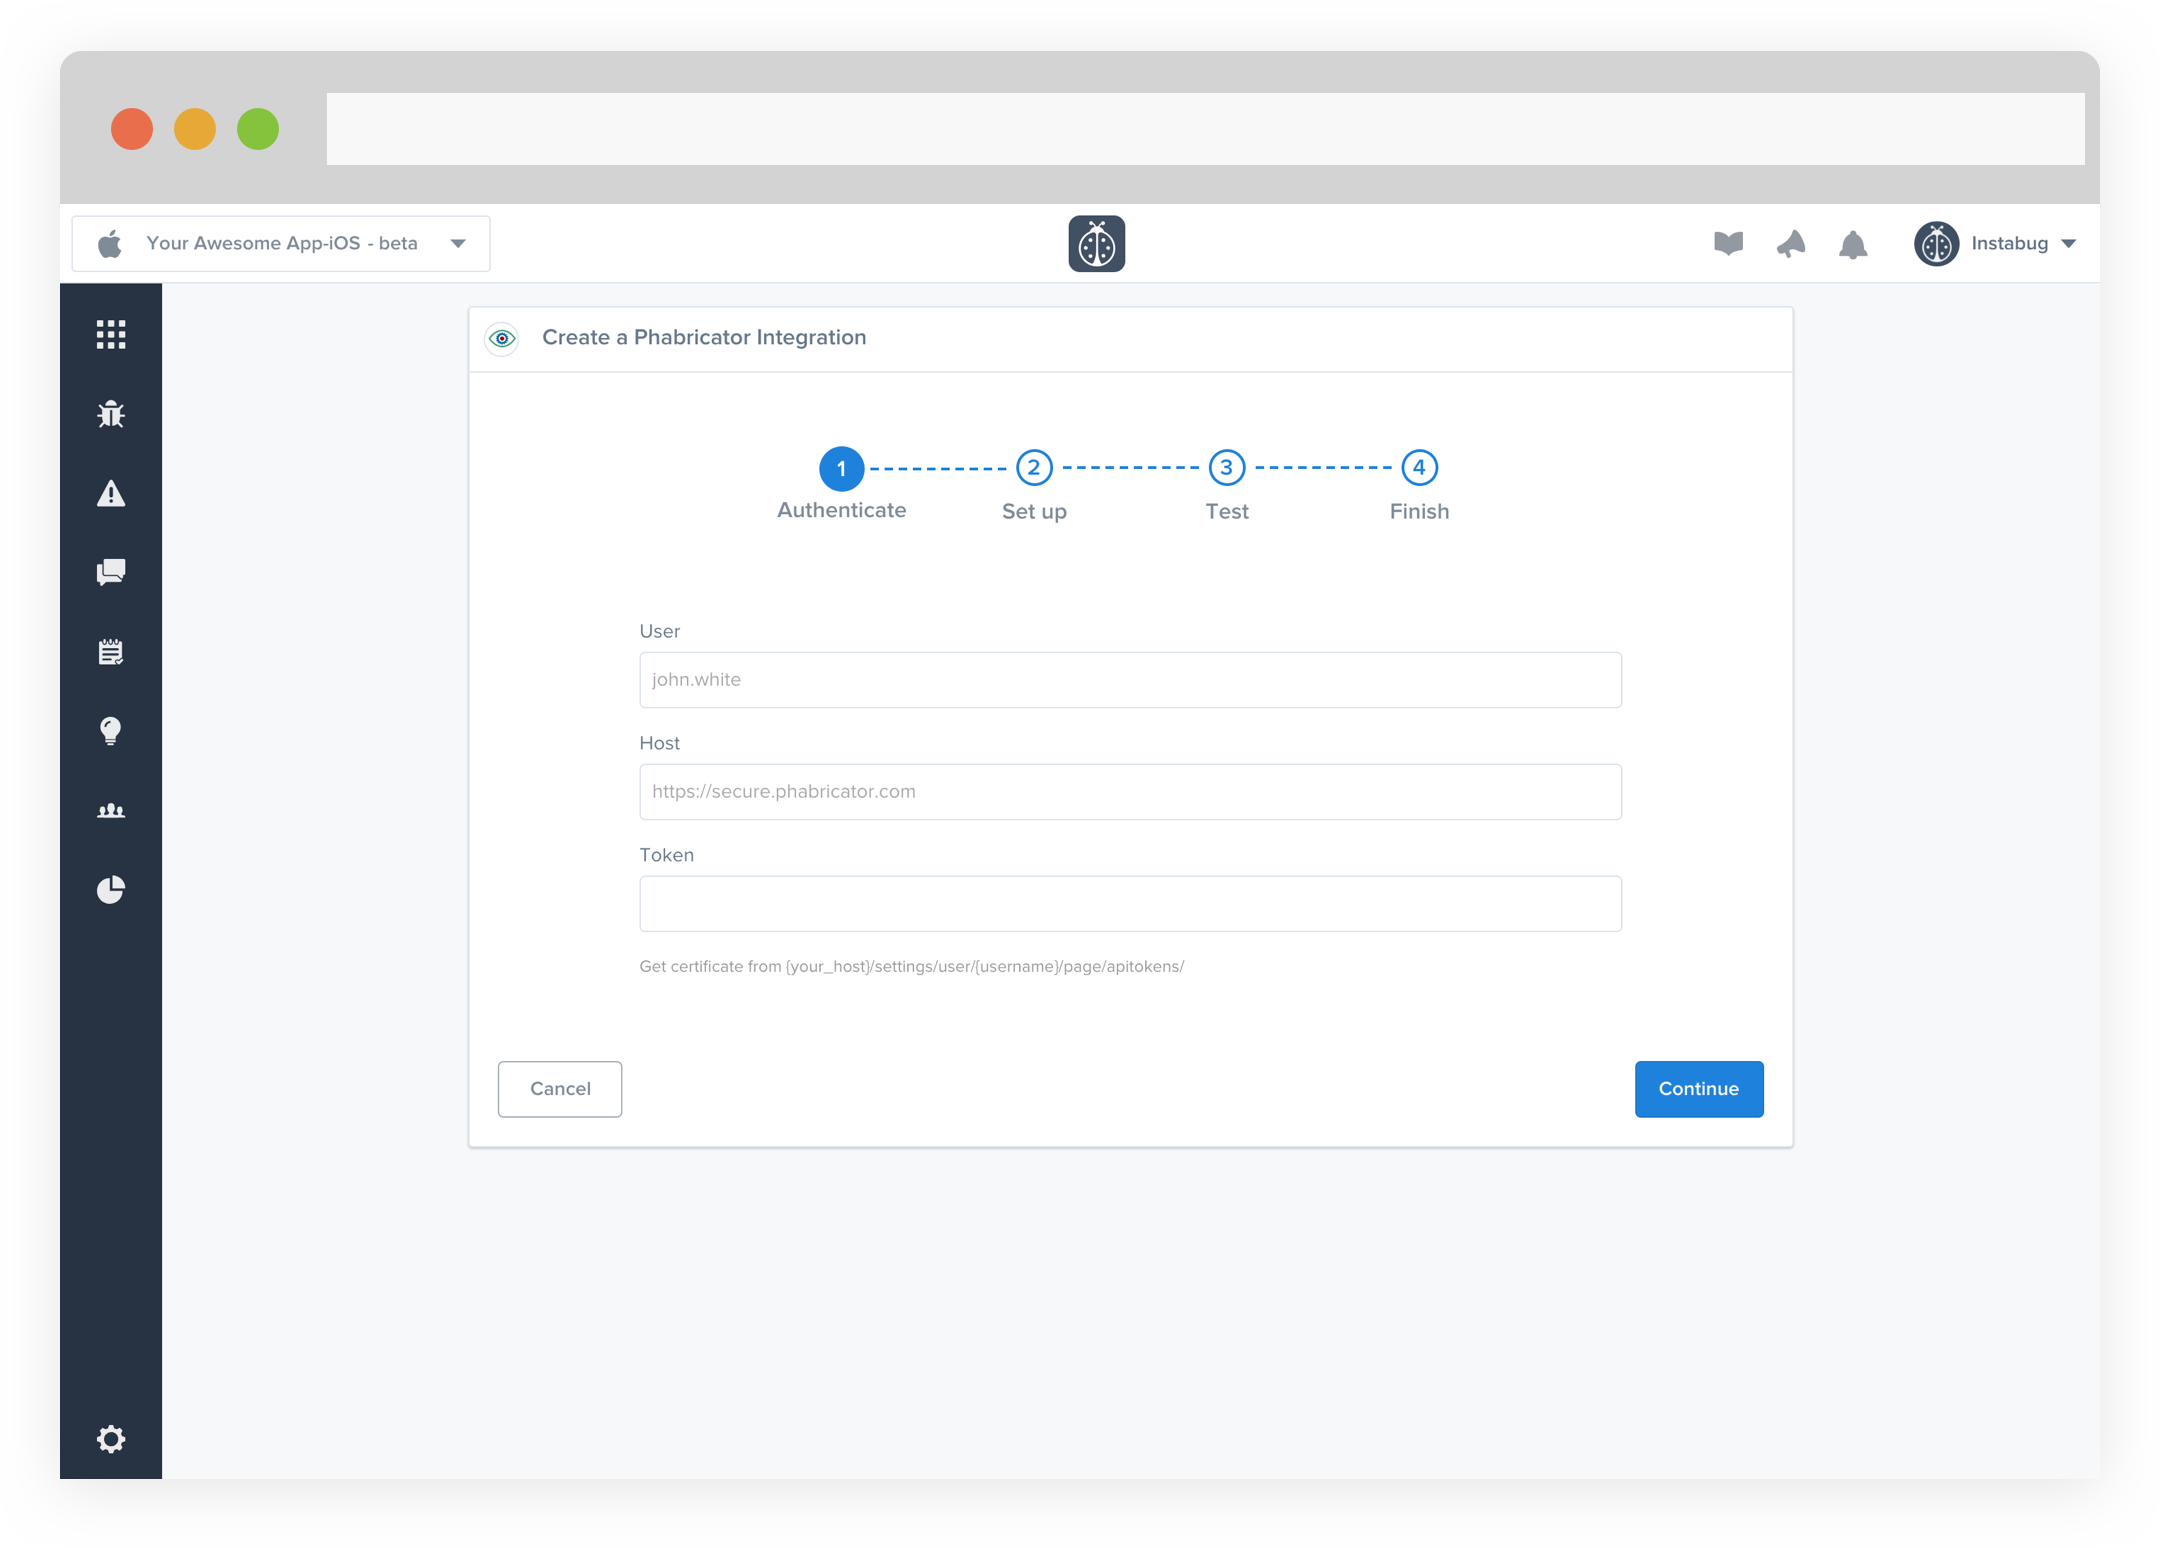
- Choose your Project and Assignee. You can also choose which details get forwarded as well.
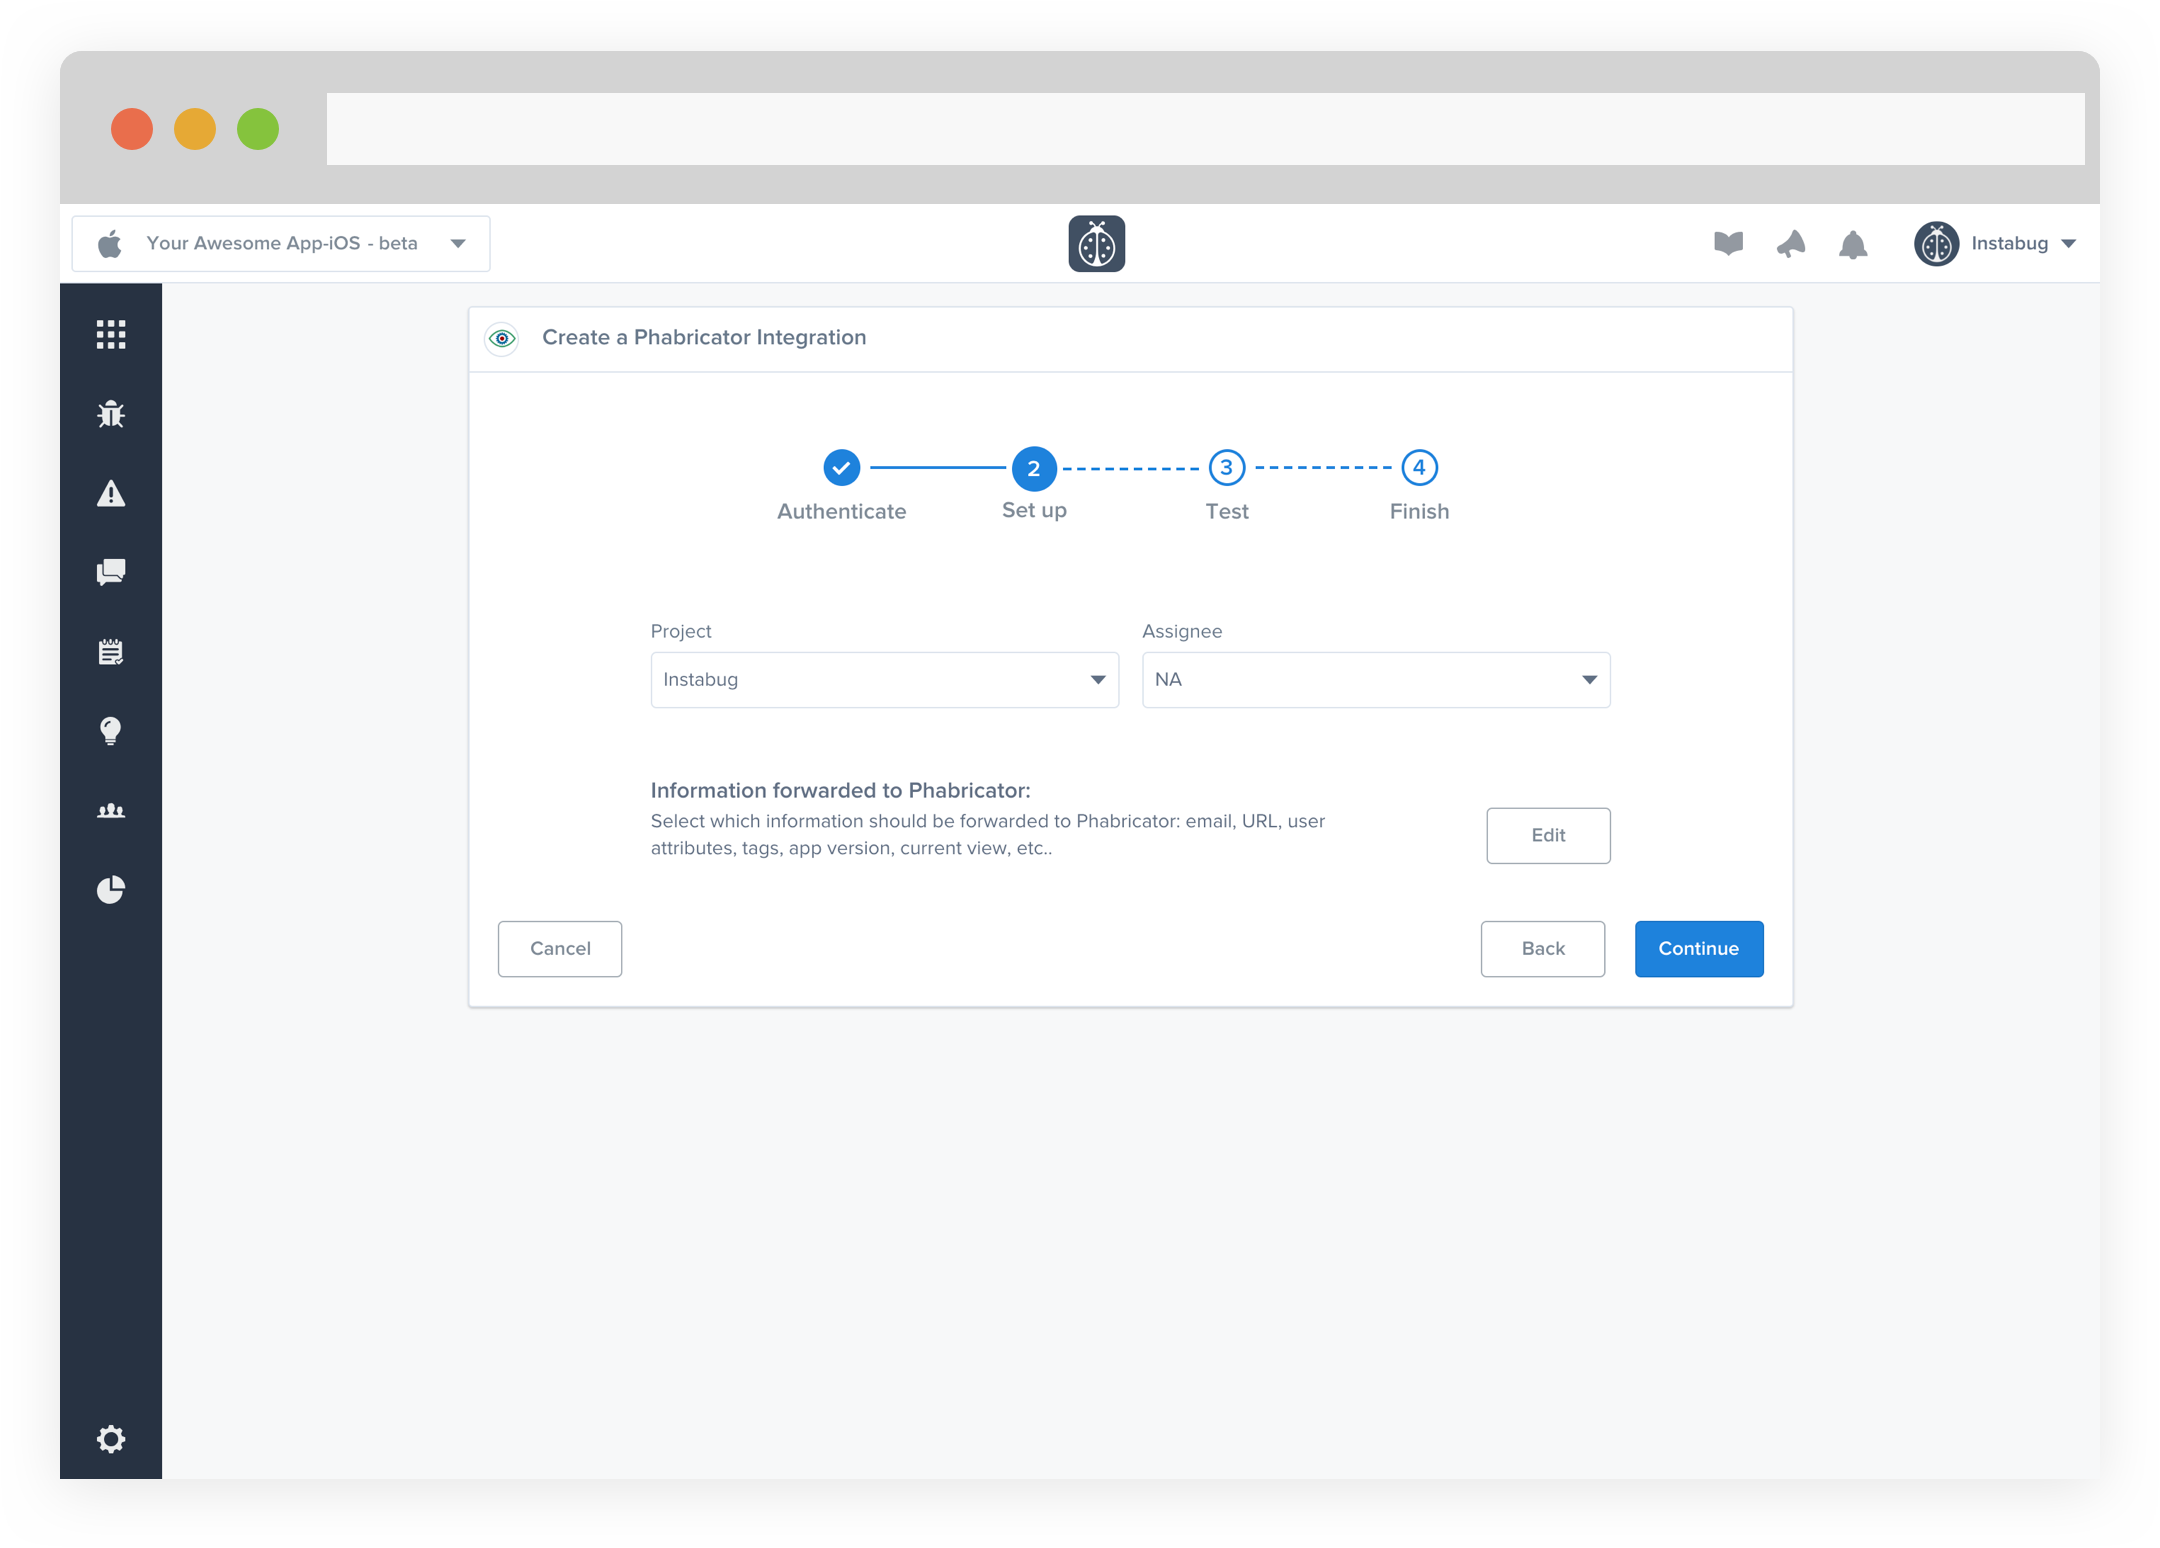
- At this point, we just need to test your integration so that we're sure everything is working smoothly.
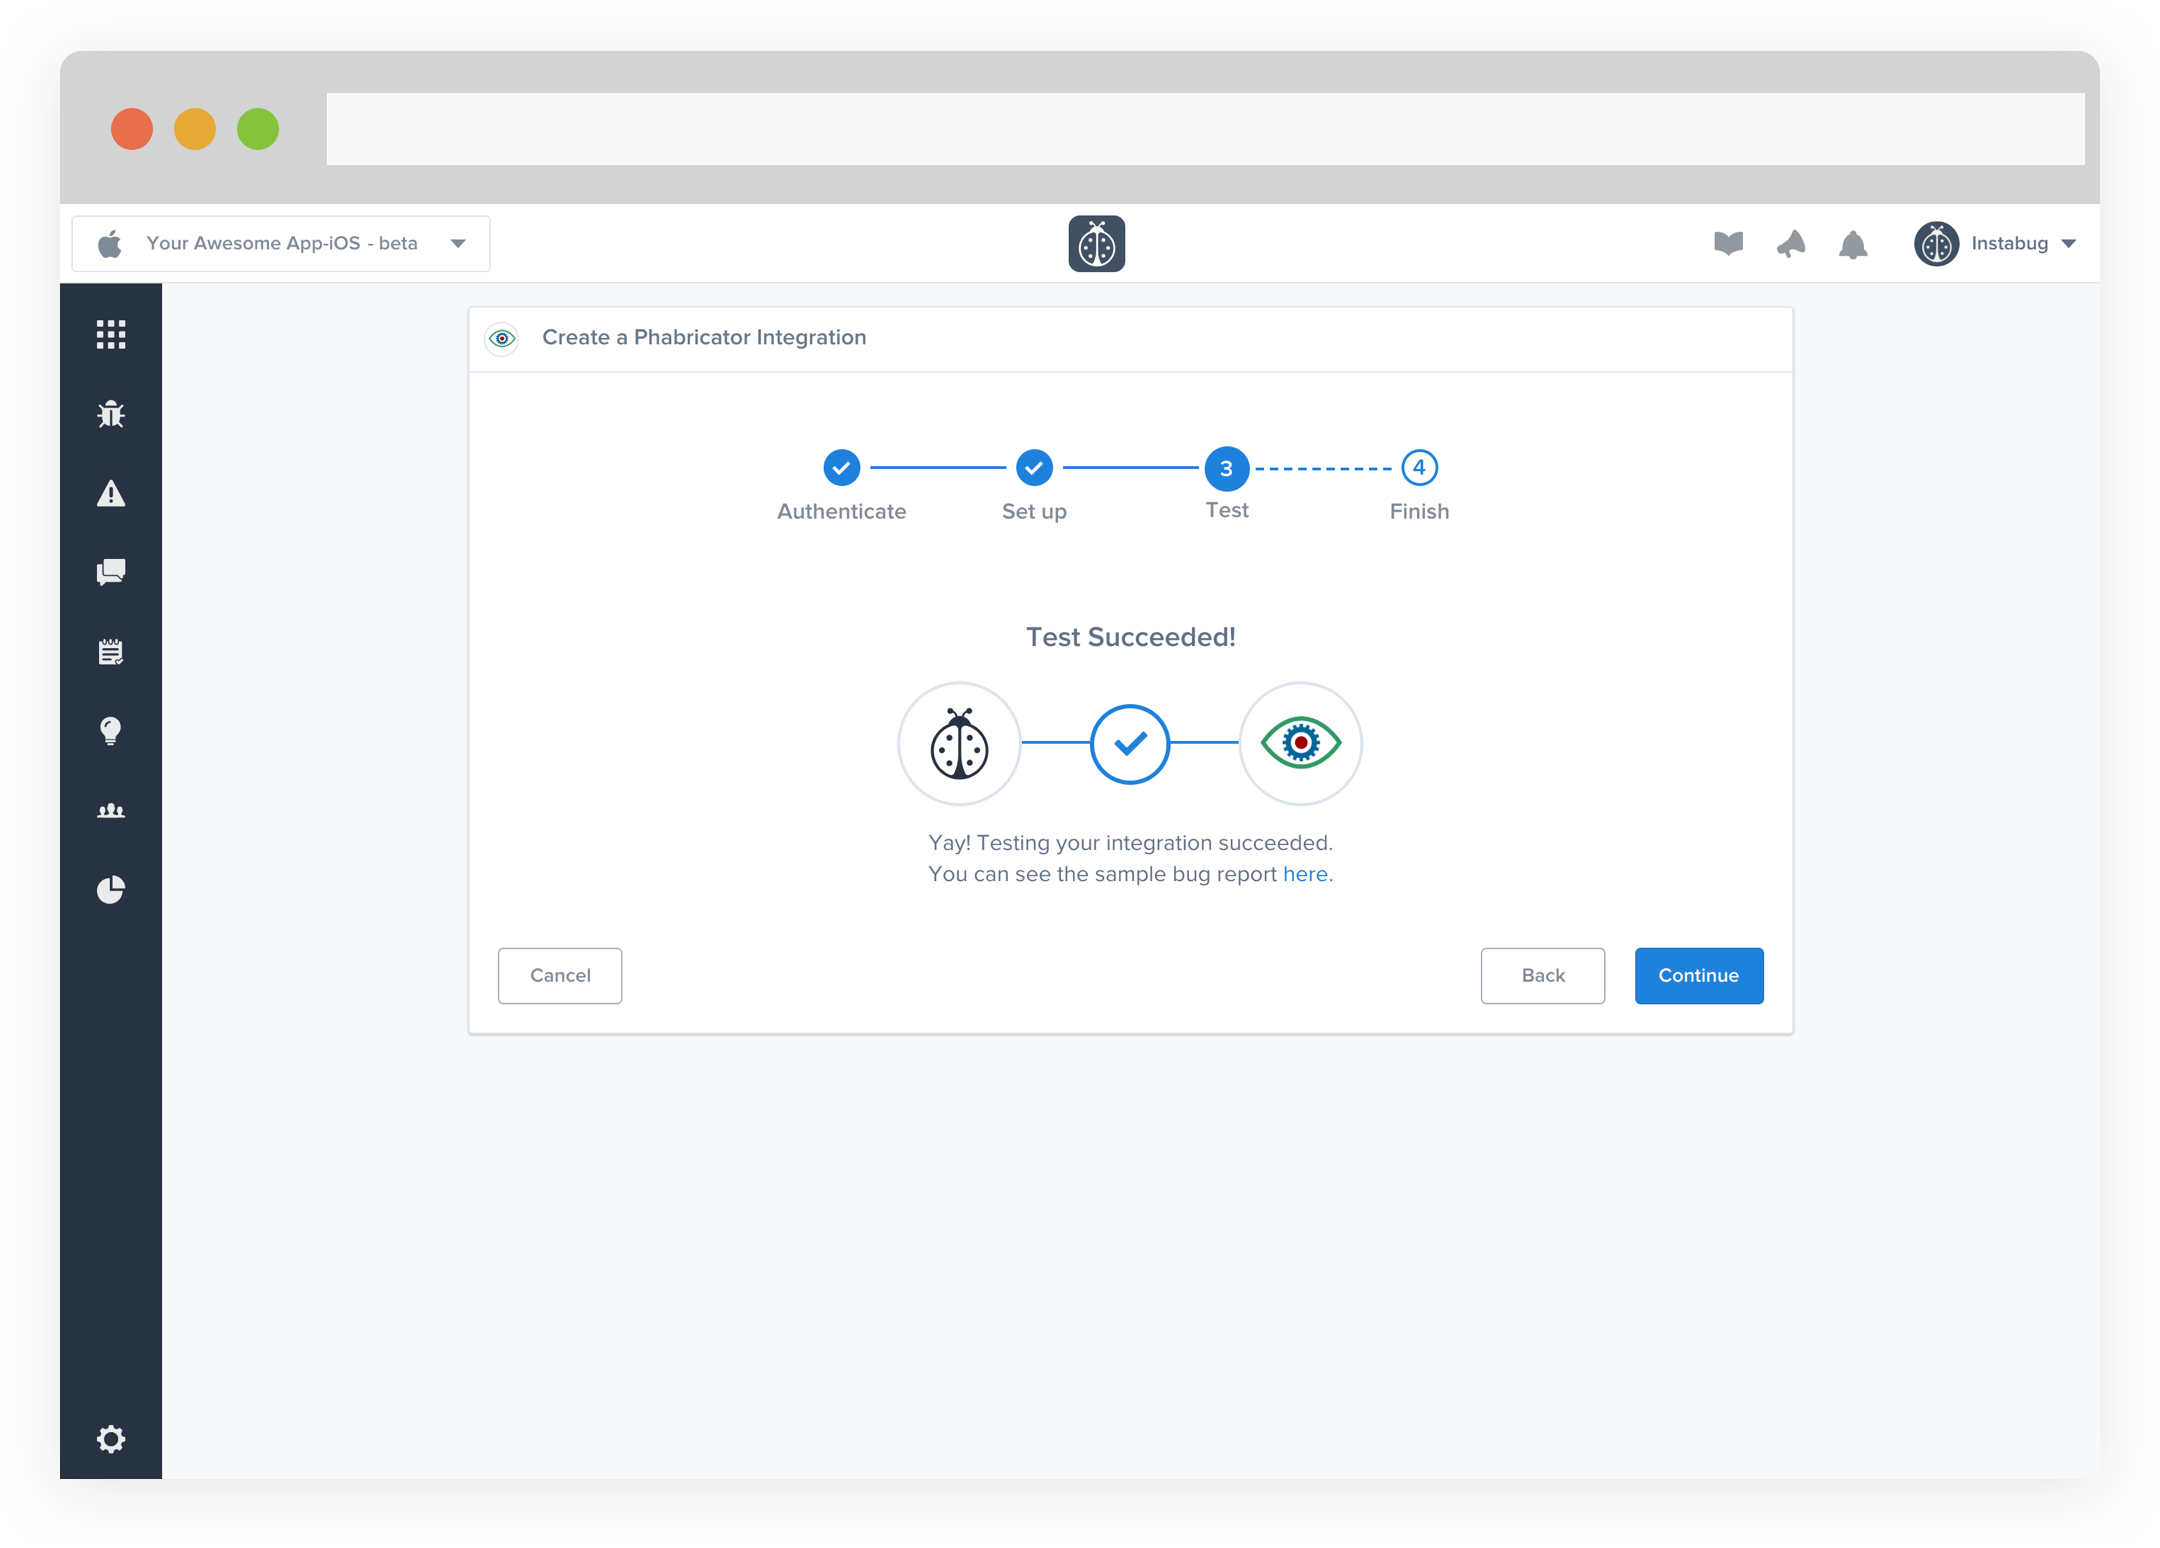
- All done! You're integration is now set-up and ready to go. From this final page, you can allow automatic forwarding (don't worry though, this can be reconfigured at any time!)
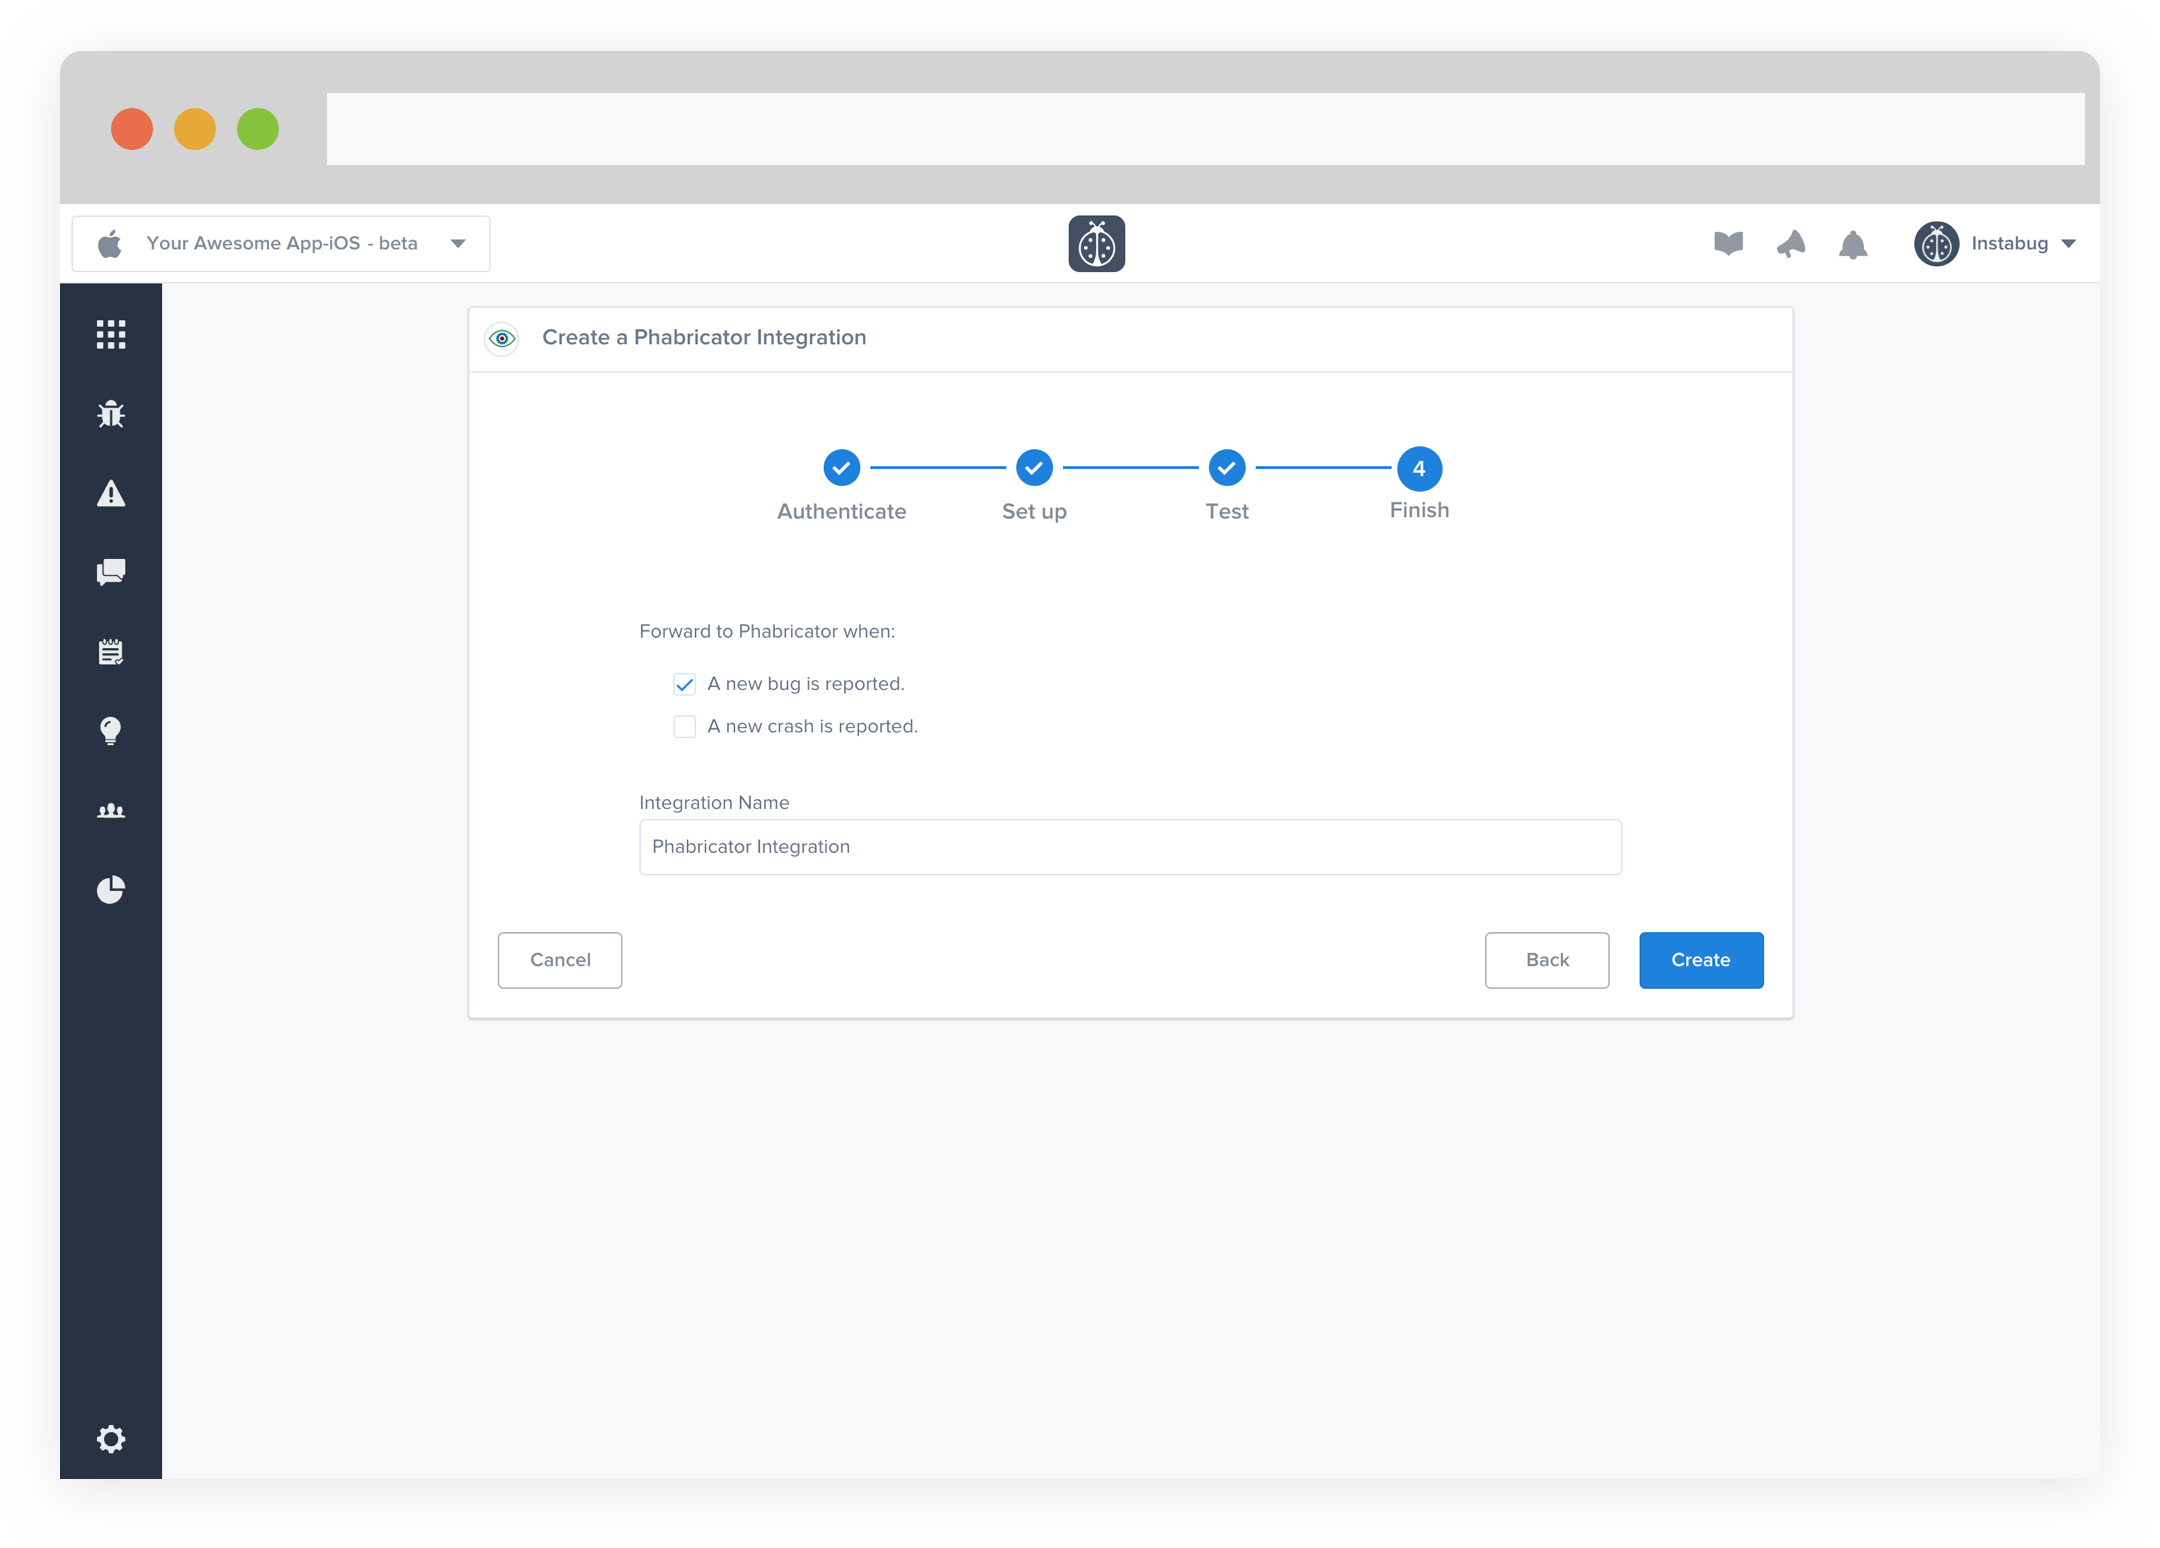
- Issues forwarded to Phabricator should look something like this.
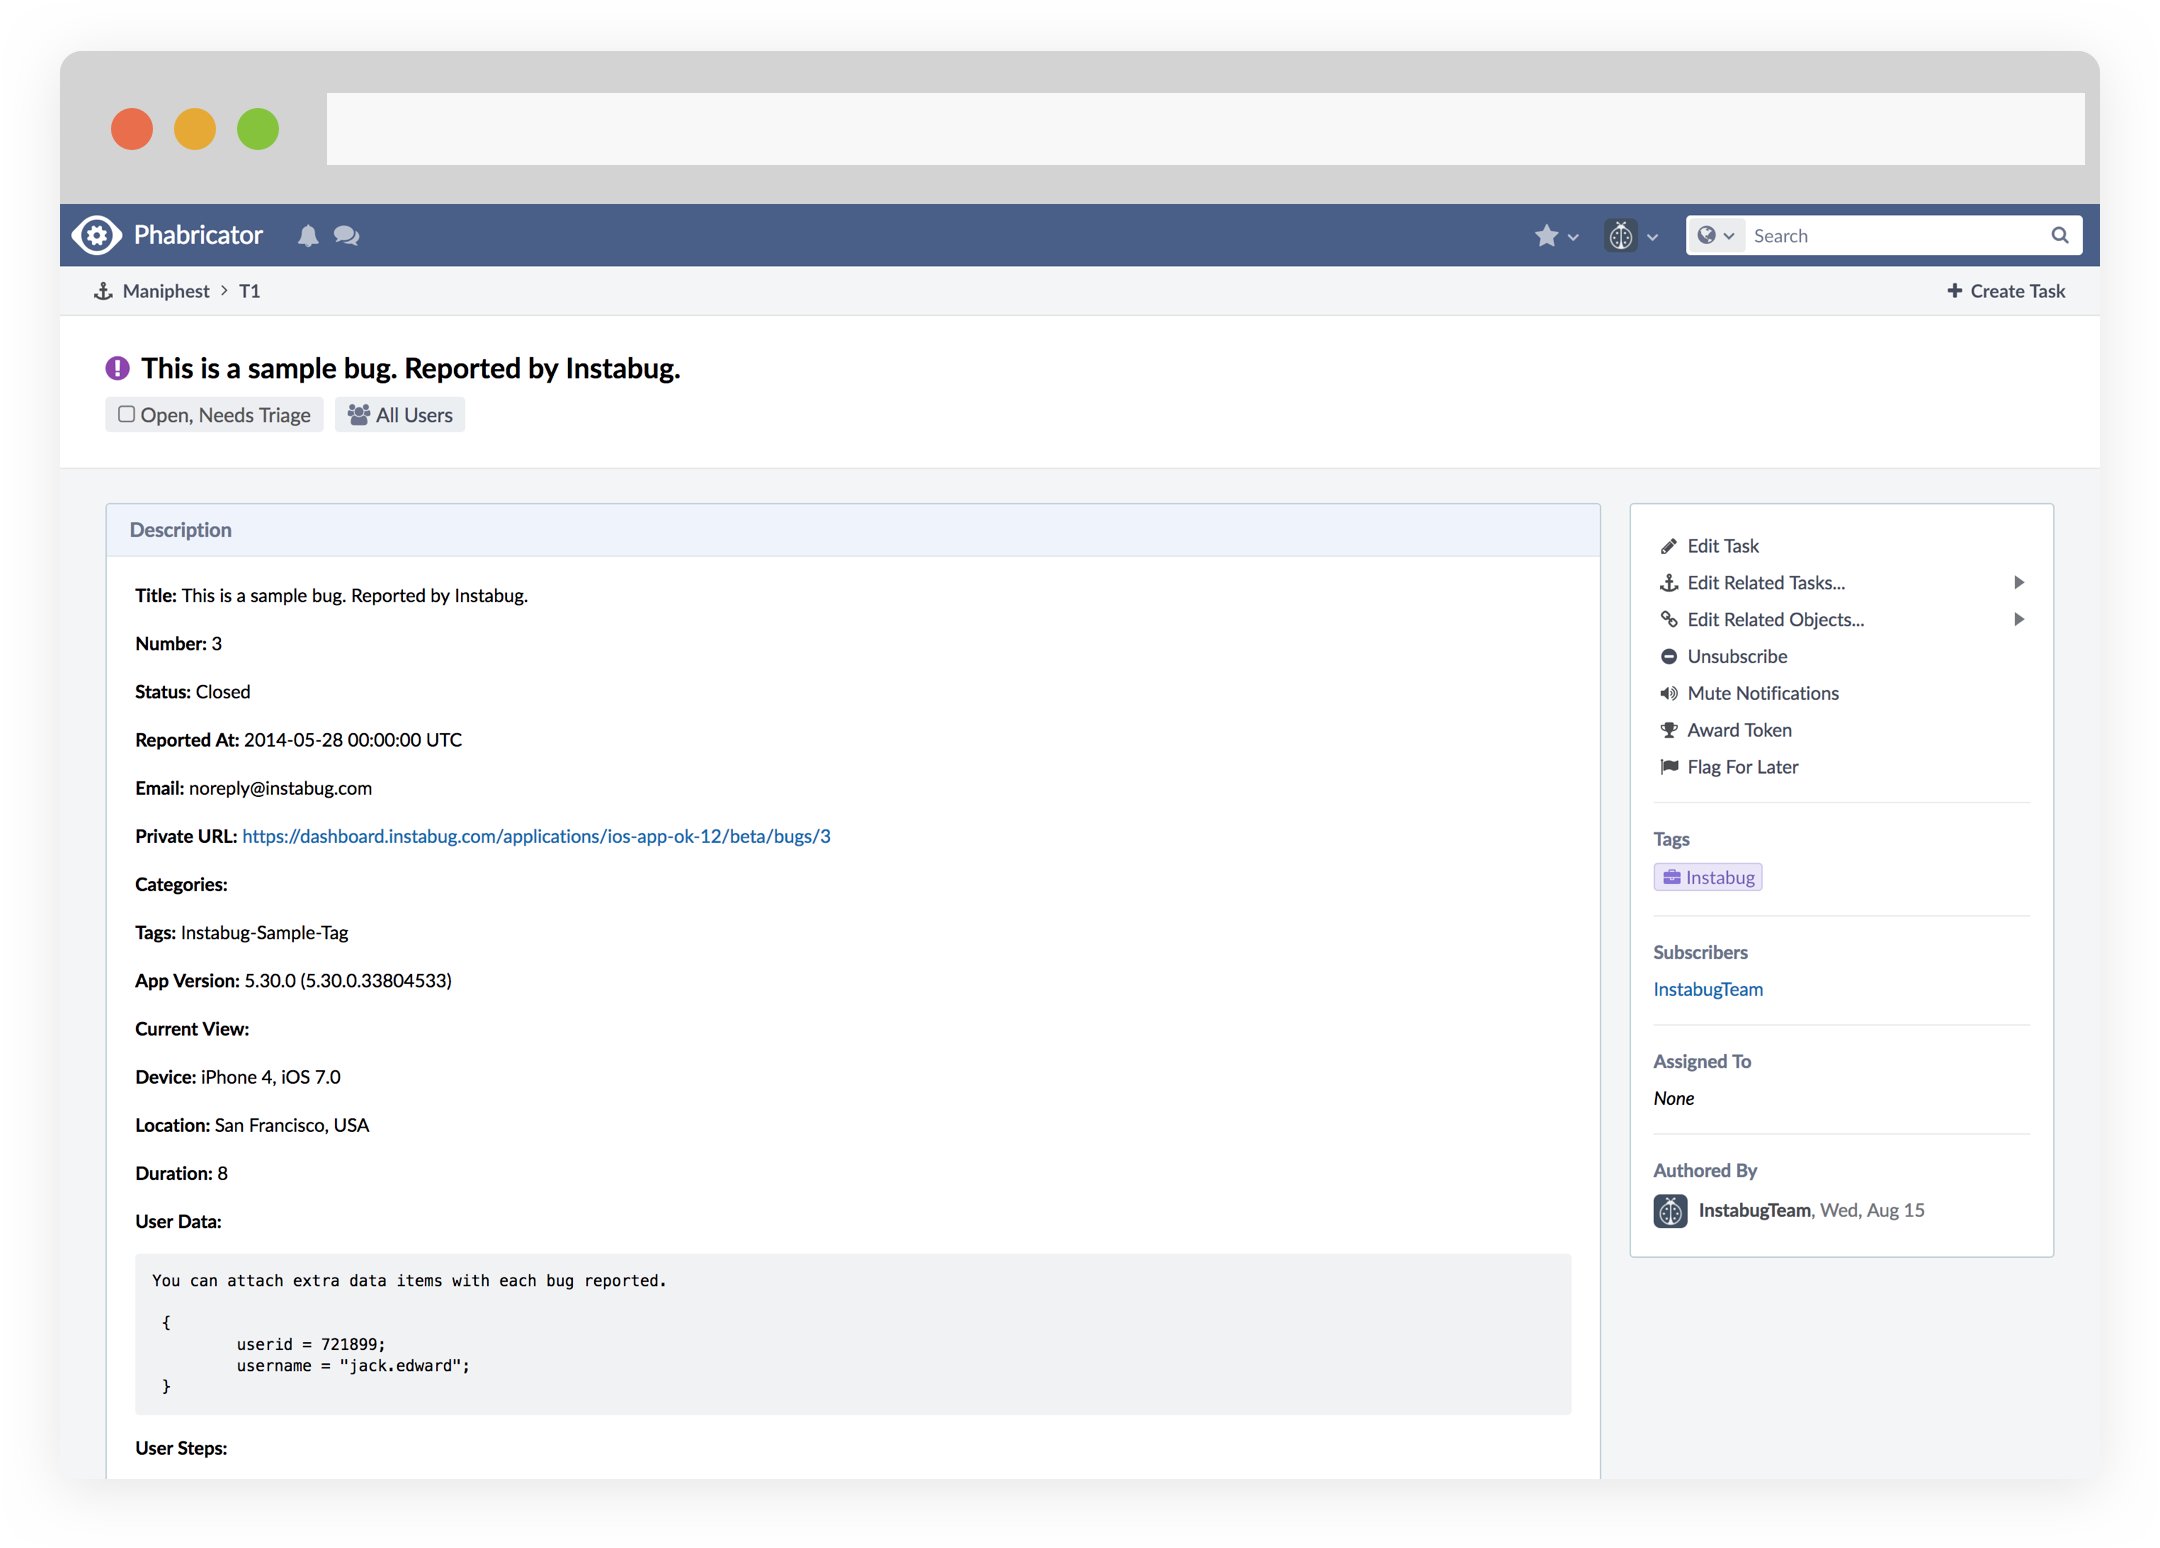
Integrating Instabug with Basecamp helps your team receive all the details they need about issues reported by testers and users from your mobile app using our SDK.
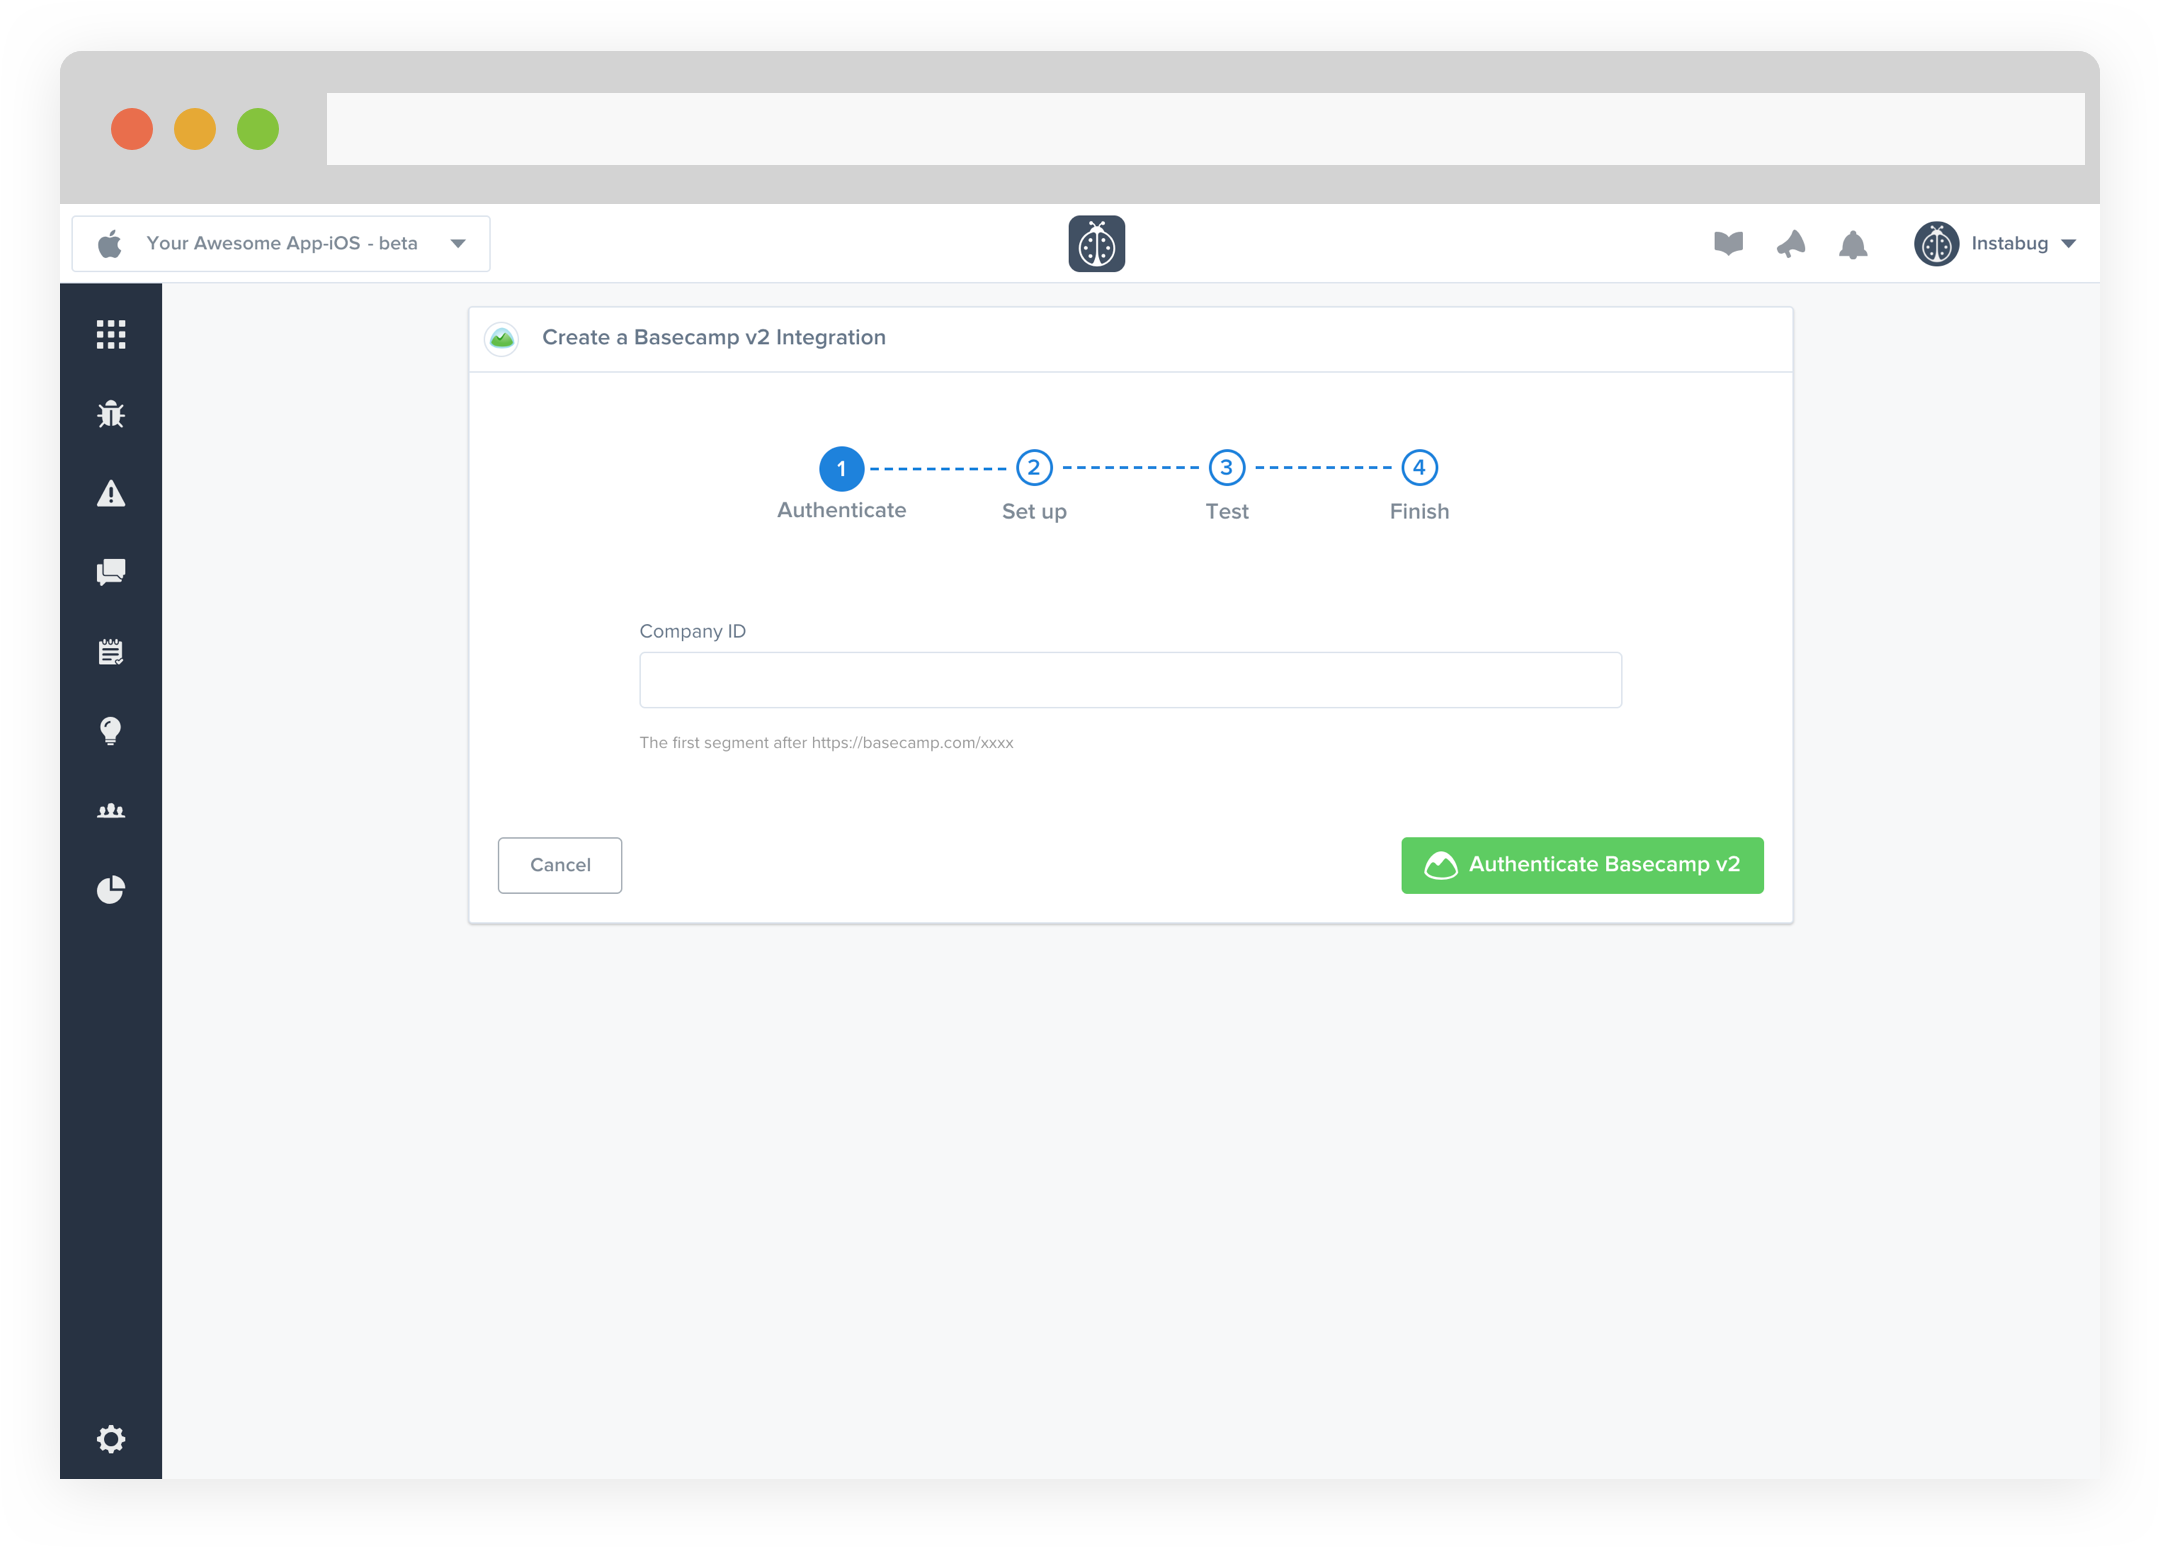
- Enter your Company ID. You will be redirected to the login page where you can enter your username and password.
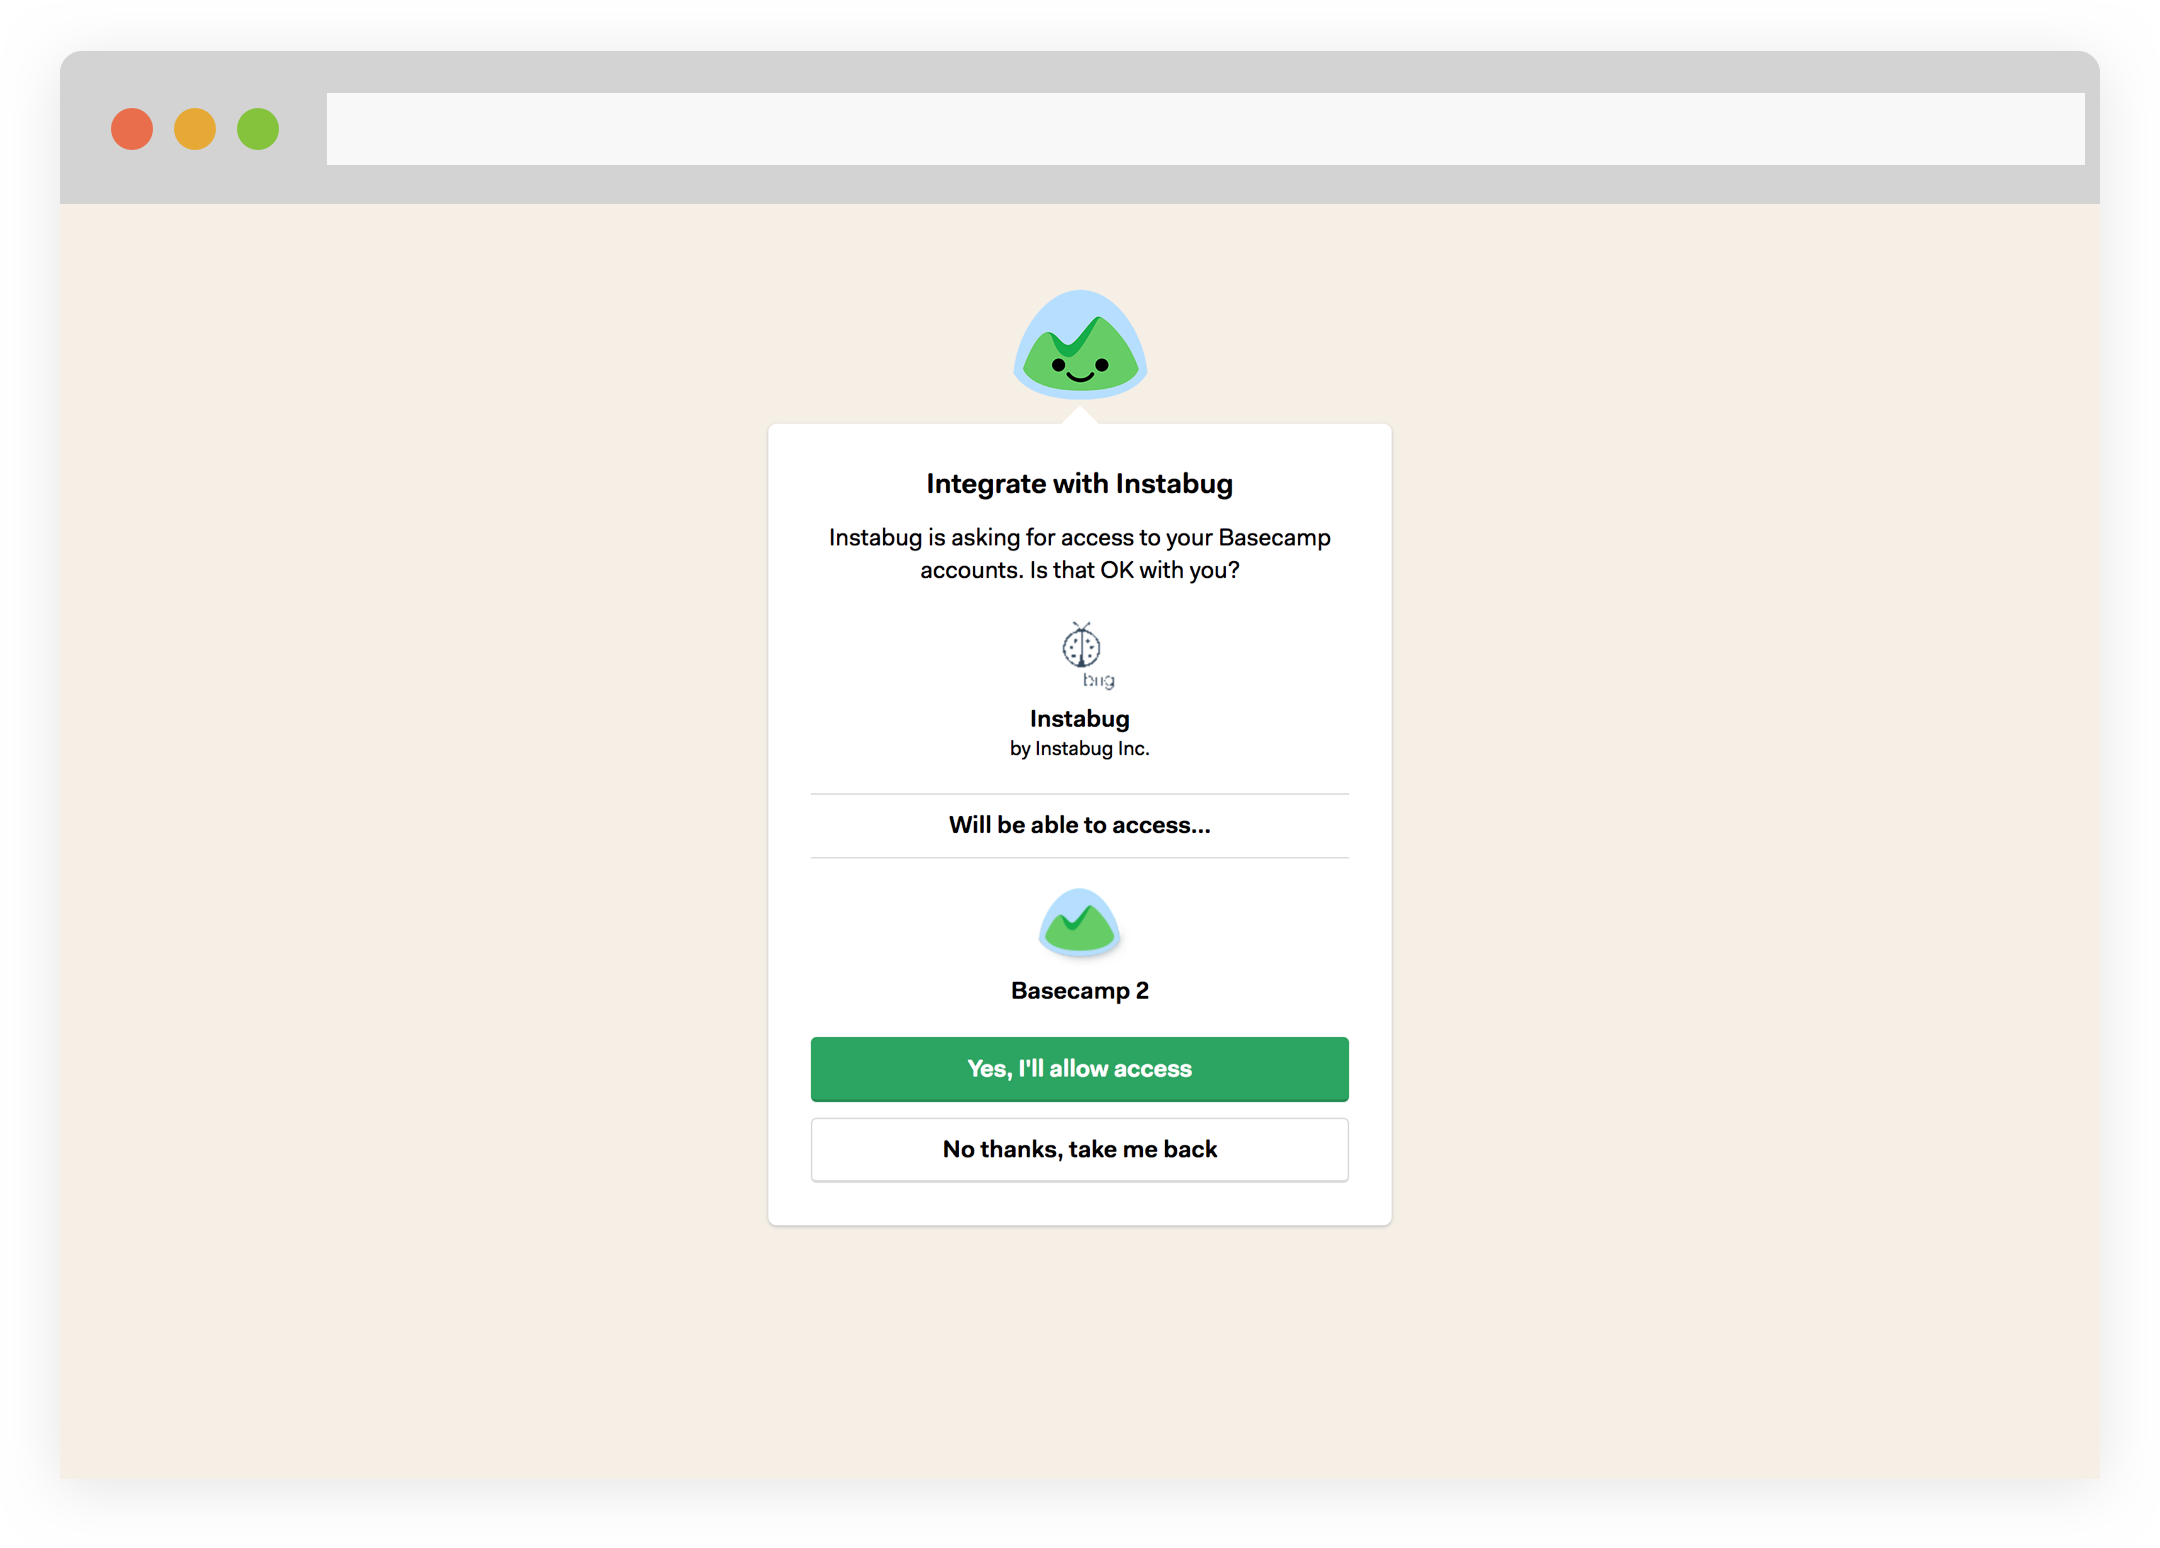
- Allow Instabug to access your Basecamp account.
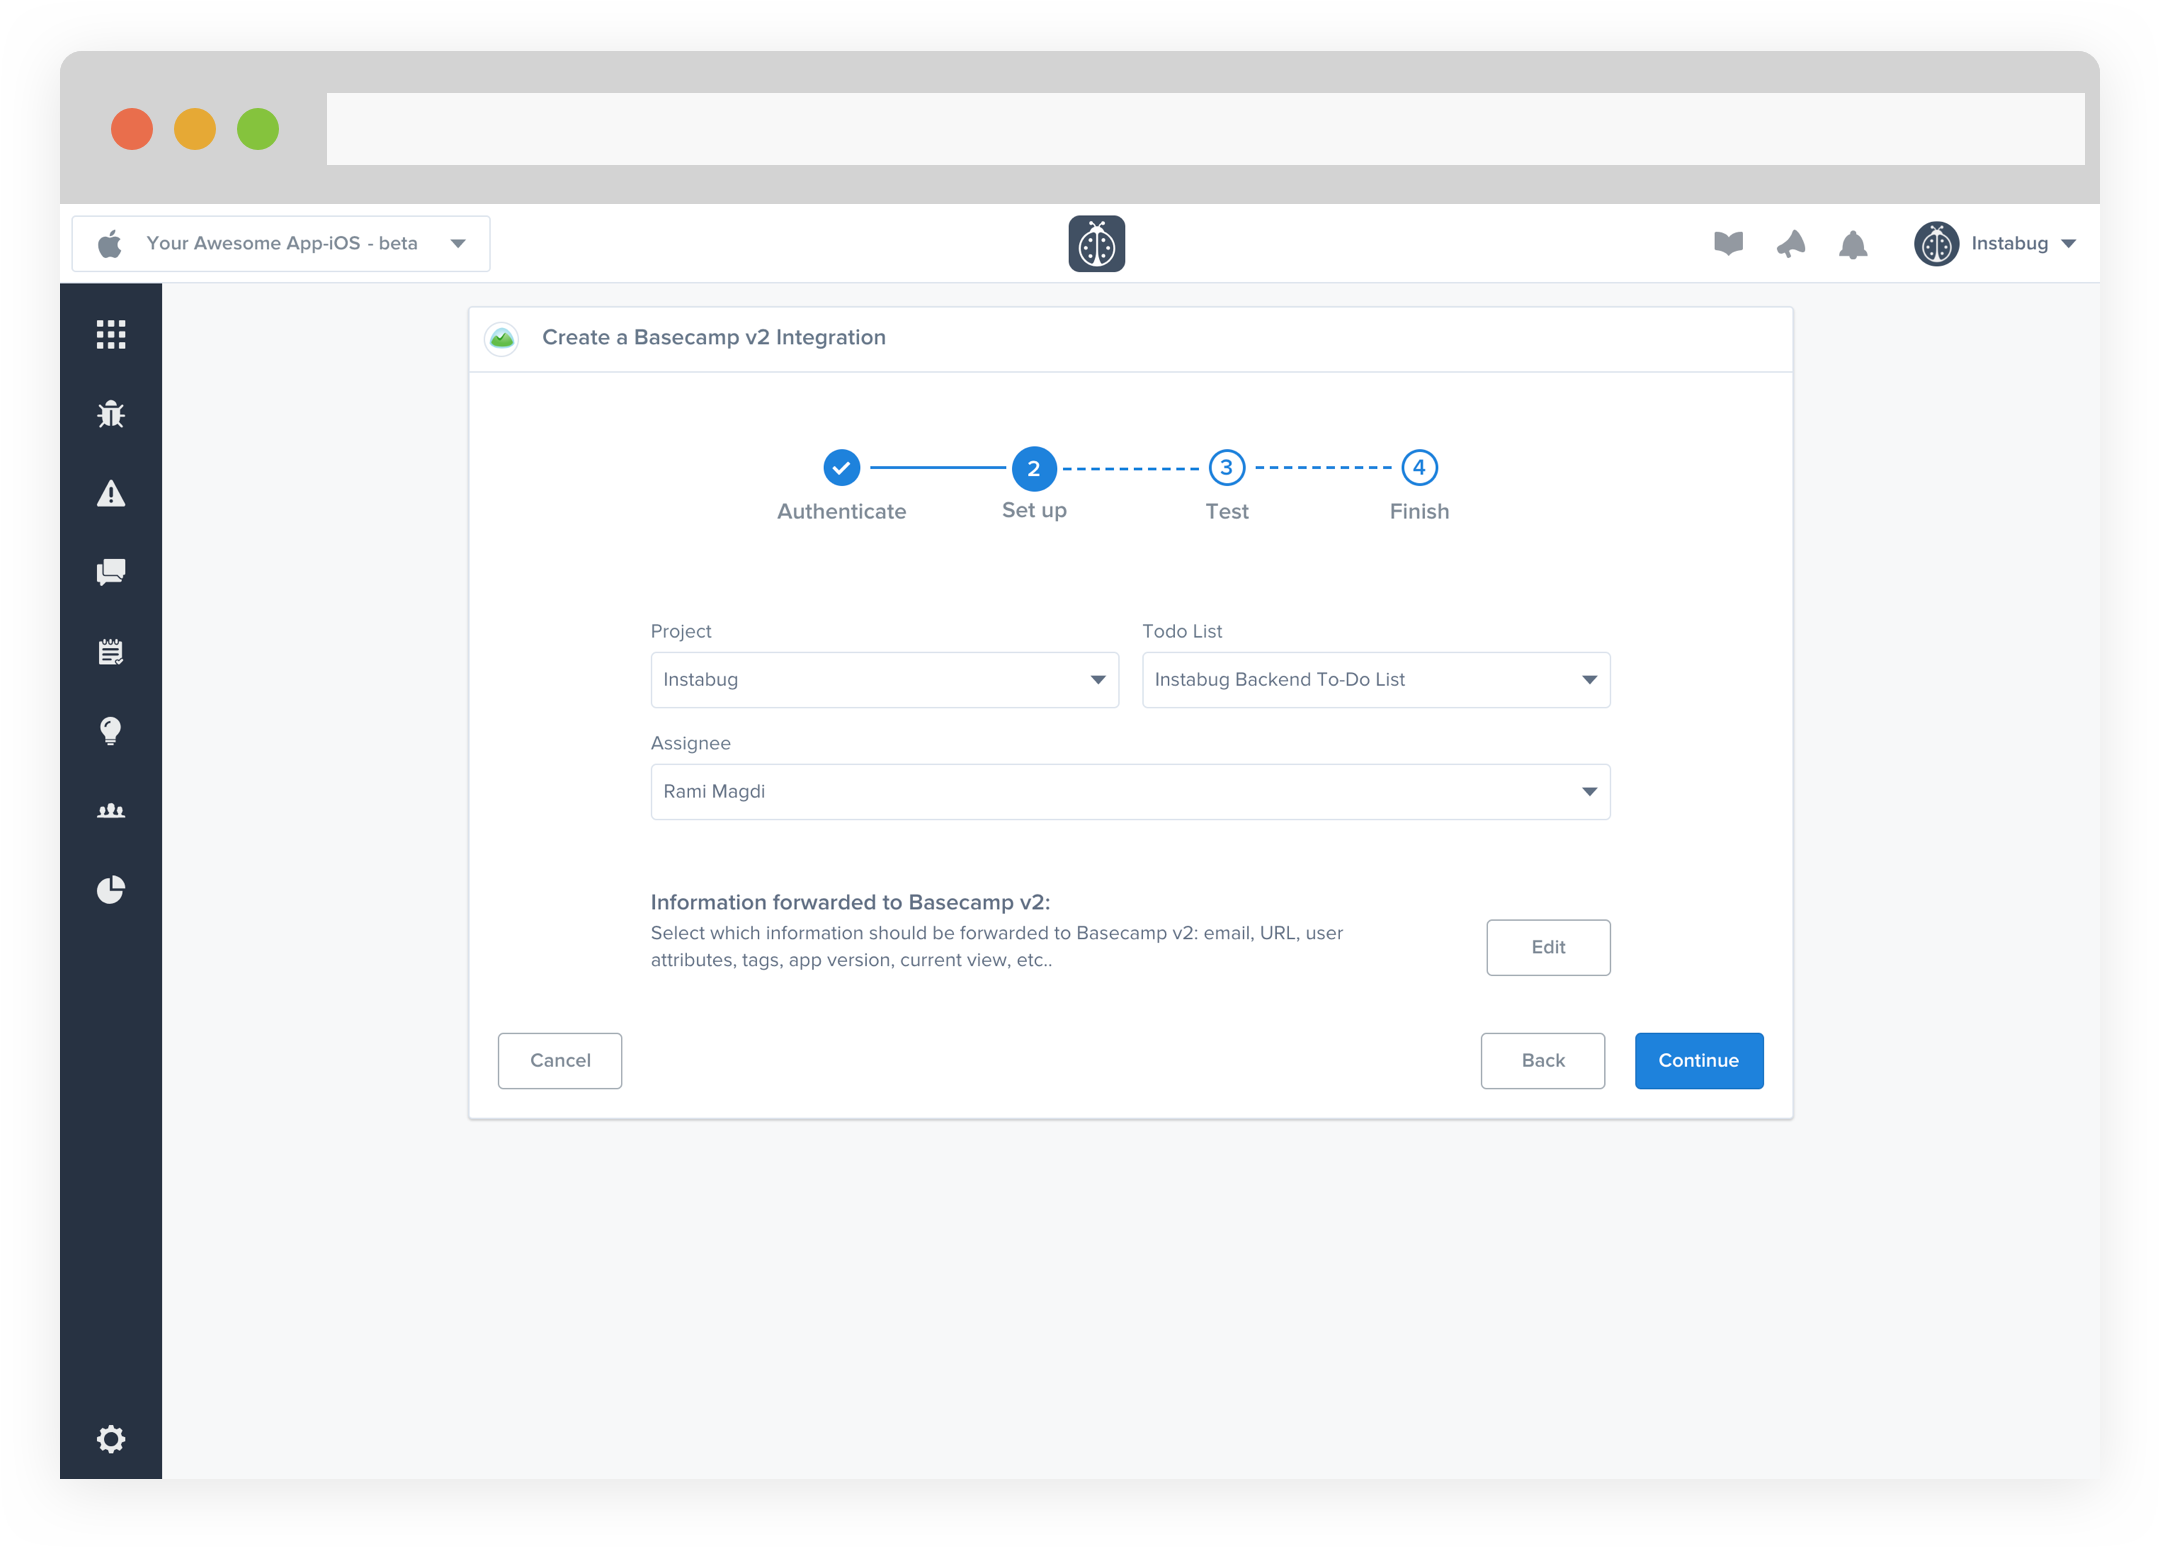
- Choose your Project and Todo List. You can also choose which details get forwarded as well.
- At this point, we just need to test your integration so that we're sure everything is working smoothly.
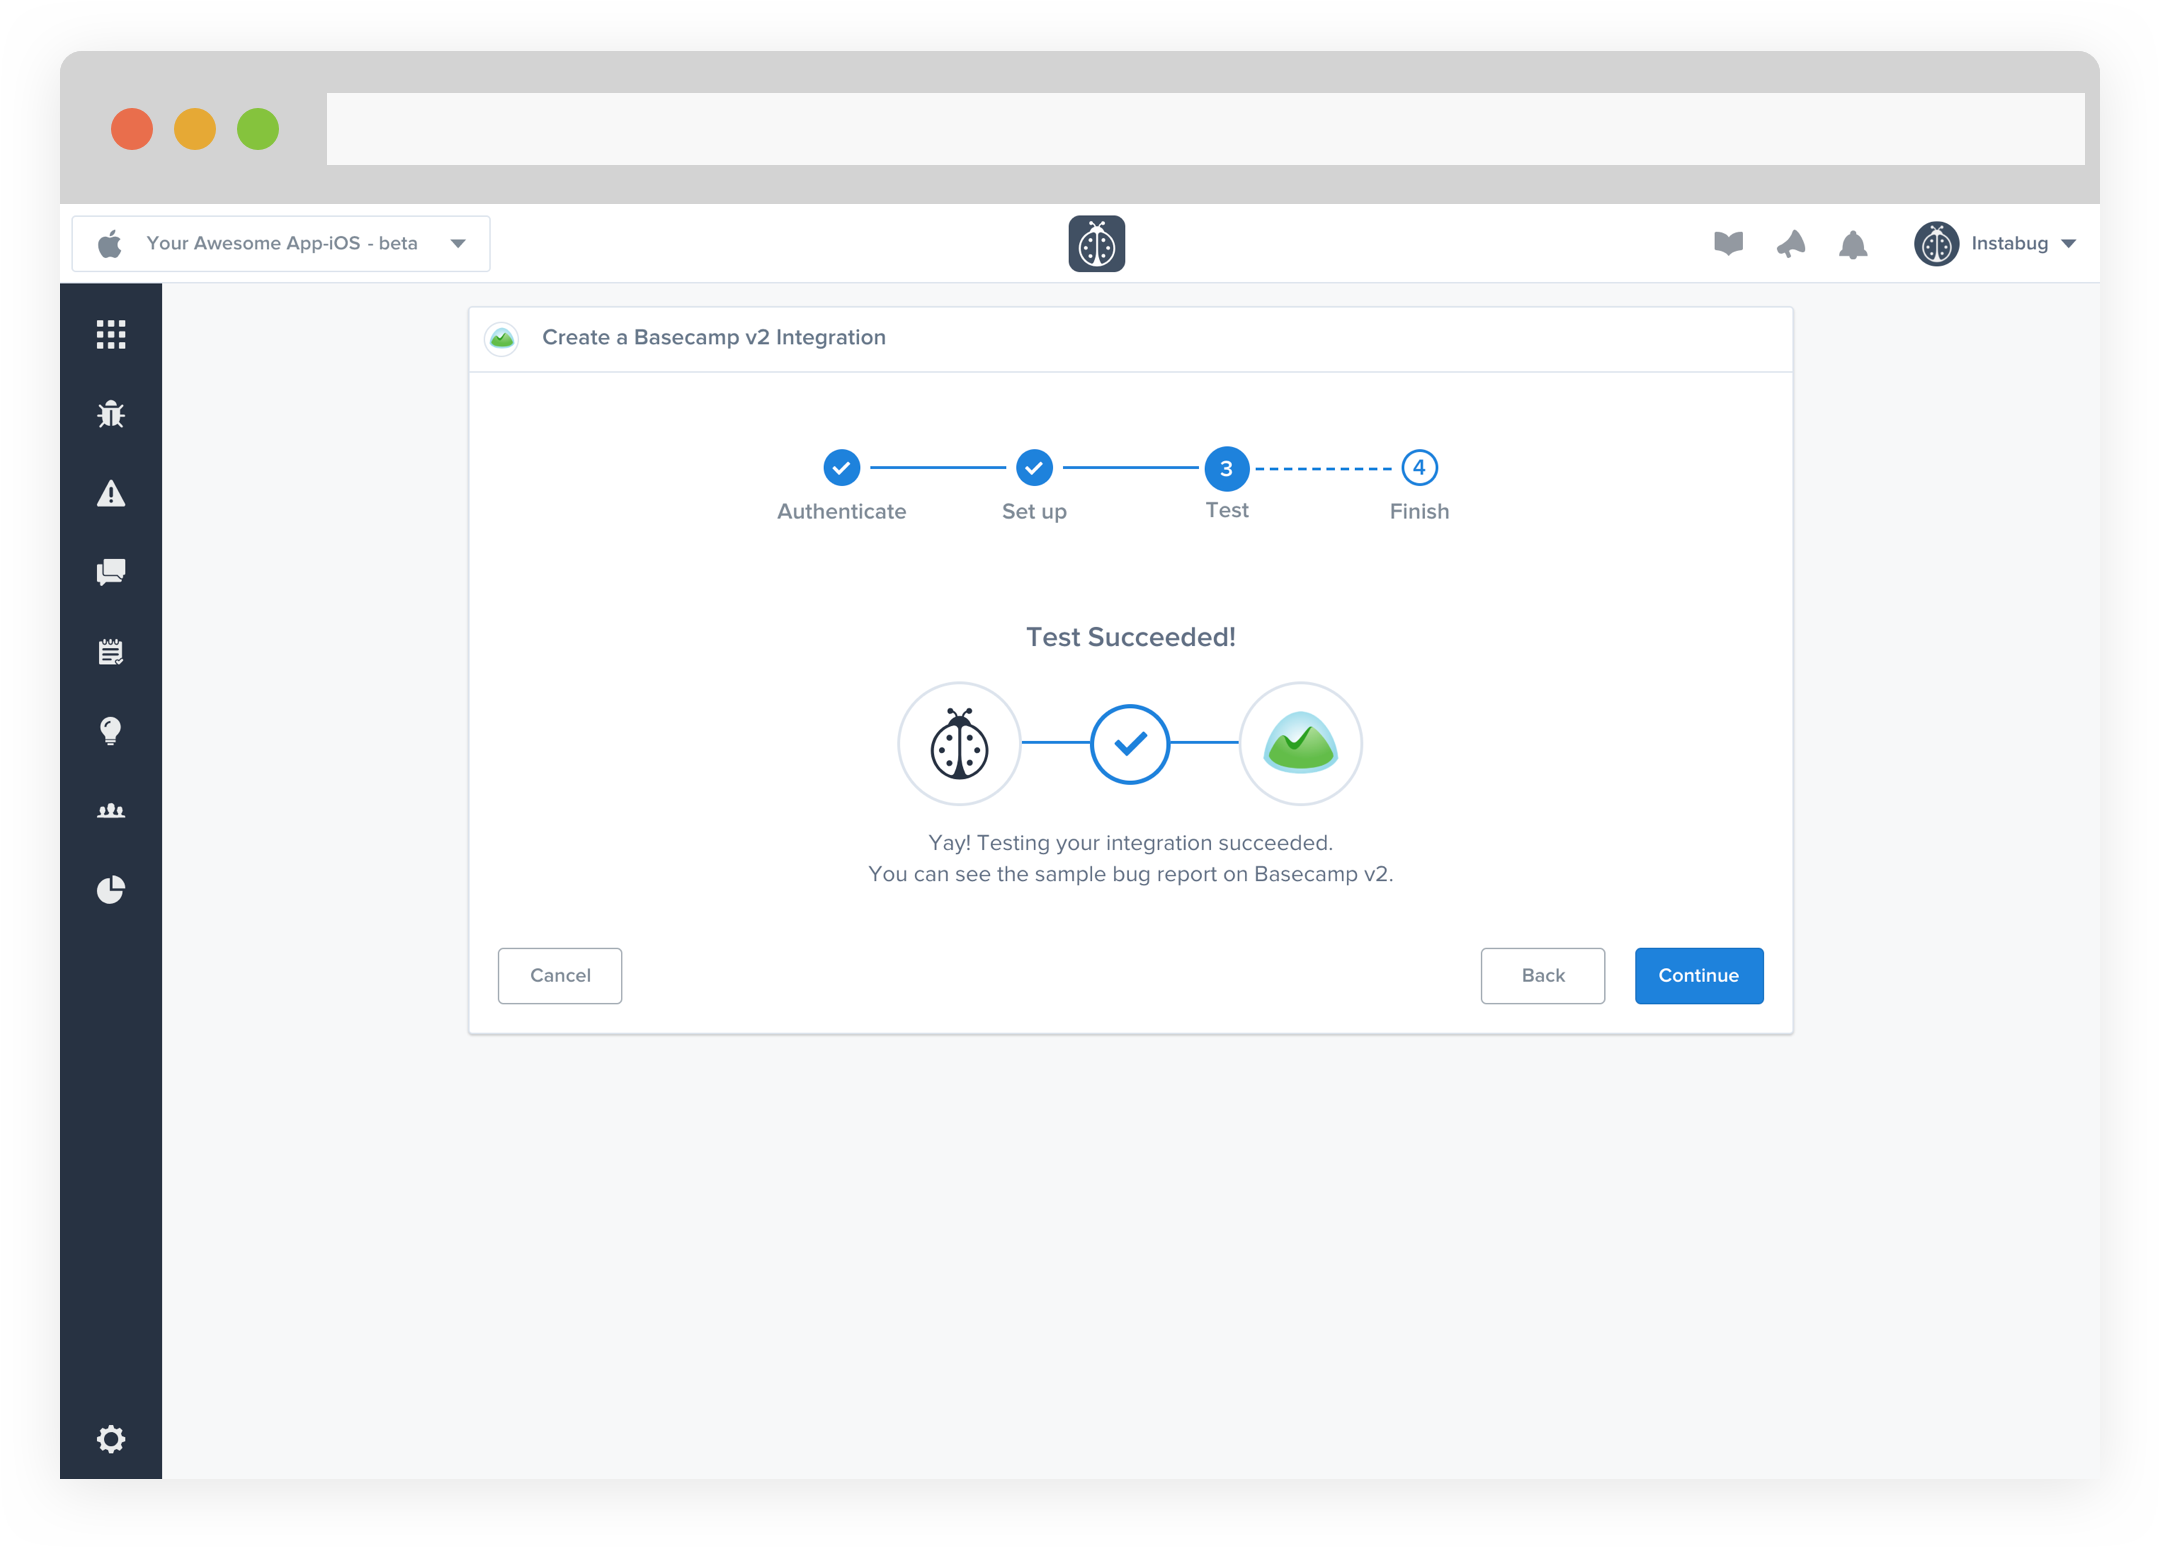
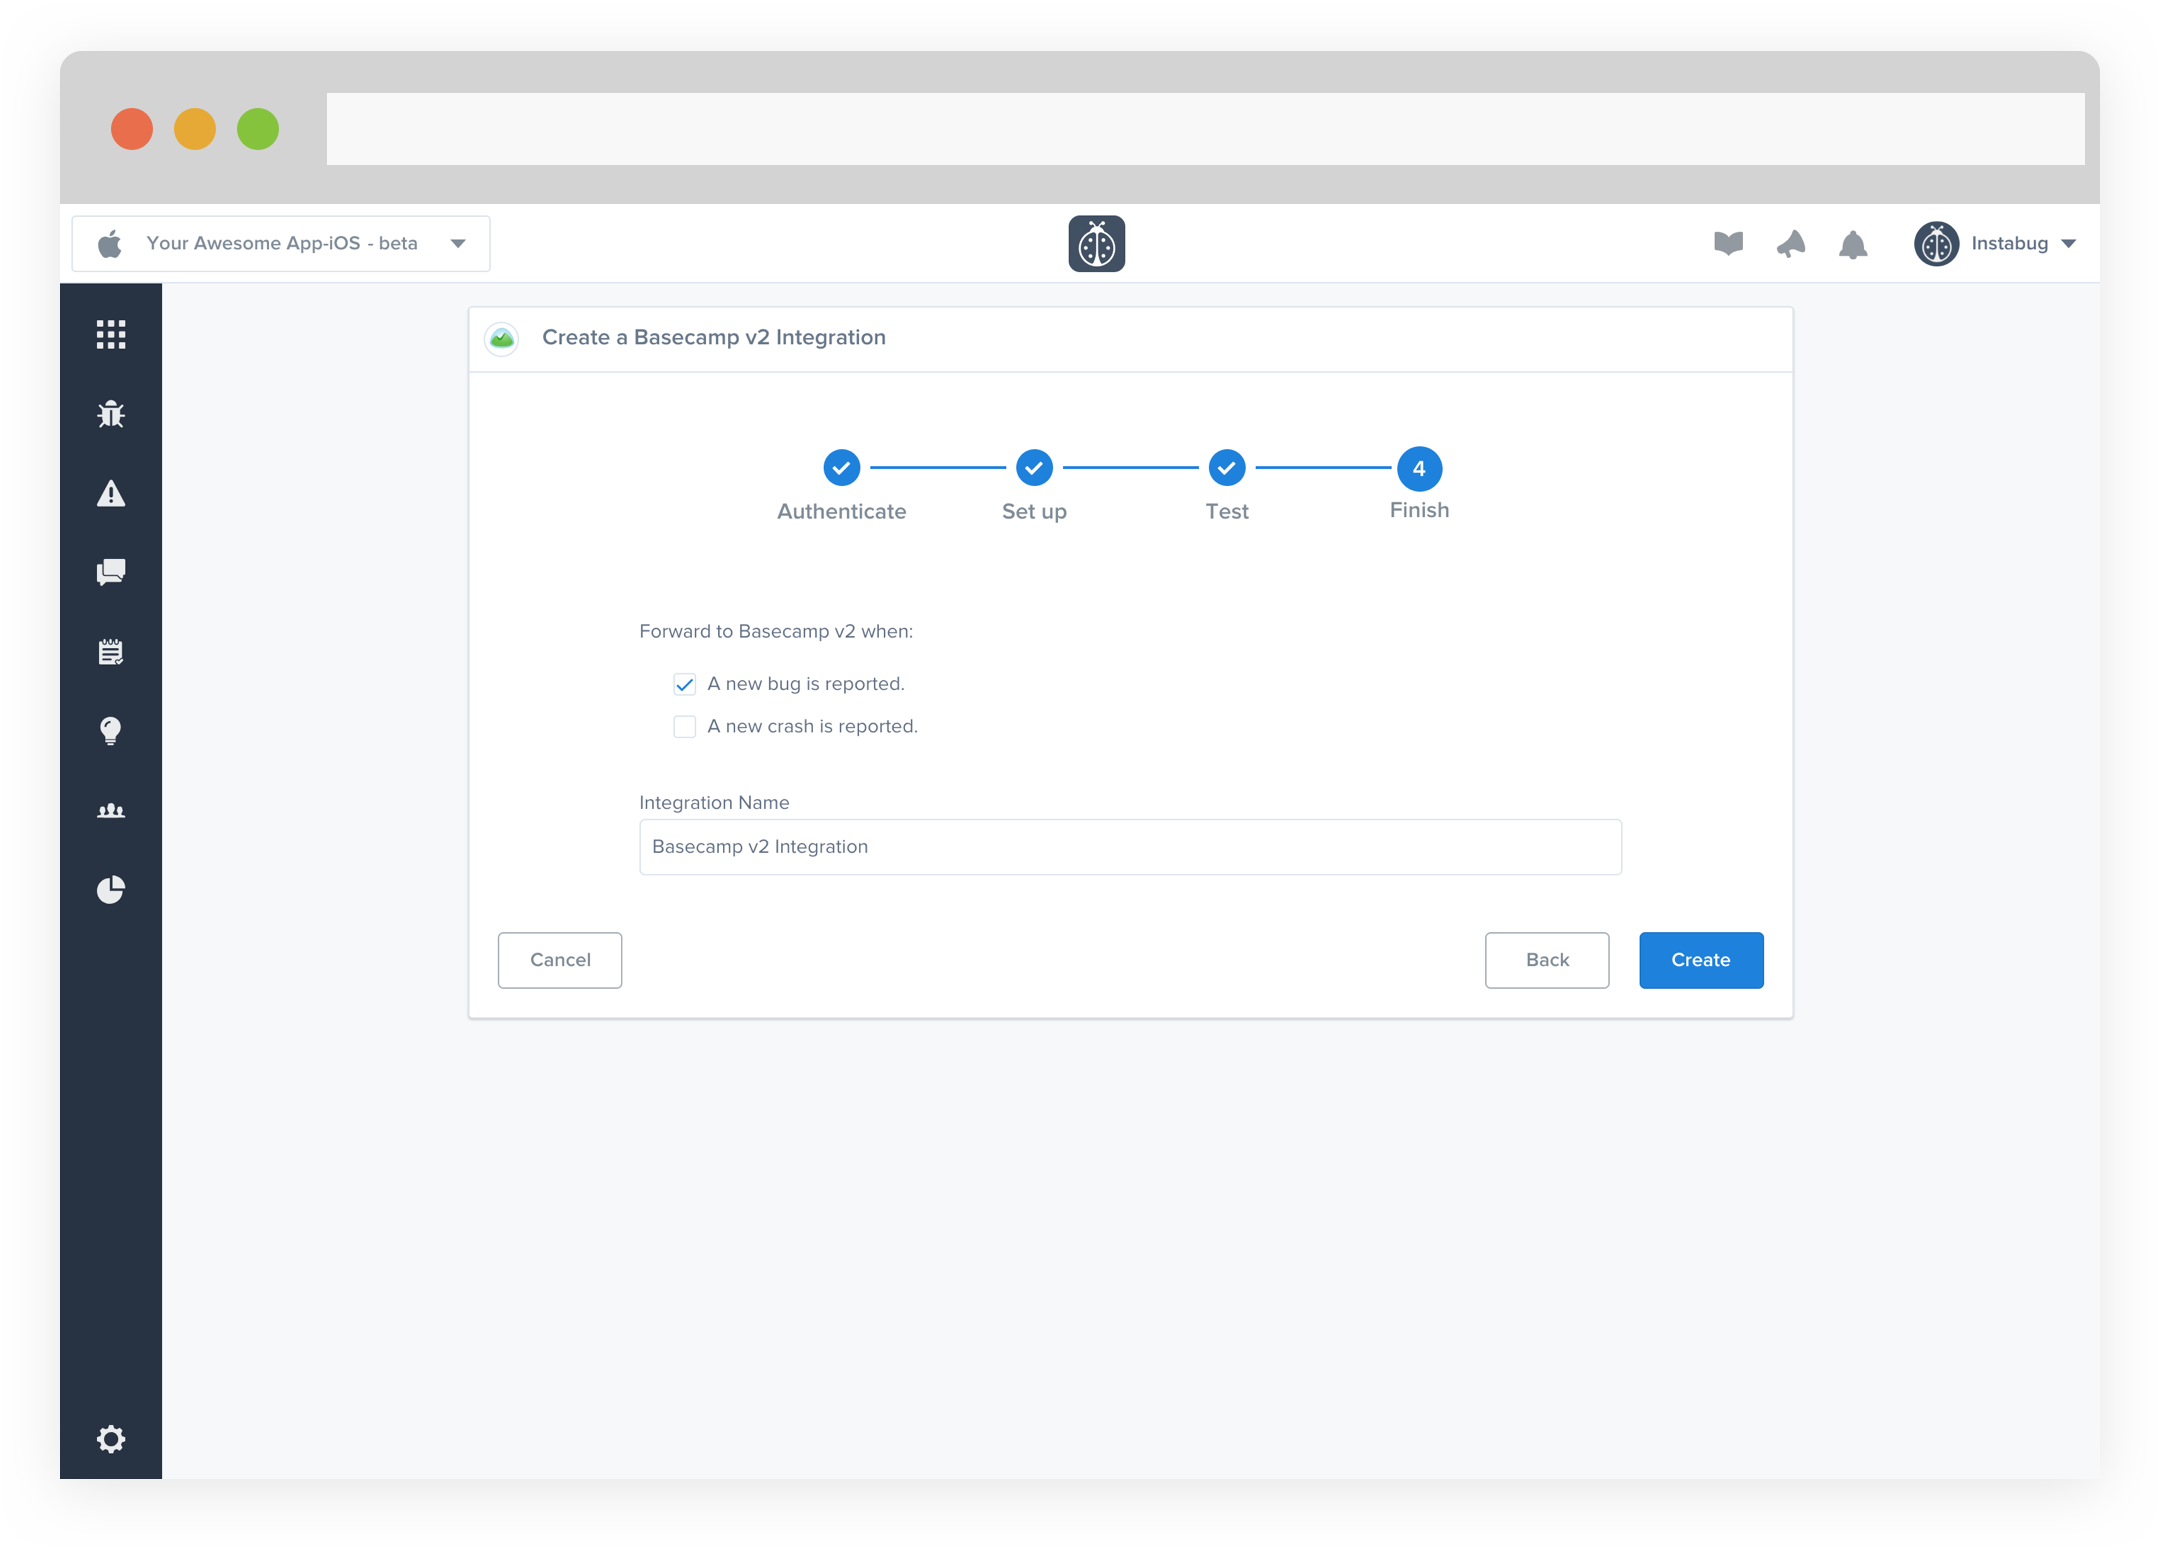
- All done! You're integration is now set-up and ready to go. From this final page, you can allow automatic forwarding (don't worry though, this can be reconfigured at any time!)
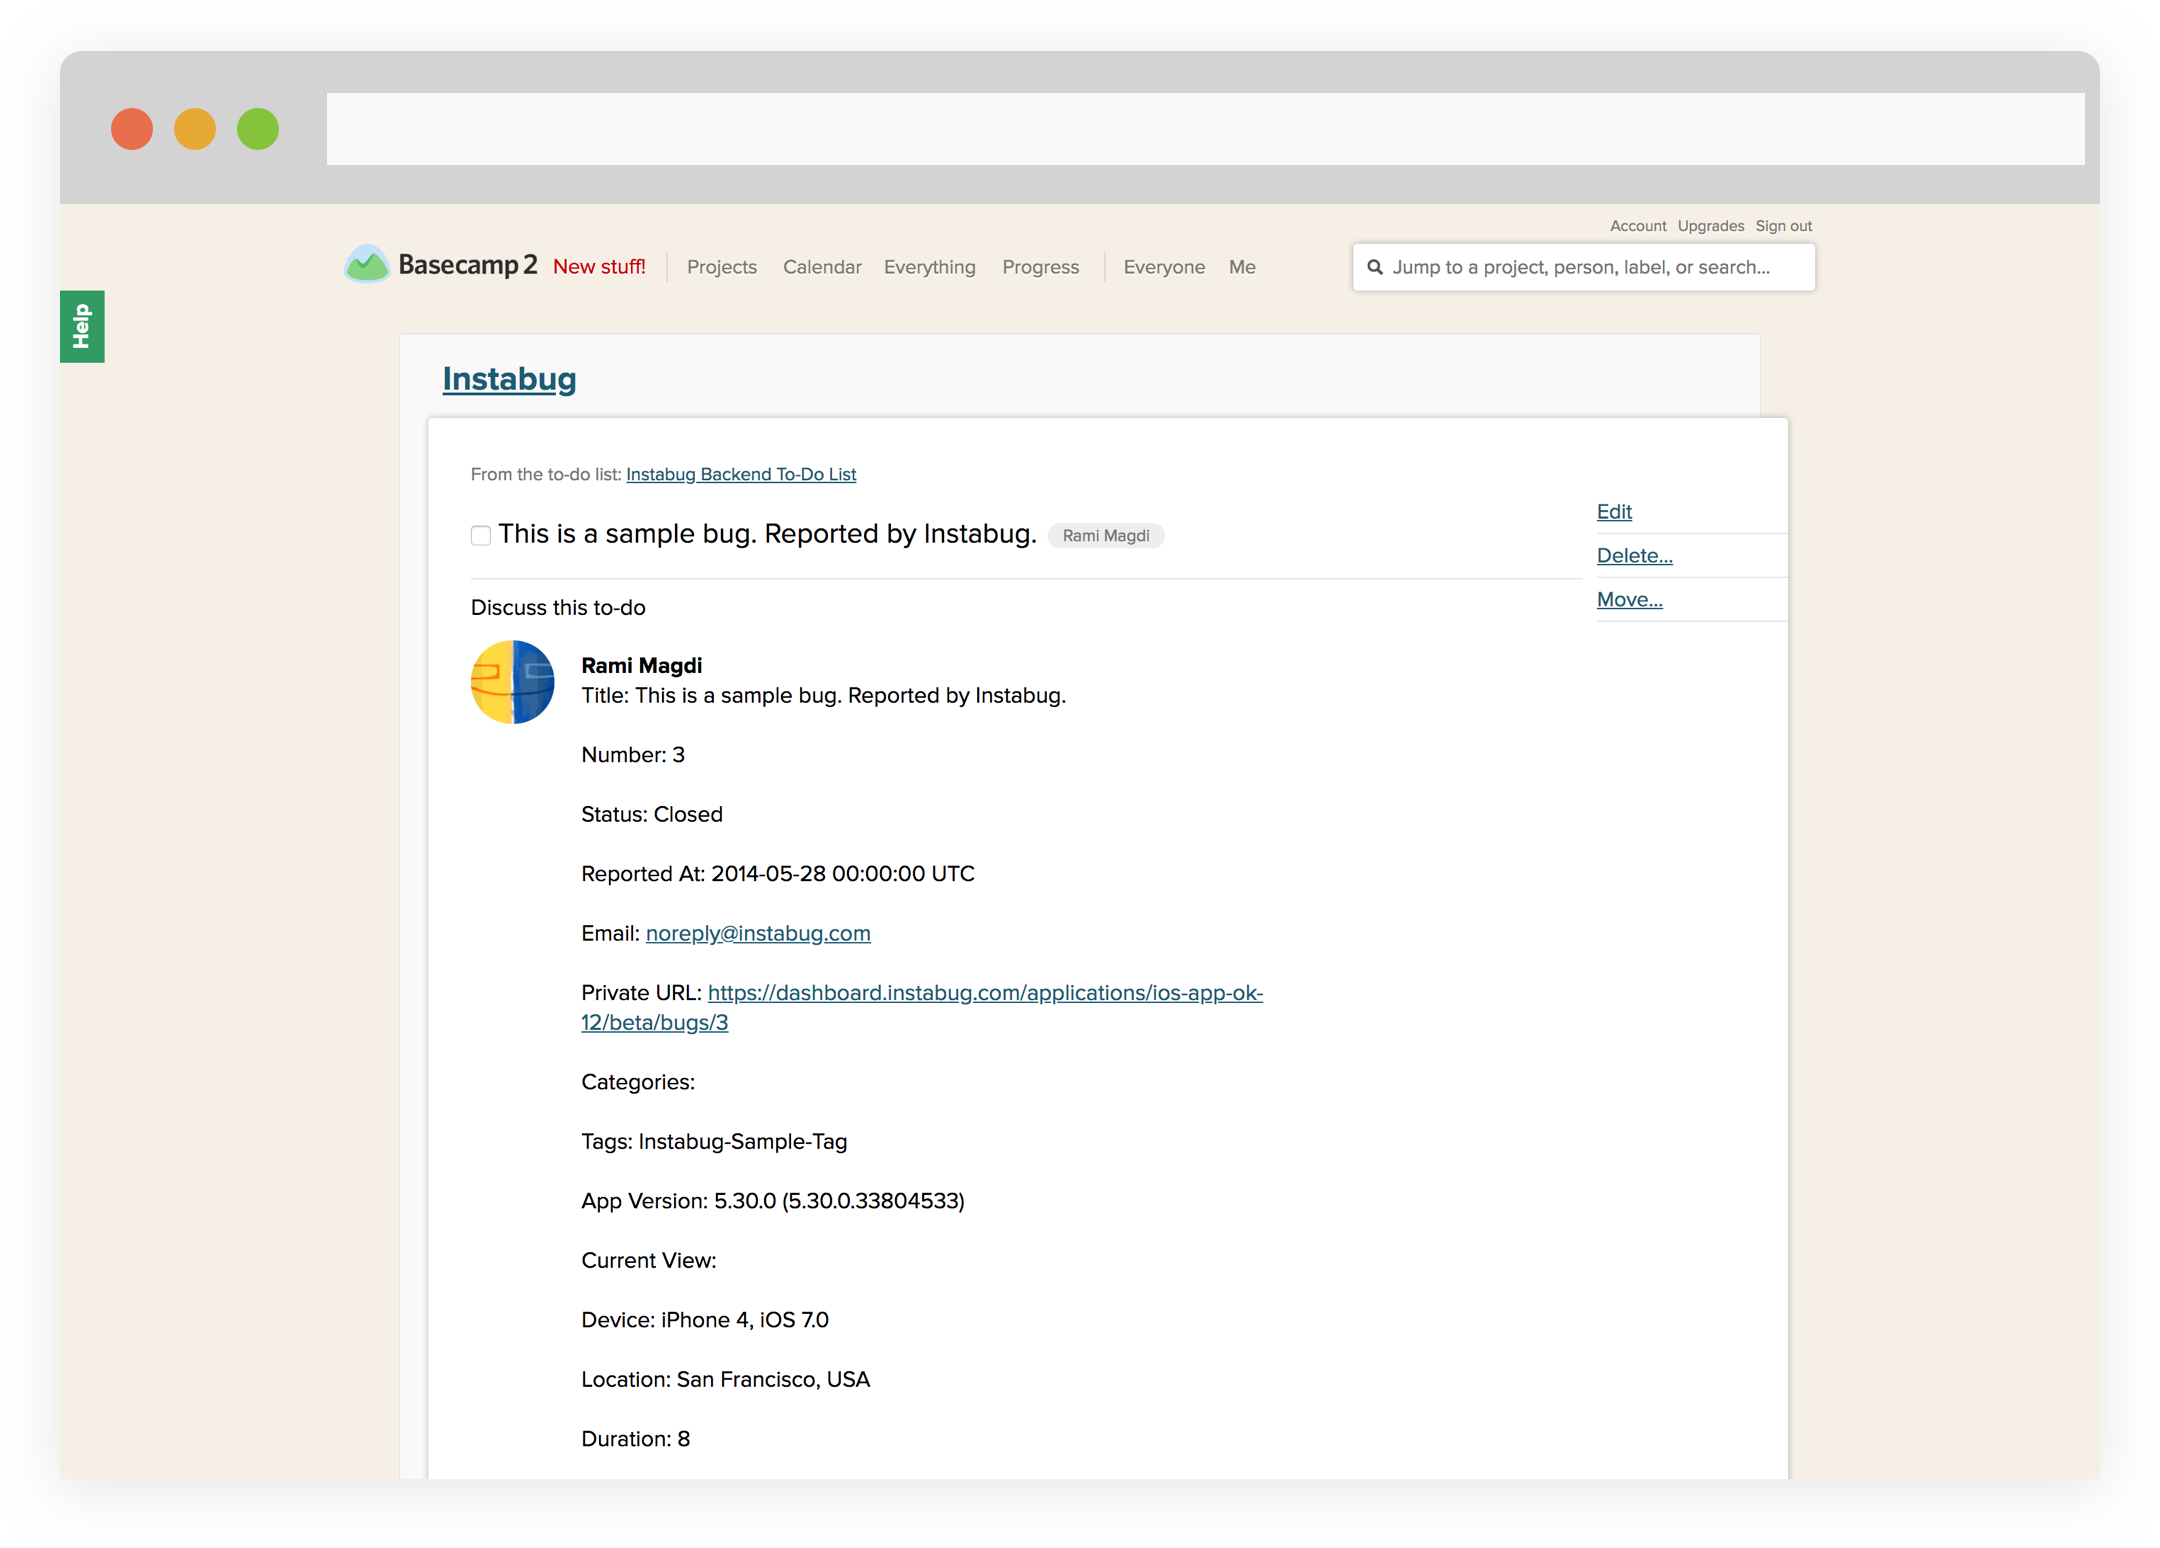
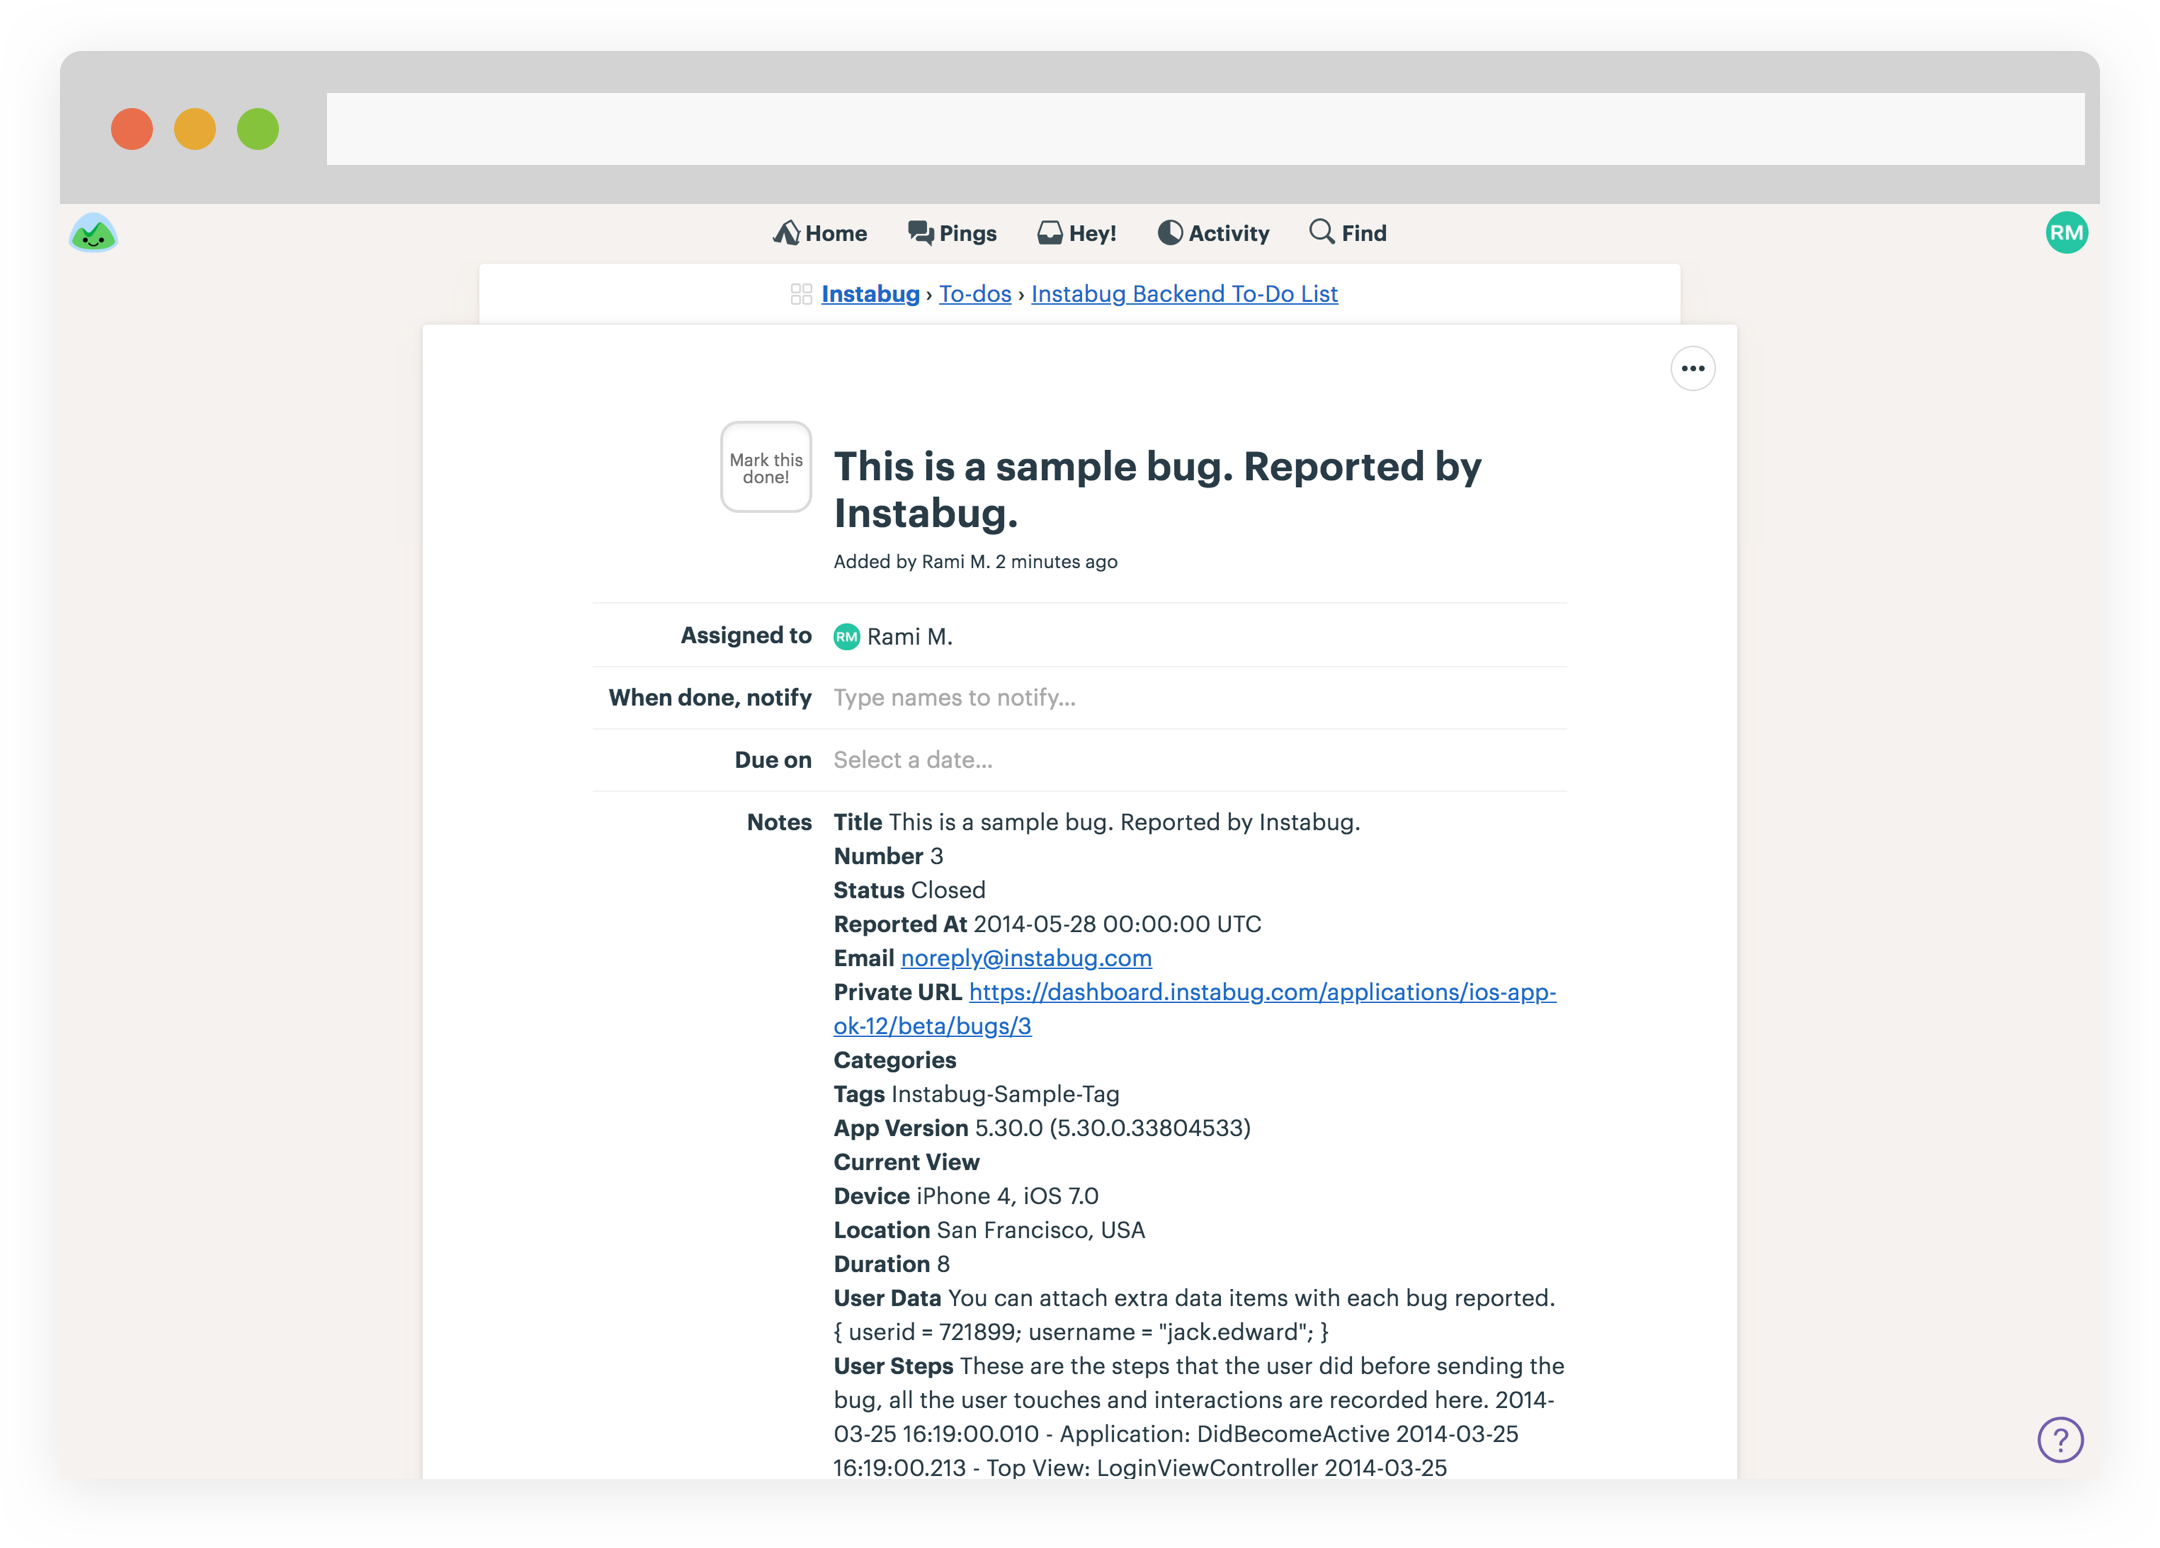
- Issues forwarded to Basecamp should look something like this.
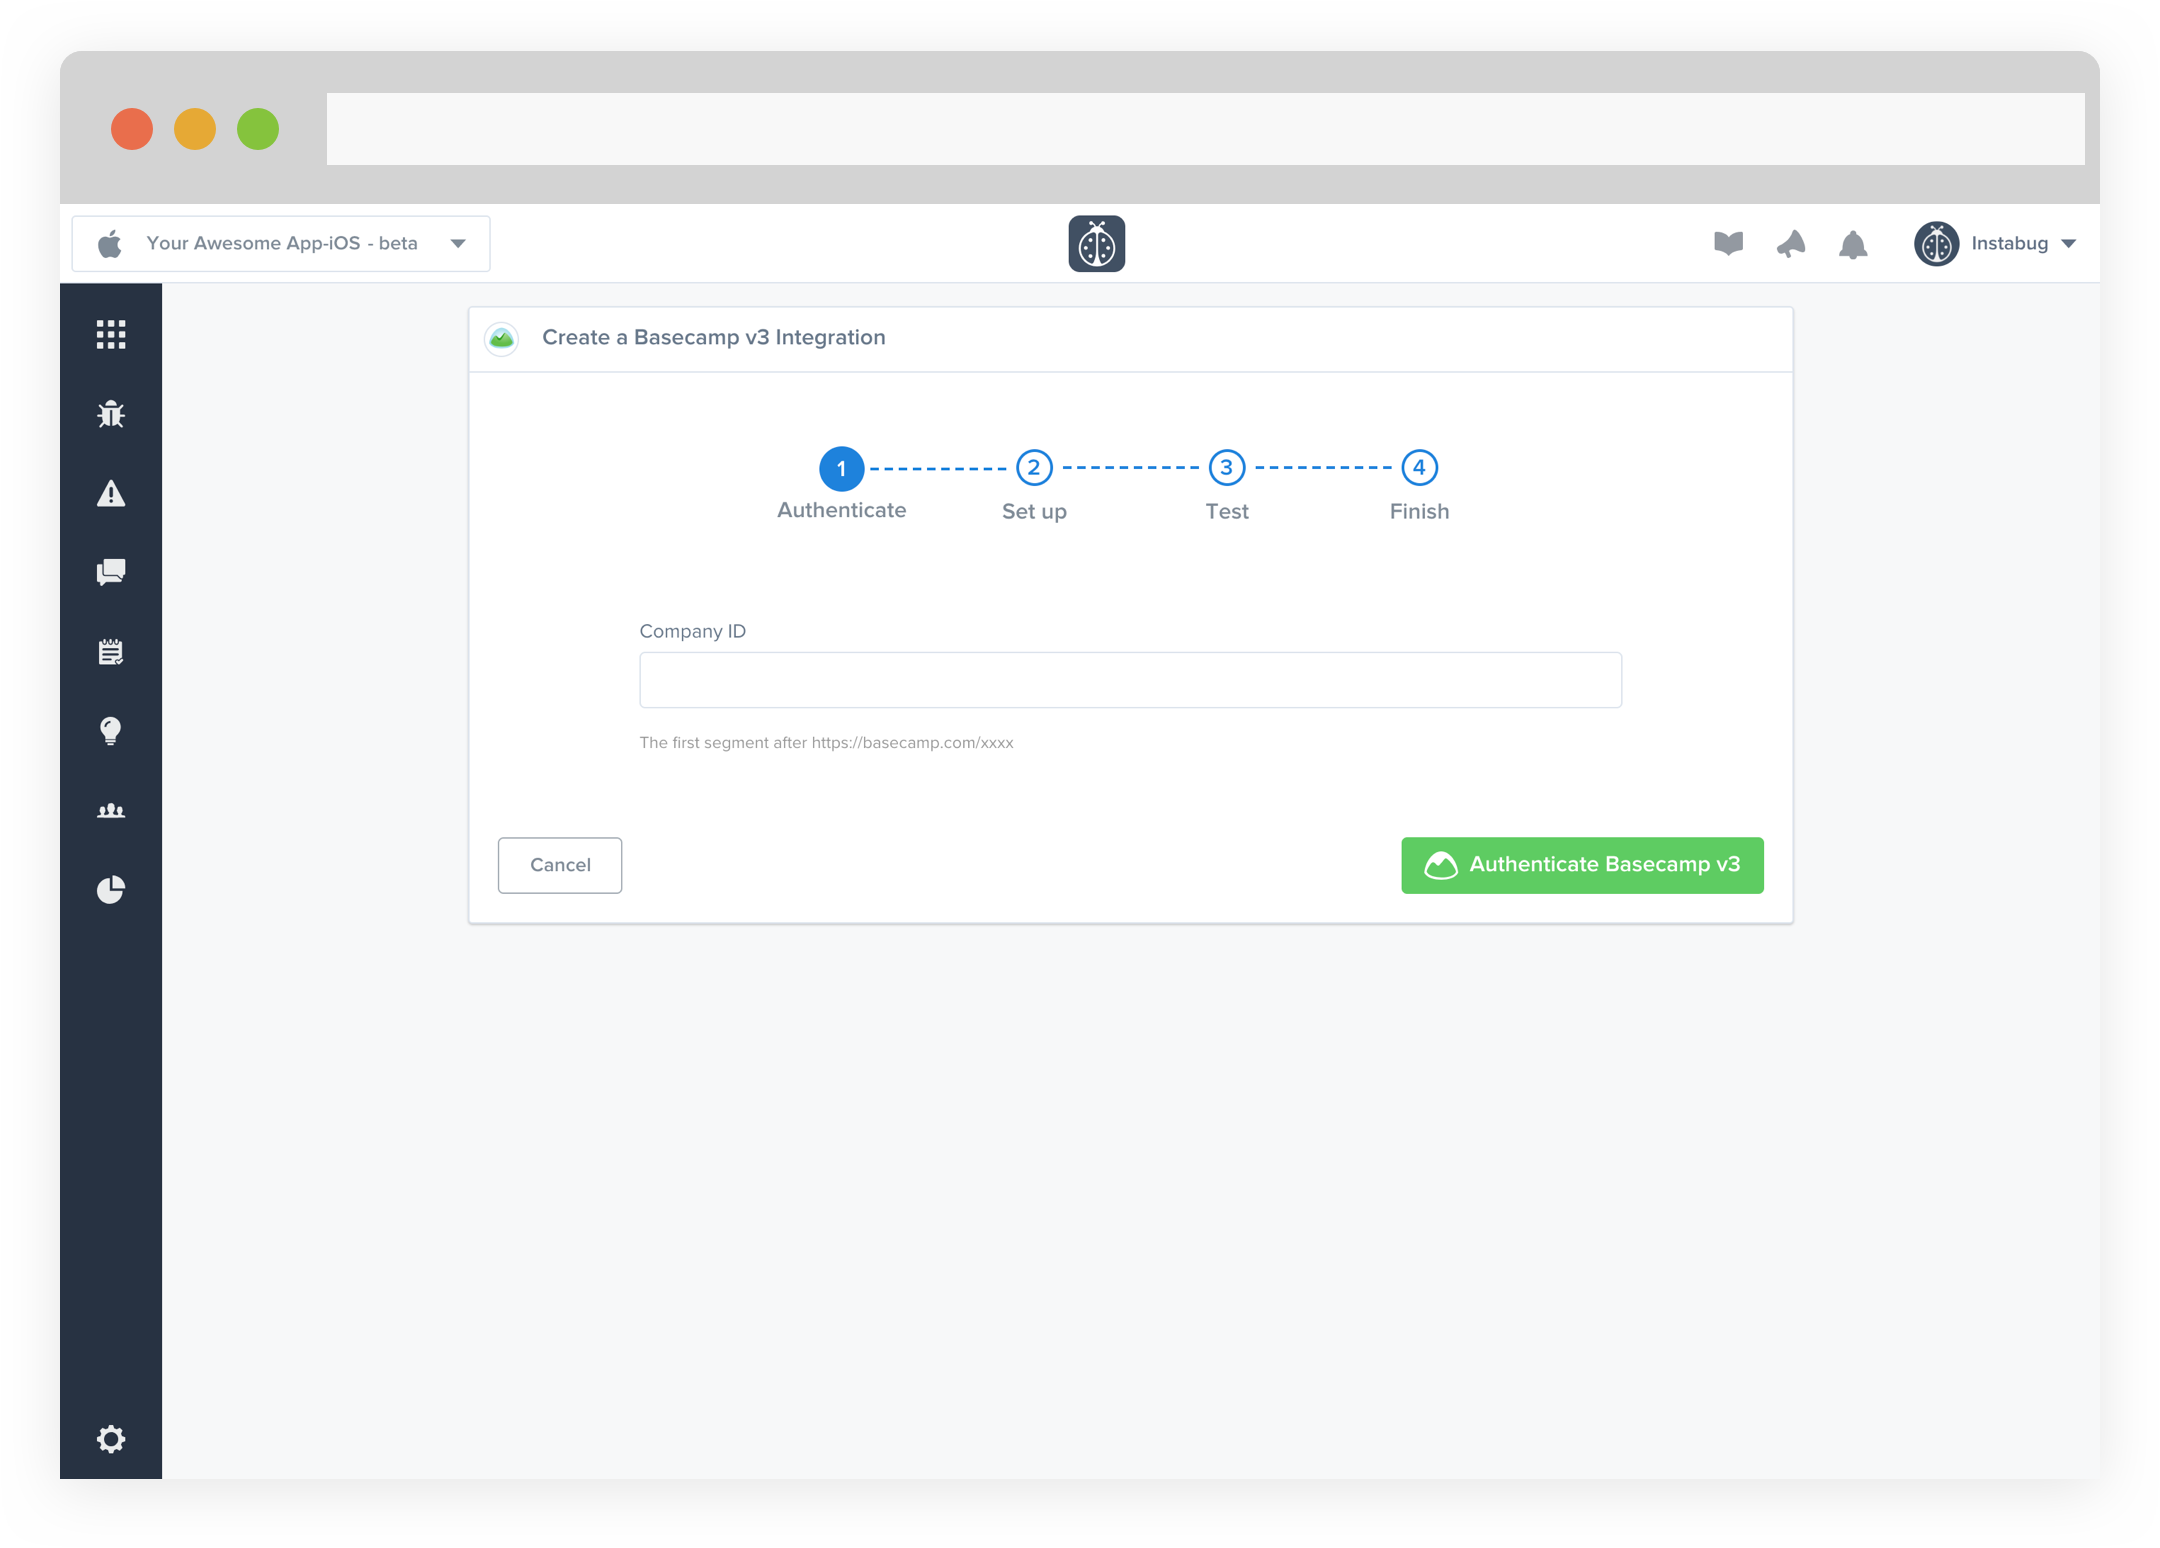
Integrating Instabug with Basecamp helps your team receive all the details they need about issues reported by testers and users from your mobile app using our SDK.
- Enter your Company ID. You will be redirected to the login page where you can enter your username and password.
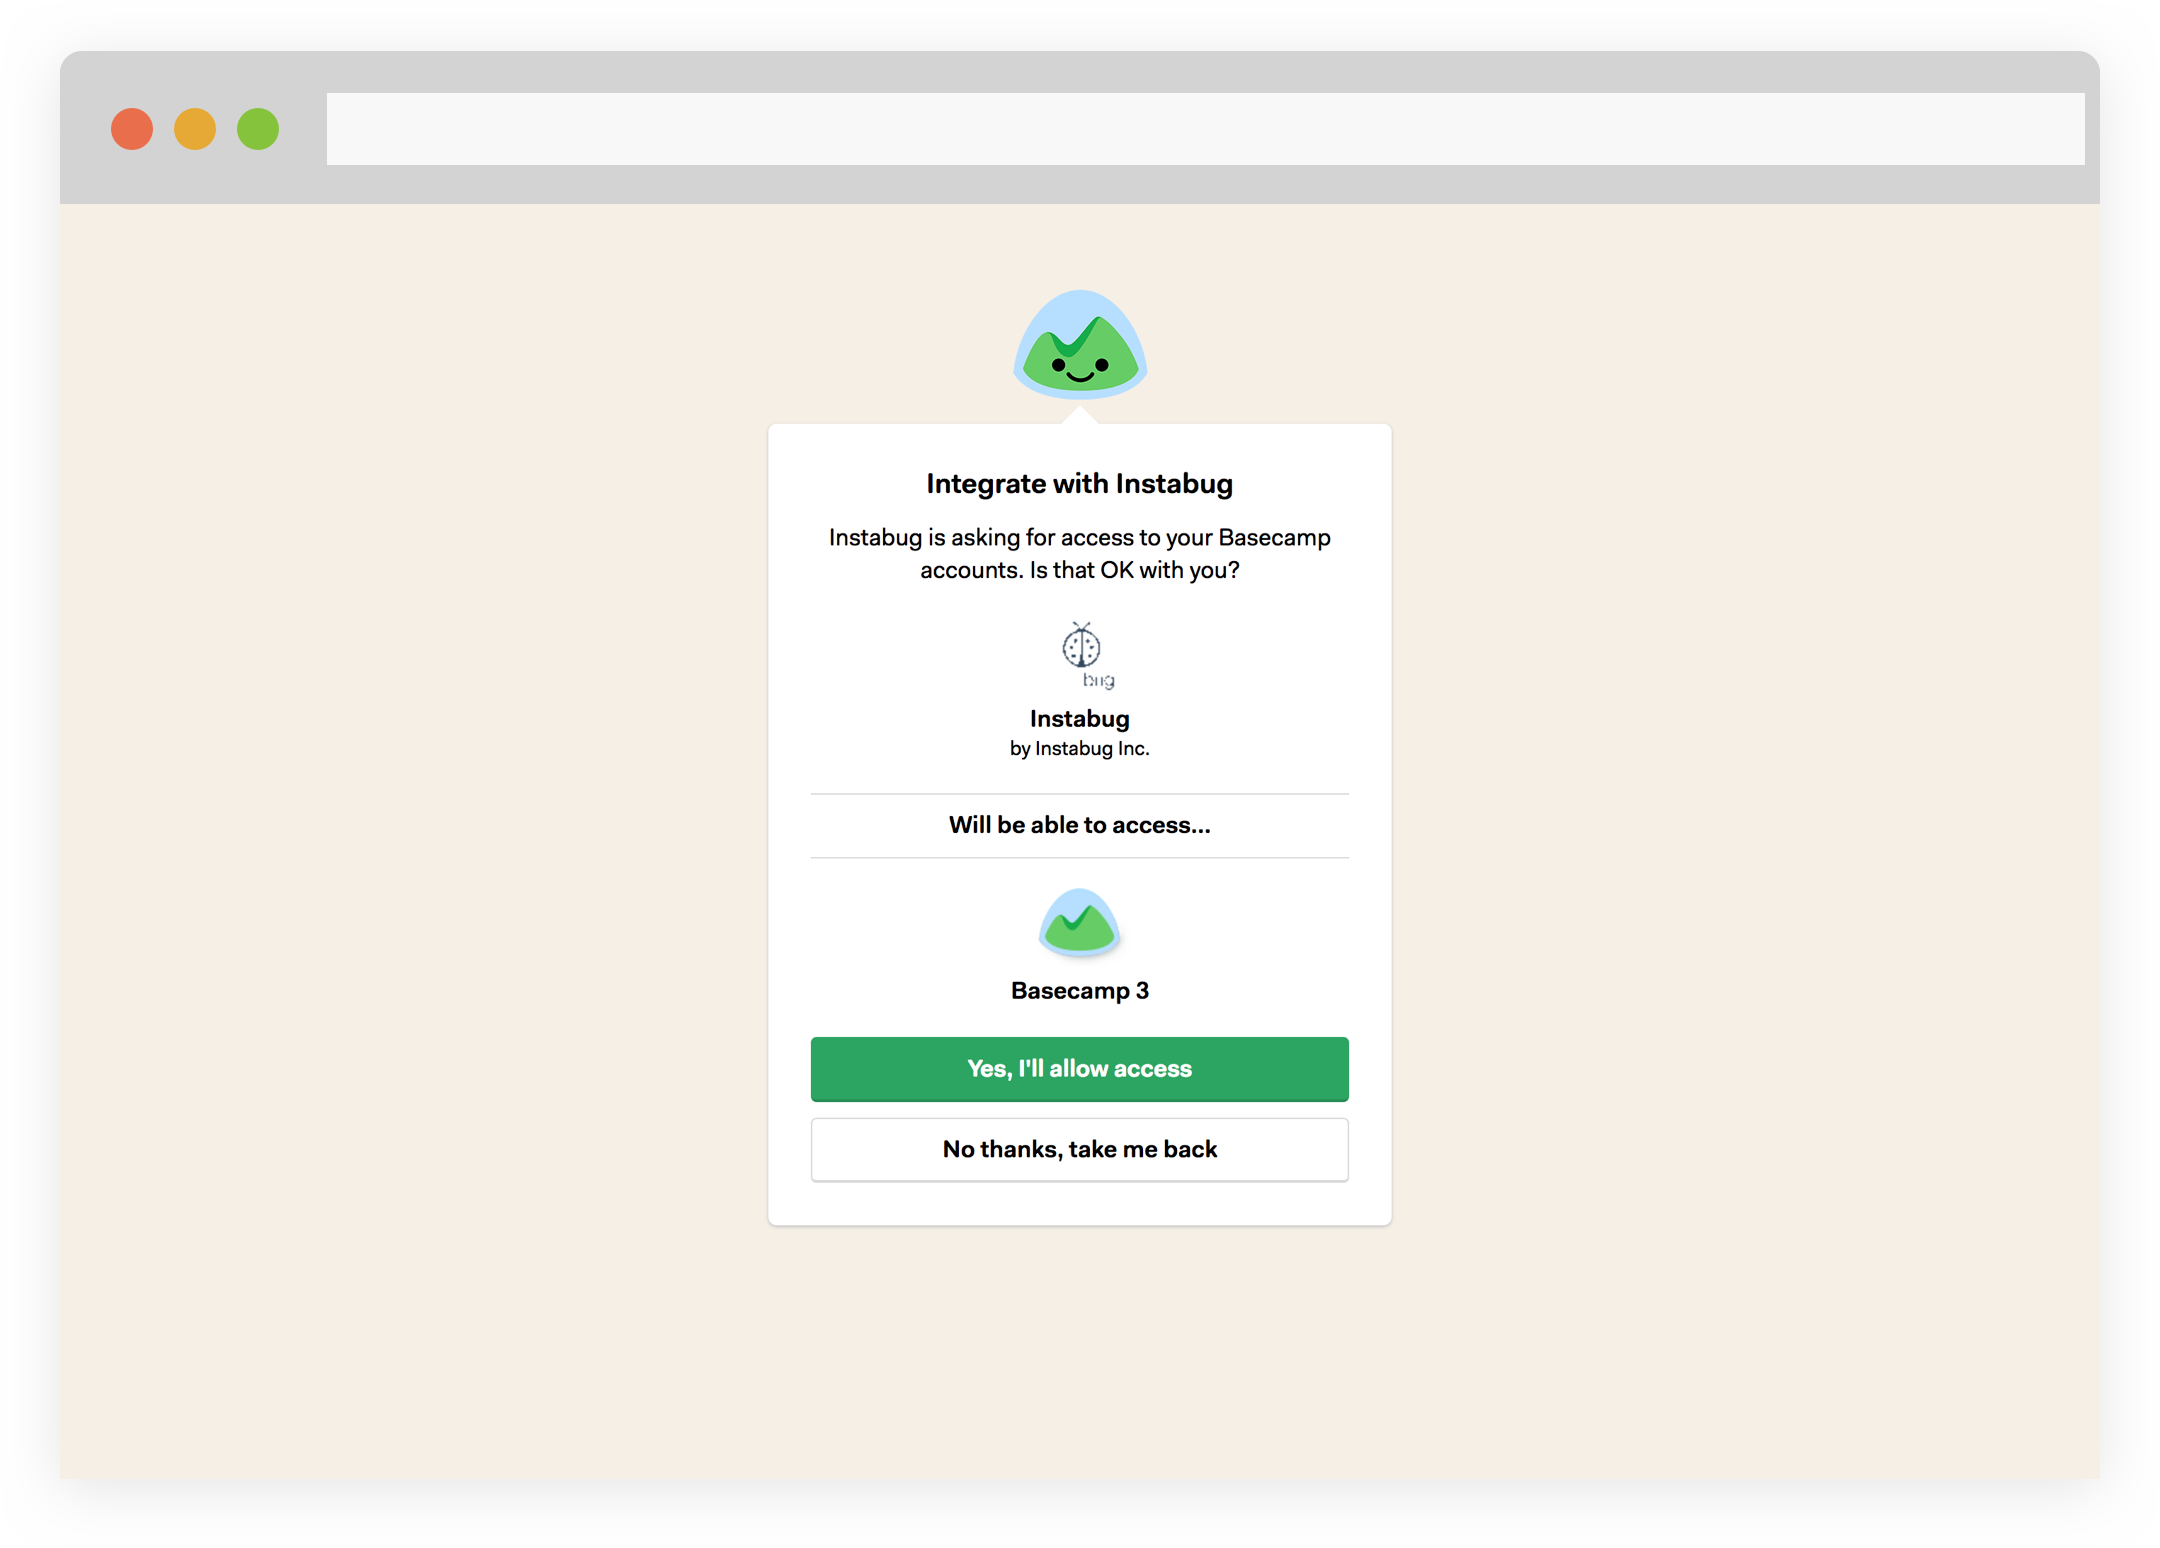
- Allow Instabug to access your Basecamp account.
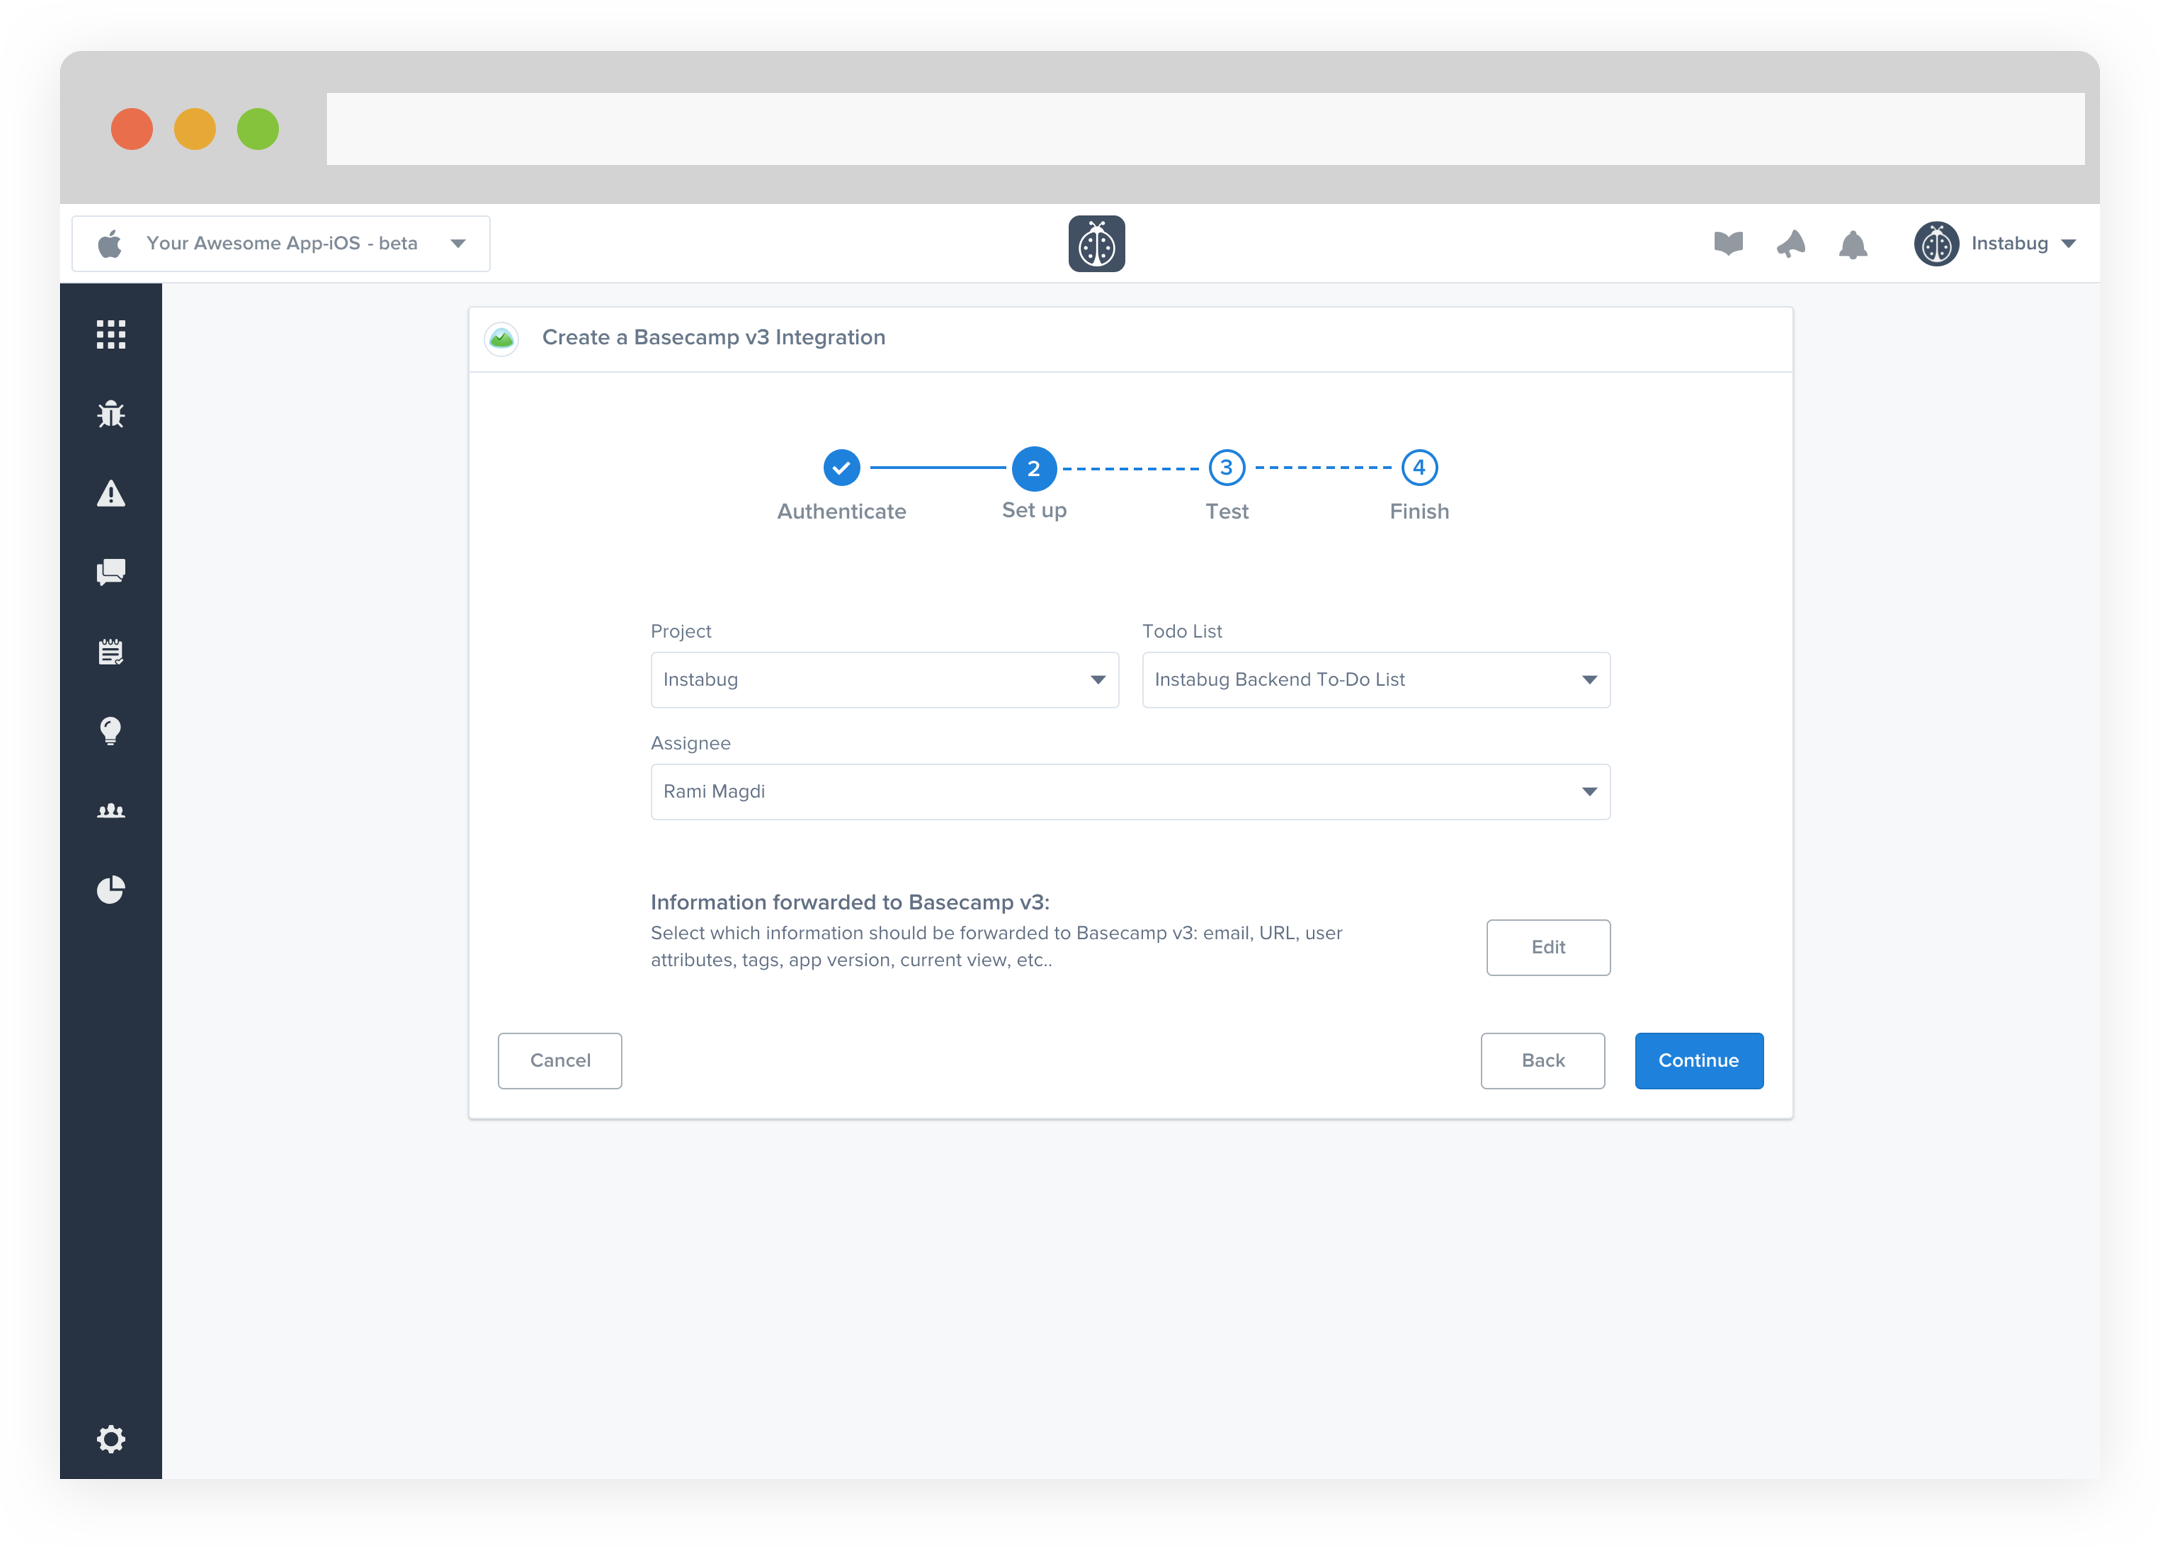
- Choose your Project and Todo List. You can also choose which details get forwarded as well.
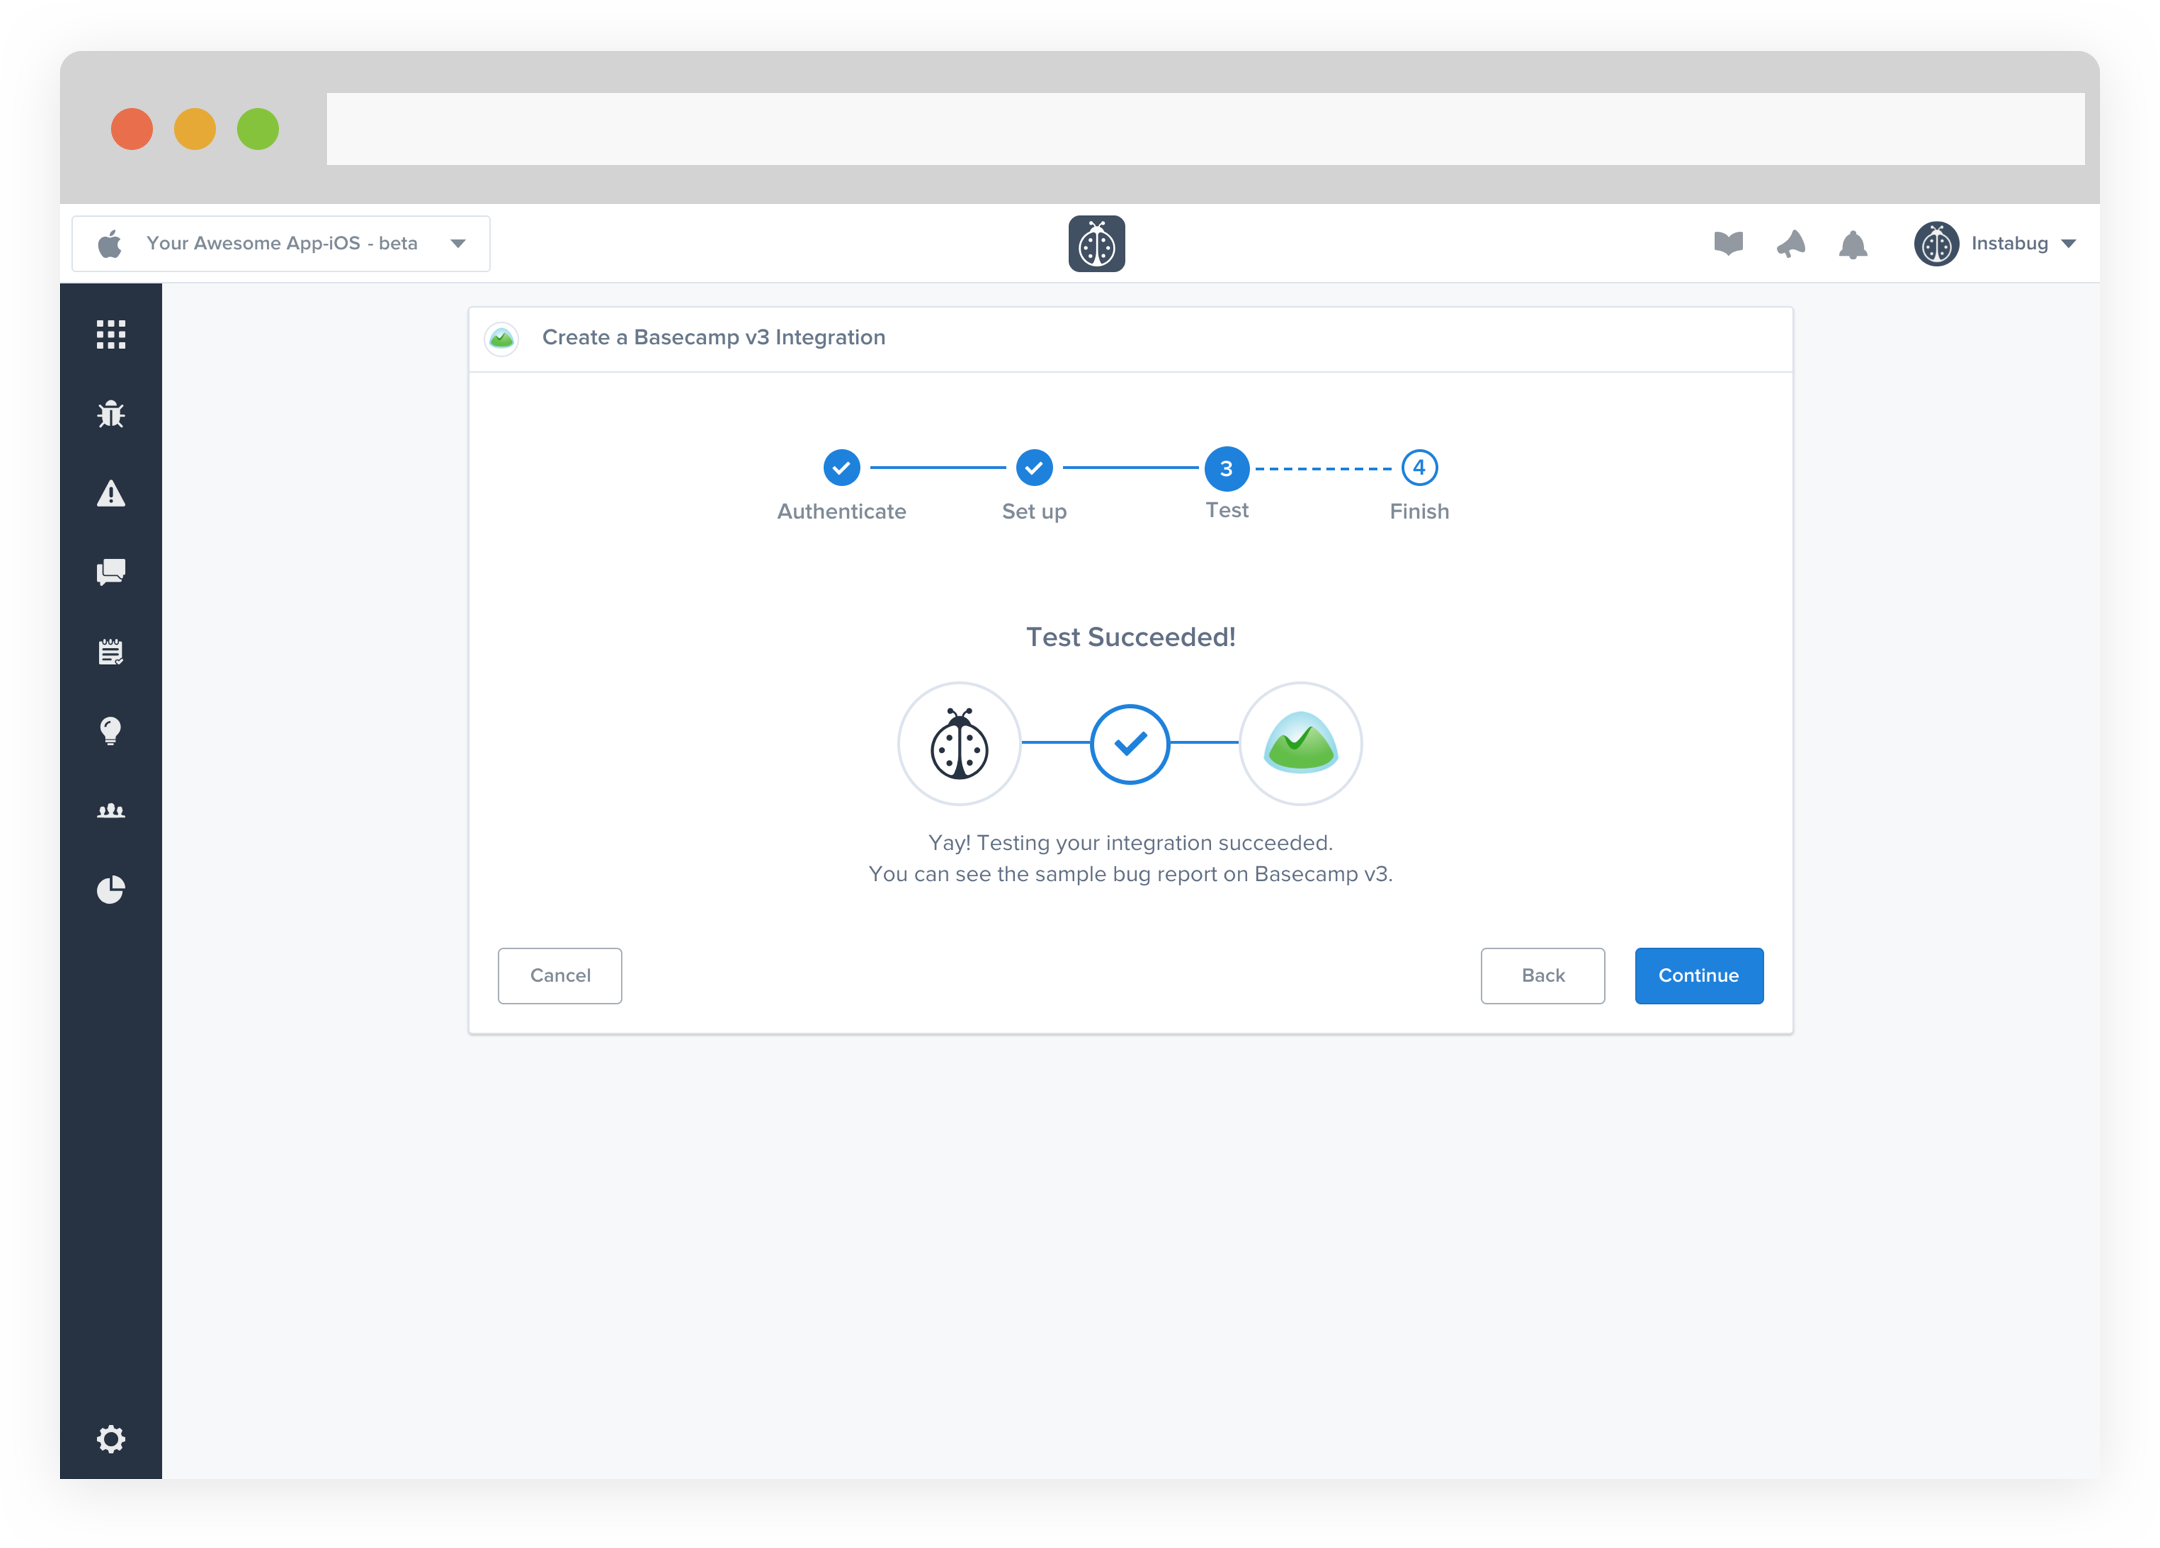
- At this point, we just need to test your integration so that we're sure everything is working smoothly.
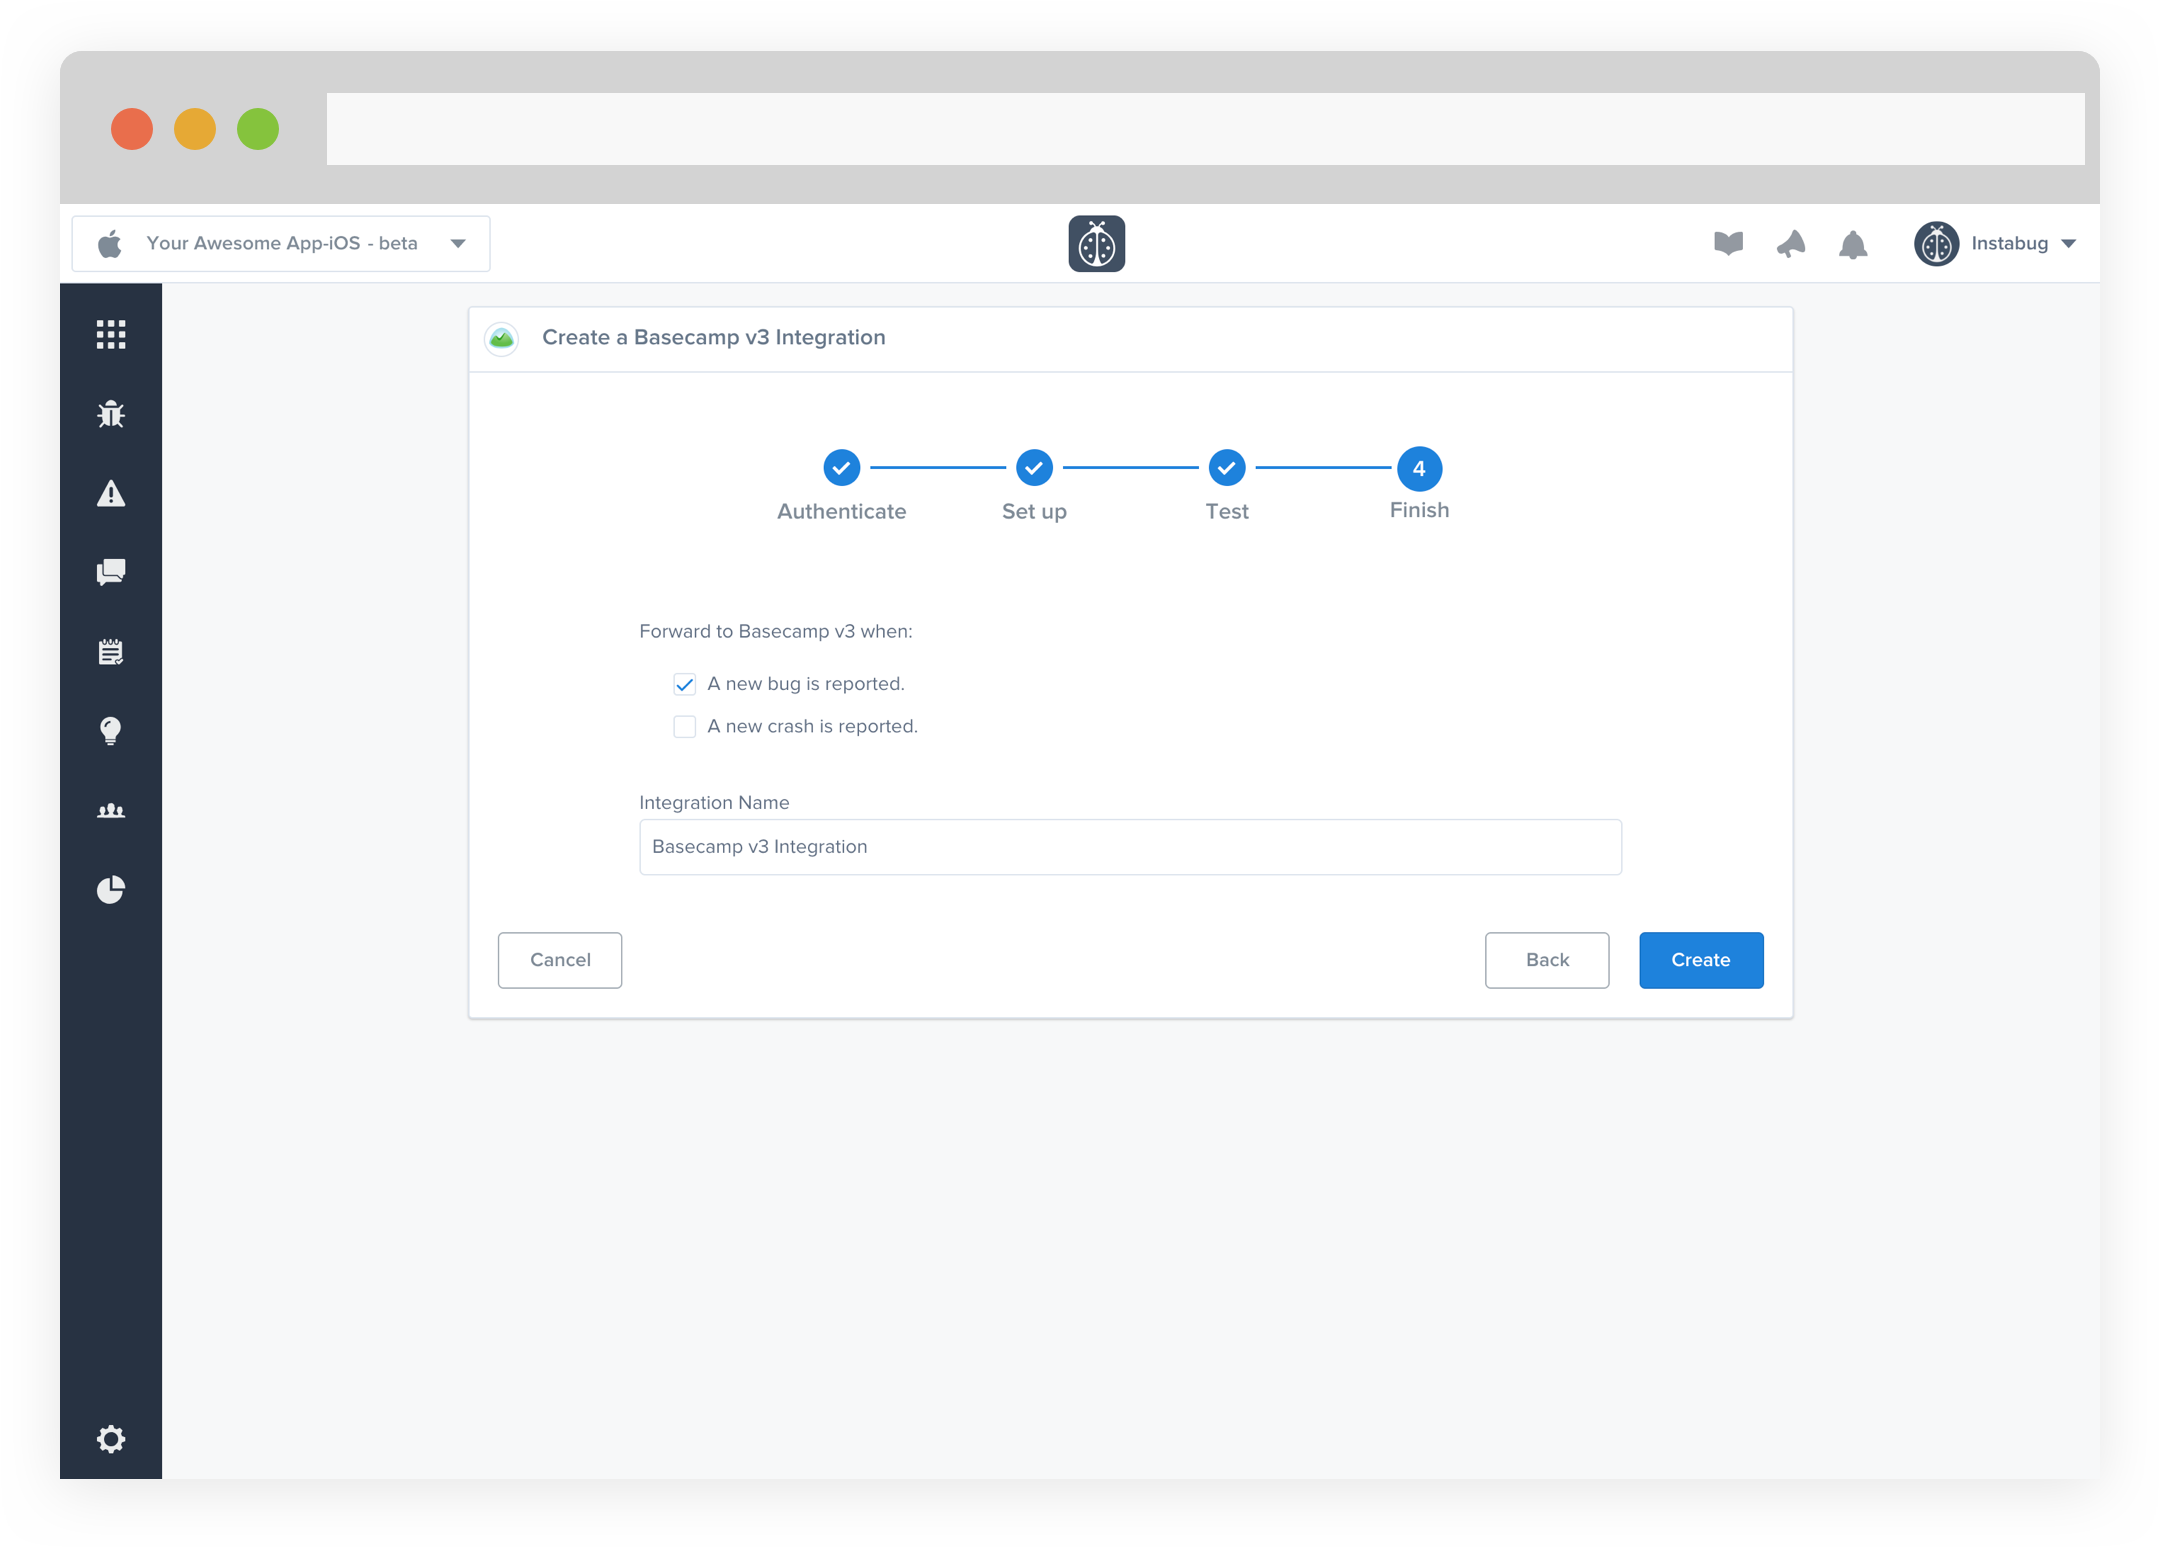
- All done! You're integration is now set-up and ready to go. From this final page, you can allow automatic forwarding (don't worry though, this can be reconfigured at any time!)
- Issues forwarded to Basecamp should look something like this.
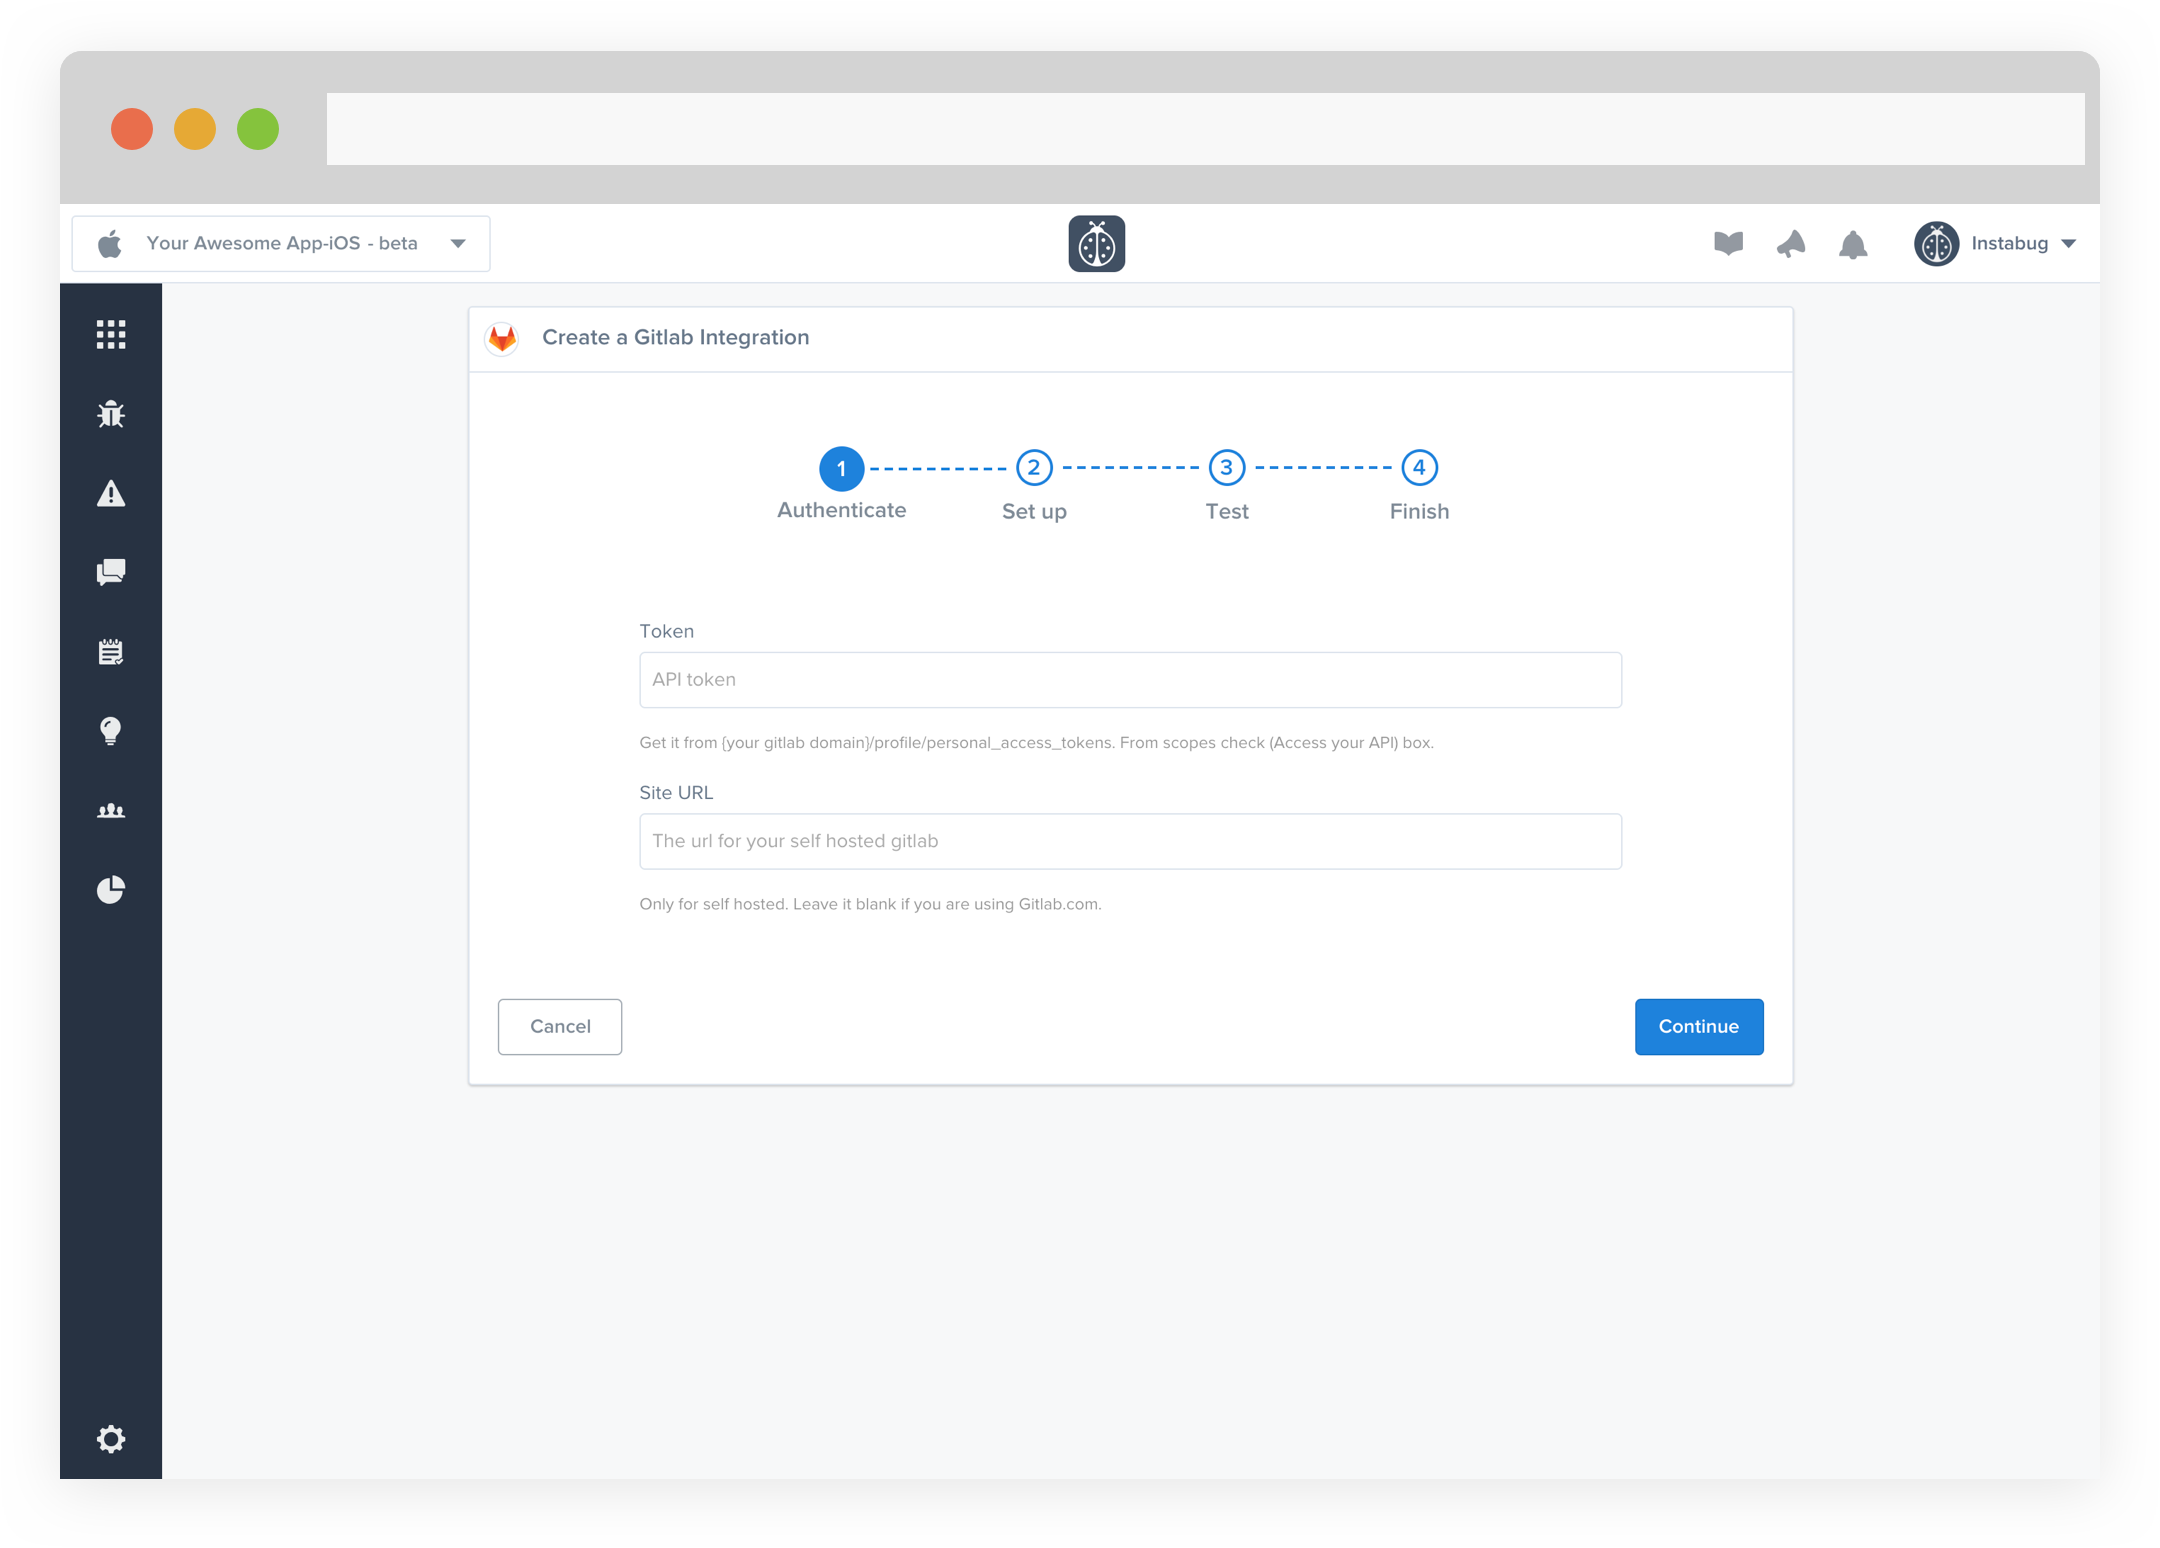
Integrating Instabug with GitLab helps your team receive all the details they need about issues reported by testers and users from your mobile app using our SDK.
- Enter your Token and Site URL (if applicable).
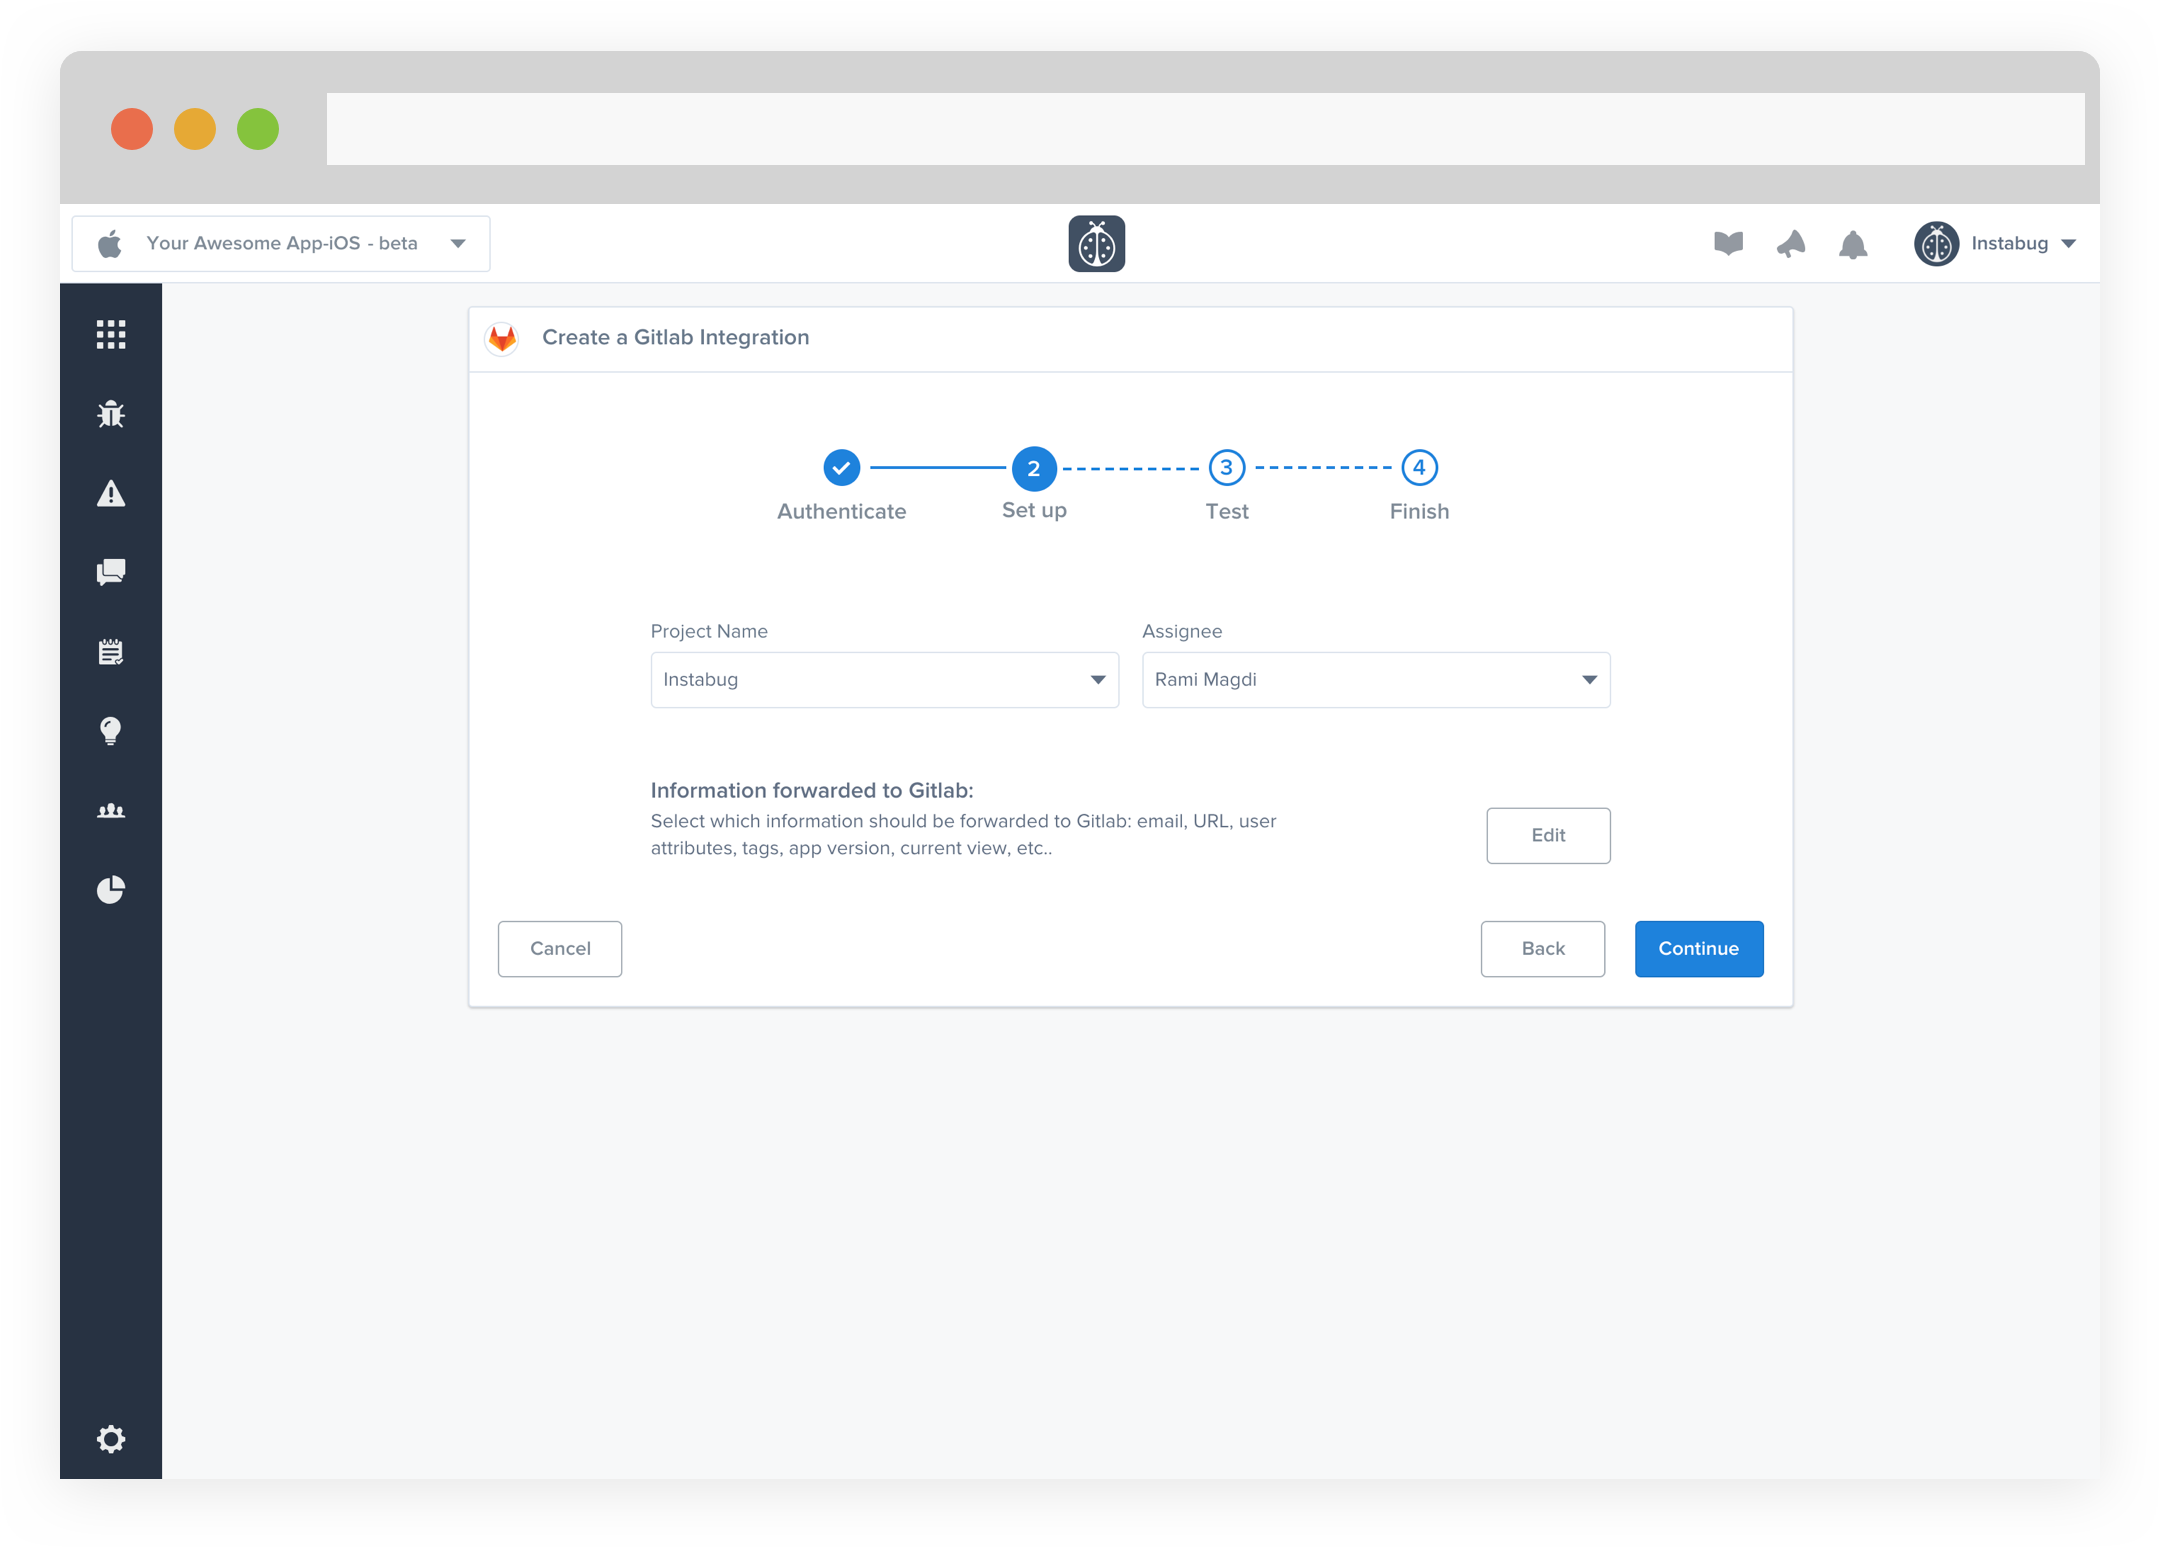
- Choose your Project. You can also choose which details get forwarded as well.
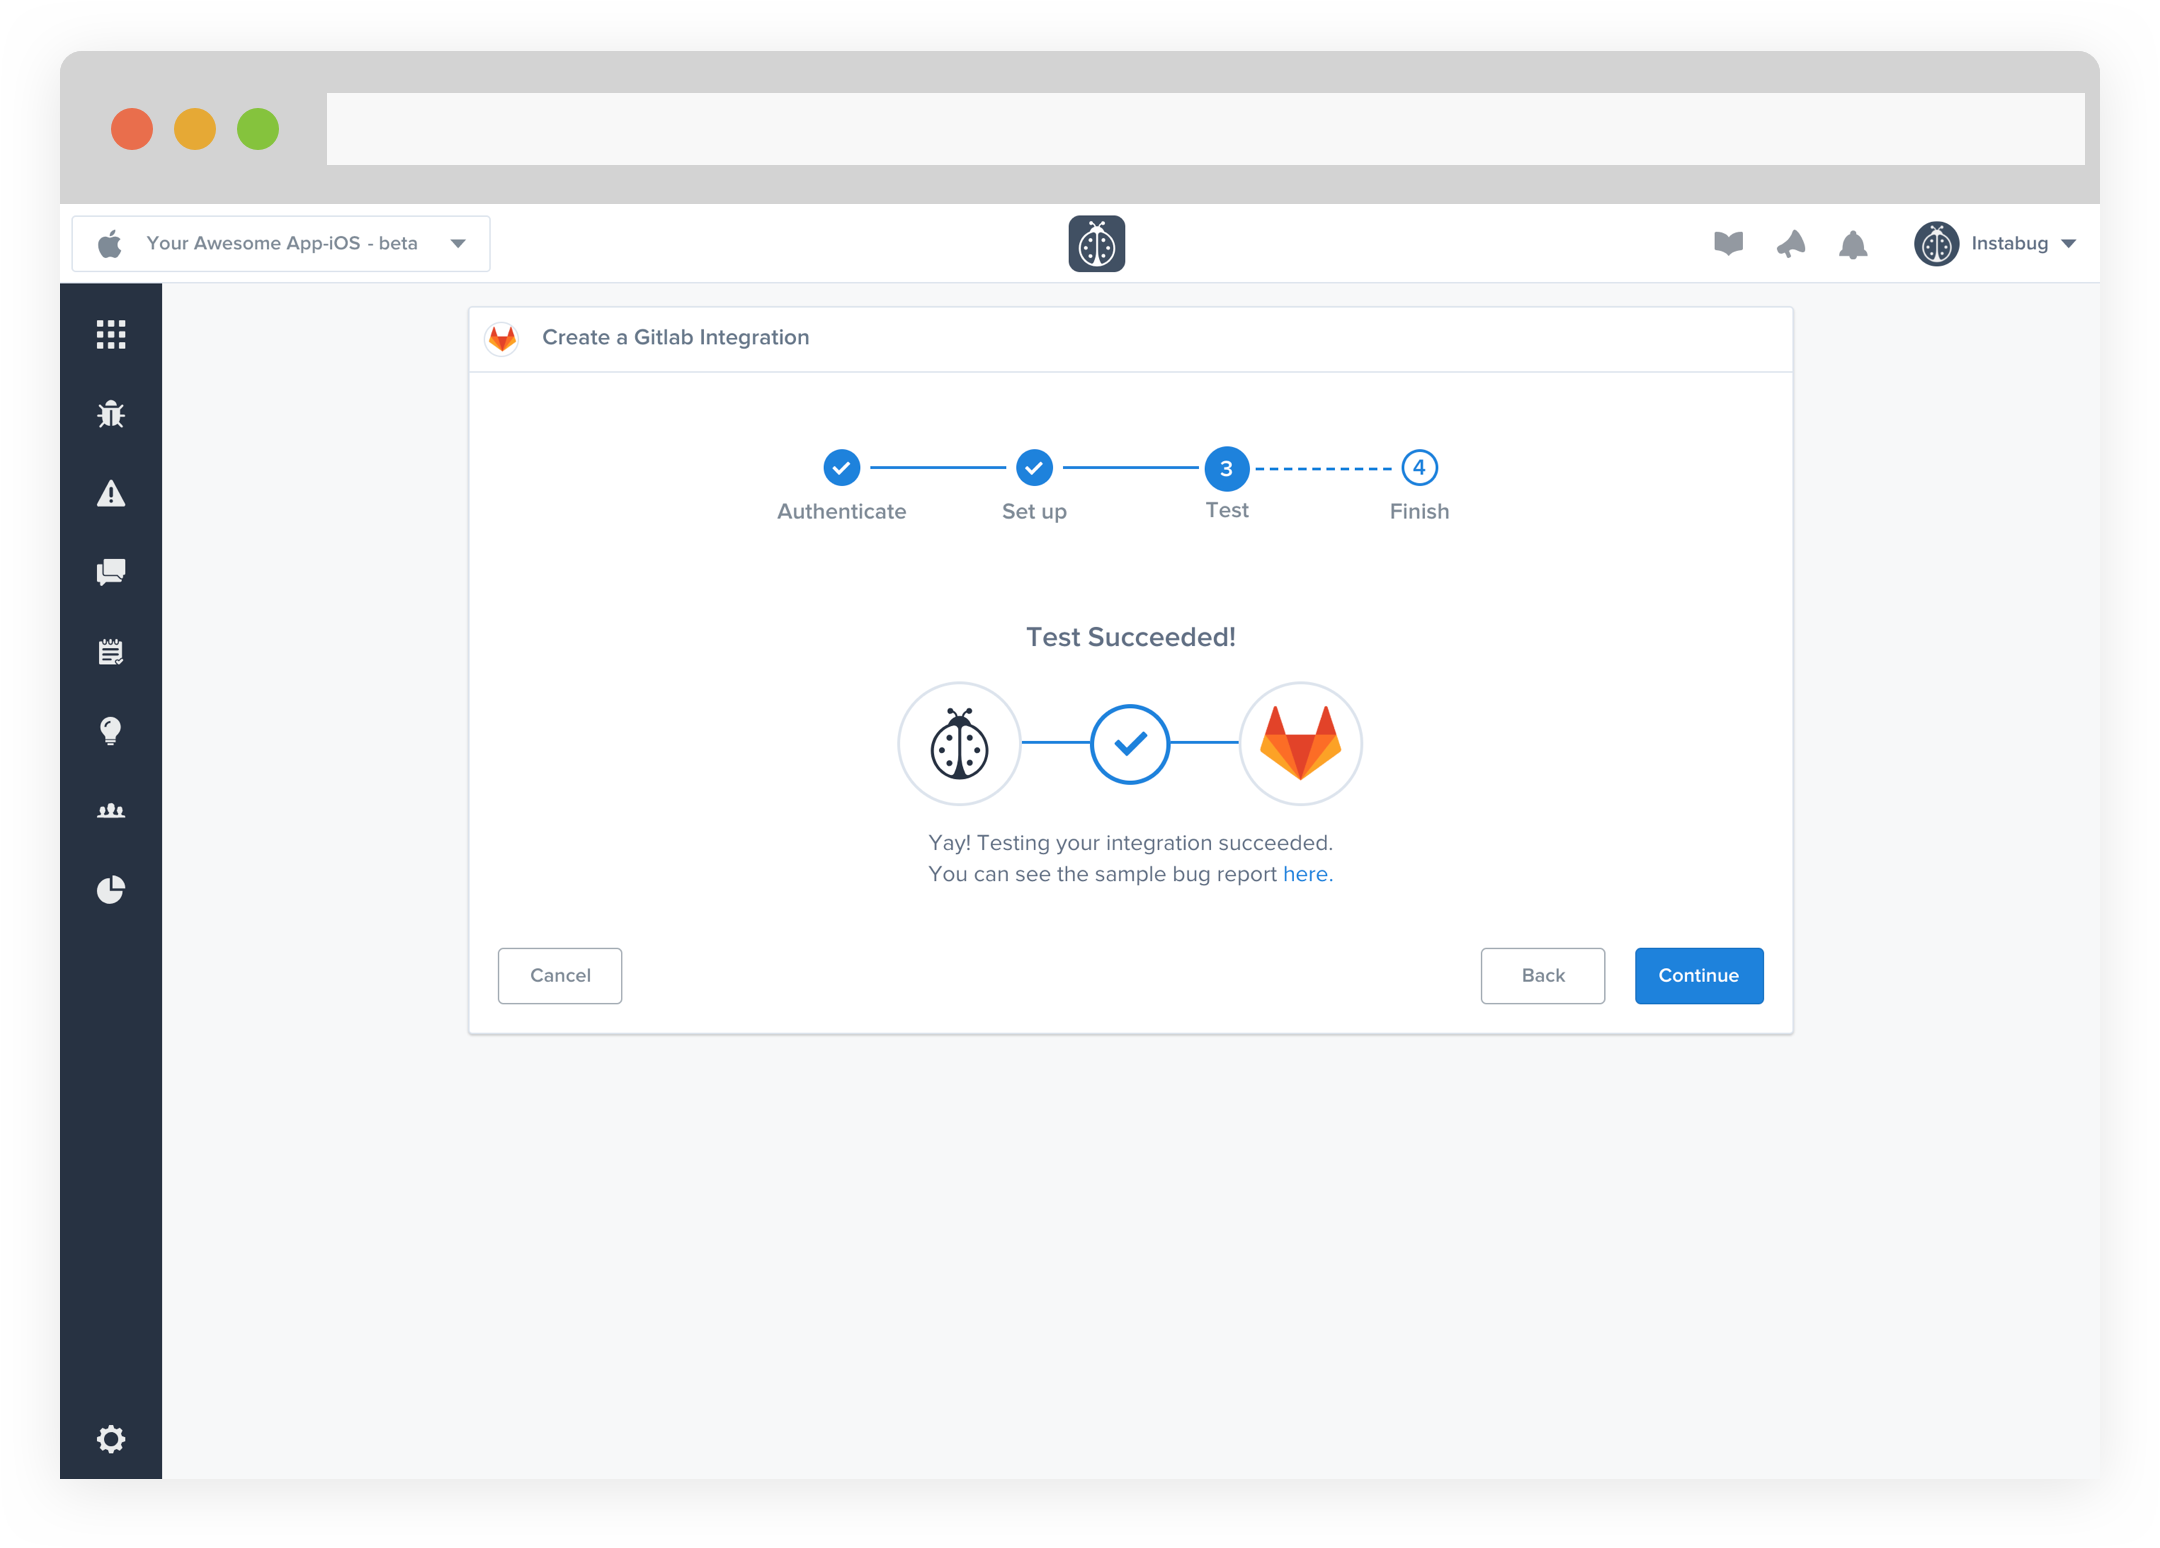
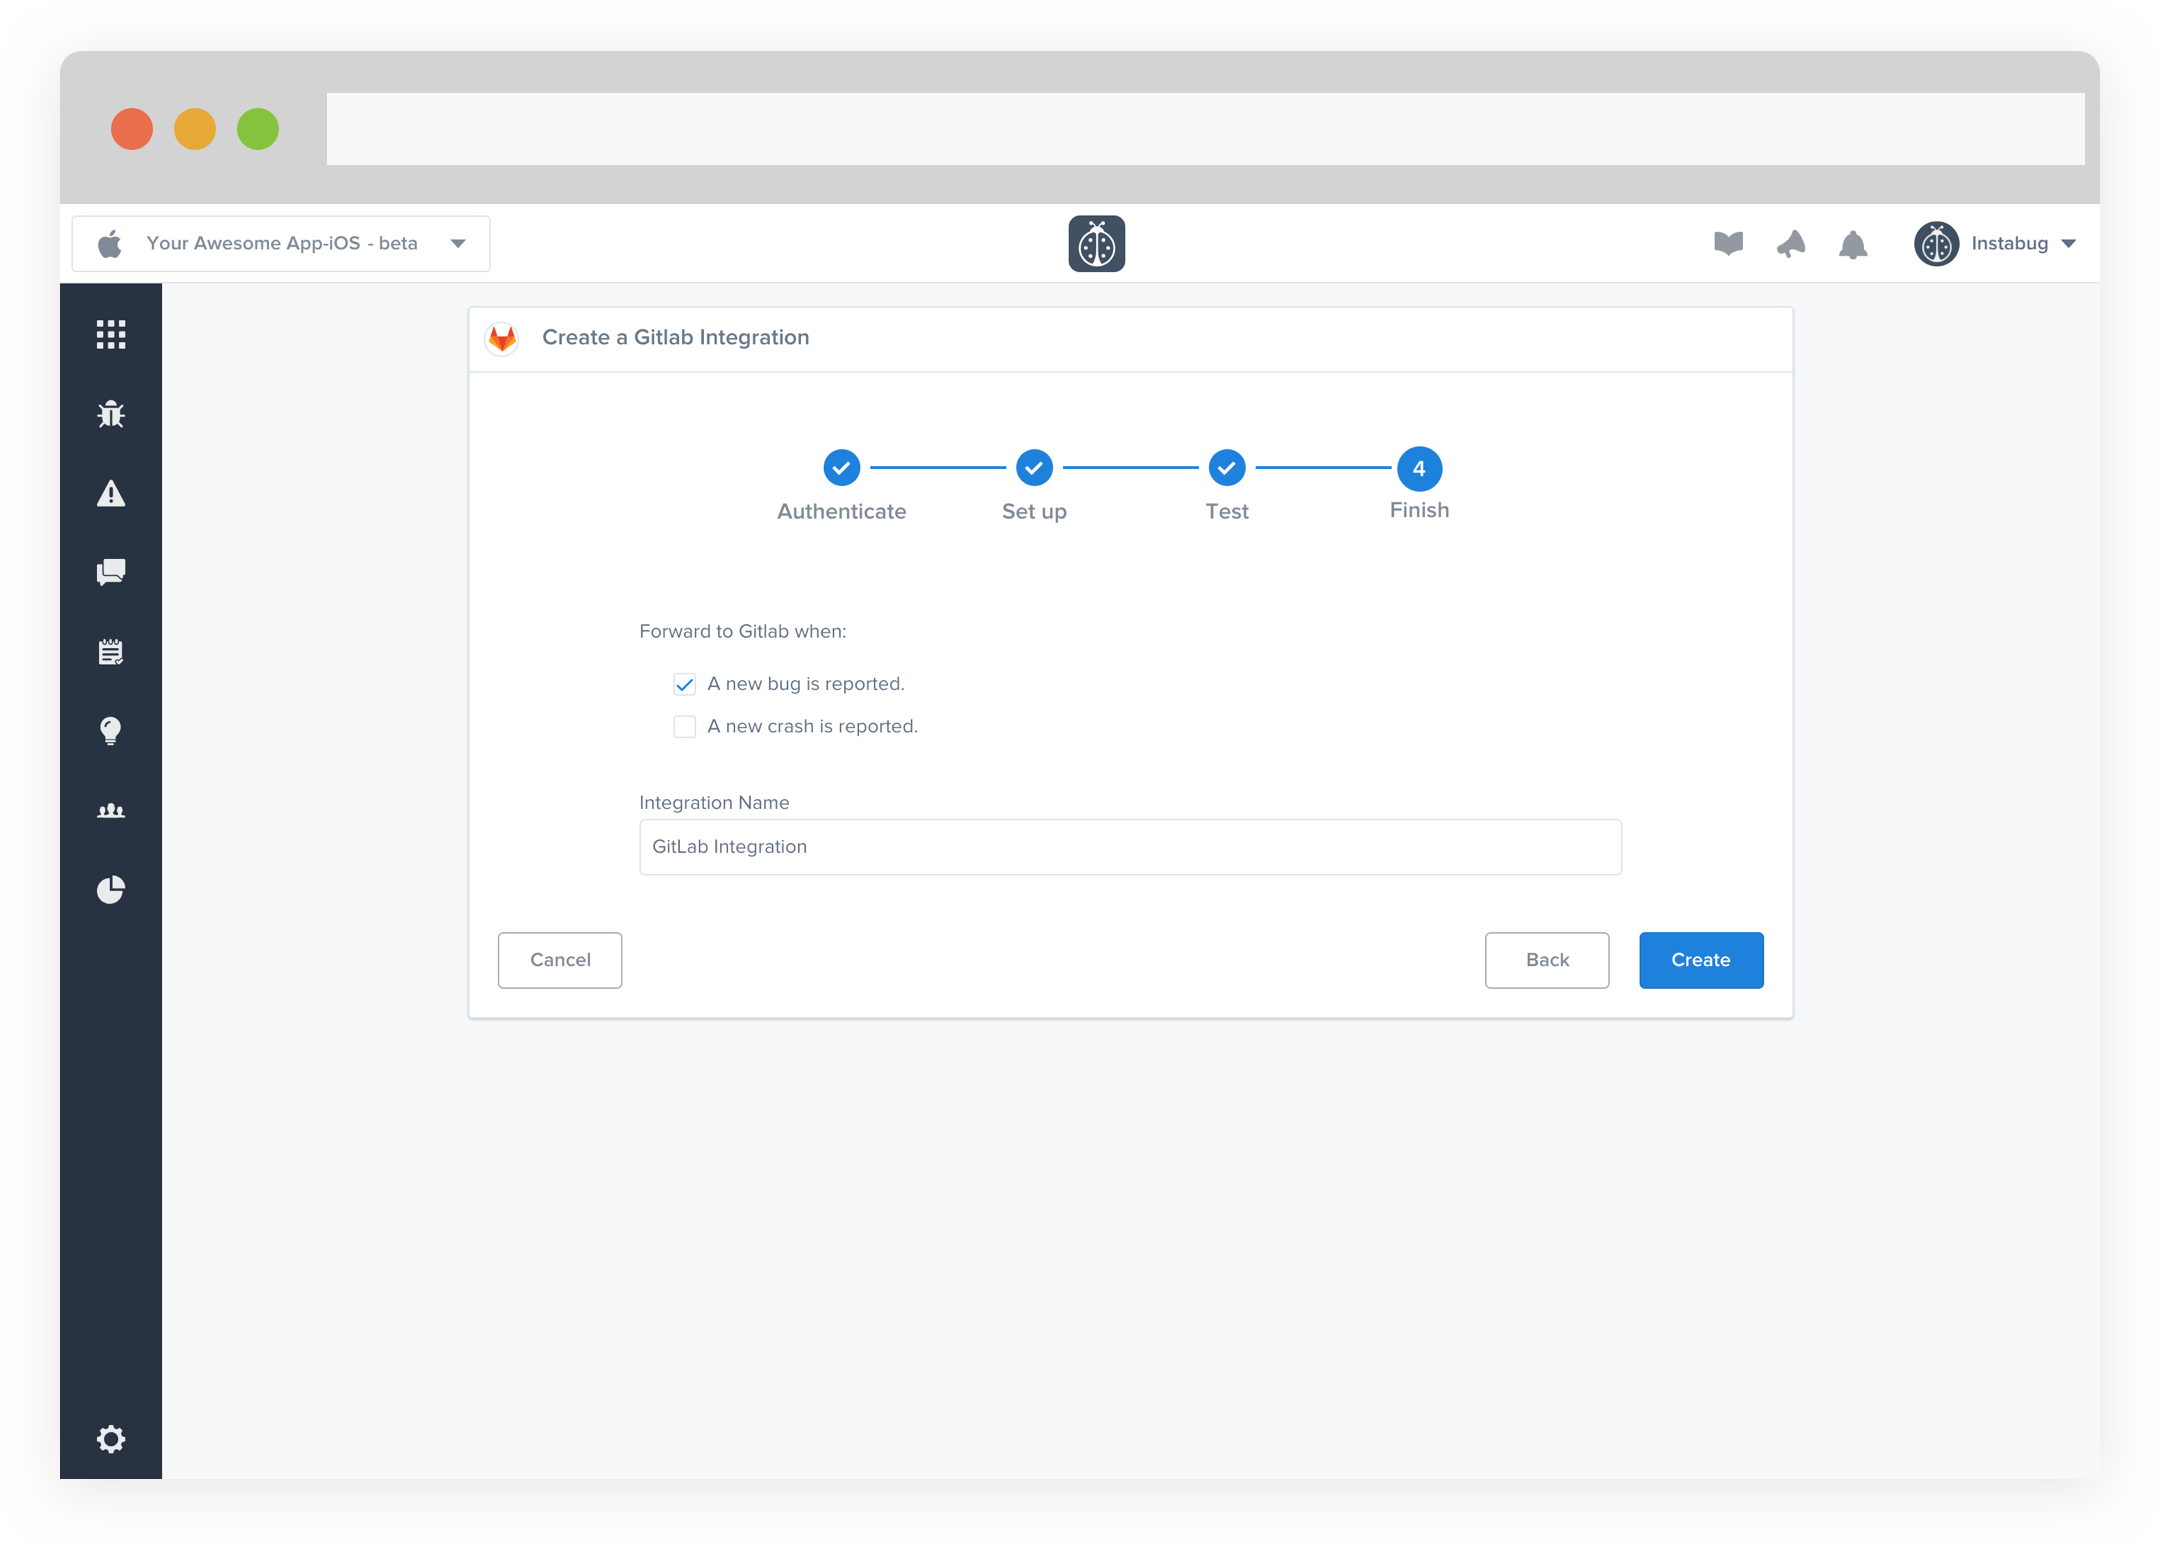
- At this point, we just need to test your integration so that we're sure everything is working smoothly.
- All done! You're integration is now set-up and ready to go. From this final page, you can allow automatic forwarding (don't worry though, this can be reconfigured at any time!)
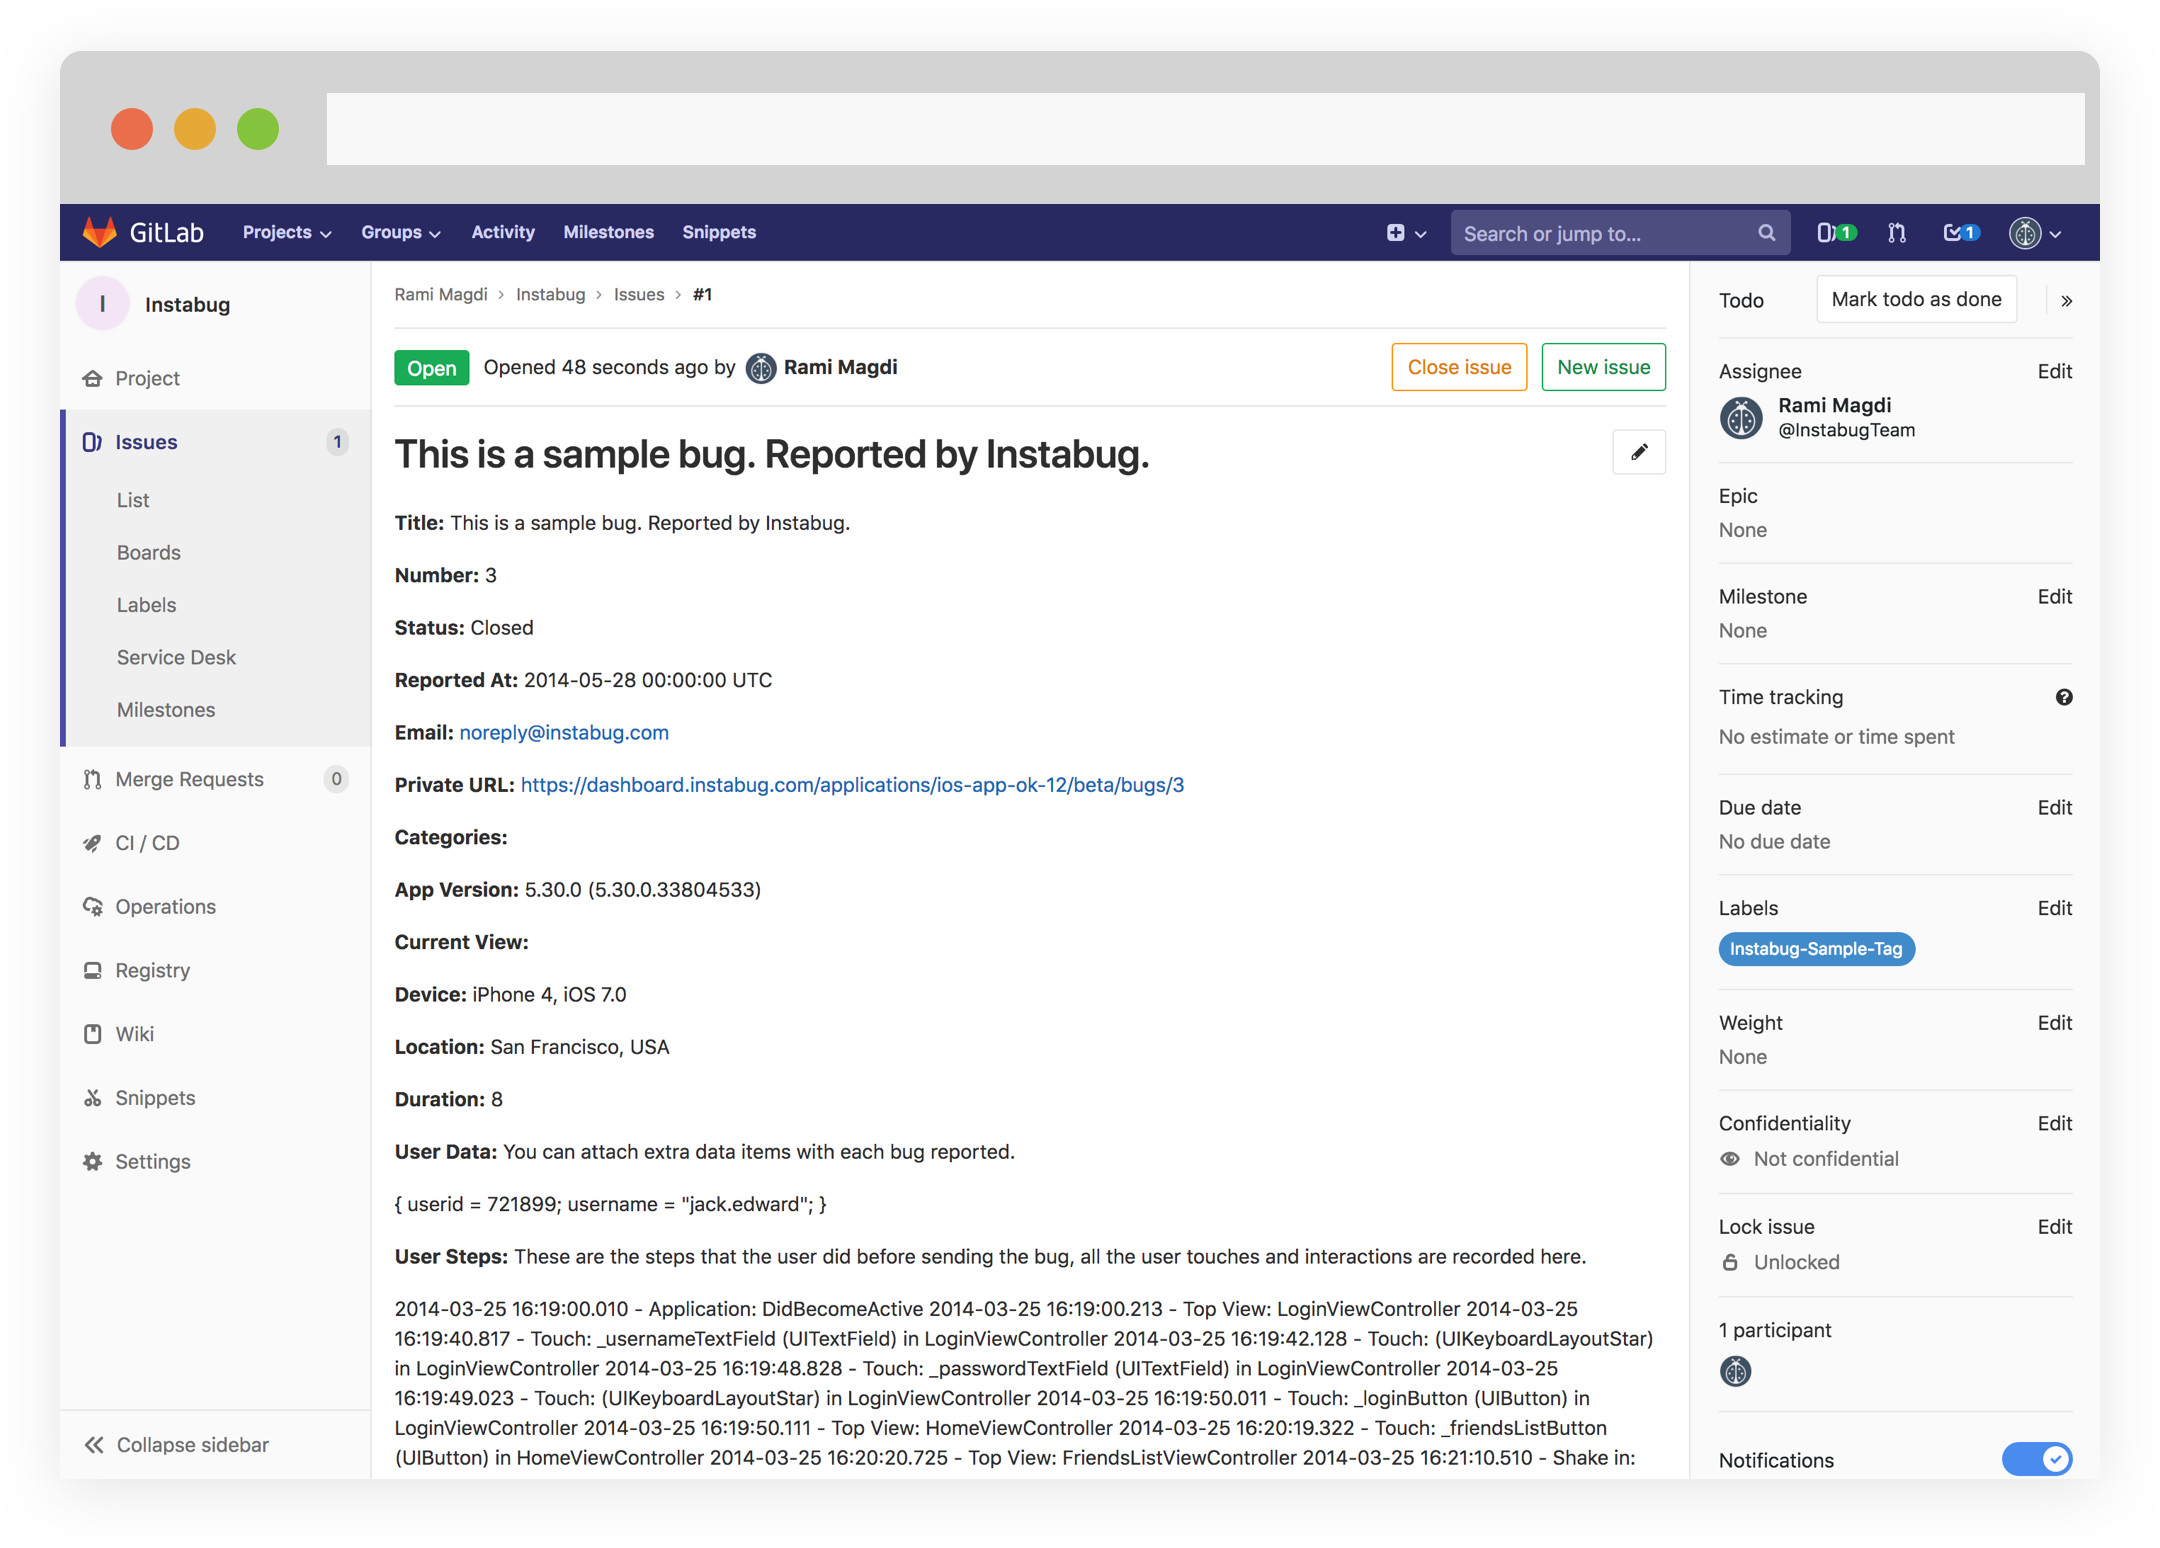
- Issues forwarded to GitLab should look something like this.
Integrating Instabug with Teamwork Projects helps your team receive all the details they need about issues reported by testers and users from your mobile app using our SDK.
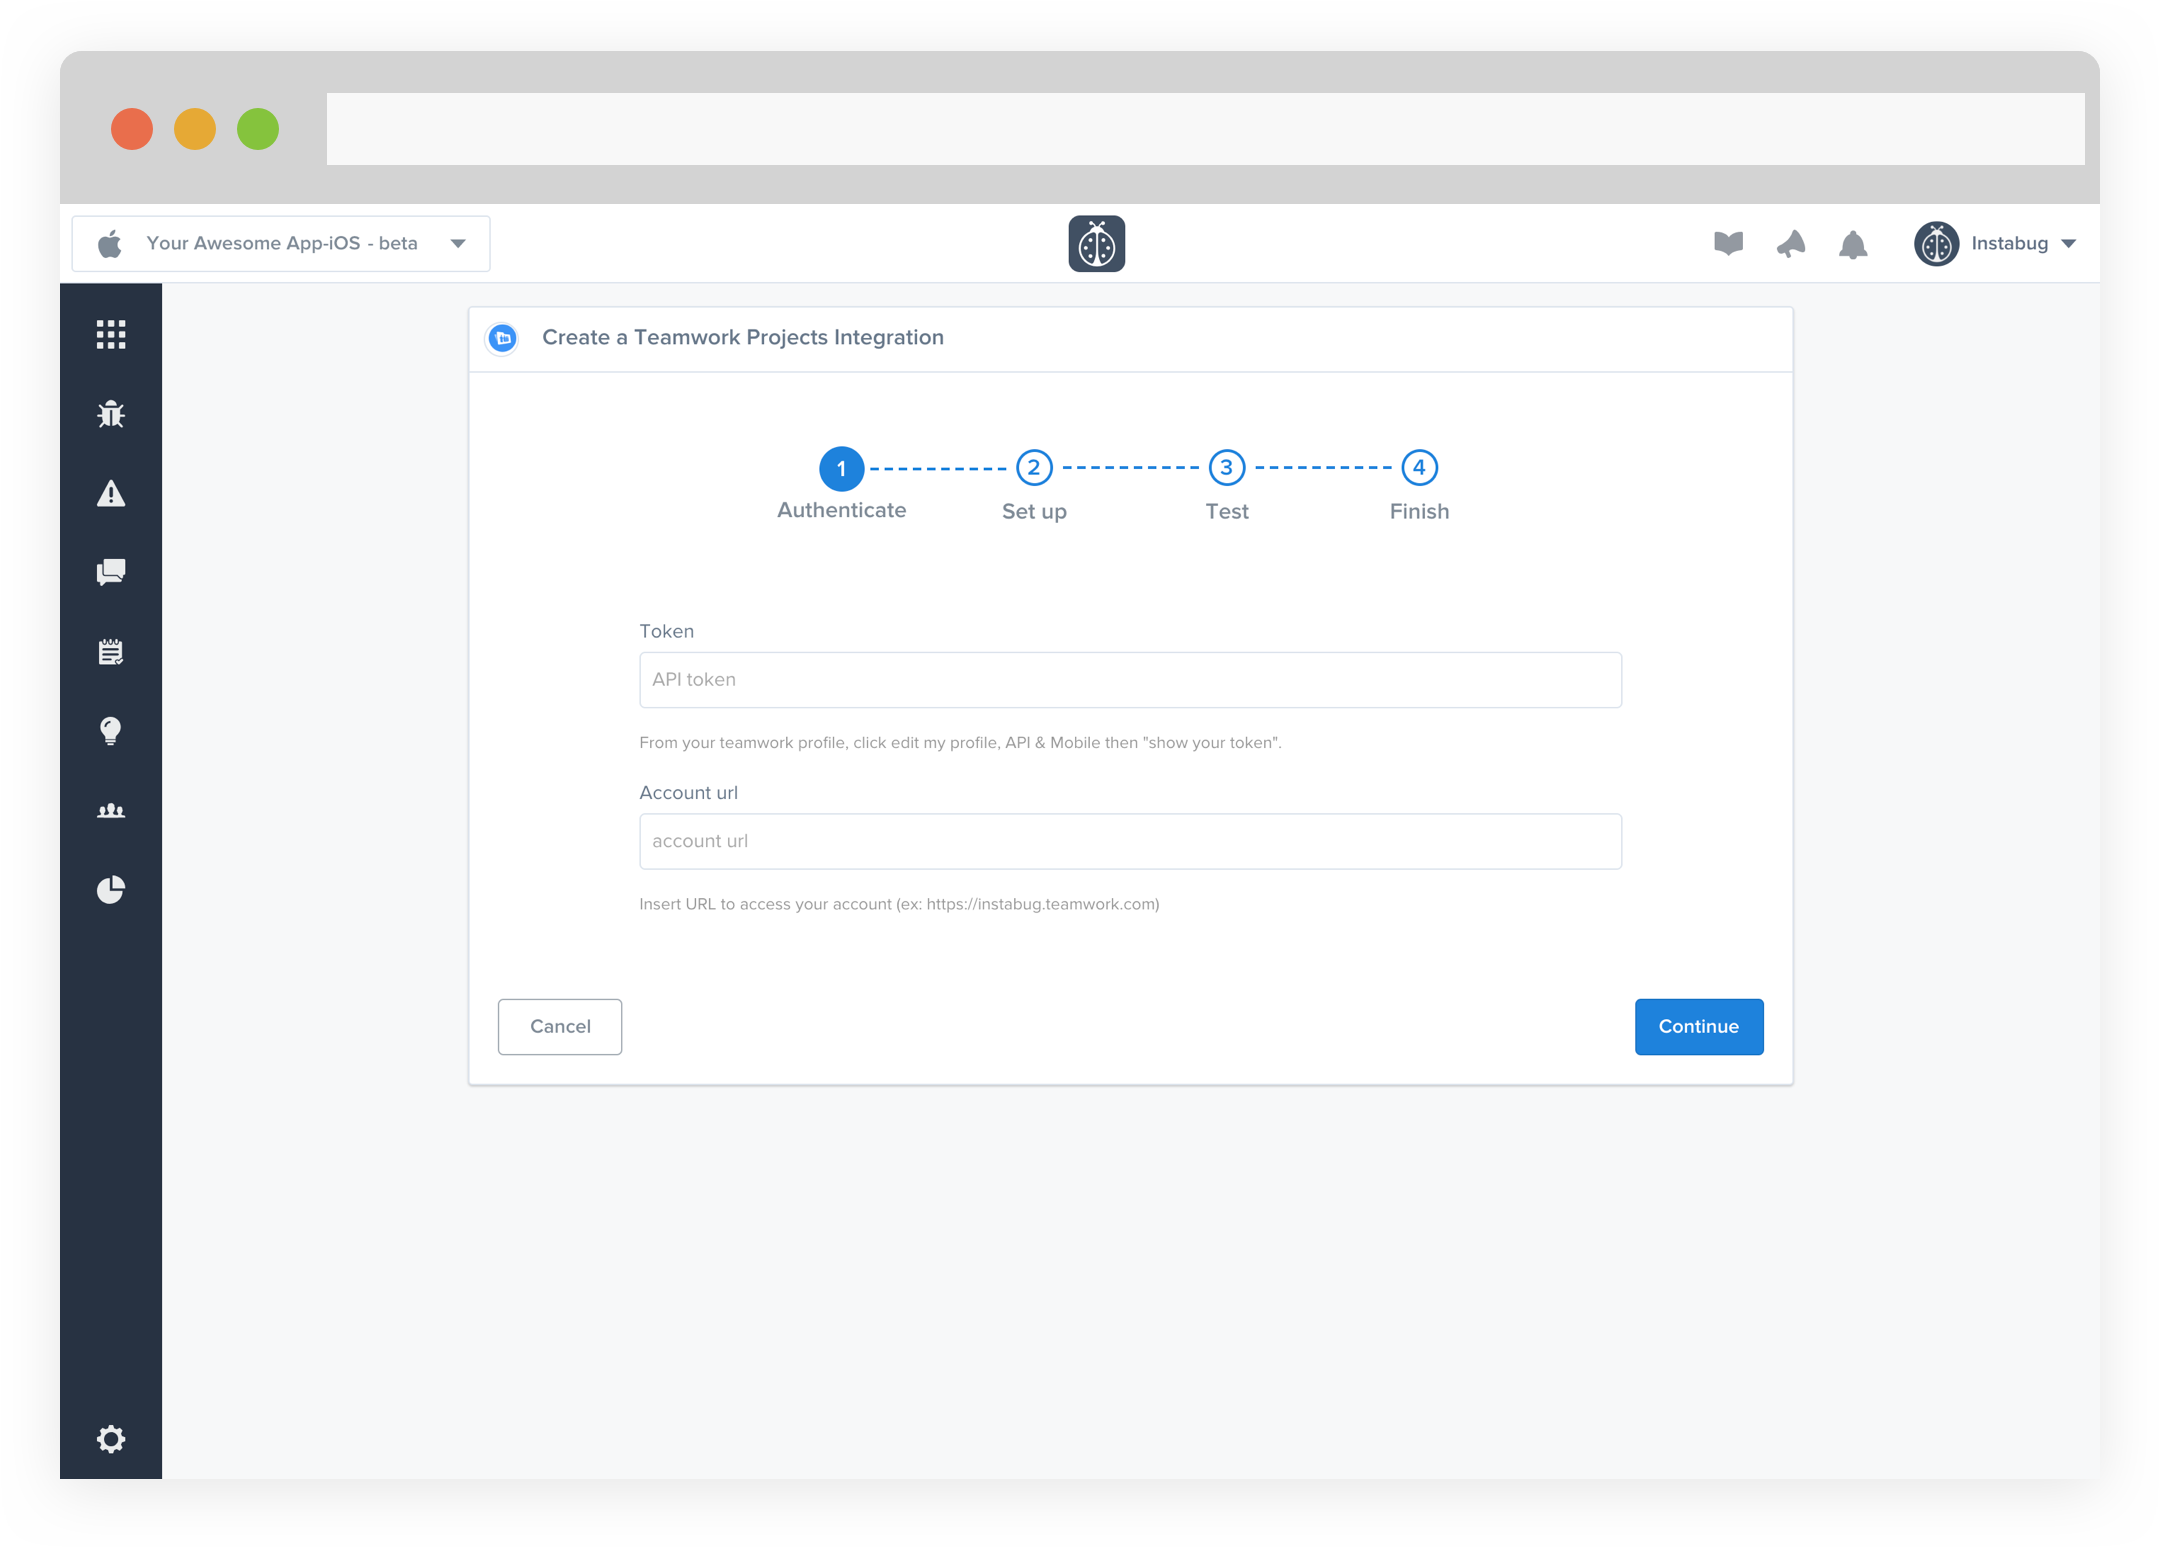
- Enter your Token and Account URL.
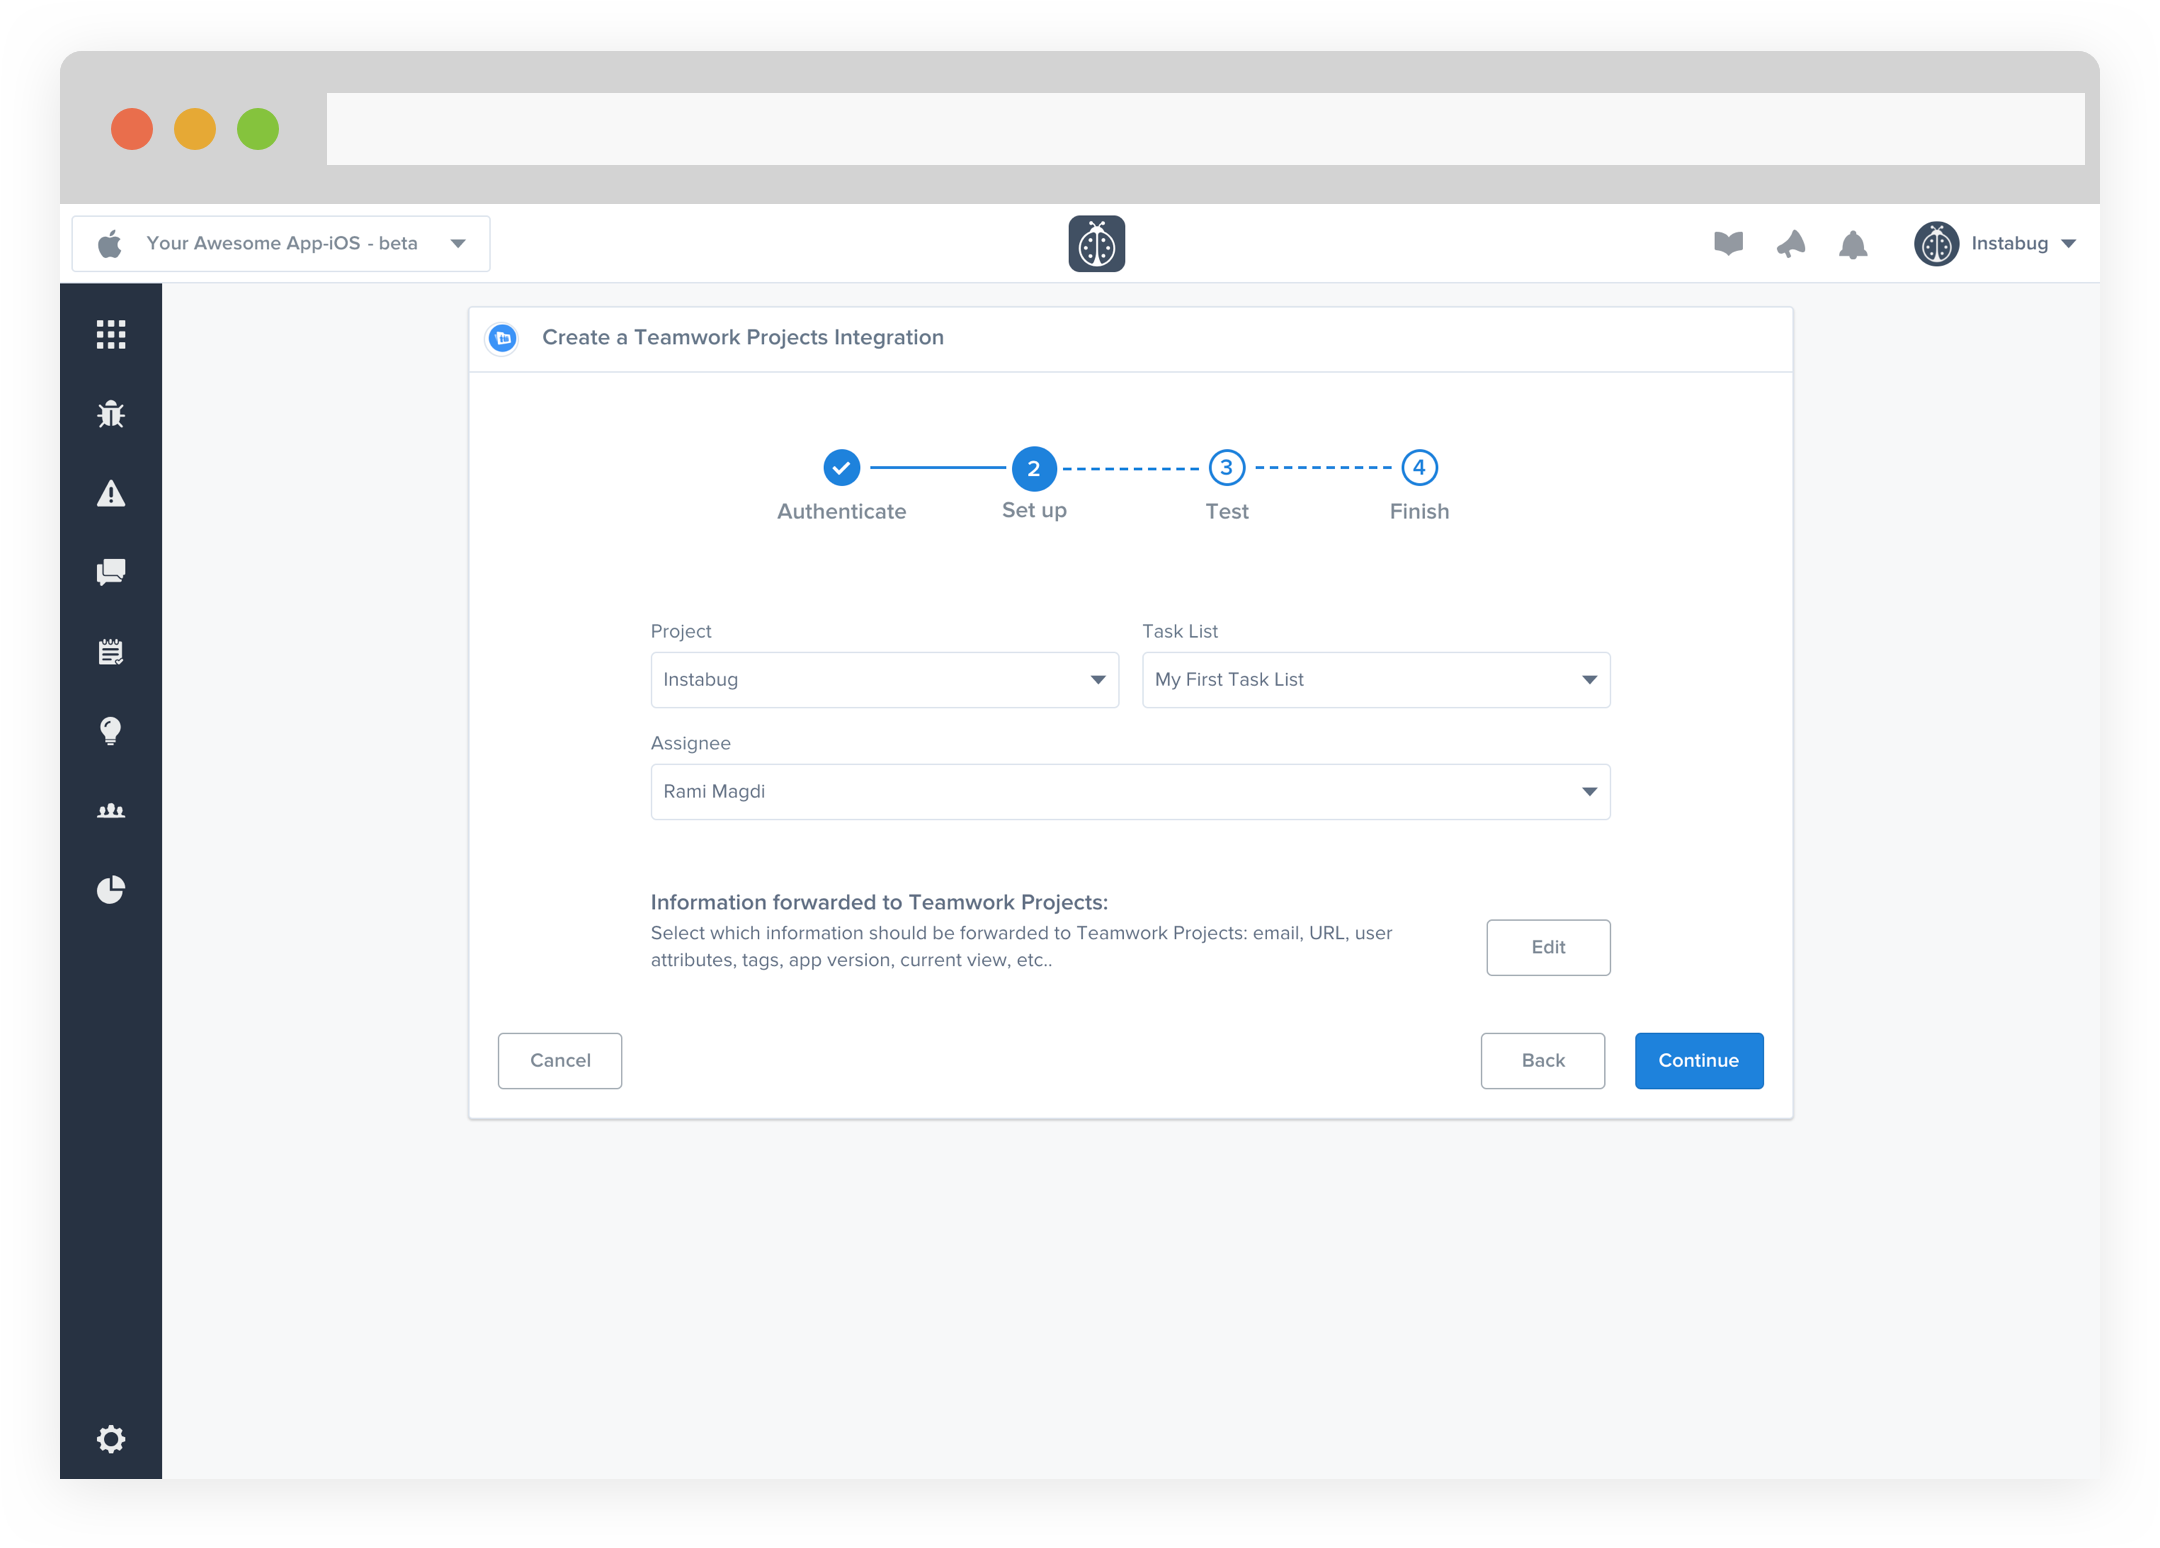
- Choose your Project, Task List, and Assignee. You can also choose which details get forwarded as well.
- At this point, we just need to test your integration so that we're sure everything is working smoothly.
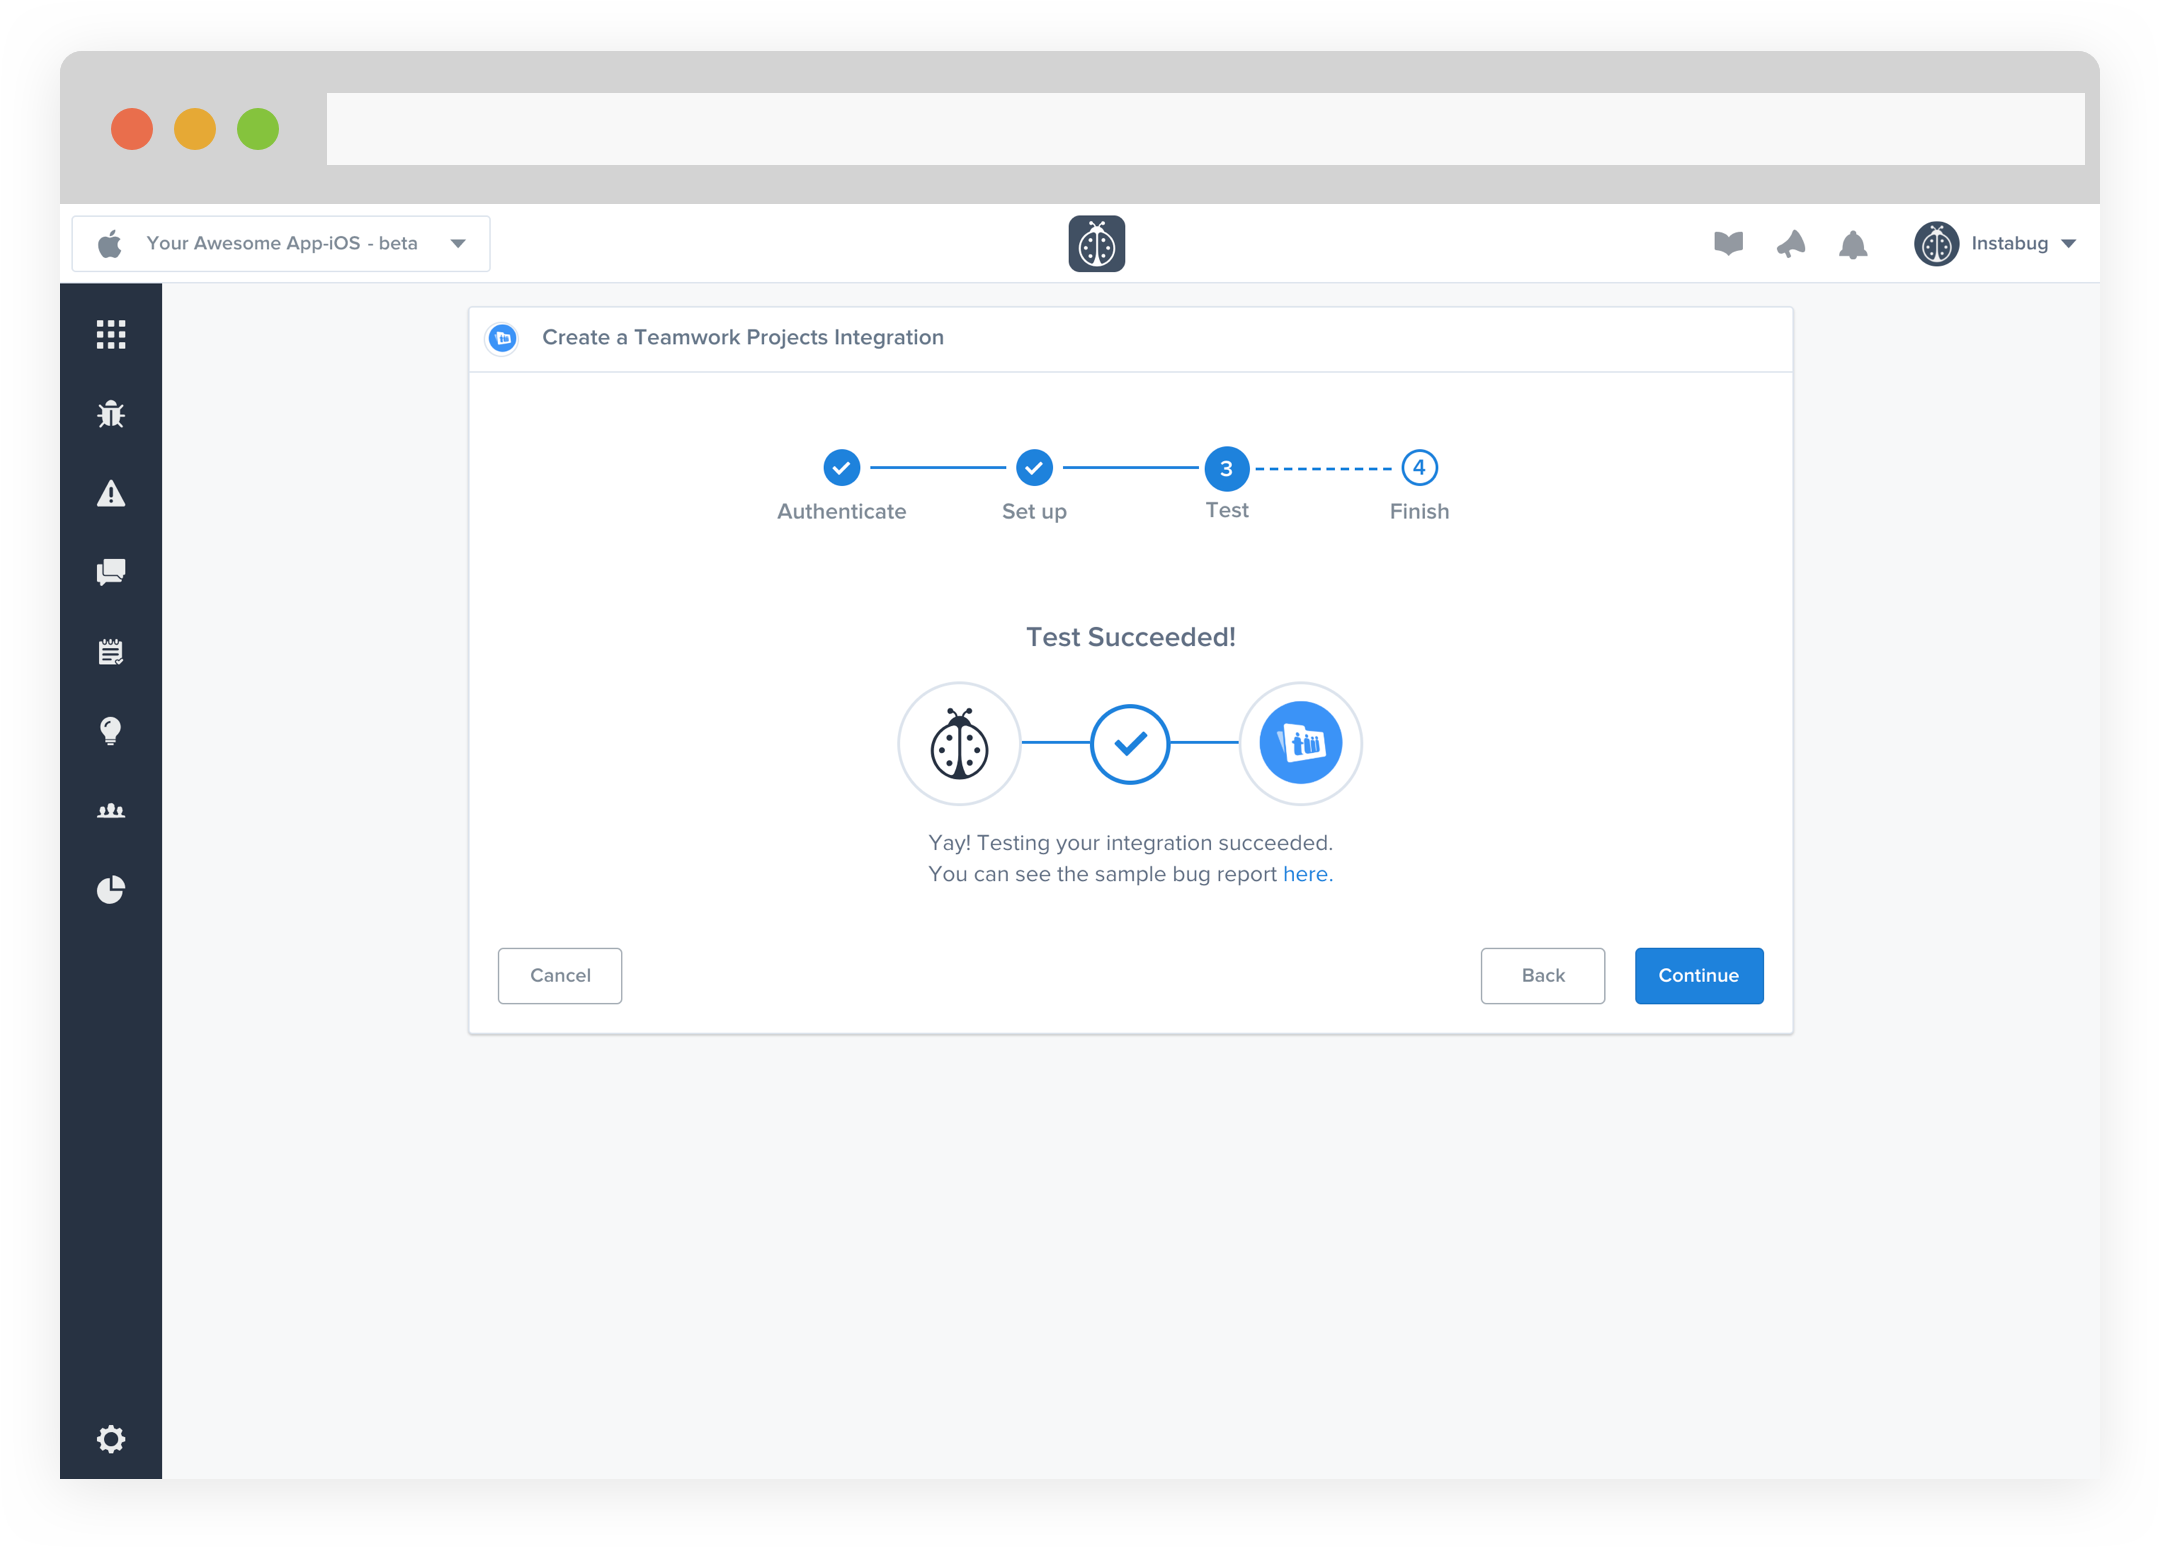
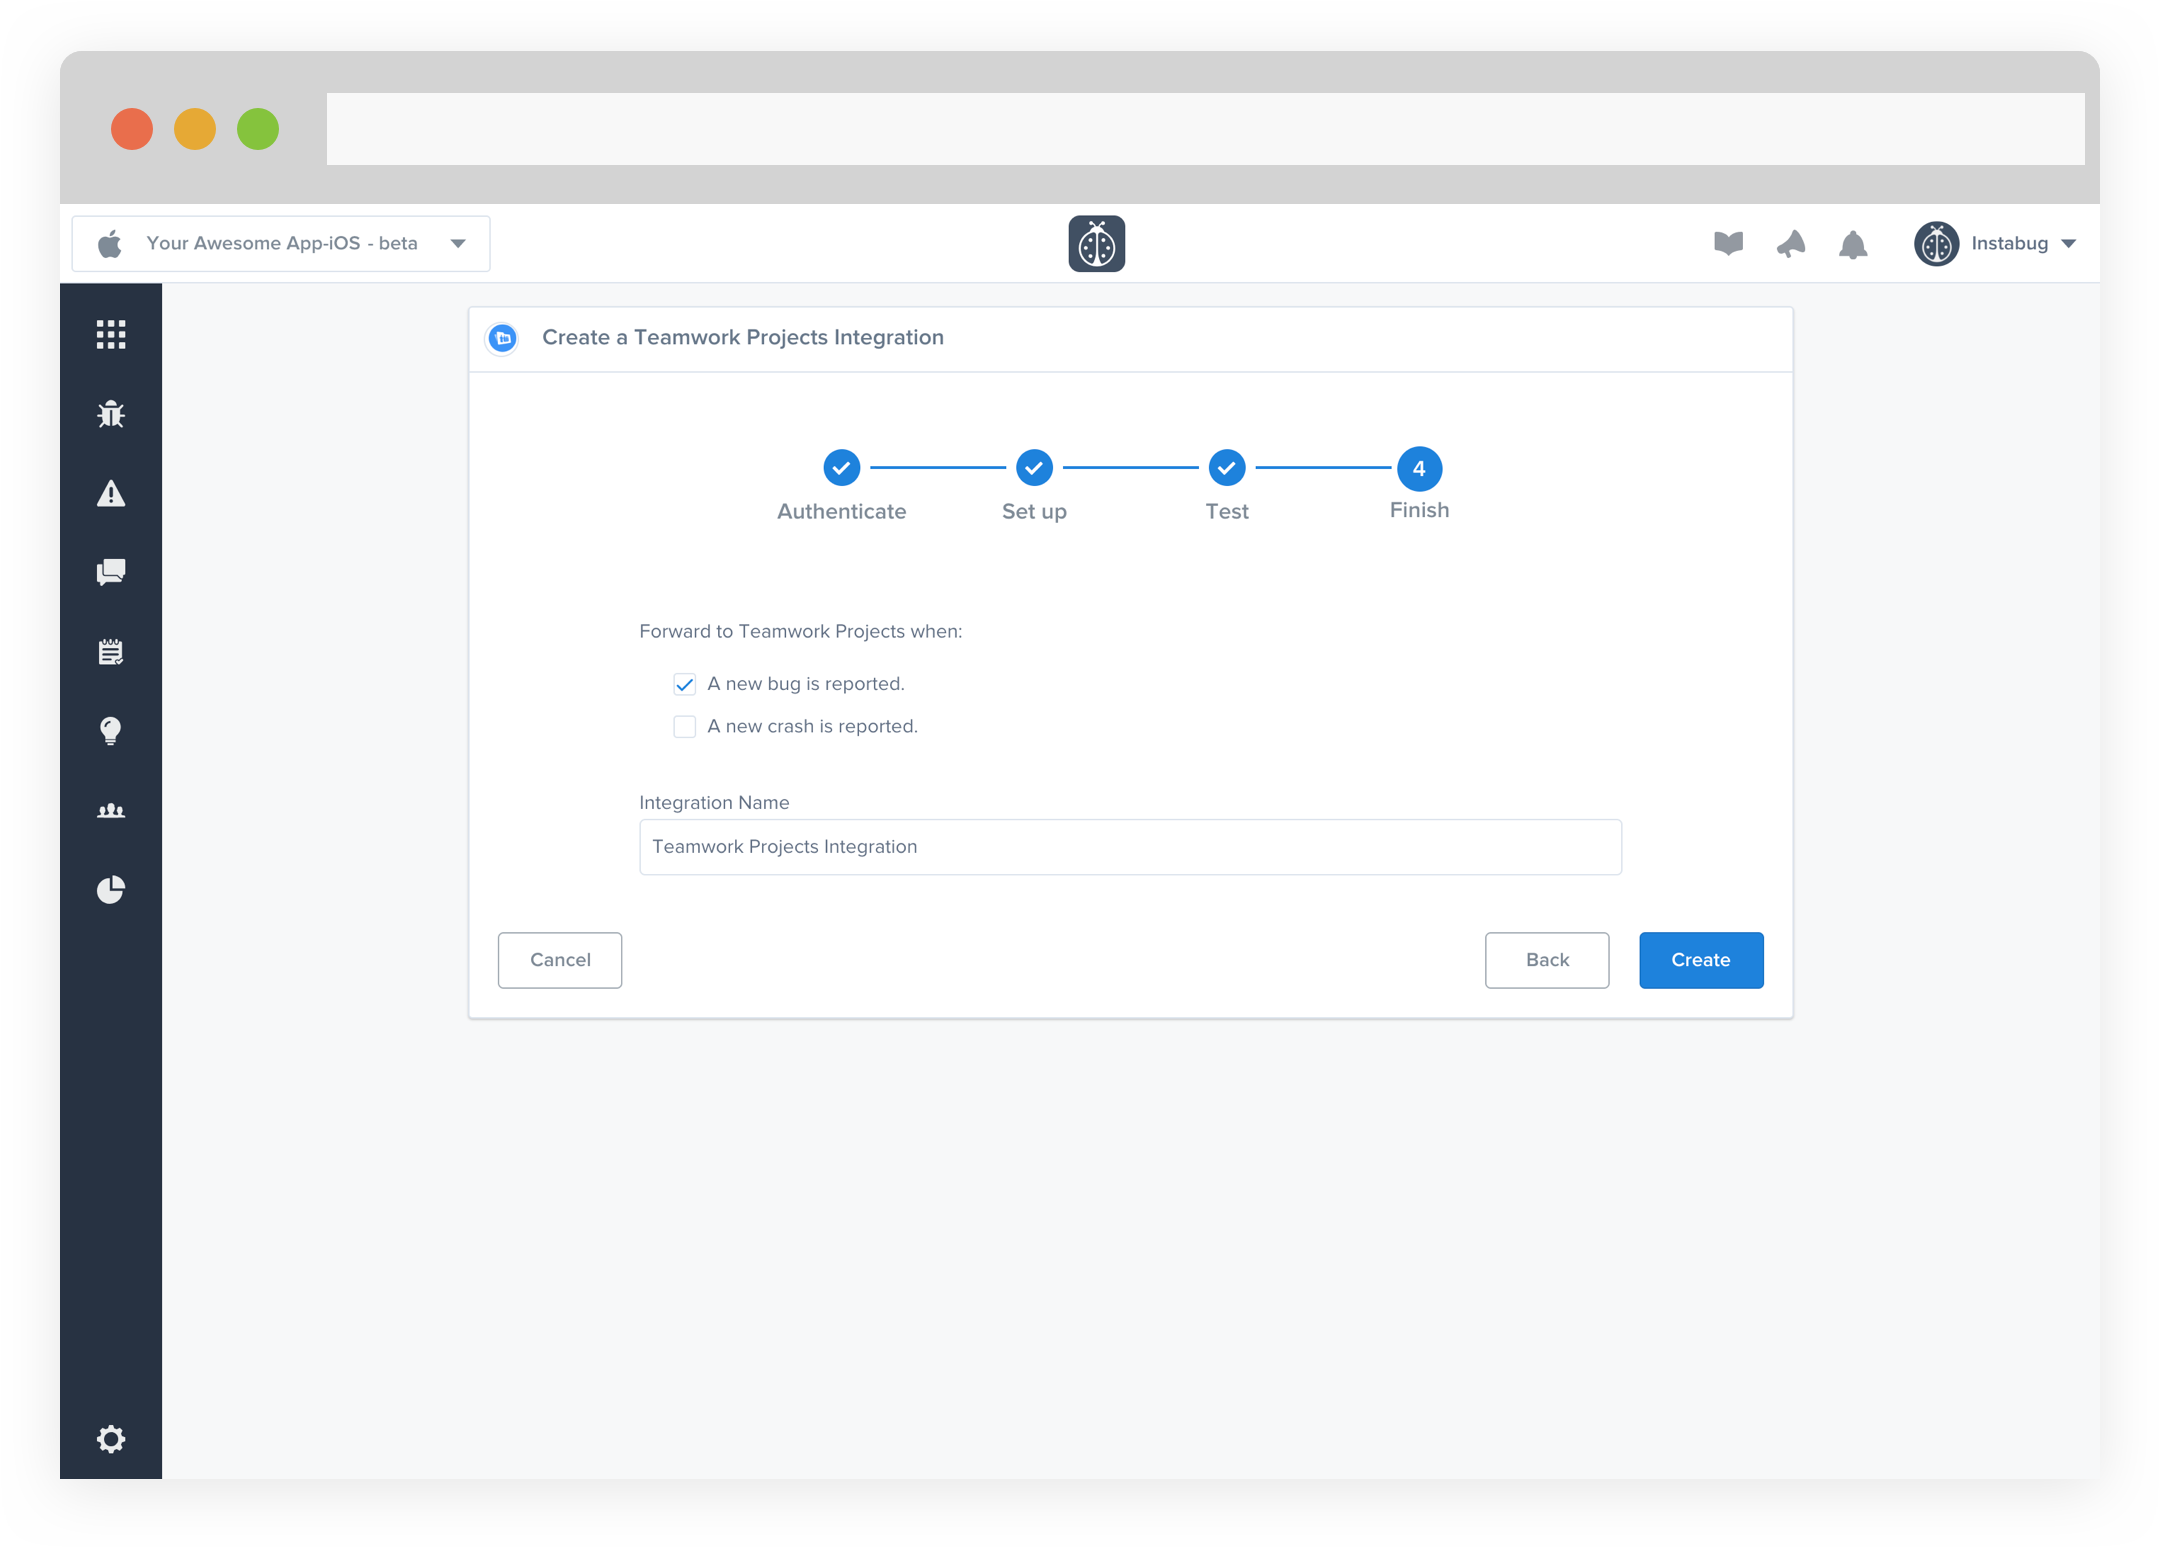
- All done! You're integration is now set-up and ready to go. From this final page, you can allow automatic forwarding (don't worry though, this can be reconfigured at any time!)
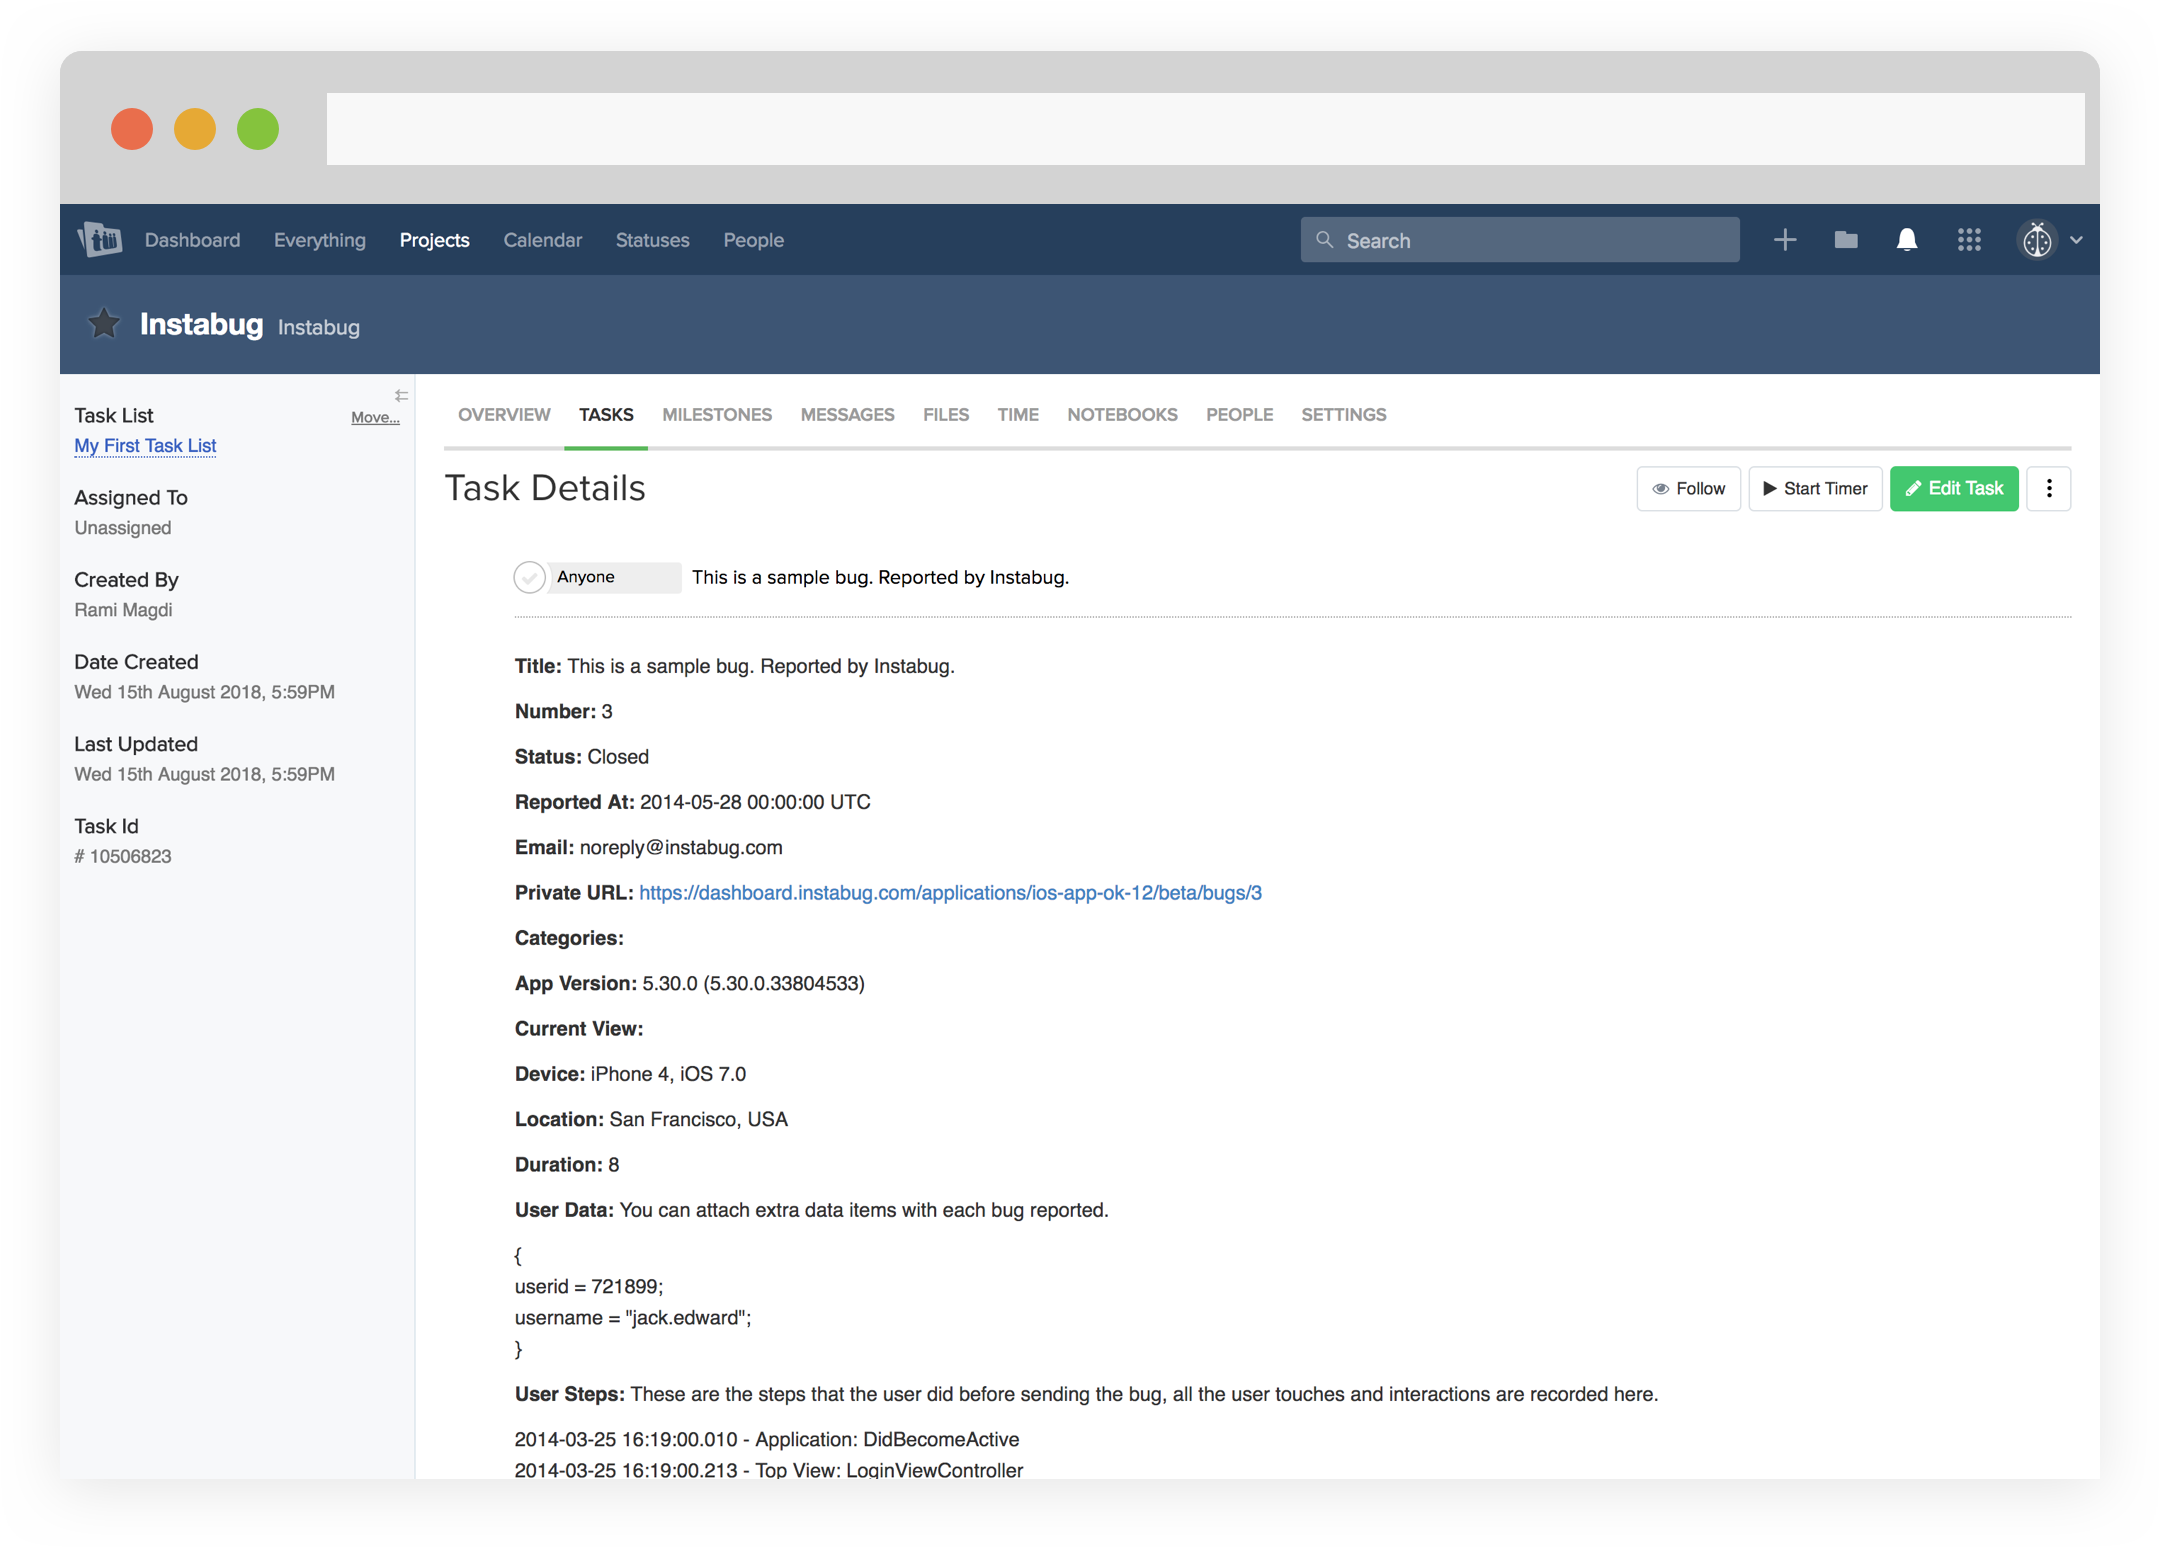
- Issues forwarded to Teamwork Projects should look something like this.
Updated about 5 years ago
