
Webhook
Setting up the Integration
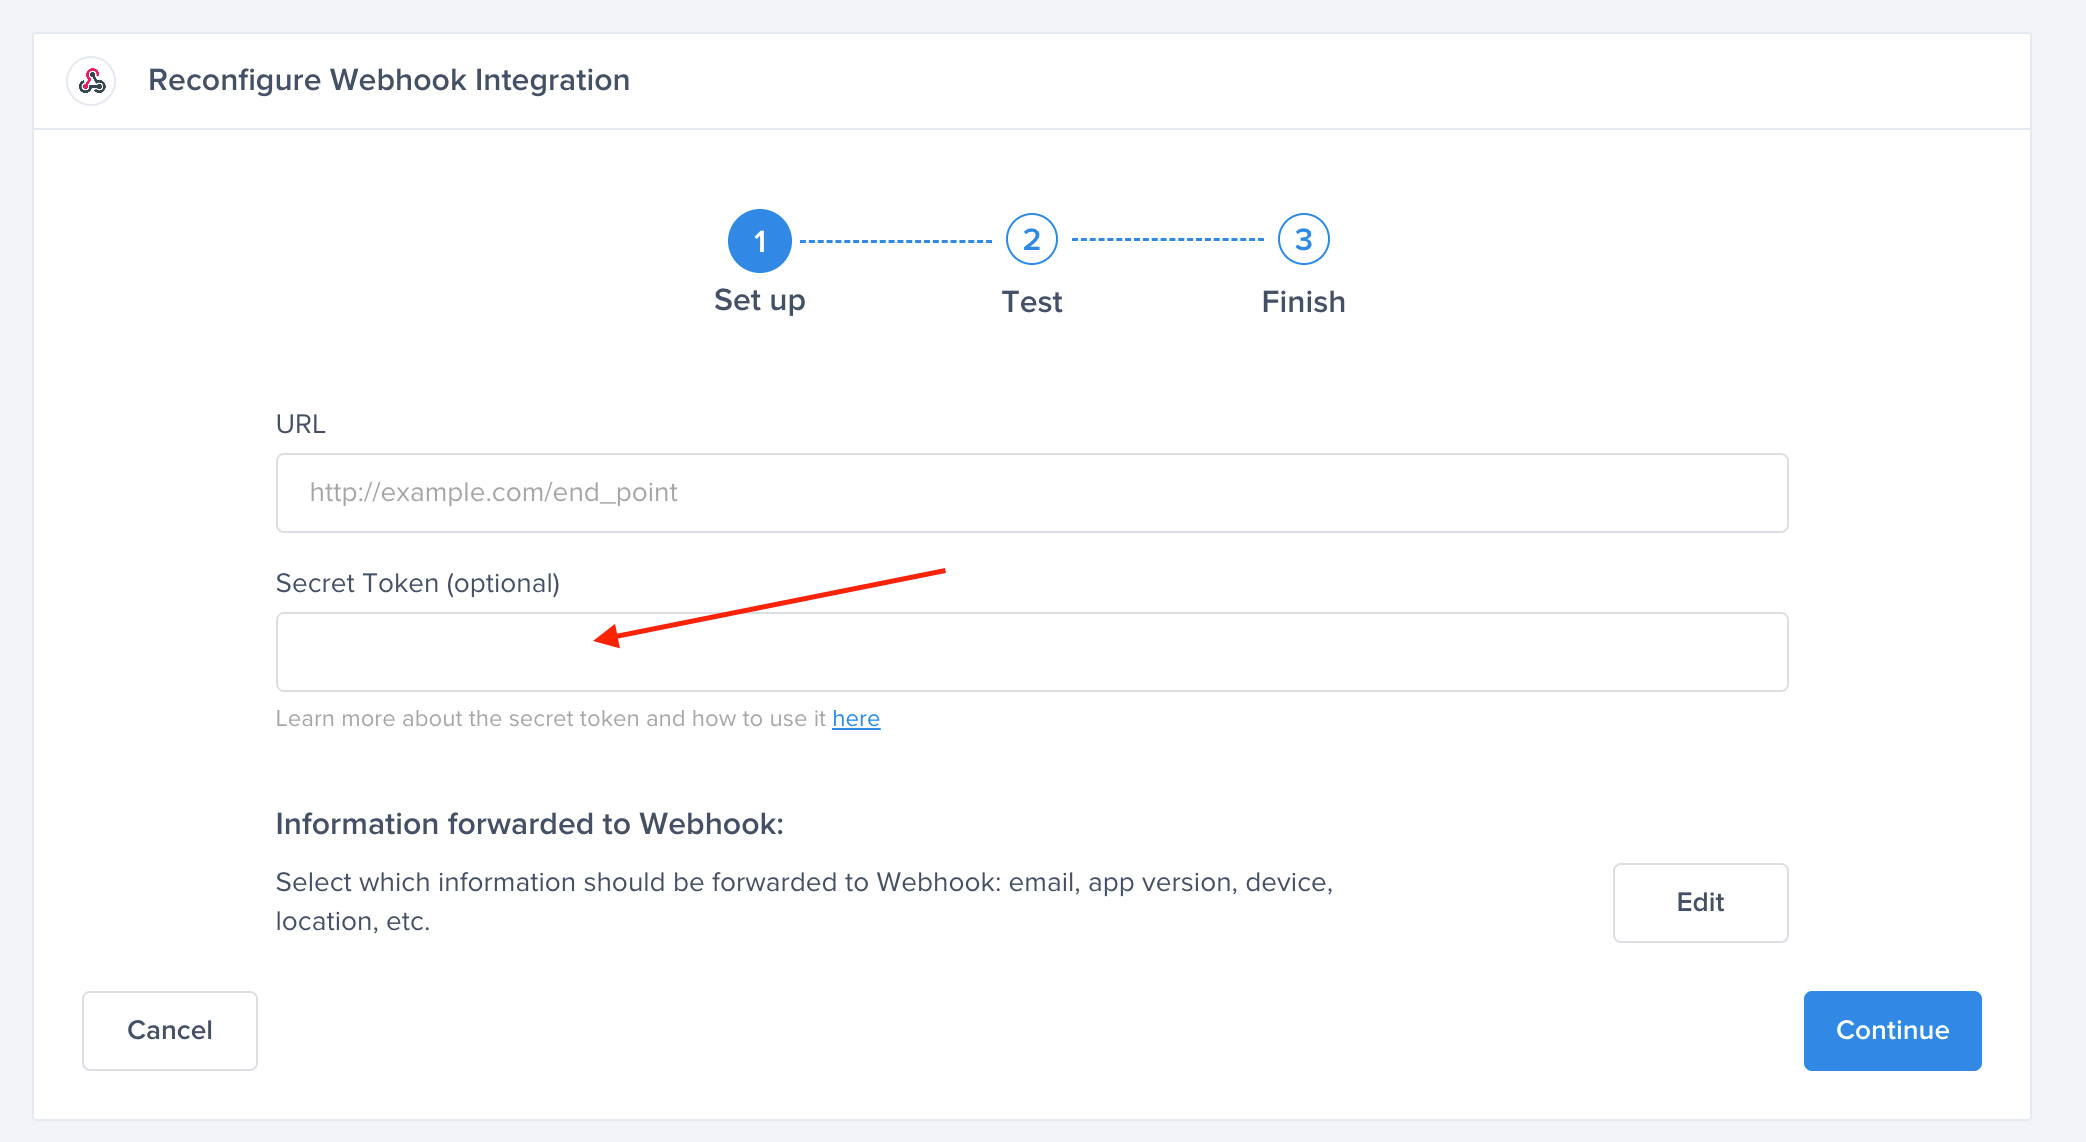
- To set up your Webhook integration, simply add the link to which Instabug should forward your reports. You can also choose which details get forwarded as well.

- Select the products that you would like to integrate with, whether Bugs & Crashes or APM, and test your integration so that we're sure everything is working smoothly.

- All done! Your integration is now set up and ready to go. From this final page, you can allow automatic forwarding (don't worry though, this can be reconfigured at any time!)

Below, you can find more details about the JSON payload that you will receive.
Crashes' JSON model:
{
    "Exception": "String",
    "Number": "Number",
    "URL": "String",
    "Status": "String",
    "Email": "",
    "Reported At": "String",
    "Location": "String",
    "Device": "String",
    "Memory": "String",
    "Storage": "String",
    "Connectivity": "string",
    "Battery": "string",
    "App Version": "string",
    "Duration": "number",
    "User Data": "String",
    "Console Log": "Text",
    "Instabug Log": "Text",
    "User Steps": "Text",
    "User Attributes": {},
    "Current View": "String",
    "Locale": "en_US",
    "Orientation": "landscape",
    "Screen Size": "String",
    "Density": "string",
    "Image Attachments": []
}
Bugs' JSON model:
{
  "Title": "String",
  "Reported At": "String",
  "Email": "String",
  "Private URL": "String",
  "Categories": "String",
  "Tags": "String",
  "App Version": "String",
  "Device": "String",
  "Location": "String",
  "Duration": Integer,
  "Screen Size": "String",
  "Density": "String",
  "User Attributes": {

  },
  "User Data": "String",
  "User Steps": "String",
  "Instabug Log": "String",
  "Console Log": "String",
  "Locale": "String",
  "Image Attachments": [

  ],
  "Non Image Attachments": [

  ],
  "Type": "bug",
  "URL": "String"
}
APMs' JSON model:
{
  "title": "String",
  "trace": "String",
  "trigger": "String",
  "trigger_operator": "String",
  "test_value": "Number",
  "duration": "String",
  "conditions": [
    {
      "key": "String",
      "operator": "String",
      "value": "String"
    }
  ],
  "current_value": "String",
  "metric": "String",
  "application": "String",
  "platform": "String",
  "url": "String"
}
Using Secret Tokens
Ensure your server is only receiving the expected Instabug requests for security reasons.
Step #1: Creating a Secret
Create a random alphanumeric secret that’s at least 16 characters and has a maximum of 64 characters.
Here’s a sample secret: d8yyxj7srjqf5xyih8ay
Note: please make sure to save this secret.
Step #2: Binding the Secret with Webhooks
Create a Webhook integration on Instabug then enter the secret you created in the “Secret token” field.
Step #3: Saving the integration
After saving the integration, each request that is sent from this integration will have an extra field in the header called x-ibg-signature-256
Step #4: Authenticating the Response
Once your server receives the response from Instabug, you'll need to do the following:
- Hash the Response Body using the Secret token you created before.
- Use the sha256 algorithm for hashing.
- Compare the result of the Hash with this header
x-ibg-signature-256. - If the results are equal, then it means it’s sent from Instabug.
- If they are not equal, then it’s not sent from Instabug.
Updated 9 months ago