Integrating Instabug for Unity
This page explains how to install Instabug's SDK into your Unity application.
Instabug will end support for Unity on June 30, 2025 due to low usage among our user base. This allows us to focus on improving our offerings for more widely adopted platforms and frameworks that align with our developers needs.
Installation
In order to install the Instabug plug-in in your Unity app, you'll need to follow these steps:
1- Download the Instabug-Unity package.
2- In your own Unity project, import the package by selecting: Assets → Import Package → Custom Package from the Unity editor’s menu OR double-clicking Instabug-Unity.unitypackage.
3- Resolve dependencies (for Android only).
Initializing Instabug
Once Instabug is installed, it'll need to be initialized in order to start functioning within your app. The following steps detail how to do just that:
1- Create an empty GameObject and add Instabug.cs script as a component to it. The script is located in: Assets → Plugins → Instabug
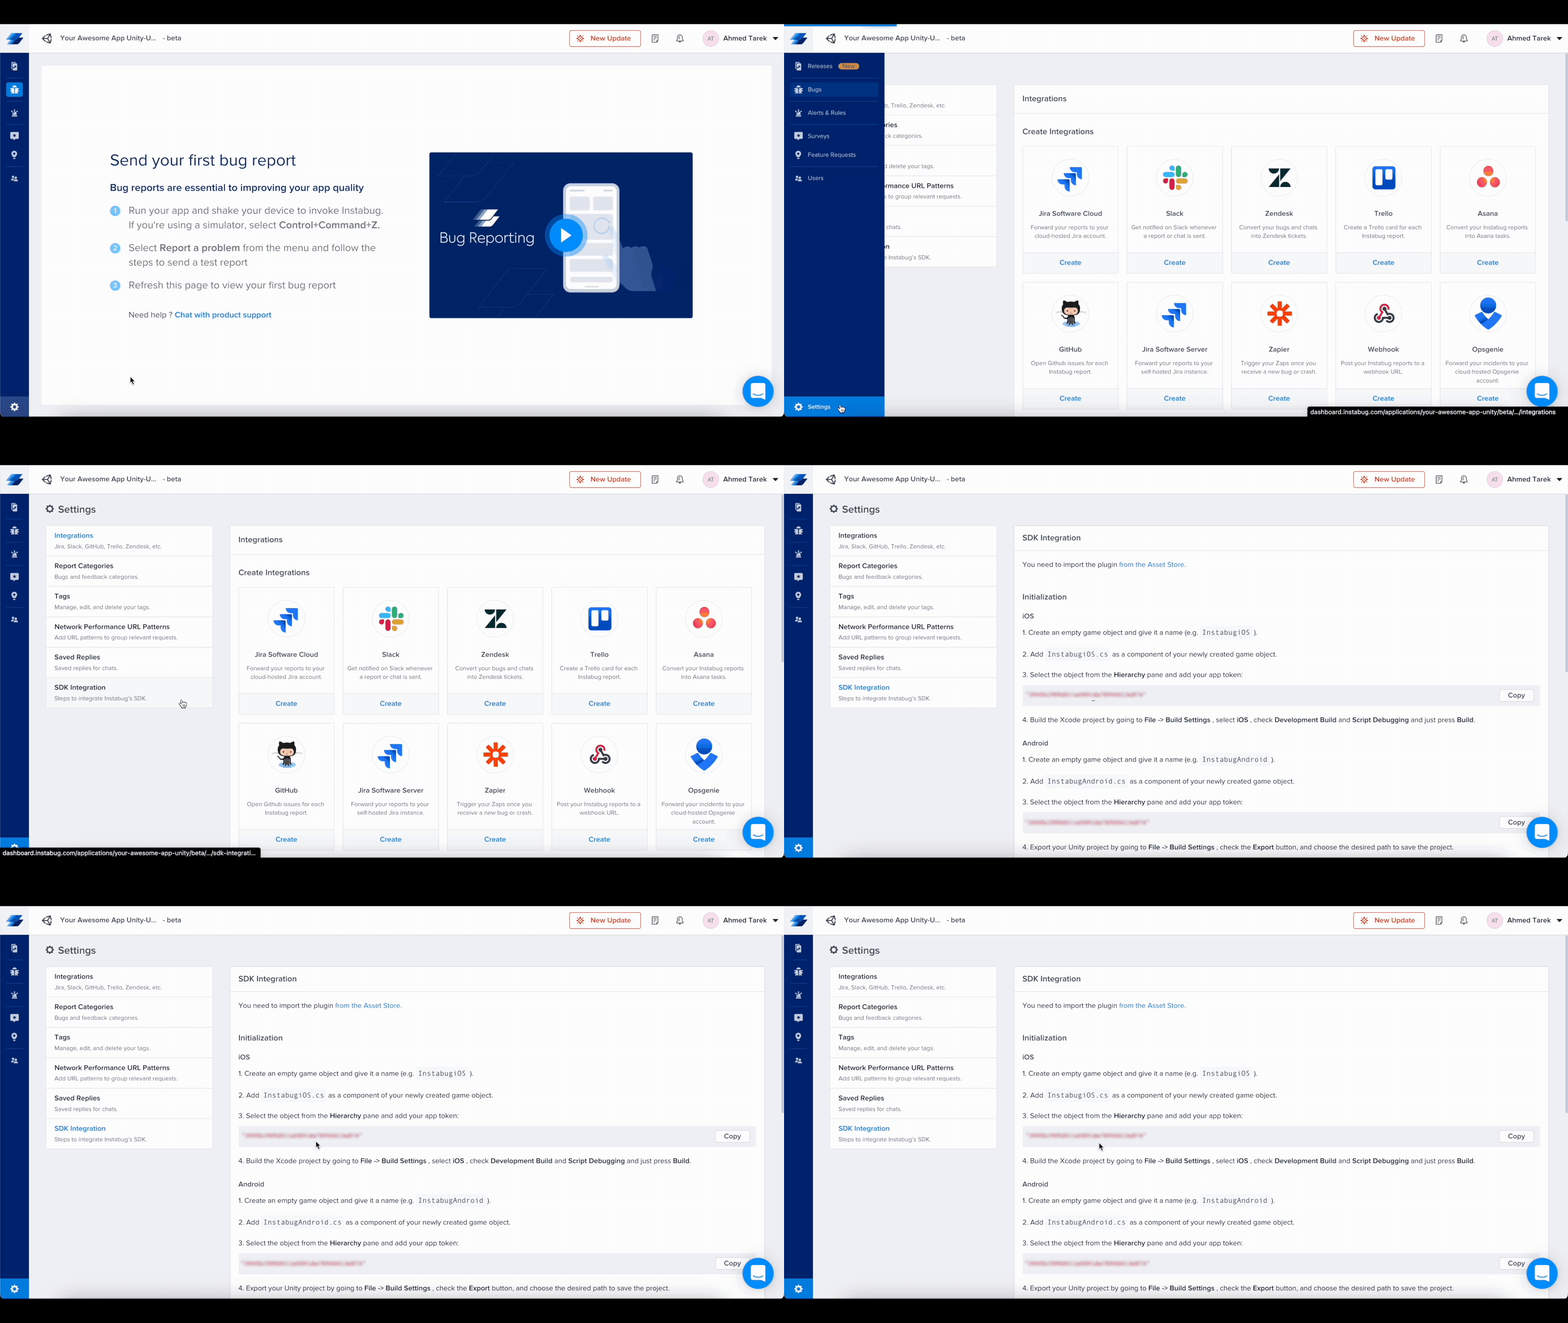
2- Enter your app token, which you can find on the dashboard, and choose the preferred Invocation Event from the inspector window. For more details about the invocation events, check here.

3- Add an Event System component to the newly created GameObject (only if you don't already have an EventSystem game object in the hierarchy of the current scene).
Xcode Build Errors
For iOS builds, you may encounter a build error on some Xcode versions. To resolve it, you can simply set Validate Workspace to Yes in the Build Settings tab under Build Options in Xcode.
Updating from SDK Versions Prior to v10
When updating/migrating from SDK versions prior to version 10.0, you'll need to follow these steps:
1- Remove the Assets/Plugins directory that was previously imported.
2- Follow the installation steps.
Updated 6 months ago
