Integrating Instabug for Xamarin
This page covers how to install Instabug SDK into your Xamarin application.
Installation
To install and integrate the SDK in your project follow the following steps:
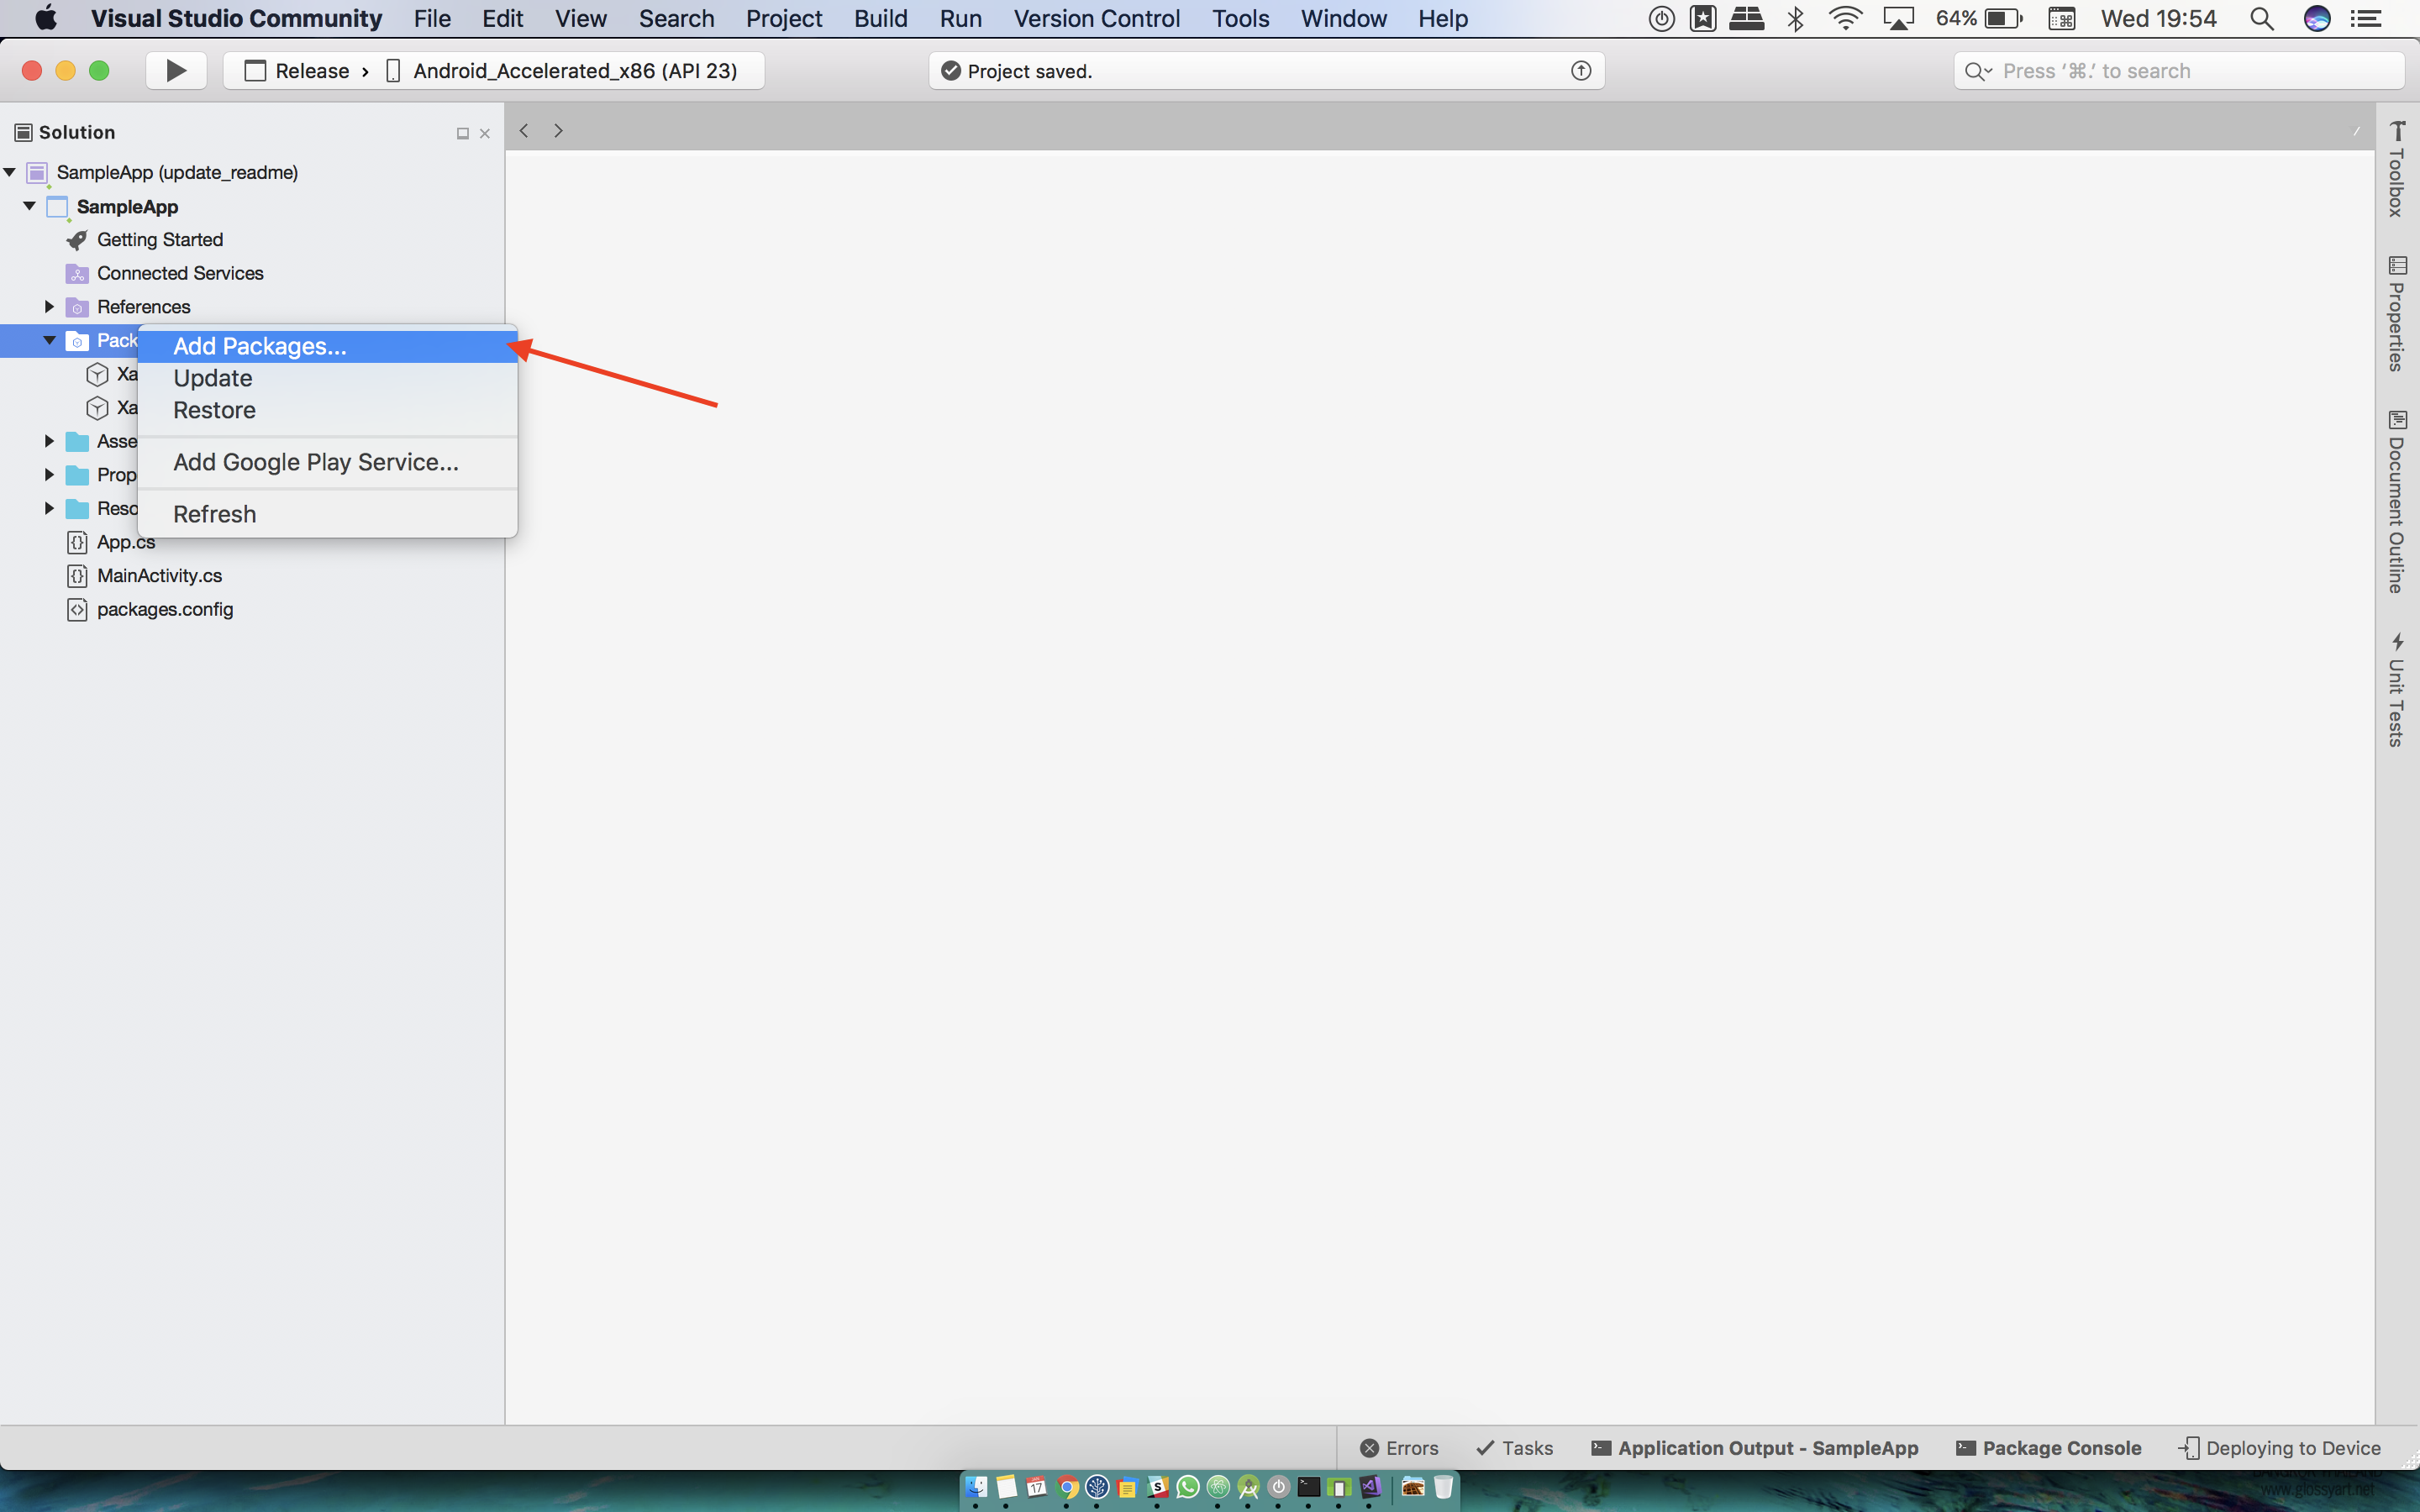
- From Visual Studio project navigator, expand ProjectName.Droid. Right click on the Packages folder. Click on Add Packages.

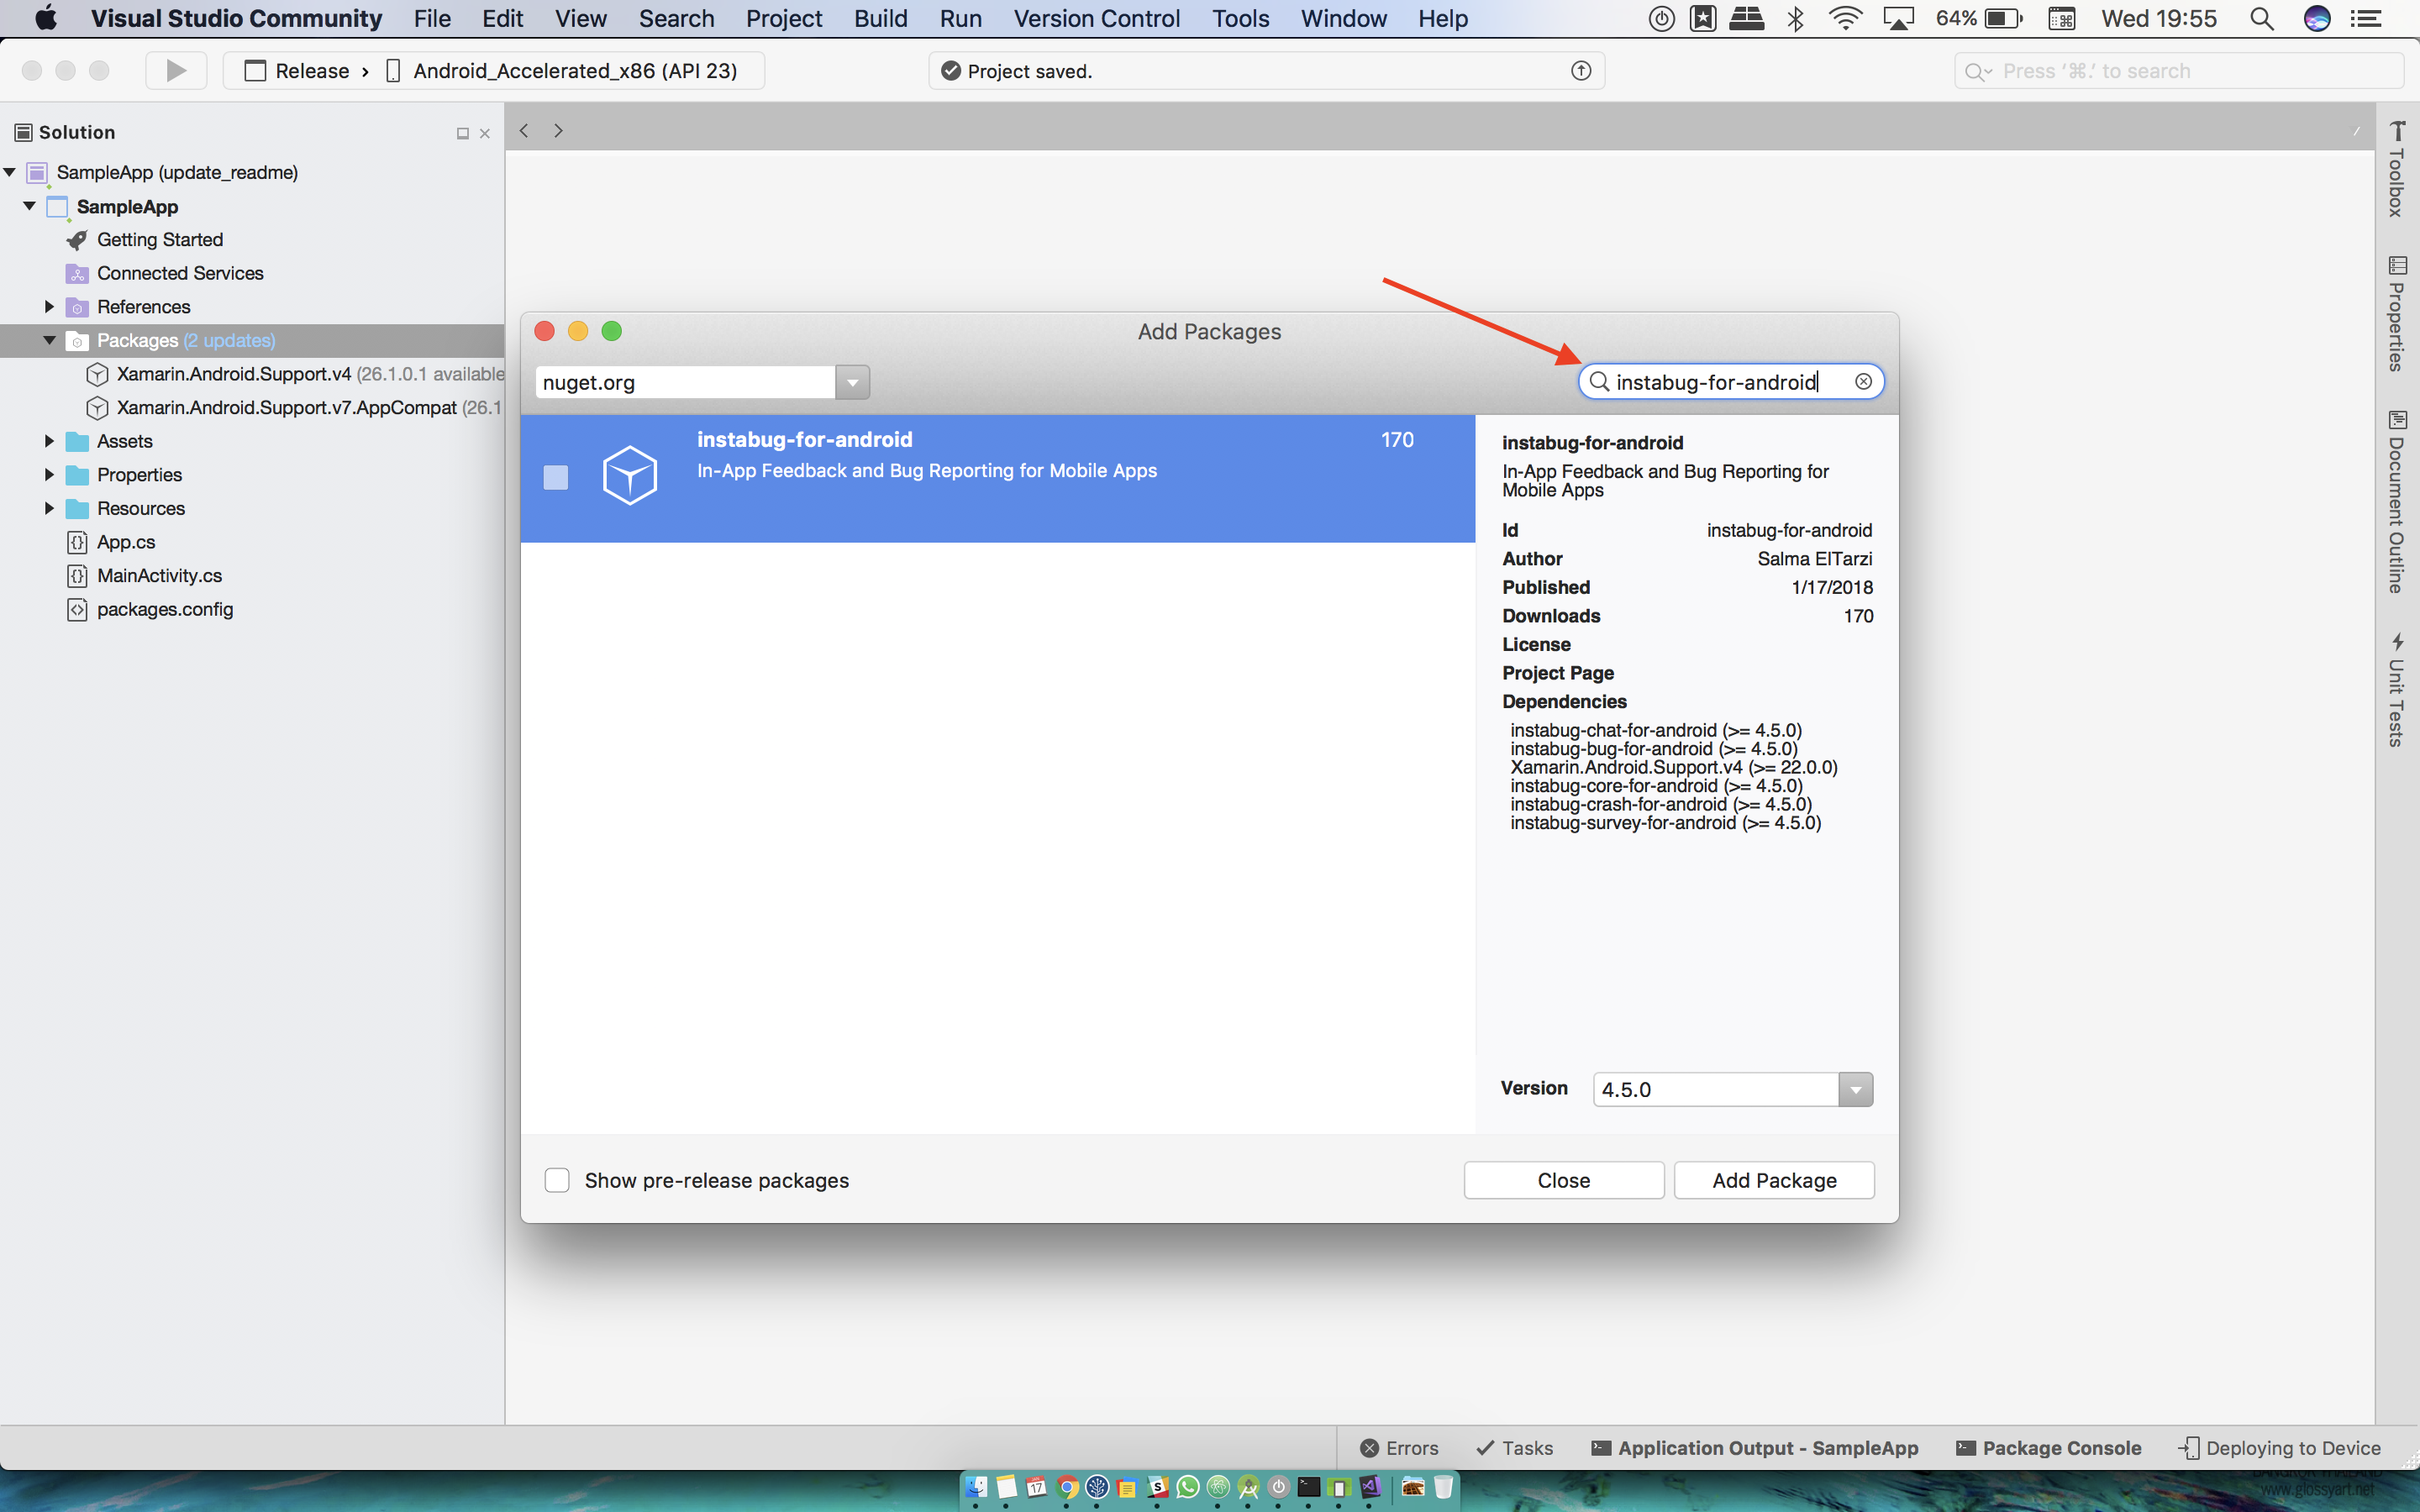
- Search for instabug-for-android. Then, click on Add Package.

- Repeat all the previous steps for ProjectName.iOS.
Using Instabug
iOS
To start using Instabug in your application you will need to initialize it.
First, import Instabug in the AppDelegate class.
using InstabugLib;
Then add the following line in the FinishedLaunching method inside the AppDelegate class.
Instabug.StartWithToken("YOUR_APP_TOKEN", IBGInvocationEvent.Shake | IBGInvocationEvent.Screenshot);
Android
To start using Instabug in your application, you will need to initialize it. Create a custom application class, it should look like the following.
using System;
using Android.App;
using Android.Runtime;
using Com.Instabug.Library;
using Com.Instabug.Library.Invocation;
namespace Xamarinsampleandroidapp

{
    [Application]
    public class MainApp : Application
    {
        protected MainApp(IntPtr javaReference, JniHandleOwnership transfer)
        : base(javaReference, transfer)
        {
        }
        public override void OnCreate()
        {
            base.OnCreate();
            new Instabug.Builder(this.Application, "TOKEN").SetInvocationEvents(InstabugInvocationEvent.FloatingButton, InstabugInvocationEvent.Shake).Build();
        }
    }
}
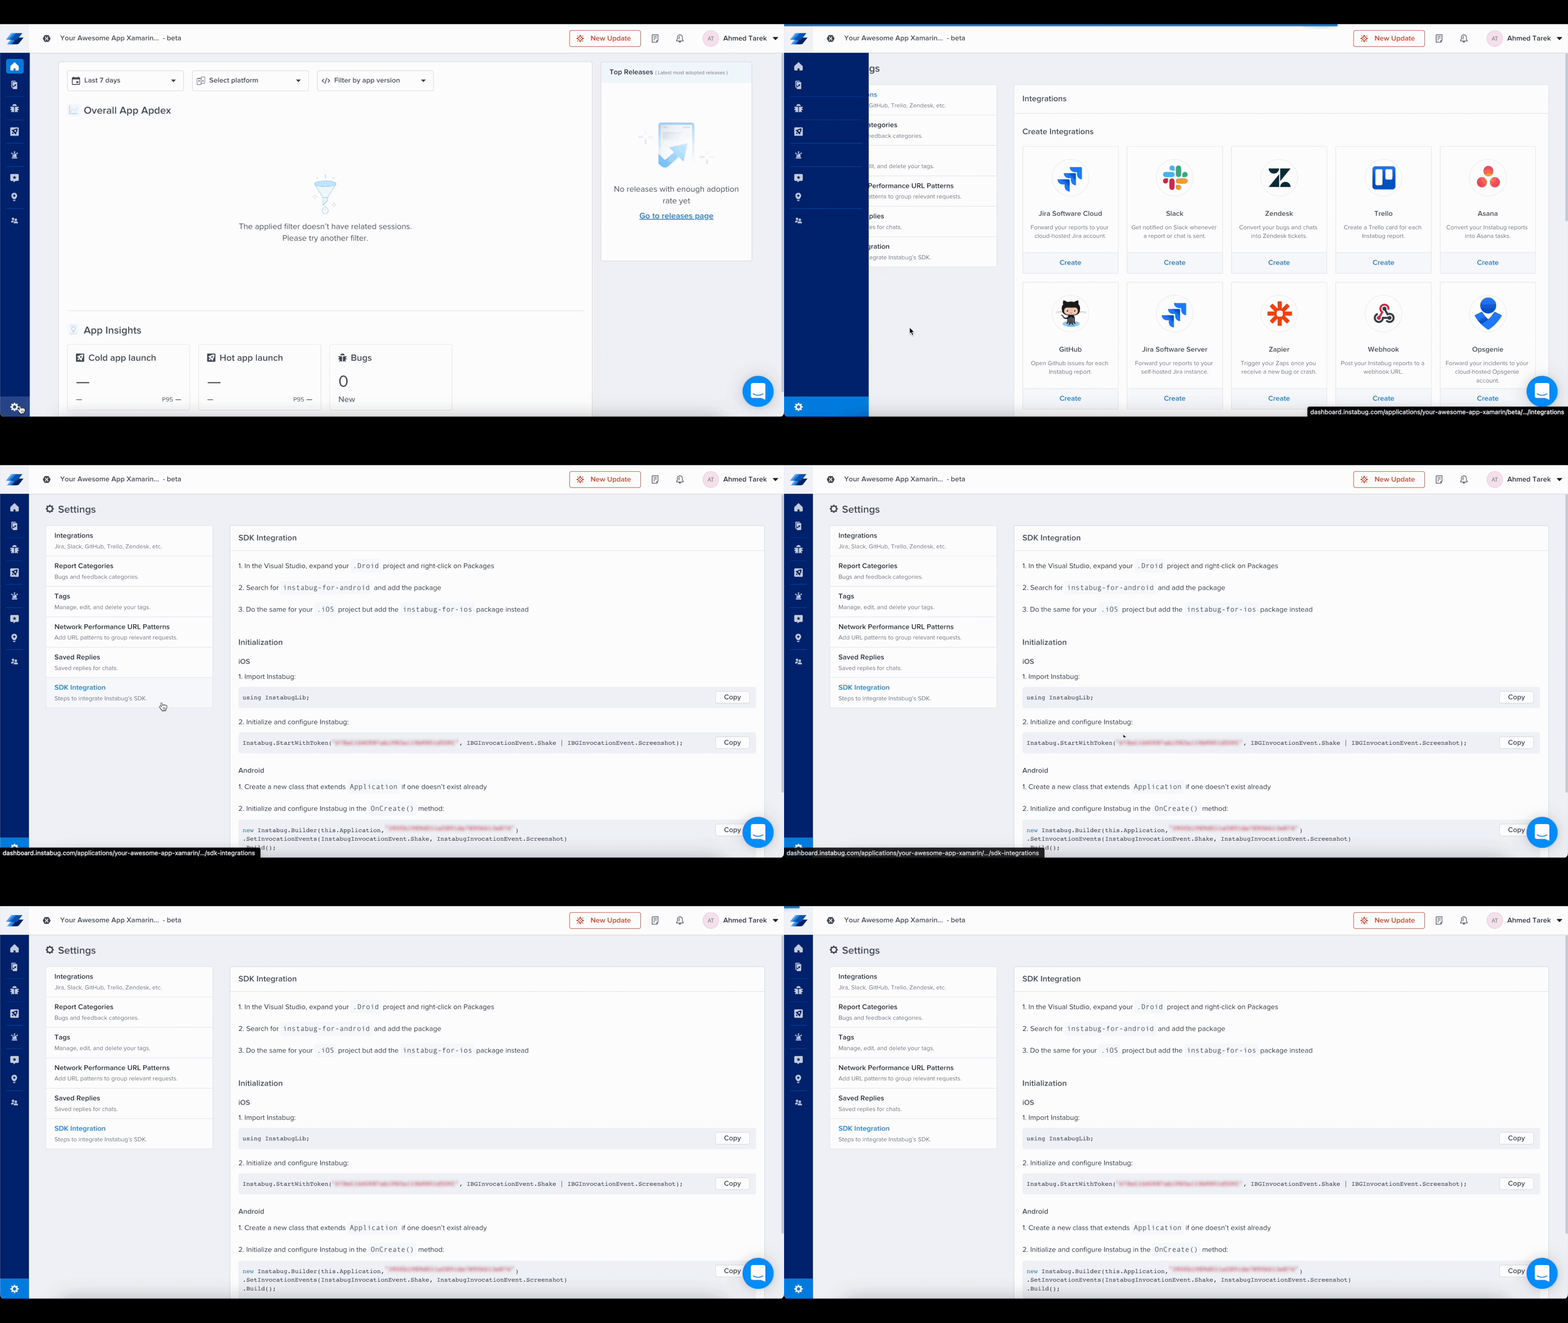
You can find your app token by selecting SDK Integration in the settings popup from your Instabug dashboard.

Managing Permissions (iOS Only)
Instabug needs access to the device microphone and photo library to be able to let users add audio, image, and video attachments. Starting from iOS 10, apps that don’t provide a usage description for those two permissions will be rejected when submitted to the App Store.
To prevent your app from being rejected, you’ll need to add the following two keys to your app’s info.plist file with text that explains to your app users why those permissions are needed:
NSMicrophoneUsageDescriptionNSPhotoLibraryUsageDescription
If your app doesn’t already access the microphone or photo library, we recommend usage descriptions like:
- " needs access to your microphone so you can attach voice notes."
- " needs access to your photo library so you can attach images."
The permission alert for accessing the microphone/photo library will NOT appear unless users attempt to attach a voice note/photo while using Instabug.
Instabug will officially end support for Xamarin on December 31, 2025.
With Microsoft officially discontinuing support for Xamarin as of May 2024, the platform no longer receives updates, fixes, or technical support. Given this, we are aligning our focus on modern frameworks that provide better performance and long-term sustainability, such as React Native and Flutter
Updated 9 months ago
Now that you've successfully integrated Instabug, check out how to show Instabug using different methods, how to identify your users, or how to customize your SDK.
